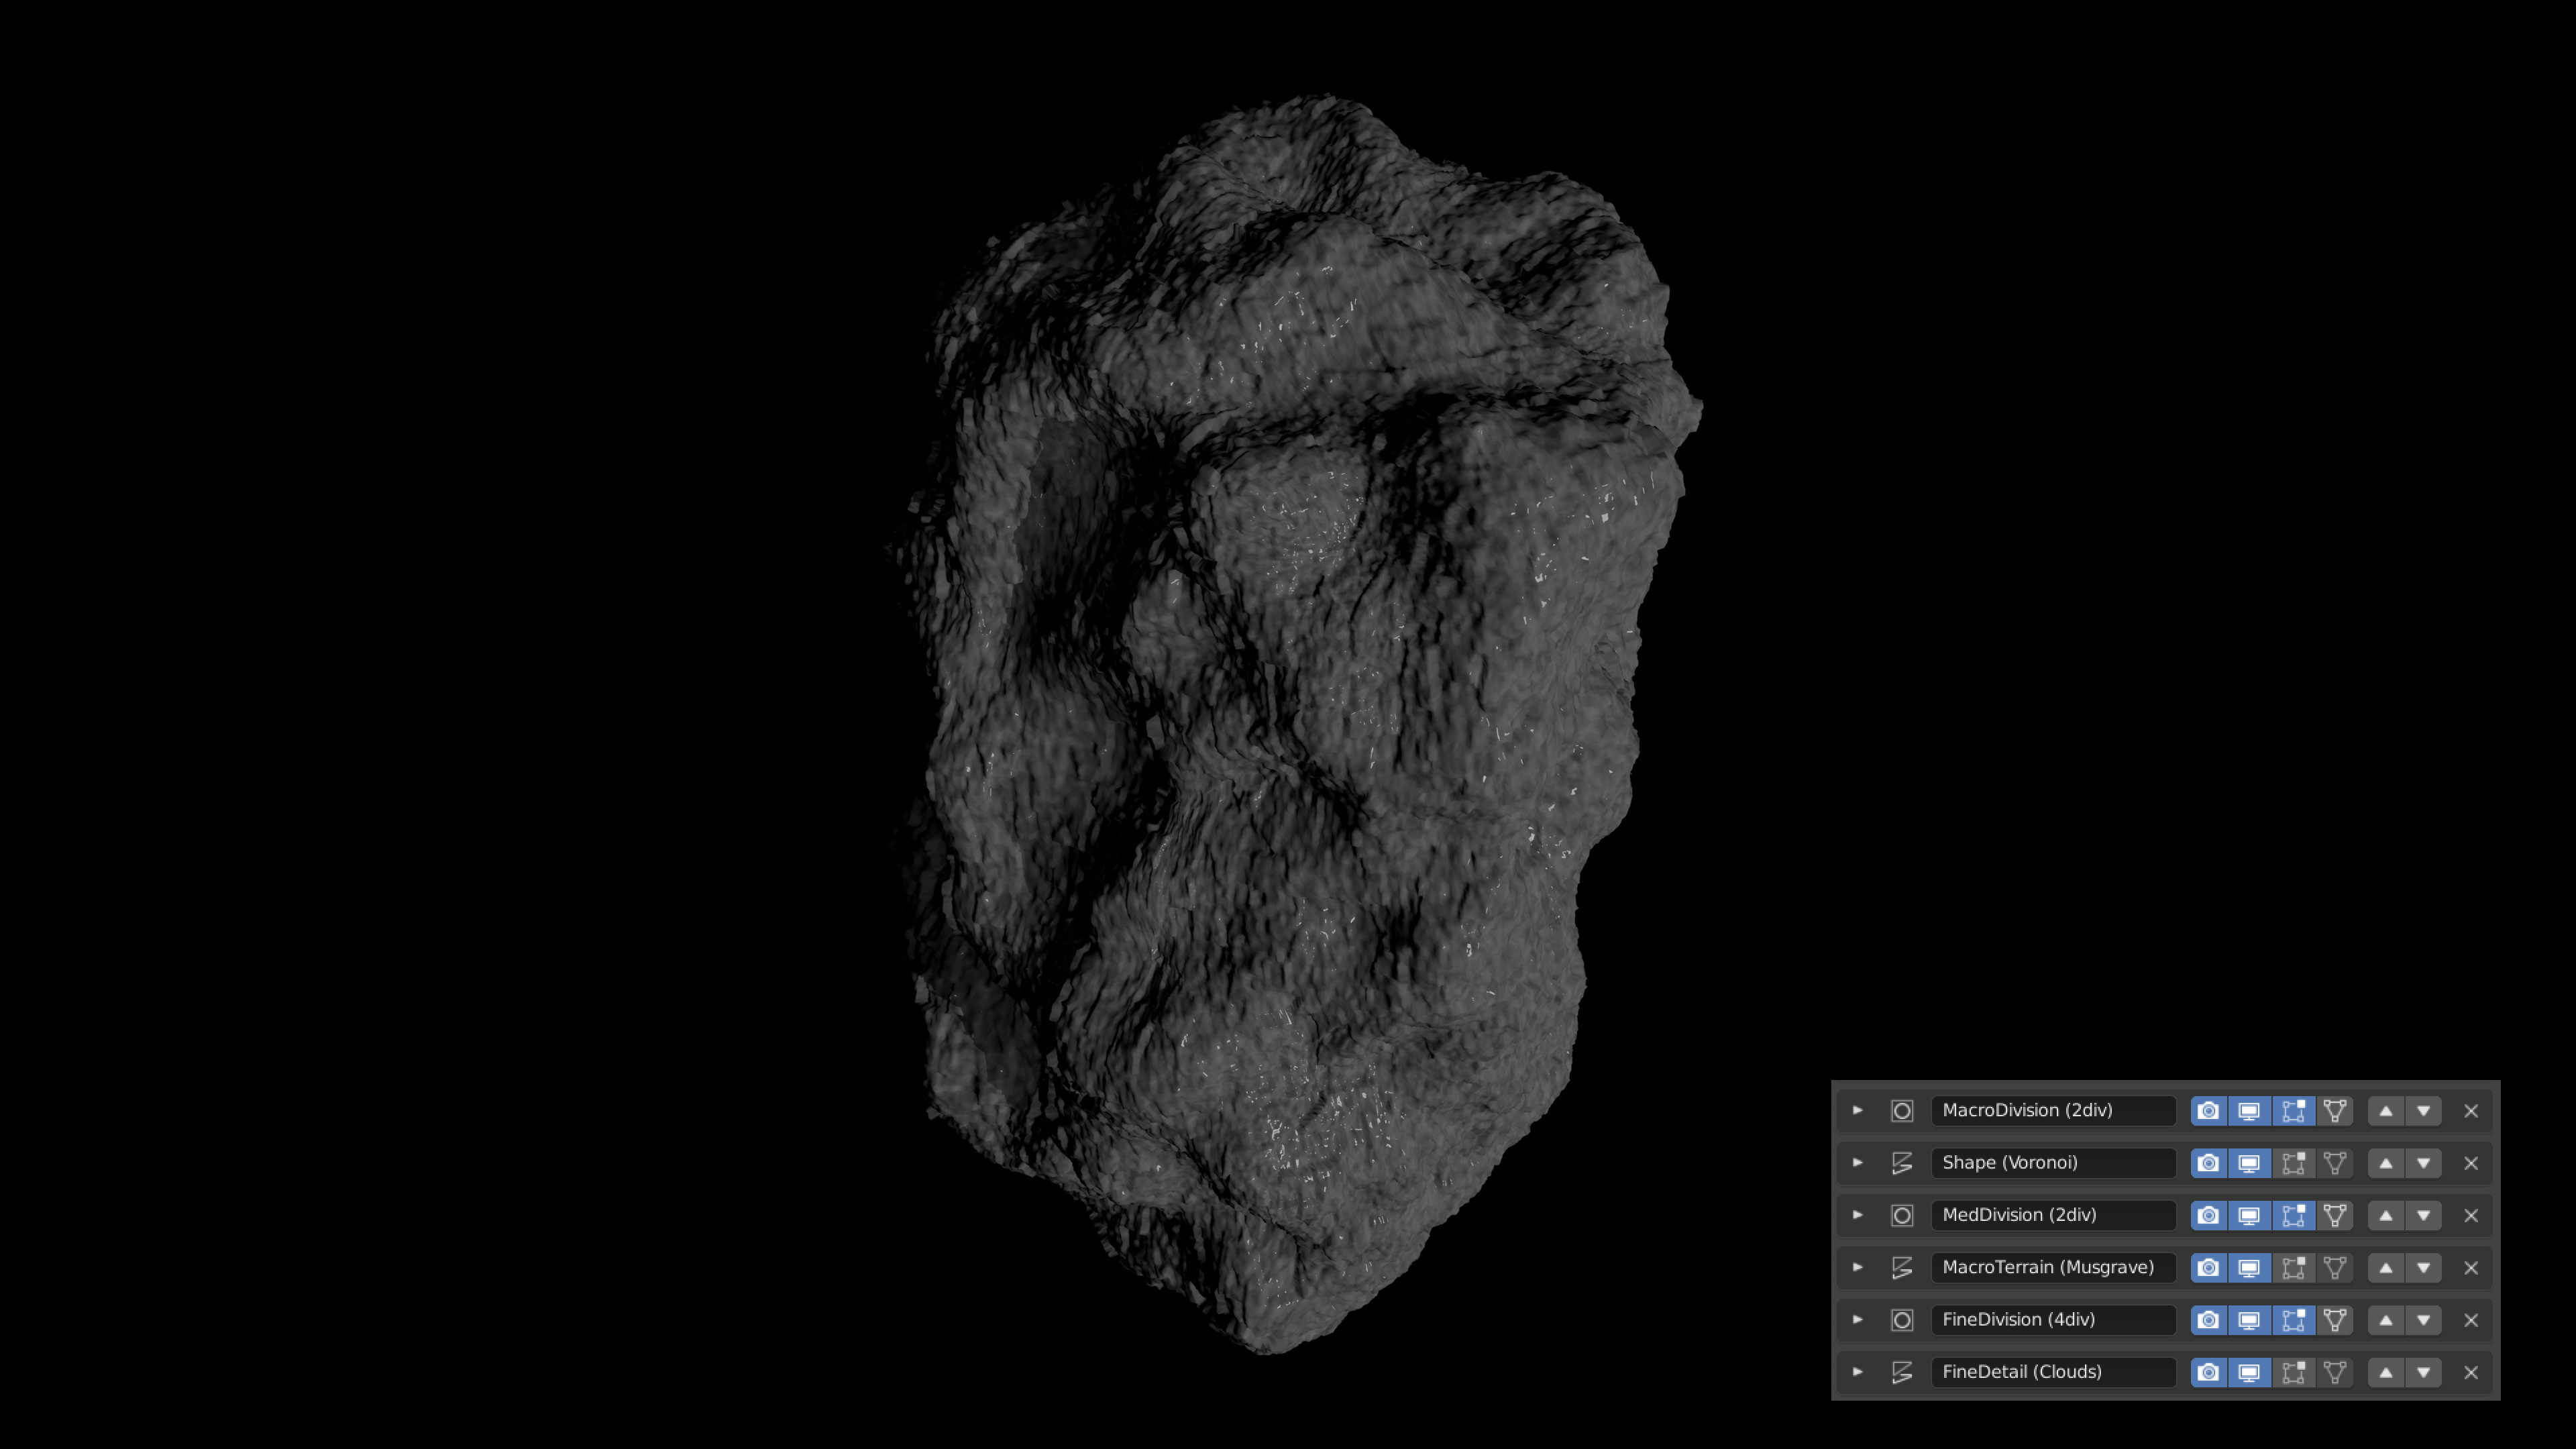
Use The displacement Modifier Several Times to make an interesting object
Understand the Order Of modifiers
Create a detailed object with no modeling
After watching (learning outcomes)…
You will be able to make more complex and detailed procedural models.
(Unique Video Reference: 8_PW_BEC)
We would love to know…
What you found good about this lecture?
What we could do better?
Remember that you can reply to this topic, or create a new topic. The easiest way to create a new topic is to follow the link in Resources. That way the topic will…
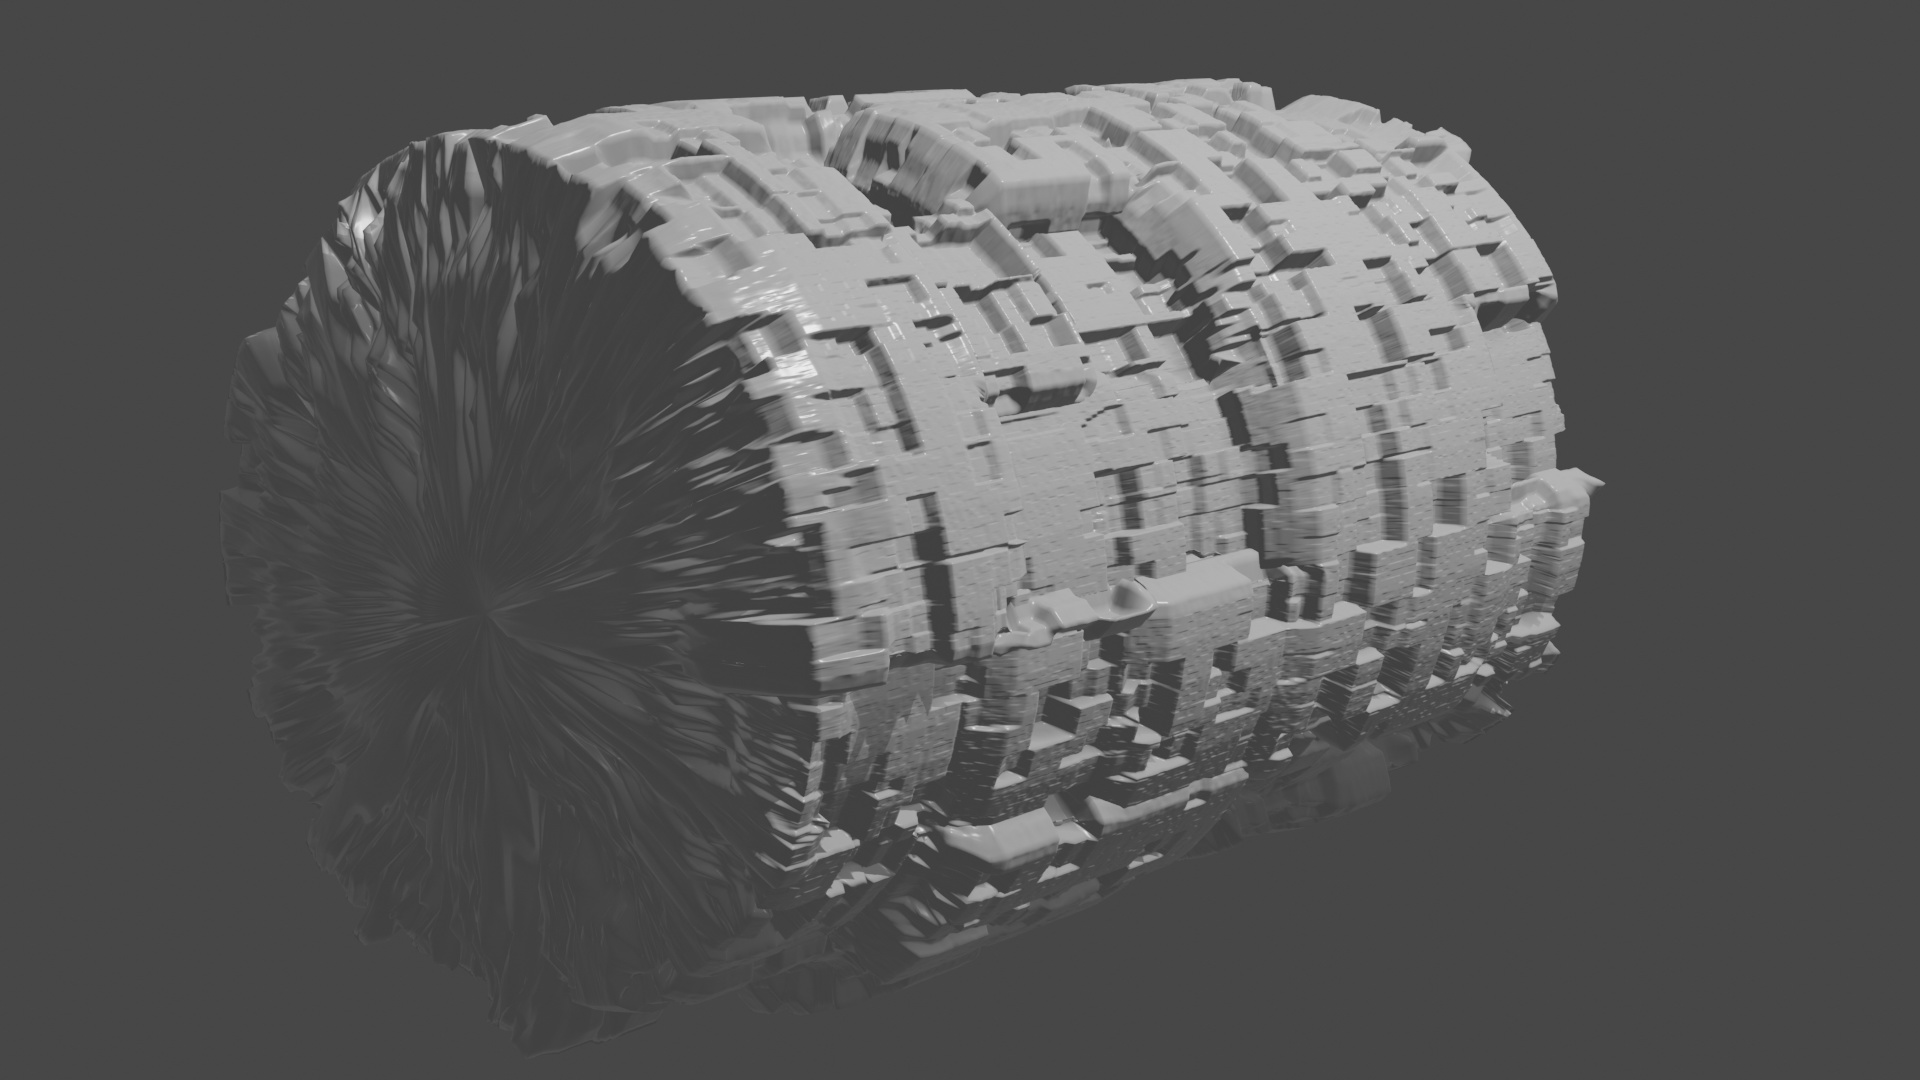
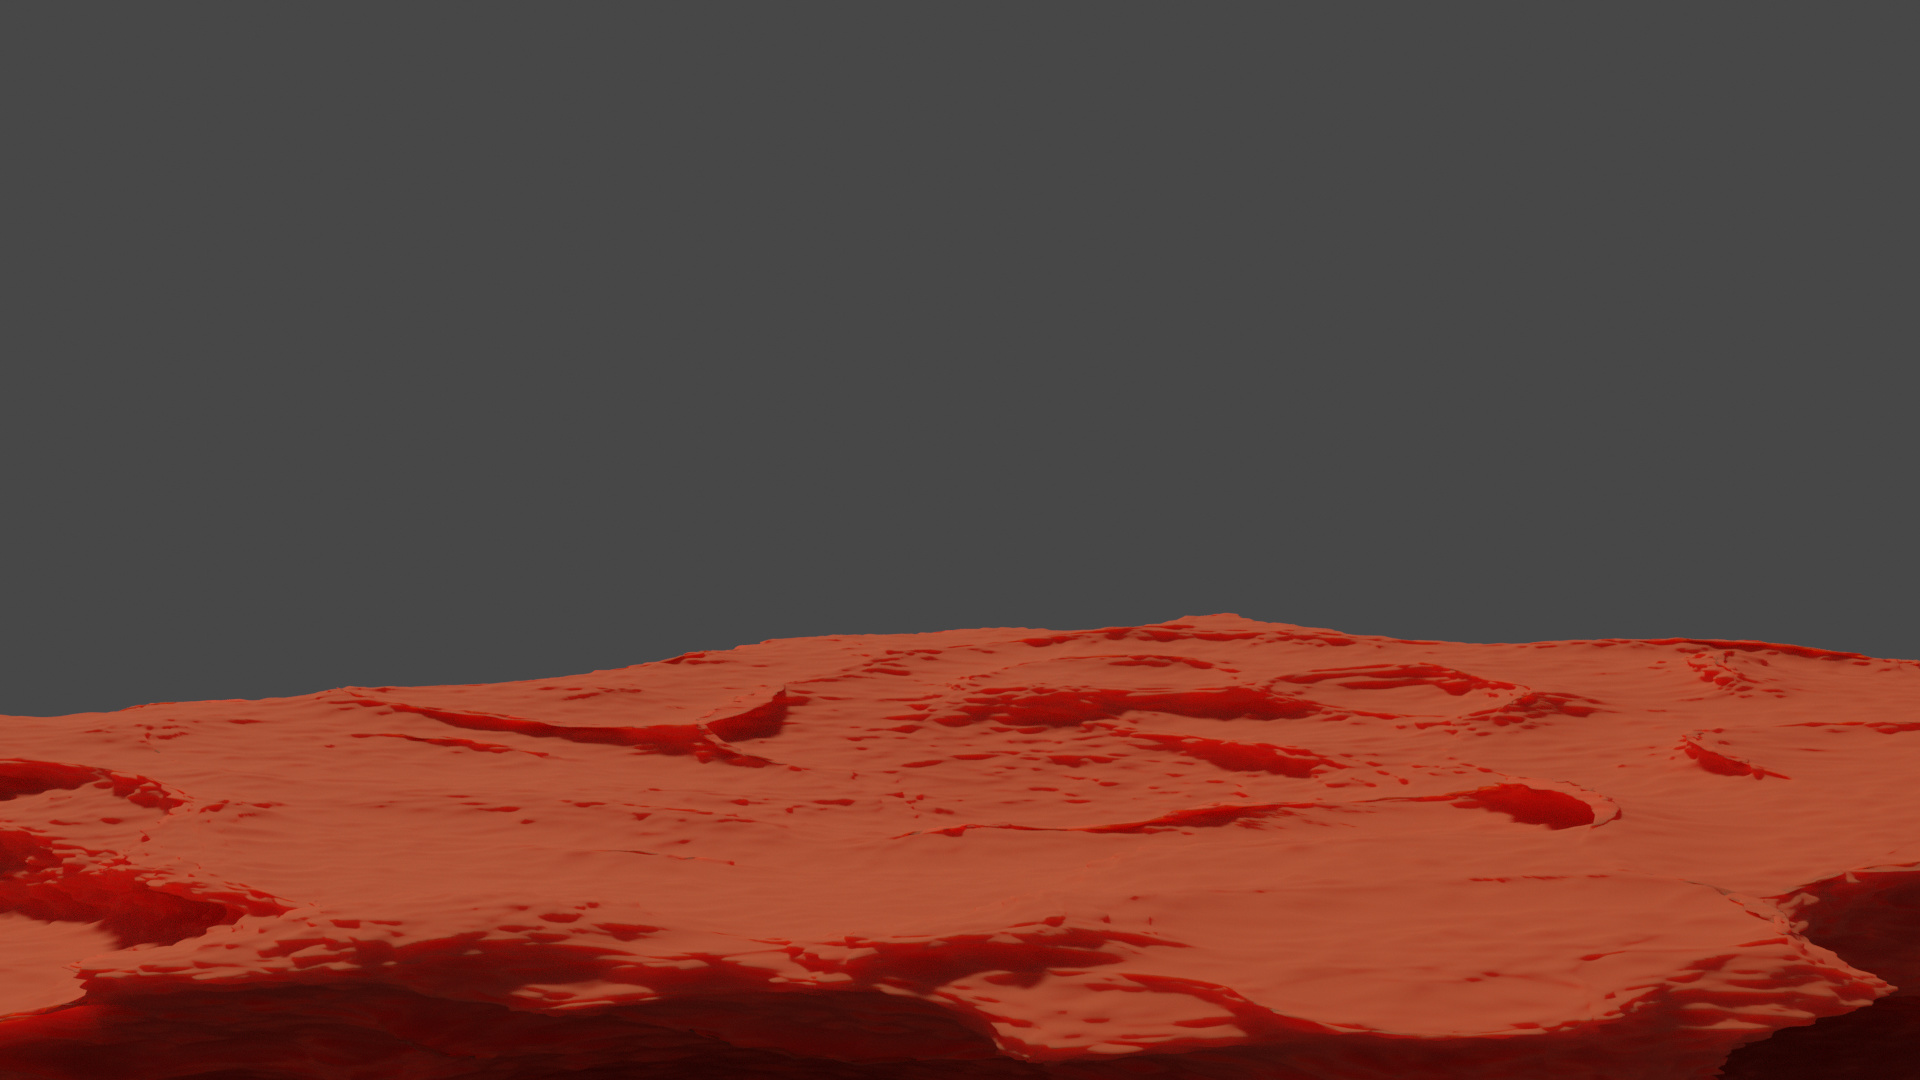
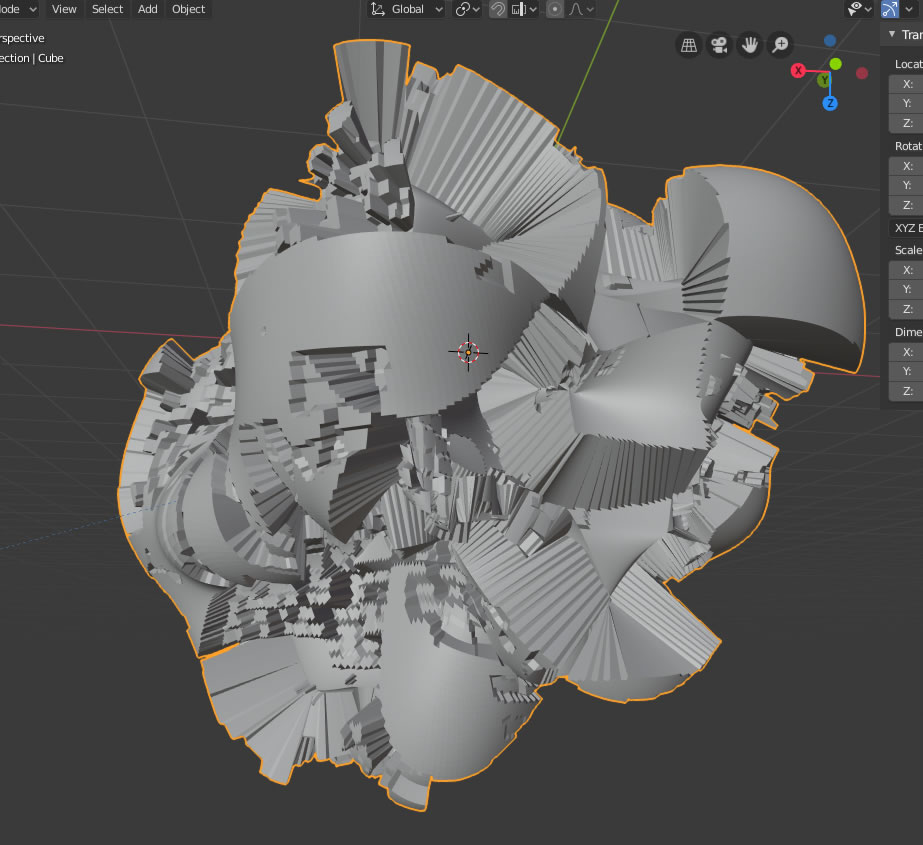
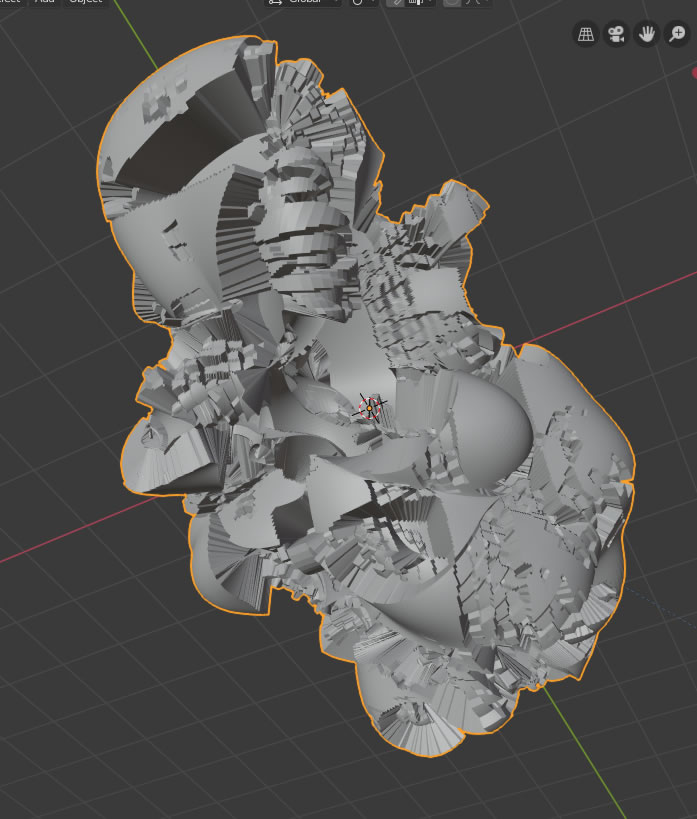
Why would you want a high poly count. The rock I made looks neat and could be an asteroid in space but the geometry is high (though still only 786,000 Tris.
I hope there will be a way of using such procedural objects and having a lower poly count as well.
Unfortunately at the time of recording that video the baking process wasn’t workibg- when it is stable I’ll be adding a video so that you all know how to do that :-).
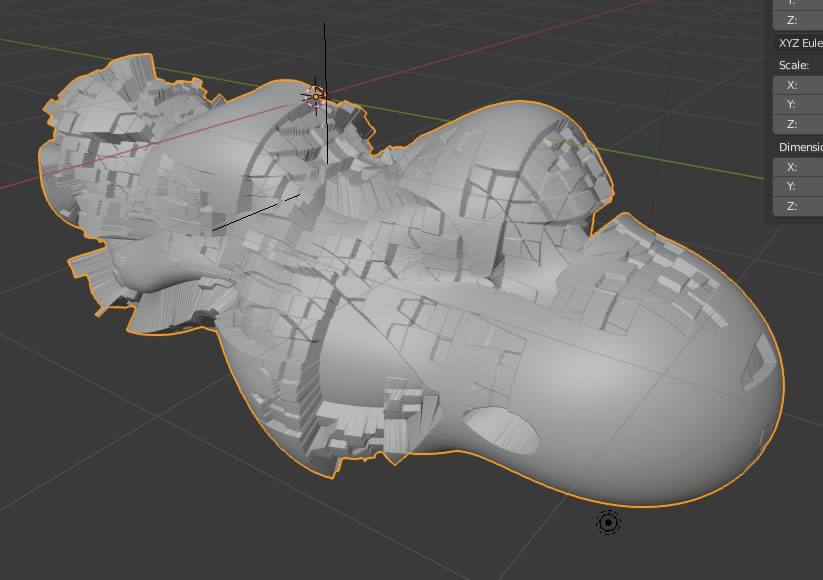
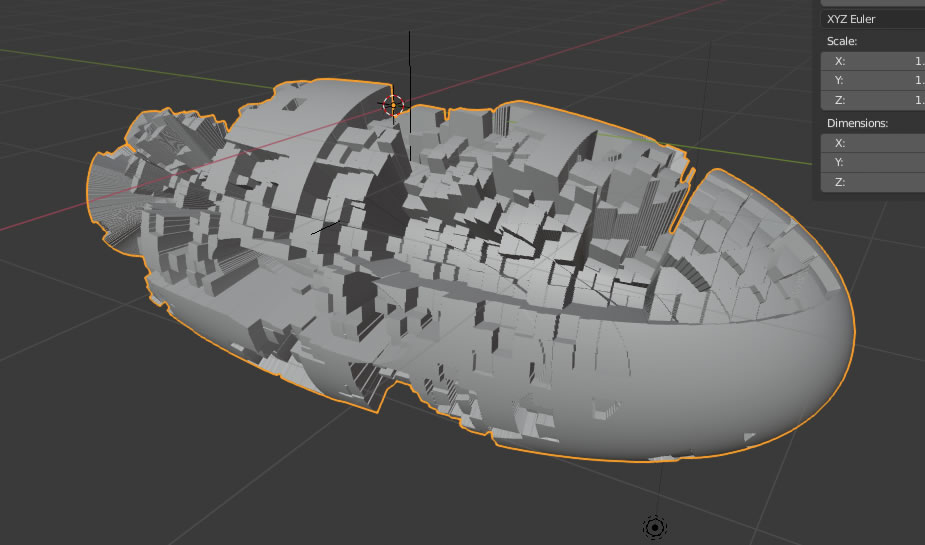
Since my computer does have limitations, I could not go too far. Also, I just applied the same noise, but with different size. Pretty satisfied with this one, except for the end caps, which look weird.
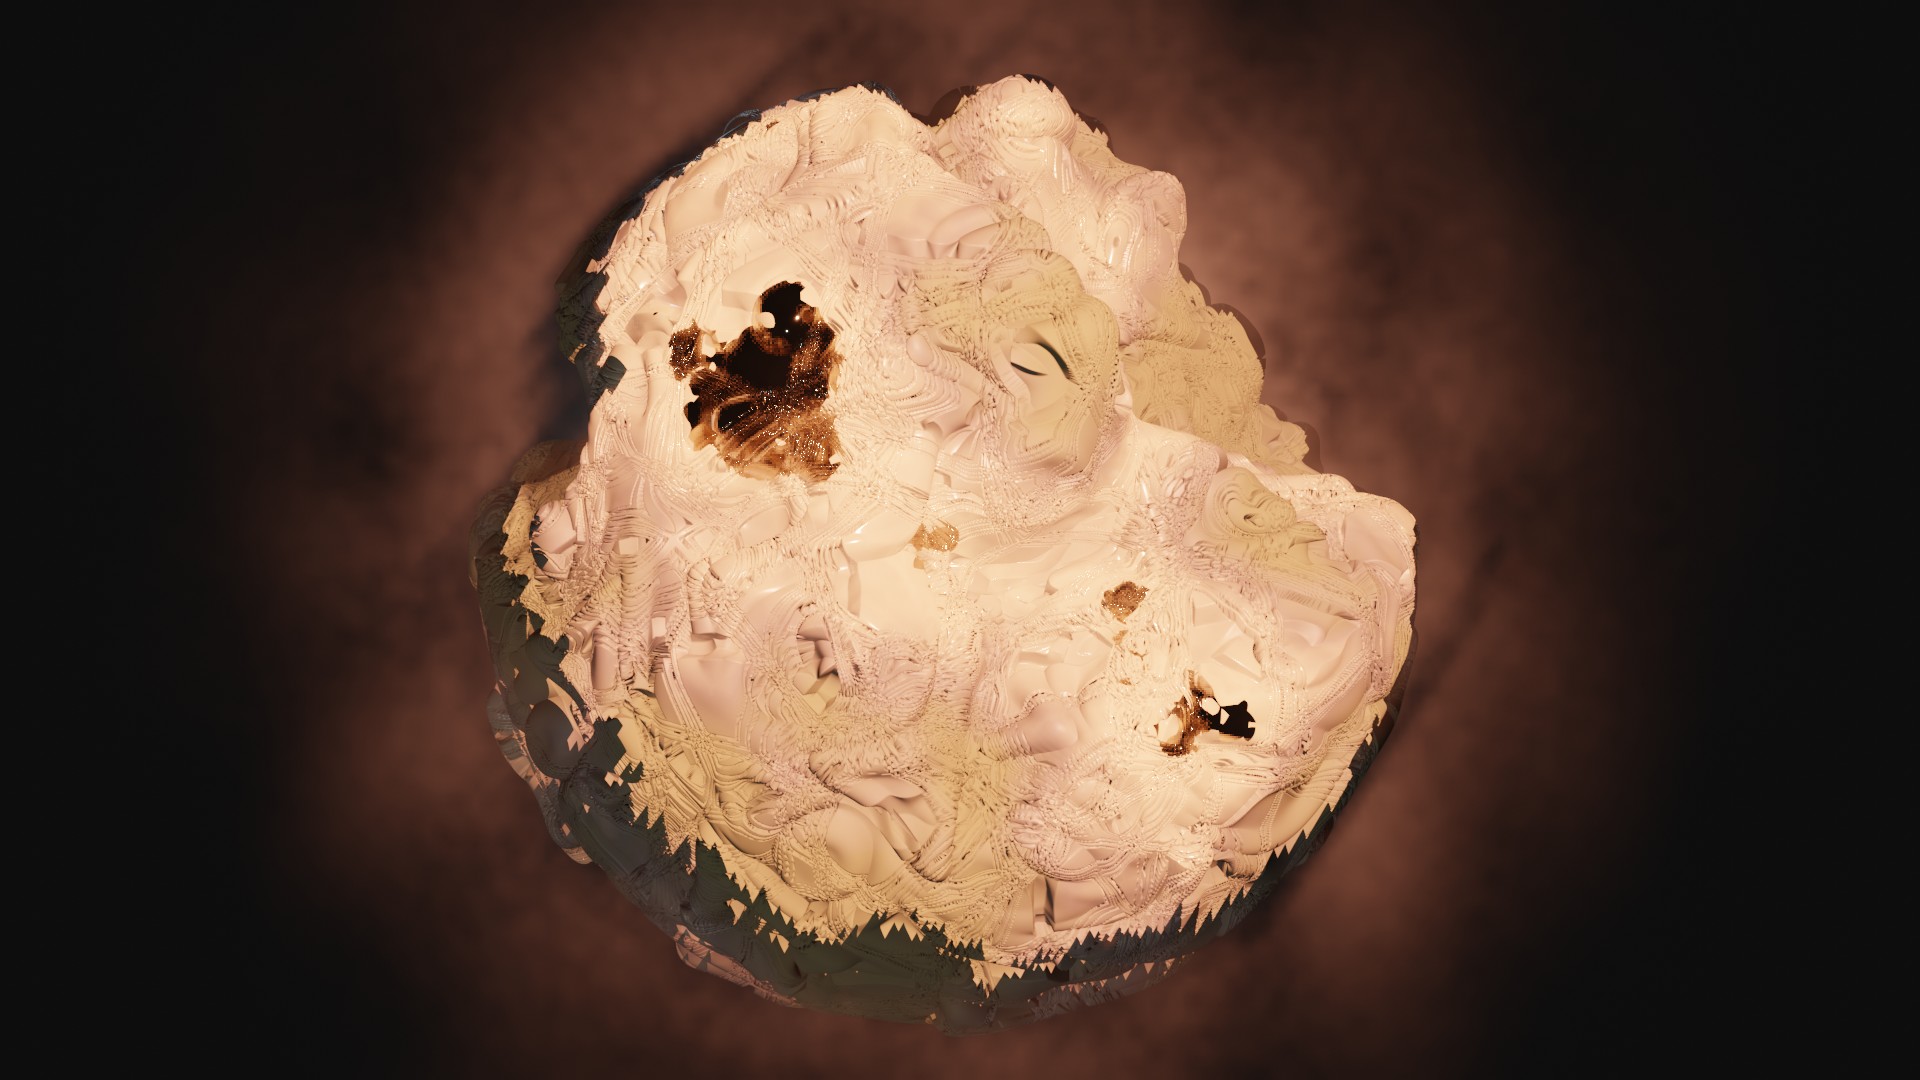
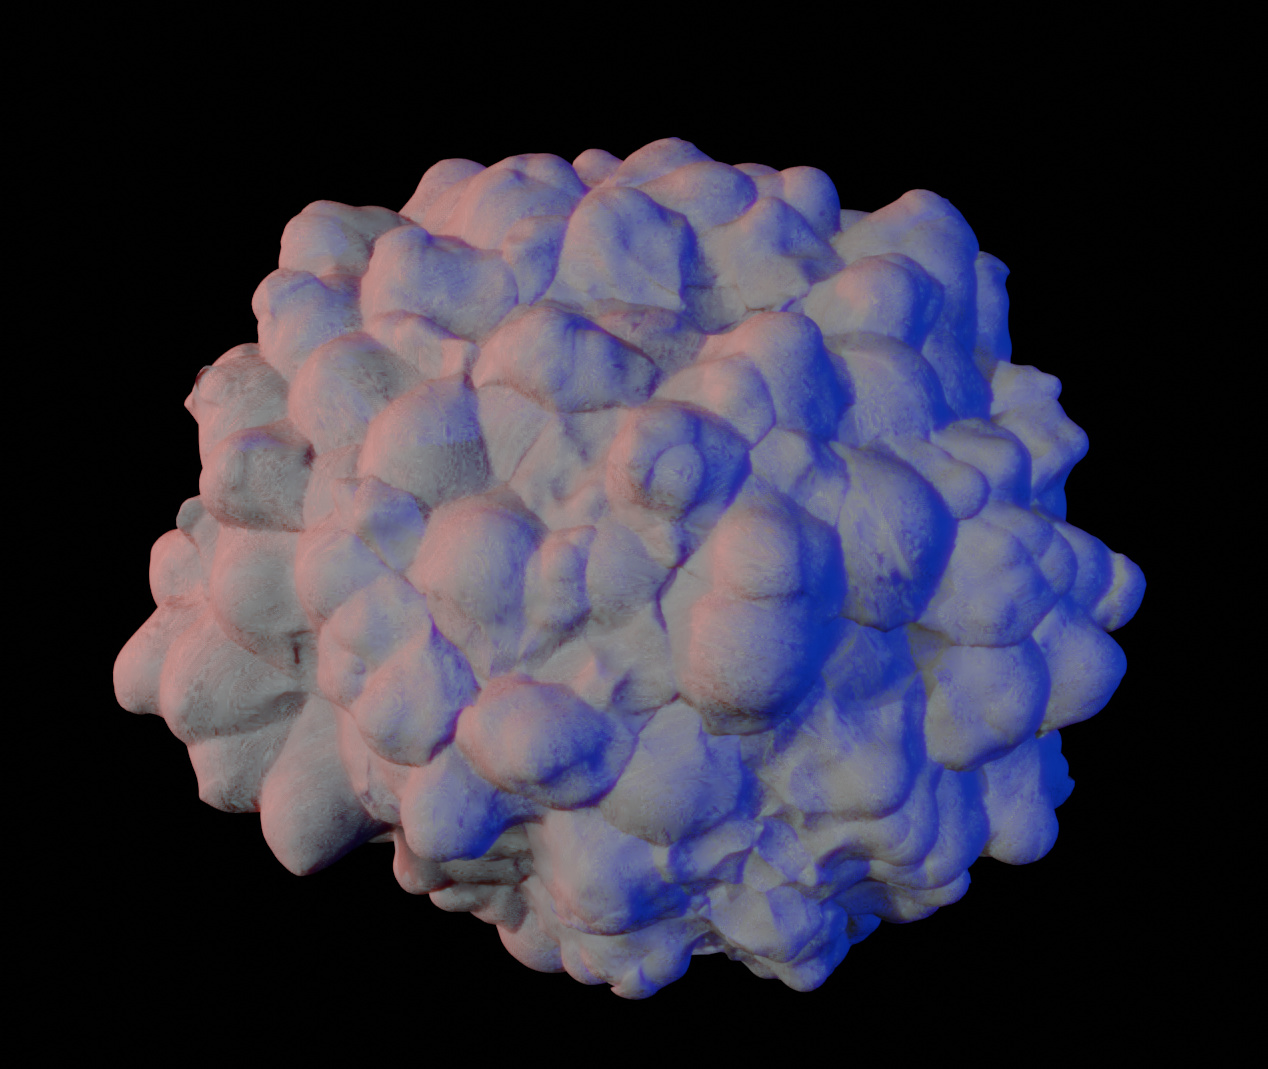
Well it didn’t work so well the last time I tried to create an asteroid. In all fairness though, I was trying to sculpt it rather than layering displace modifiers (wonder why I never thought to try this before…?) This time however, it looks absolutely fantabulous (is that a word) still needs some tweaking with the Material Mix to get it juuust right but I am satisfied.
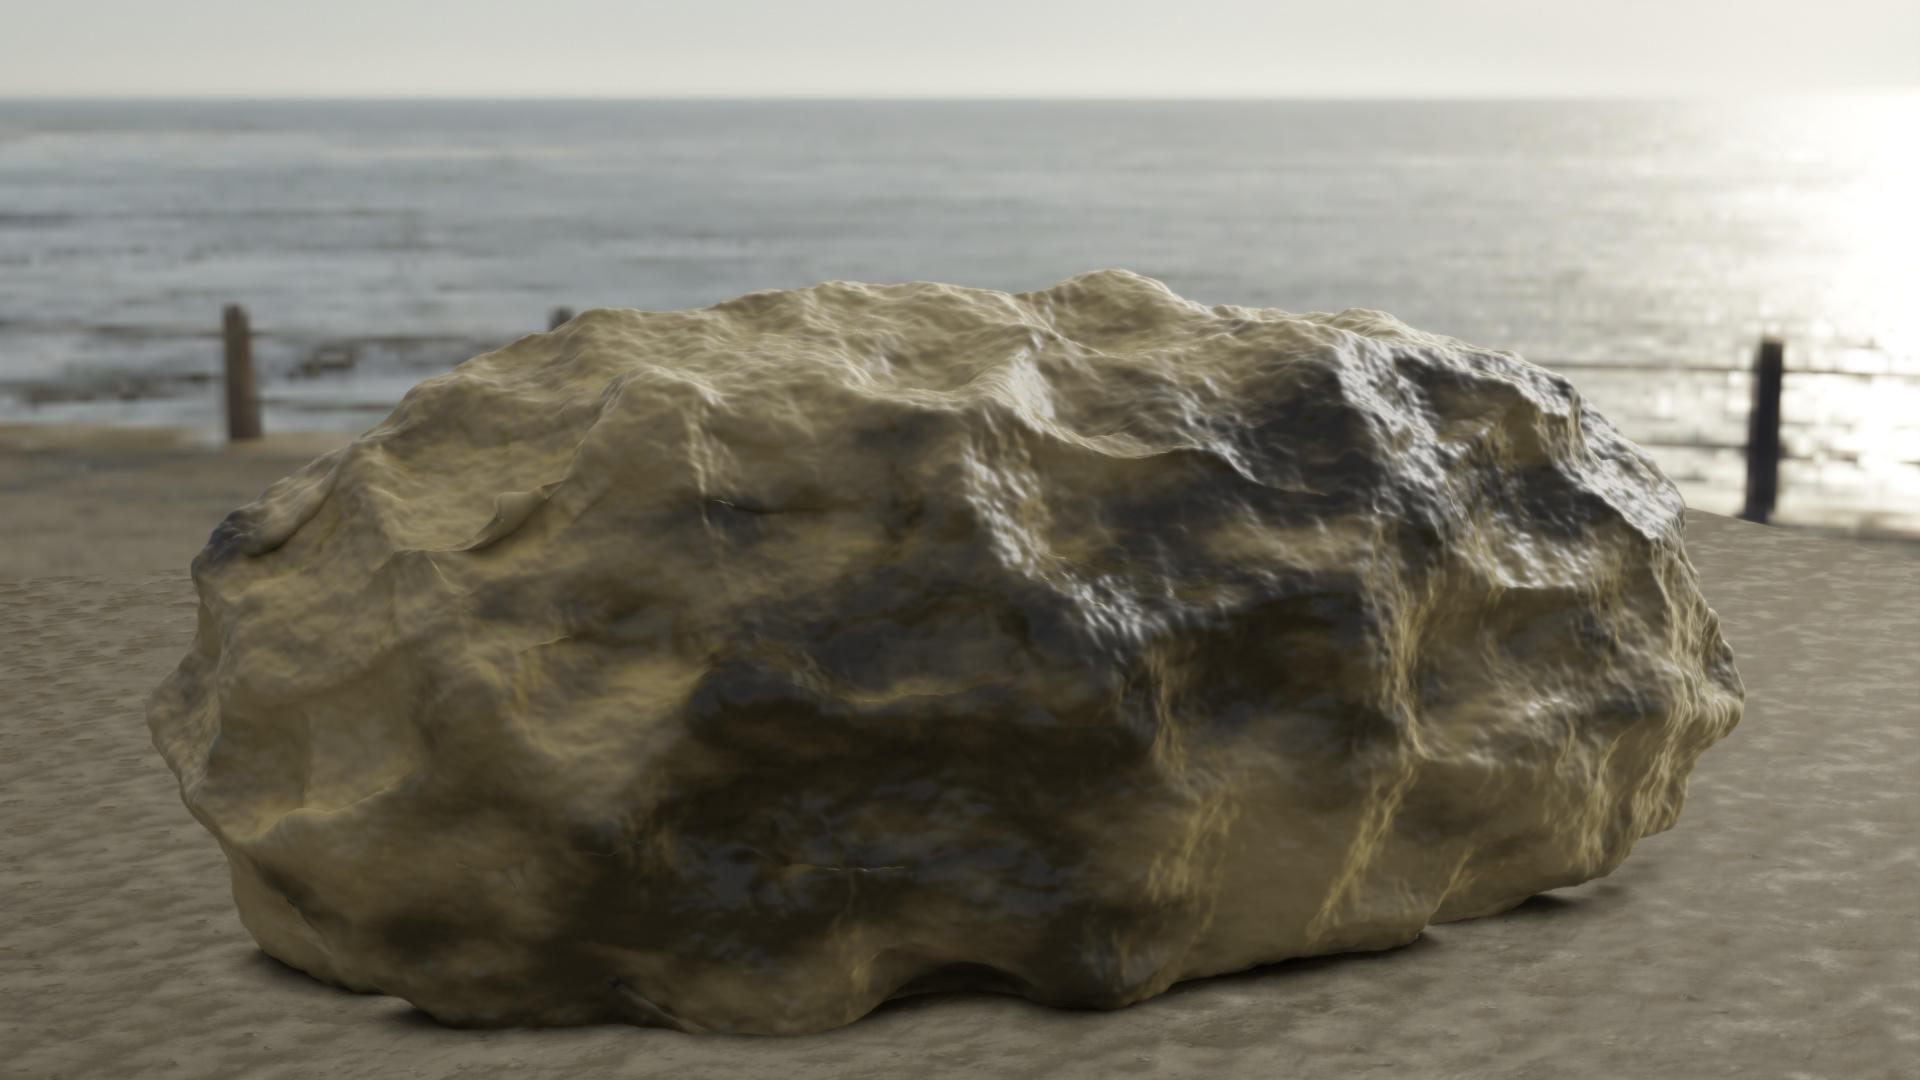
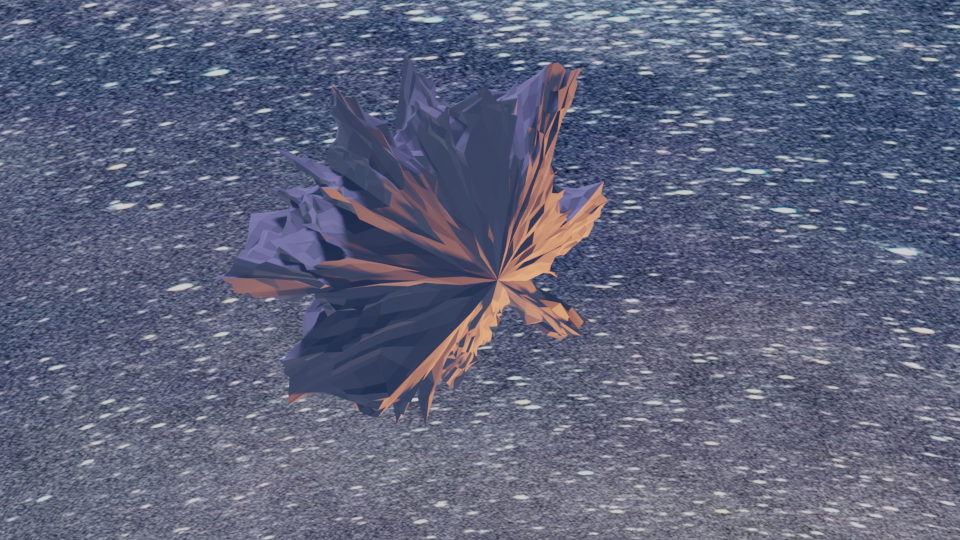
A lonely stone on the beach.
Used a free HDRI map and a sand texture for a plane, but the stone is my own tweaking on displacement and a procedural texture.
This brings me back to the “Rabbit” challenge memories. Not so render positive.
Blender does not crash, but Windows is complete not responsive. HD light blinking for 20 minutes or so, not any clue what Blender is doing. So I killed the computer.
I decided to apply some modifiers and do some cleanup instead. Reducing poly count. I understand this lesson, but my PC not.
ok then you need to delete those planes by deleting the midle vertices tab into edit mode select and x ,and fill them back in select 4 vertices and press F (face fill) repeat until hole is filled then tab out of edit mode and uv map new geometry again or just leav it
My computer did not like this lecture… only 2 displacements applied… the fine detail ended up being a regular bump-map to compromise.
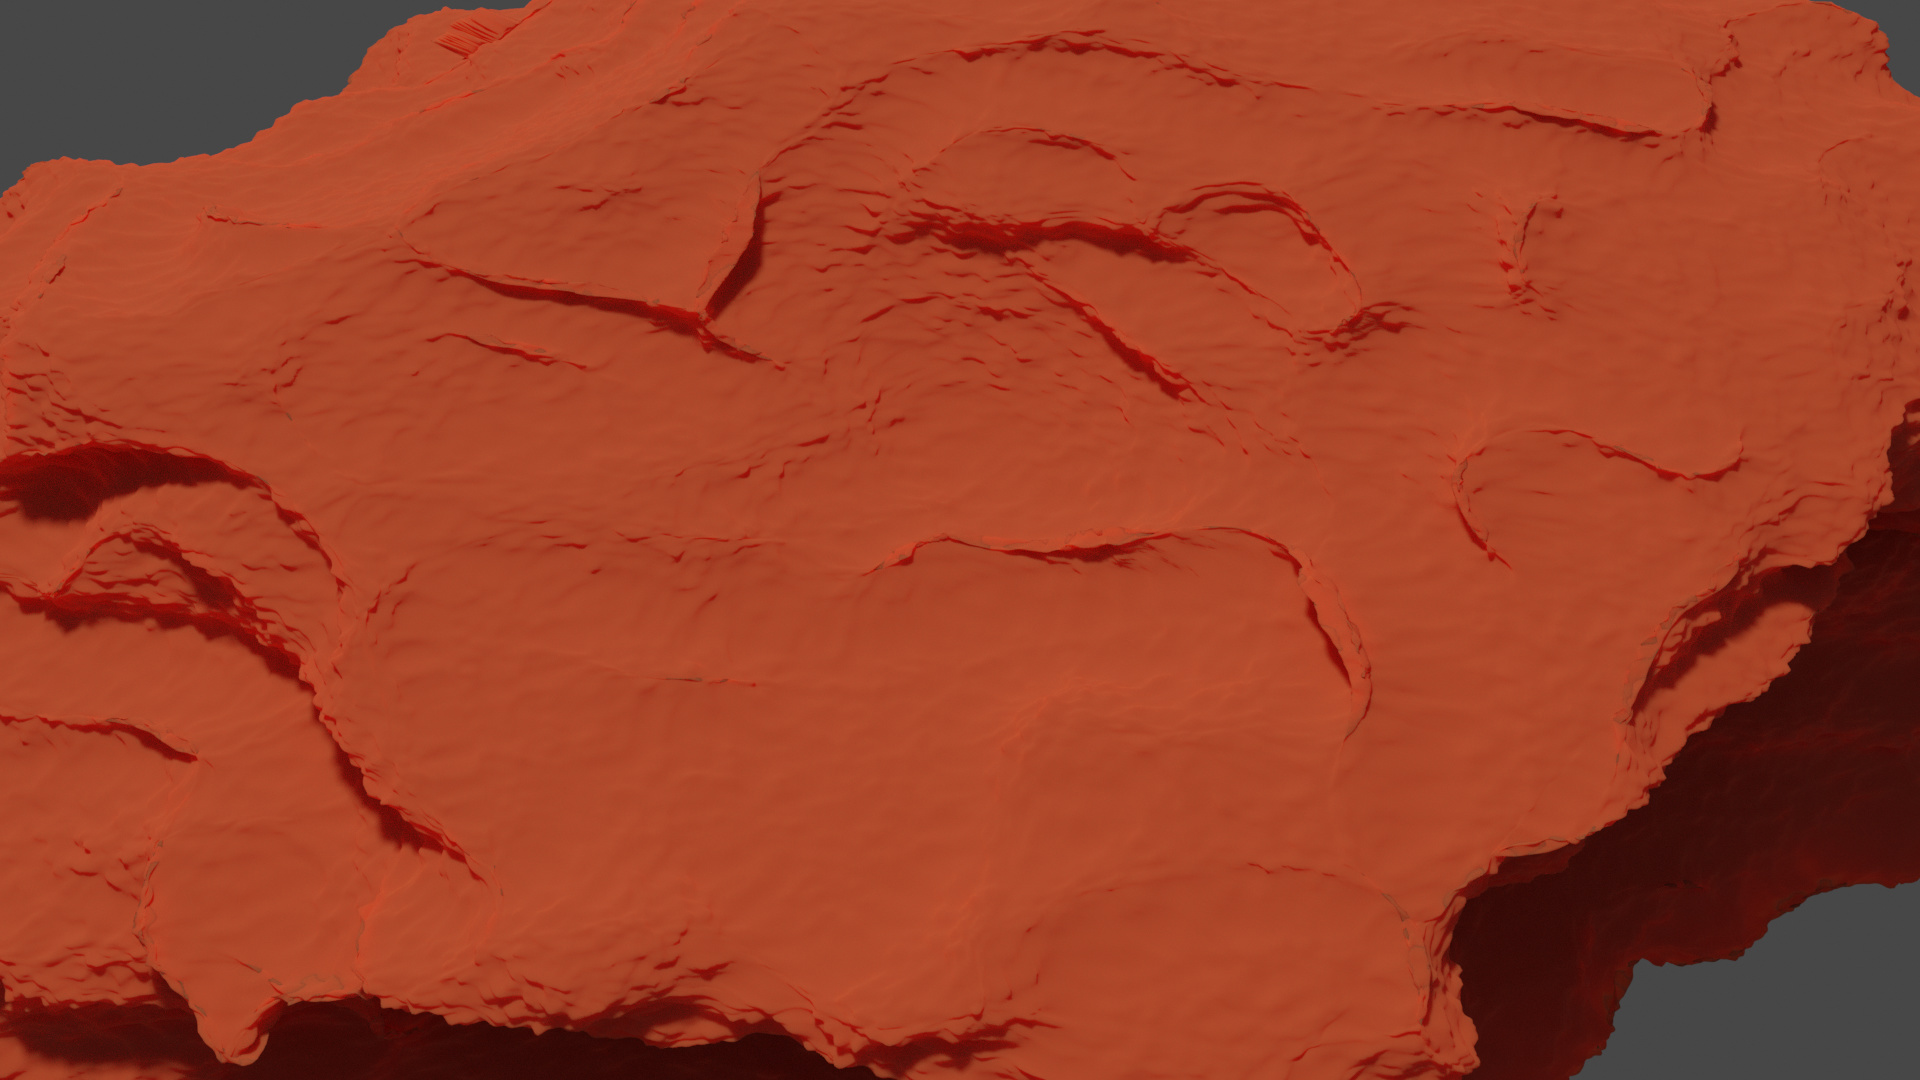
For now I think based on the constraints of my computer I would stick to displacement baking for cases that need more control (or where the displacement and material need to line up) even though it requires more work.