About 'Laser Defender Wrap-Up'!

In this video (objectives)…

  1. We do some wrapping up so that the wrap up gets wrapped up.

After watching (learning outcomes)…

You'll be ready and raring for the next section of the course.

(Unique Video Reference: 35_LD_CUD)

We would love to know…

  • What you found good about this lecture?
  • What we could do better?

Remember that you can reply to this topic, or create a new topic. The easiest way to create a new topic is to follow the link in Resources. That way the topic will…

  • Be in the correct forum (for the course).
  • Be in the right sub-forum (for the section)
  • Have the correct lecture tag.

Enjoy your stay in our thriving community!

Great job guys! I really enjoyed this chapter. Love how you introduce new topics like particle effects and sound effects at a comfortable pace. Never feel overwhelmed with the course, yet manage to learn so much. I check back every day to see if there is a new video lol. Will you guys be following the order of your previous content in terms of which material is next updated? I’d love to see a platforming or AI focused section in the future.

Hi Tommy, have you checked out the TileVania section (currently at the end of the course).

Rick, thank you so much for another excellent build. A couple of rough spots with trying to get the Singleton Pattern to work. A lot of community help though, so thanks to everyone…

Just a clone of your Laser Defender.
I do have some ideas for a rebranding.

1 Like

Two questions.
What lecture would you recommend moving to from here; Tilevania, or Glitch Garden? From what I can tell Tilevania is more up to date, but I don’t really understand what all that is about. Should I wait to do Glitch Garden until the new content?

Also; When is the new content is coming along? I have been loving the course so far, and want to keep going!

This section was meaty for me. Just a lot to digest. Not that it’s a bad thing, but as someone new to coding, there’s a lot that has yet to really settle into my brain because there was so much new stuff so quickly. I think, for the most part, everything was explained really well. Coroutines and the pathing stuff is still pretty fuzzy but I’m reaching out in the Q&As where I get really stuck and people have been incredibly helpful.
Before moving on to the older lectures in the archive, I’m gonna go back over the laser defender section one more time to hopefully solidify my understanding of everything and (hopefully) be able to tackle the challenges more successfully. I keep trying to do as many challenges as I can as they come, but I’m still new to programming logic so it’s been a tad rocky.

I don’t really have any aspirations to be a great programmer, but I do want to be able to communicate more effectively with programmers I work with in the future, so I’m trying to take this as seriously as possible. This is still really helpful with prepping me to do some prototyping on my own before I take on the bigger projects, though, so it’s not like I won’t be doing anything with what’s been provided lol. I have my ideas and so far I feel that every section here is filling in the gaps of my understanding of how to get to that end goal.

That’s just where I’m at right now, thanks for putting the effort into this course!

2 Likes

Yes, continue on with TileVania first, then circle back to Glitch Garden. You can also consider working through the 3D course if you havent done so already - skip the first couple of section where we cover installing Unity and the basics and dive straight into the Terminal Hacker section to double-down on your knowledge of the fundamentals.

3 Likes

This was the best experience I’ve ever had sitting behind a PC.
I’m finding that making games is infinitely more fun than playing them.
Thank you for putting this course together, Rick.
I feel like by the end of this course, and then after the 3D course, I’ll be well on my way towards making my own games.
Here’s ‘Lasers Away’ my version of this game - http://www.sharemygame.com/share/3a12fa65-f7fc-44d2-b82e-ef4784b12d3e

I had quite allot of trouble trying to figure out how Unity builds the UI for different resolutions (and am still a bit baffled) but I managed to get this game up on sharemygame.com with full screen working at the correct aspect ratio for the game.

Thanks again! Great course!

6 Likes

Hi, just wanted to add some more levels.
The question is what is the good way to end the “Game” level ?
I was trying to wait a couple of seconds after the last wave was spawned in the EnemySpawner.cs and then load another scene. I think its not the best way to do it, because im not sure, when the wave will end. Is there any smarter way to do it?

3 Likes

I went with a score based level system but you have to watch for if bullets hit after the level starts loading it will reload for each bullet that hits after the timer.

Here’s a pre-alpha preview of what I plan to build.

Same graphics and sound for now but key differences being;

  • Disabled wave looping
  • Added 10 waves to form a “level”
  • Putting a delay next spawn value on each wave to allow timing of spawning
  • Put a boss at the end of the level

A lot more features I hope to add but for now it’s what I’ve put together.

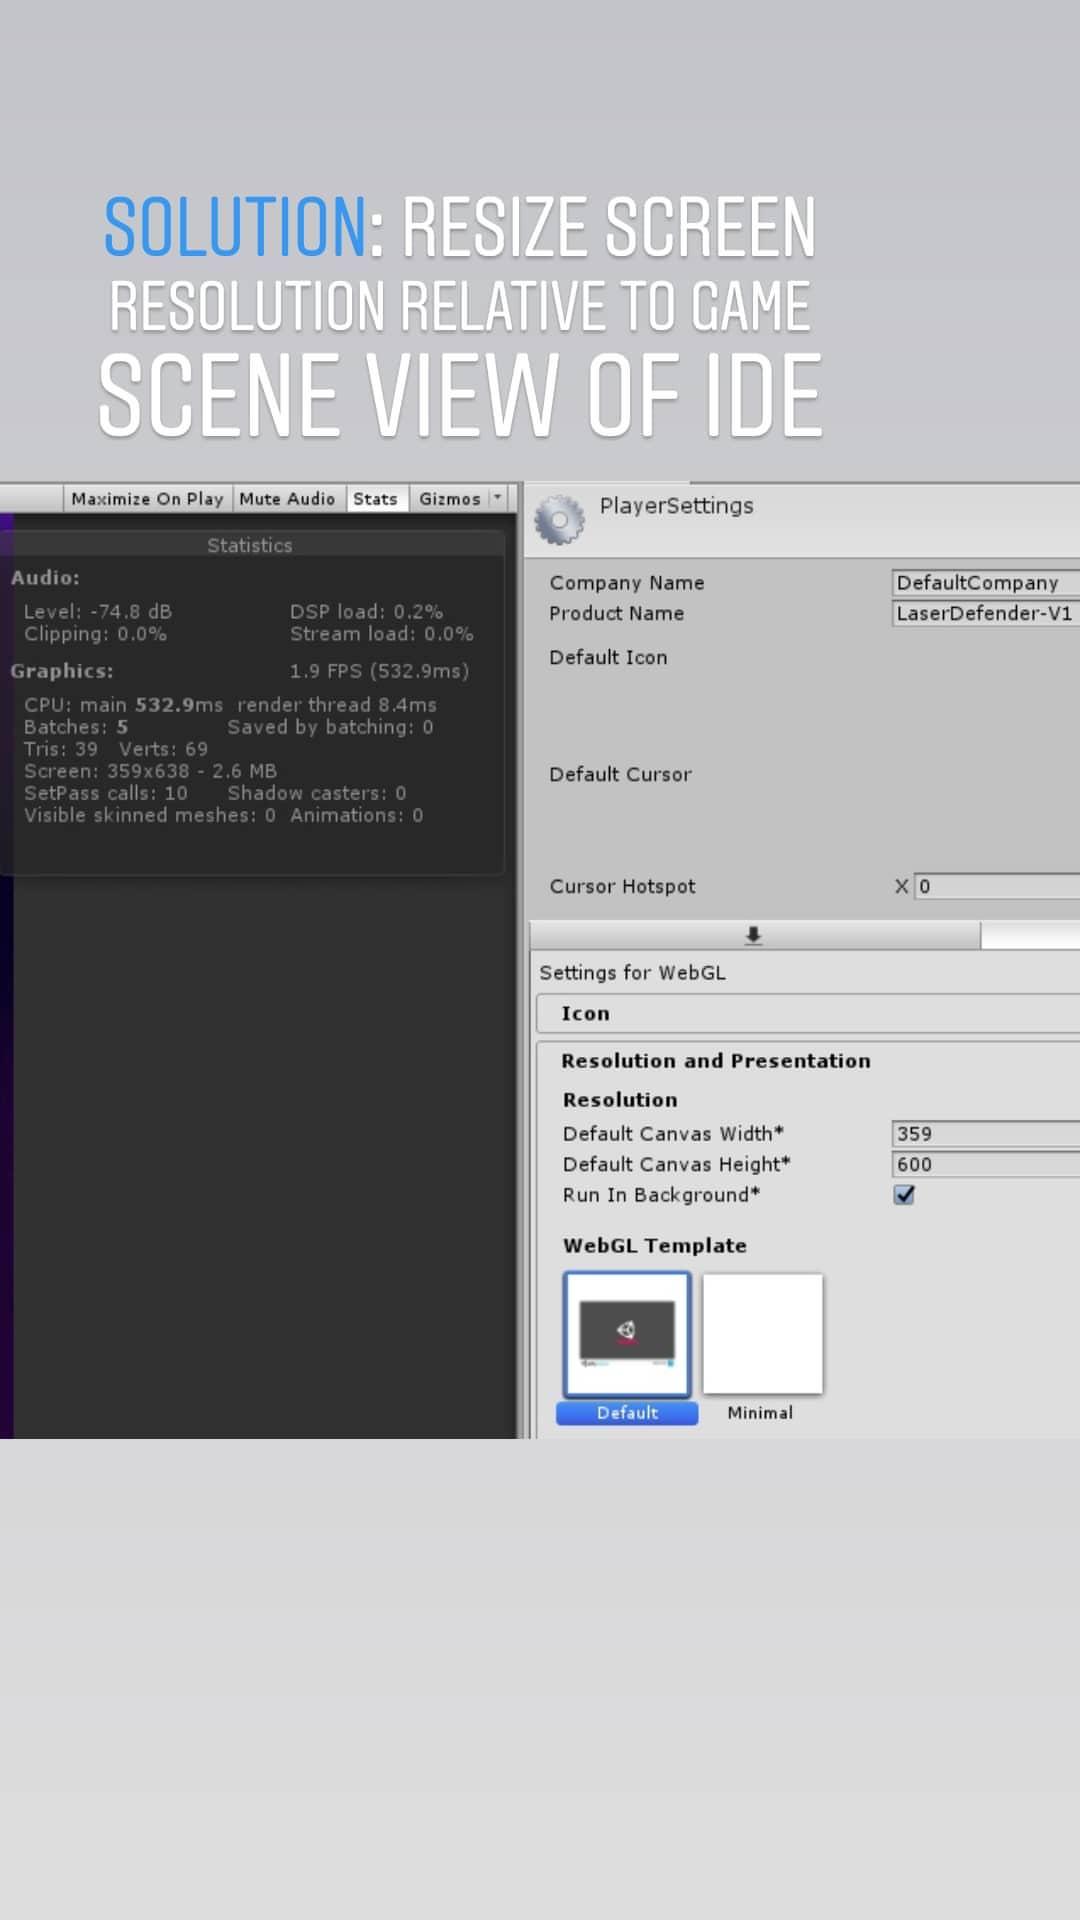
Although we’ve gone over the build process several times already, I would have liked it if we did it one more time for this game as well. I say this because the issue of how to handle an unusual aspect ratio like 9:16 on a PC build has not really come up before in this course. On the other hand, I was able to figure it out, so perhaps it should have just been mentioned as something to be aware of when finishing up this game.

The Q&A for this lesson has a few solutions to this issue, but they all depend on the user being limited to a pre-defined window rather than full-screen. I didn’t like that approach, so I found an alternative that I think is more robust than those discussed on the Q&A because it allows full-screen.

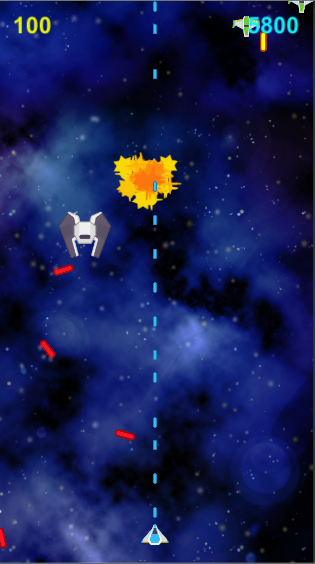
First, I created a script based on the code that is described here: https://forum.unity.com/threads/aspect-ratio-issue-on-build.543722/ and attached it to the MainCamera prefab. All this script does is limit the width of the viewport to the 9:16 ratio, using a calculation based on whatever screen dimensions the game starts up in. This had some other side effects, though: the canvas was still the width of the screen, ignoring the viewport limit, and the player’s ship could be moved outside the viewport limits. So I changed the setting in all of the canvas objects to Render Mode: Screen Space - Camera, and linked it to the Main Camera. I also set the canvas to Match Height instead of Width (under Canvas Scaler).

The player was still moving off-screen though, even though the code Rick walked us through should limit the movement to the viewport. What I was missing was that the start method in the aspect ratio correction script was being processed by Unity after the start method in the player script that defined the movement limits and padding. I changed the build settings to make sure the aspect ratio script ran first, although I suspect moving the aspect ration fix to “awake()” instead of “start()” would have worked as well. Finally, I changed the “player settings” in the Build menu so that the background is black so that the pillarboxes around the viewport blend with the game better.

Anyway, now I have a PC build that will work properly in full screen mode, or any window size the player selects, without changing the aspect ratio of the playing field or the UI.

5 Likes

Thanks for sharing! I went through a similar issue where in the IDE Game Scene view the player stayed within the view frame, but my player in the Laser Defender game was moving out of the camera view after the build was complete and uploaded to sharemygame.com. Since I was using the 9:16 aspect ratio, it was confusing for what was wrong.

Solution:

Yes, thanks for the code. I made good use of it, although my game still worked on Screen Space-Overlay. Sliding the scalar across to Match Height did make a big difference however. It surprises me that this wasn’t covered in the Laser Defender lecture series.

@Rick_Davidson
I thought this might have come up in a previous lecture or discussion, but I don’t see it anywhere, not even the final GitHub scripts… In WaveConfig.cs we create a Serialized Field for “spawnRandomFactor” and then create a Method to go with it (GetSpawnRandomFactor), but we never call this Method, in any Script… It seems to me like it SHOULD be in EnemySpawner.cs (as a Random.Range of GetTimeBetweenSpawns()-GetSpawnRandomFactor and GetTimeBetweenSpawns()+GetSpawnRandomFactor), so if Time Between Spawns = 5sec and Random Factor = 3sec then the enemies withing a wave can spawn at any interval between 2sec and 8sec…

If I missed where GetSpawnRandomFactor was actually used in the course, please let me know, as I really cannot see it anywhere other than when we create the Method, but we never seem to call it…

Privacy & Terms