In this video (objectives)…
- Create a height map from only the colour map
- Exported the Height Map ans an image
- Use the new height map in Blender
After watching (learning outcomes)…
You will be able to use the compositor to export a height map from a colour map
(Unique Video Reference: 11_TB_BEC)
We would love to know…
- What you found good about this lecture?
- What we could do better?
Remember that you can reply to this topic, or create a new topic. The easiest way to create a new topic is to follow the link in Resources. That way the topic will…
- Be in the correct forum (for the course).
- Be in the right sub-forum (for the section)
- Have the correct lecture tag.
Enjoy your stay in our thriving community!
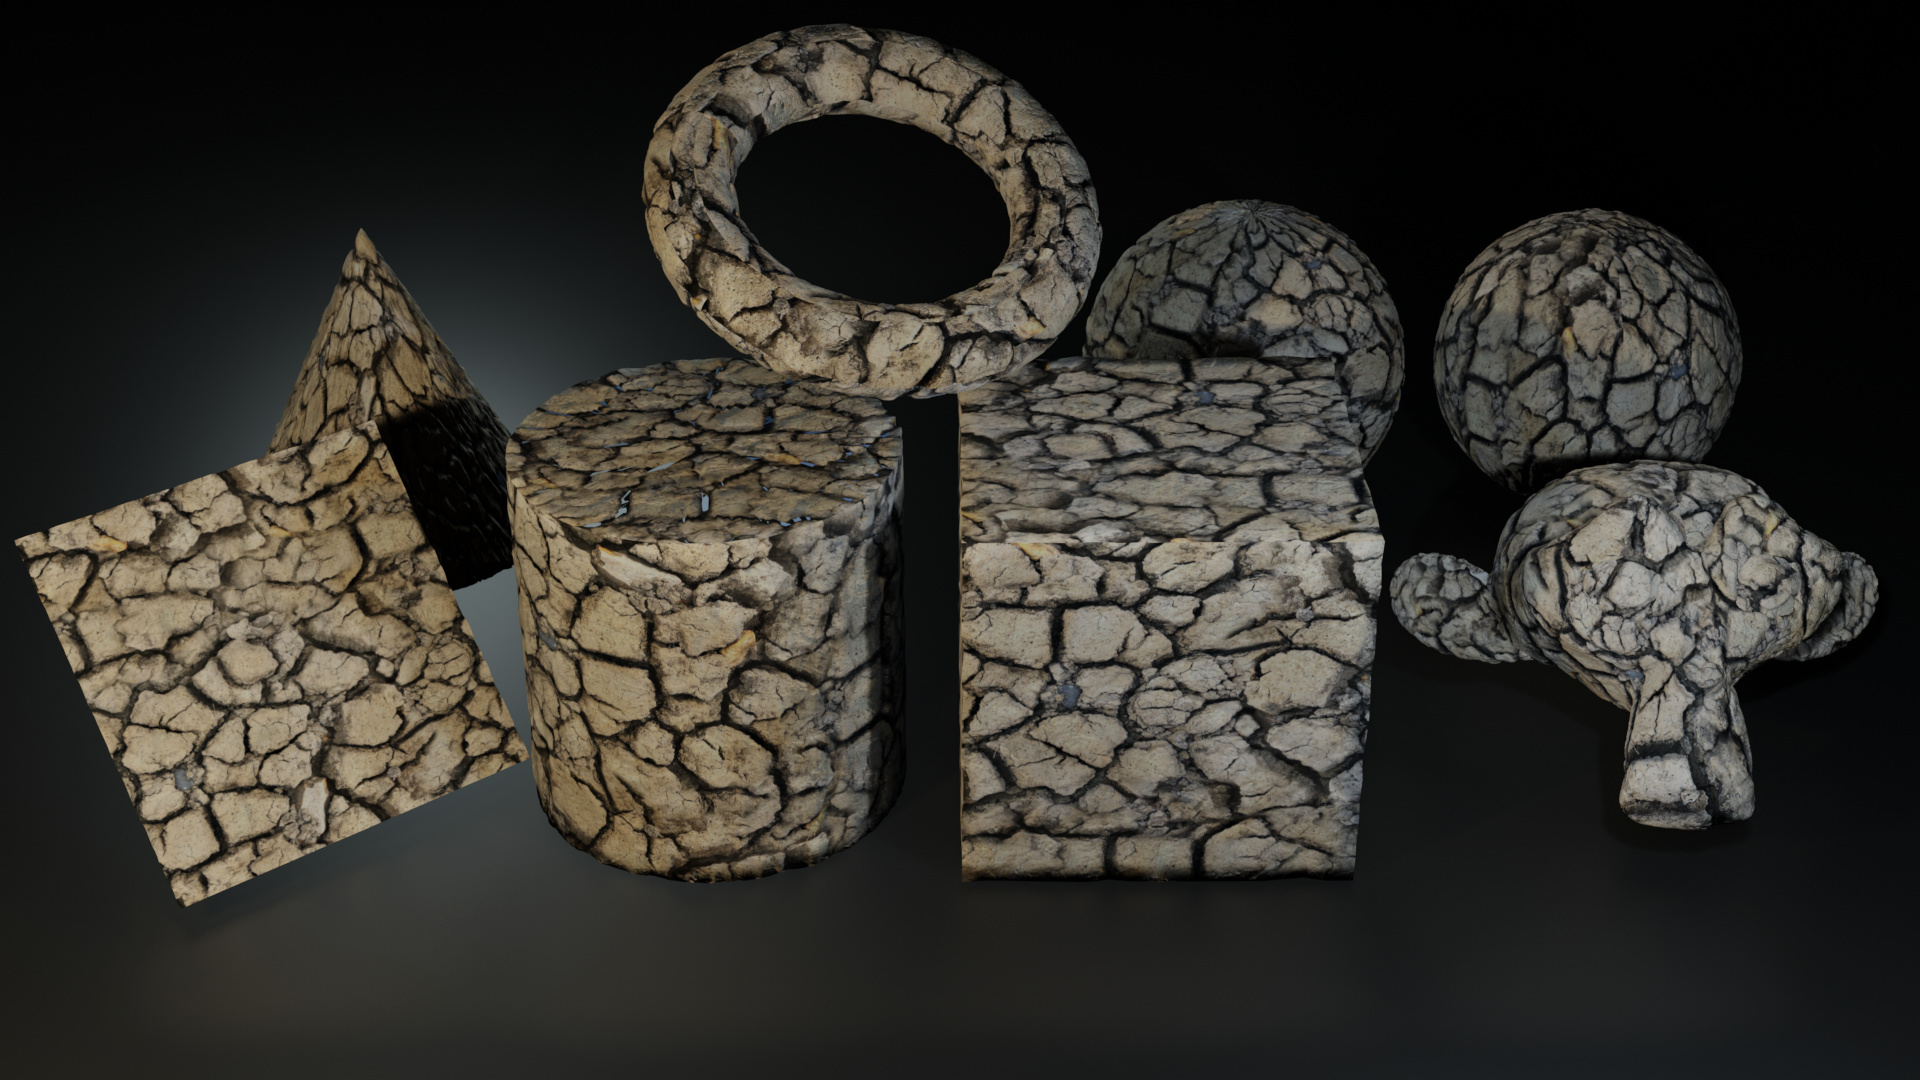
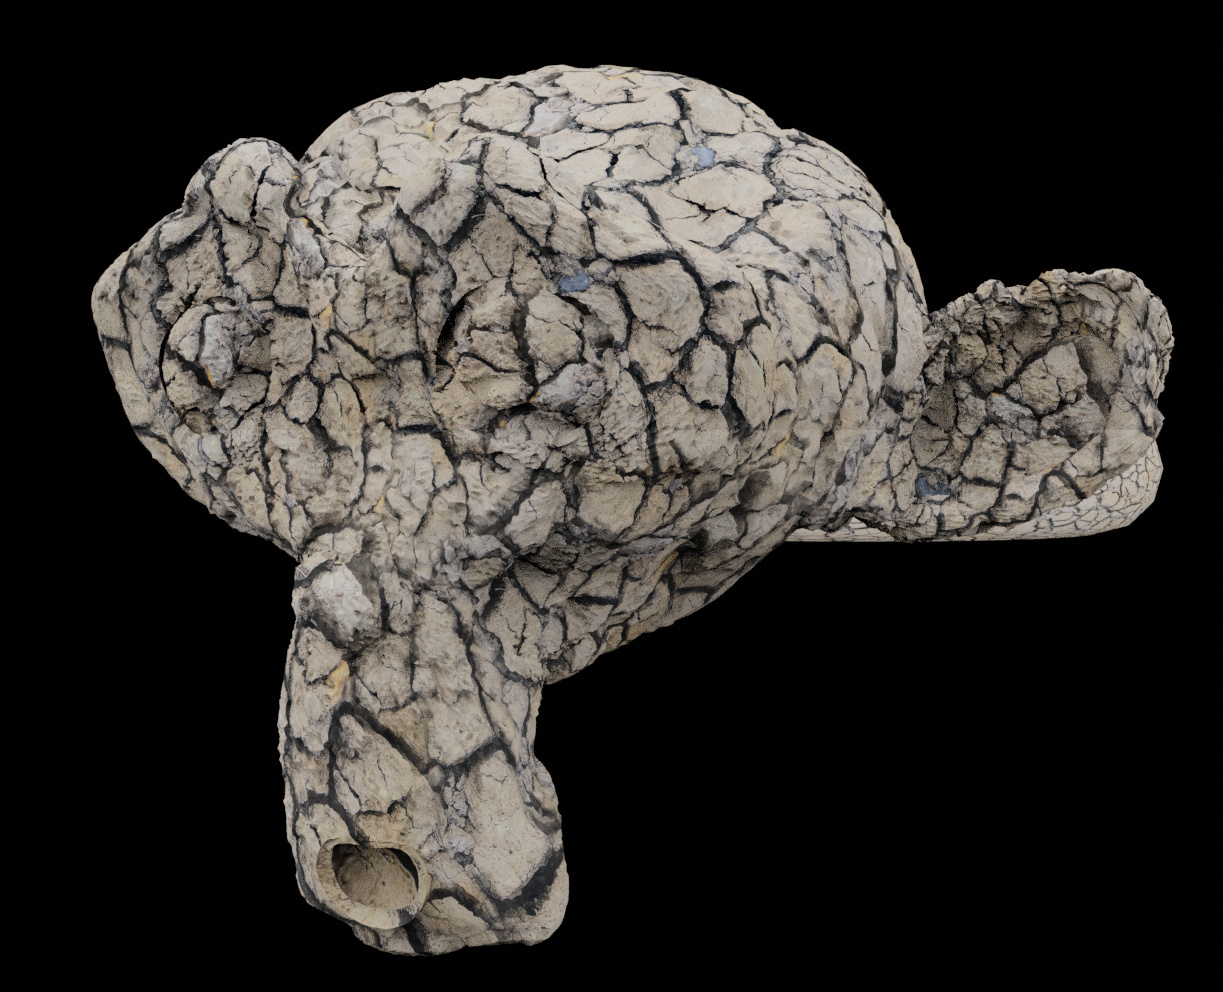
Normal Map
Height Map
Prefer the one we made in the lecture.
2 Likes
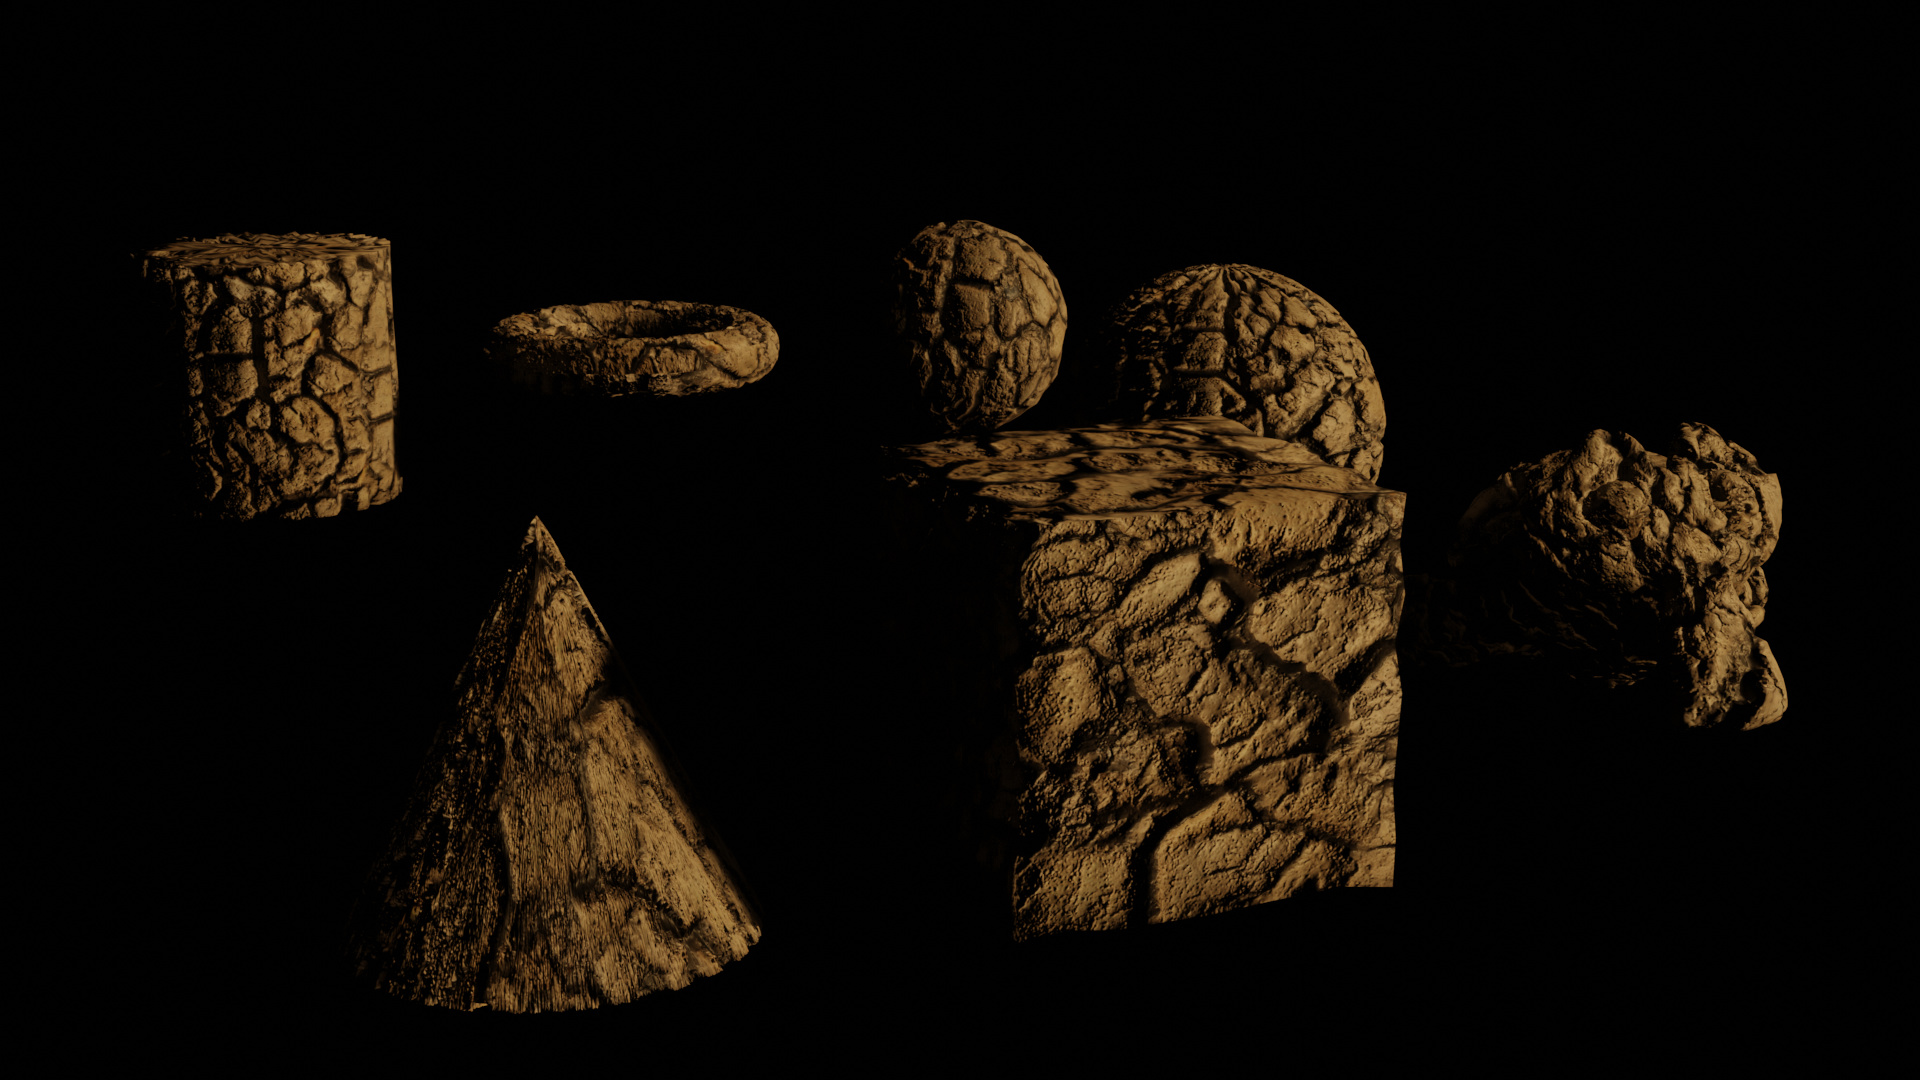
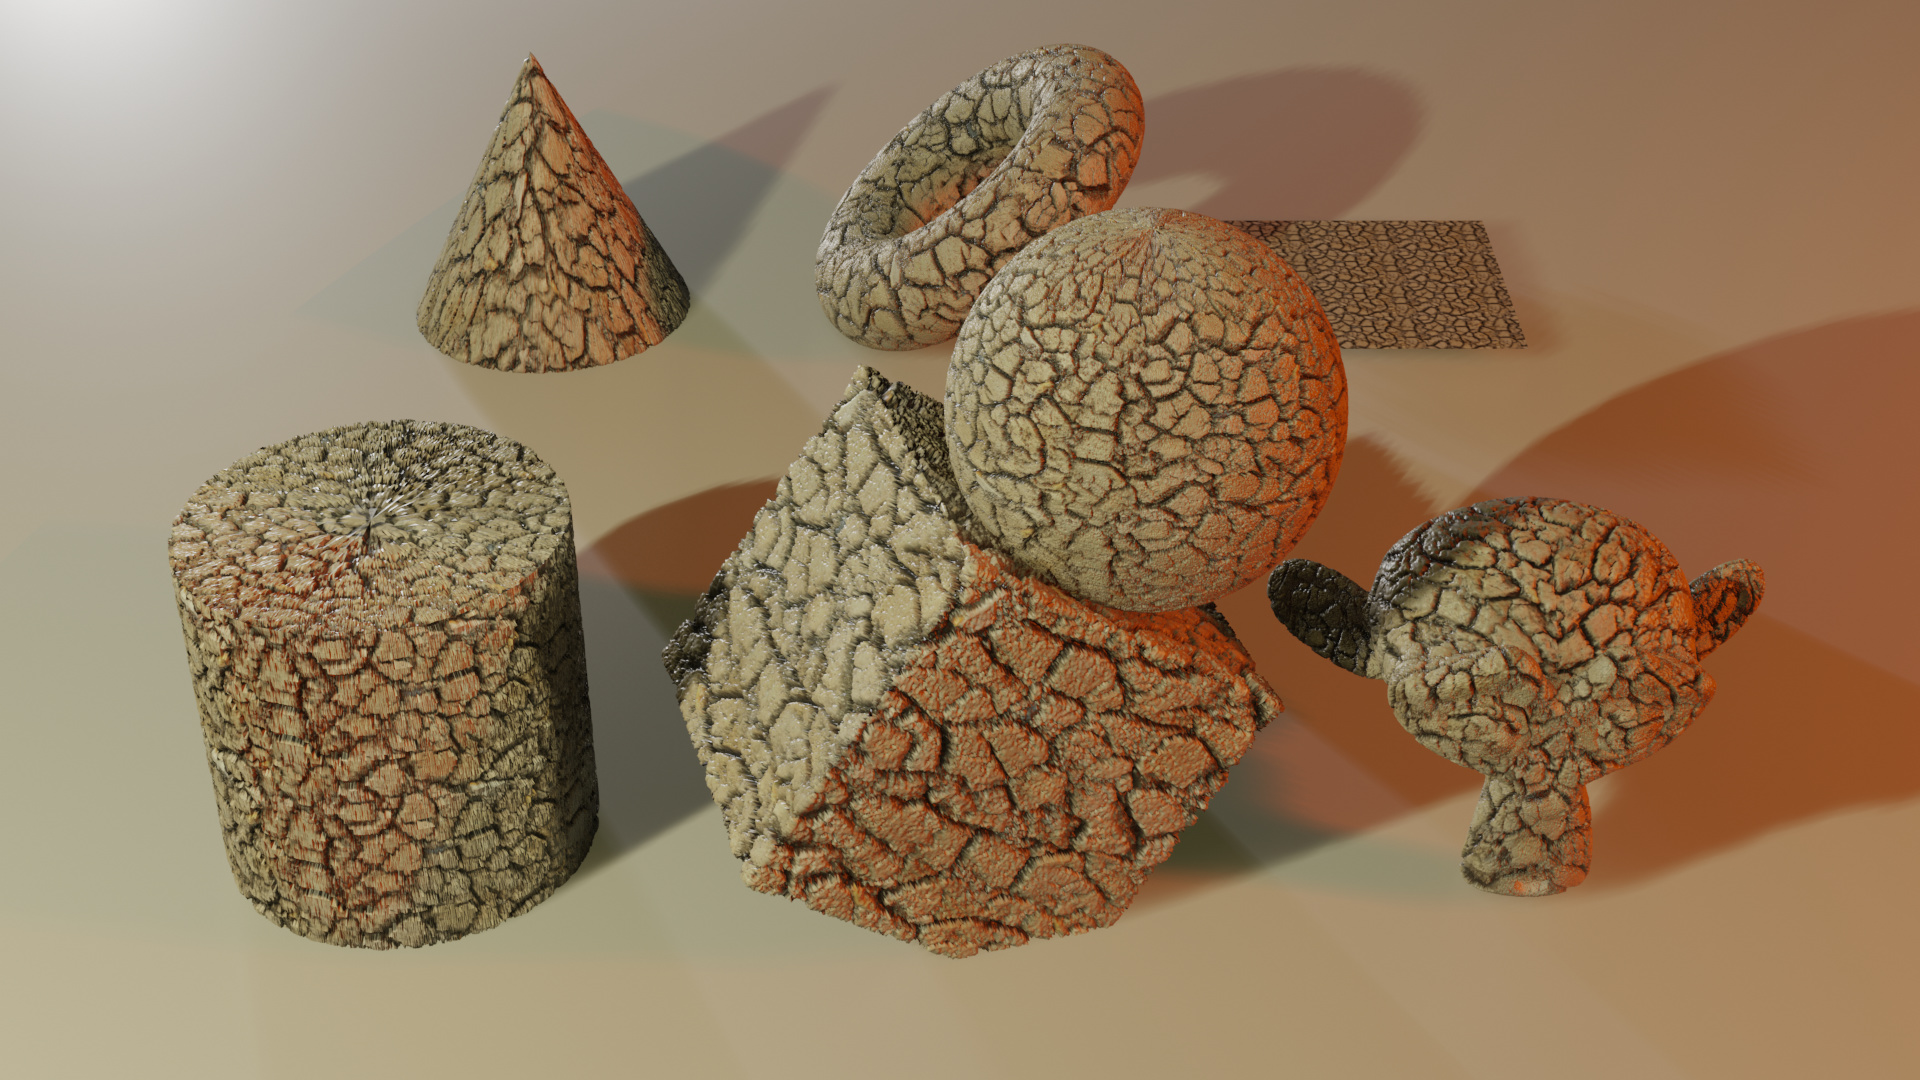
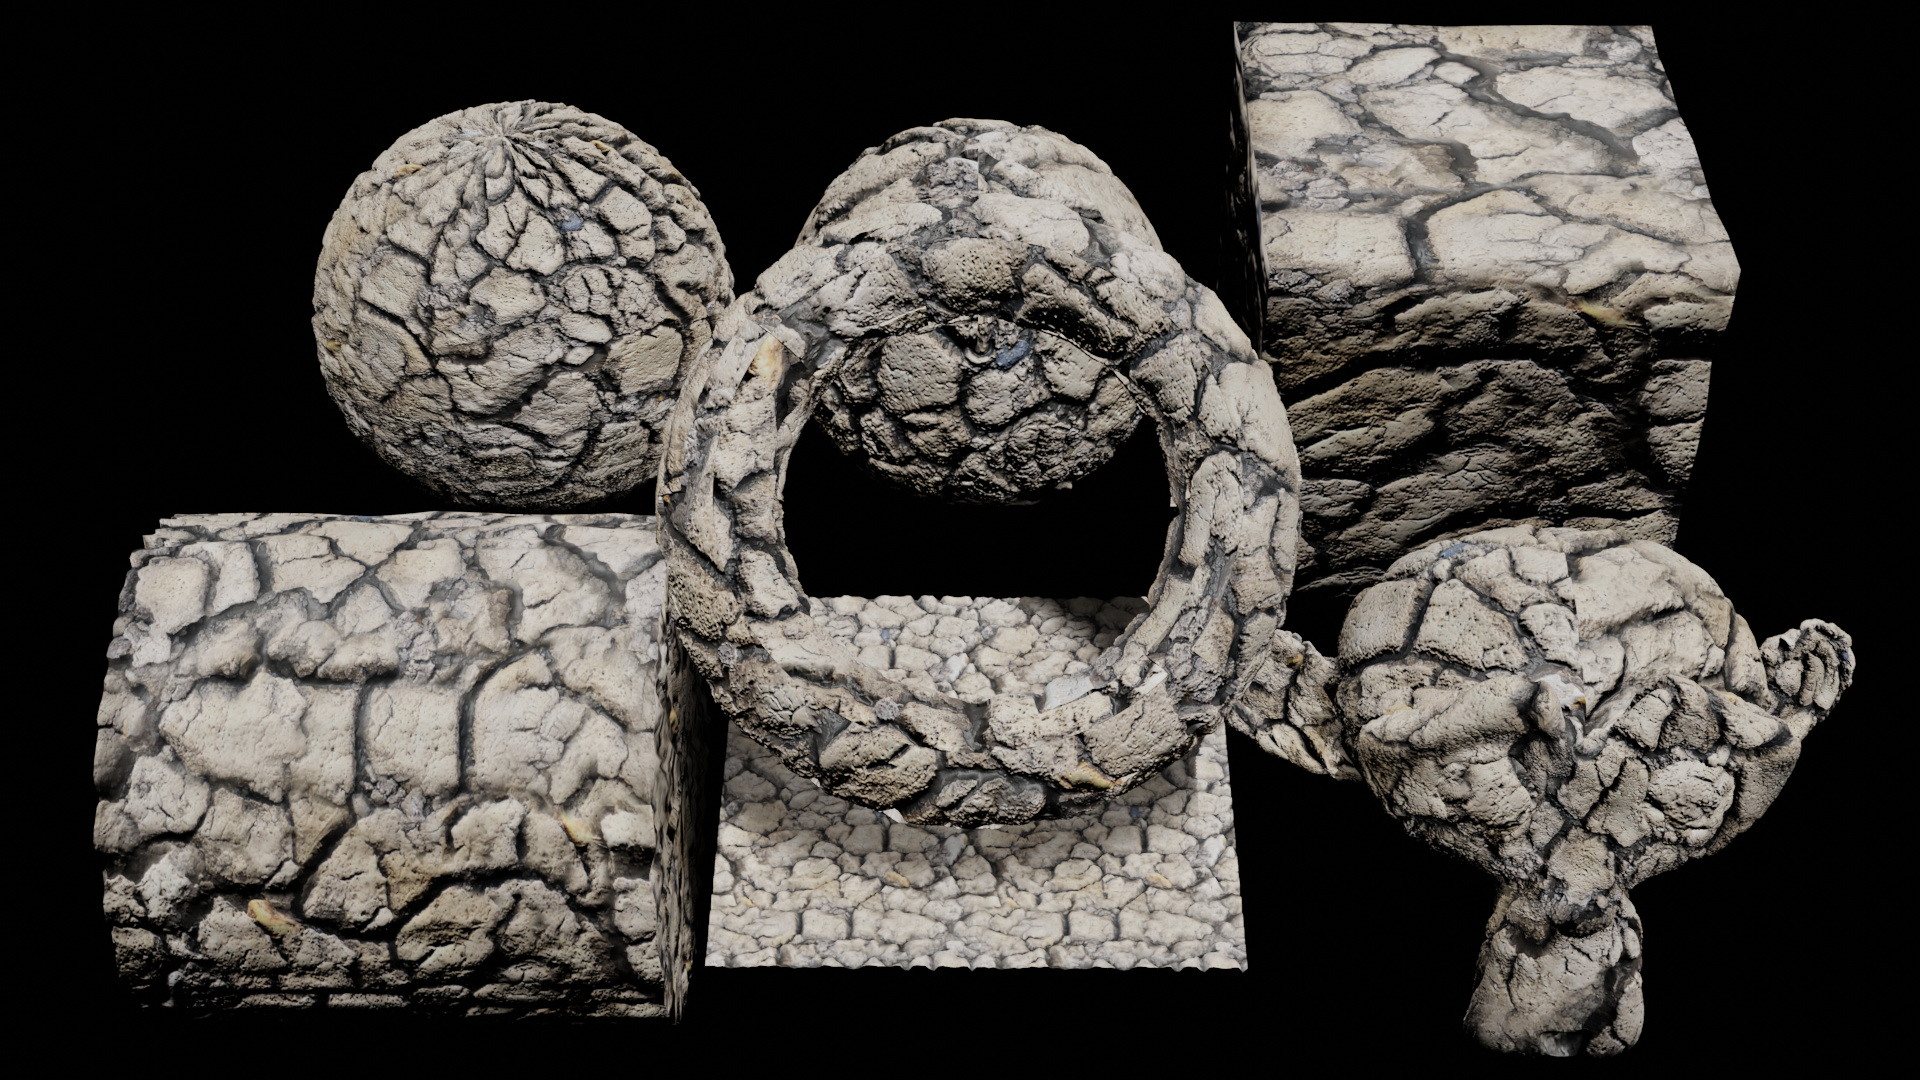
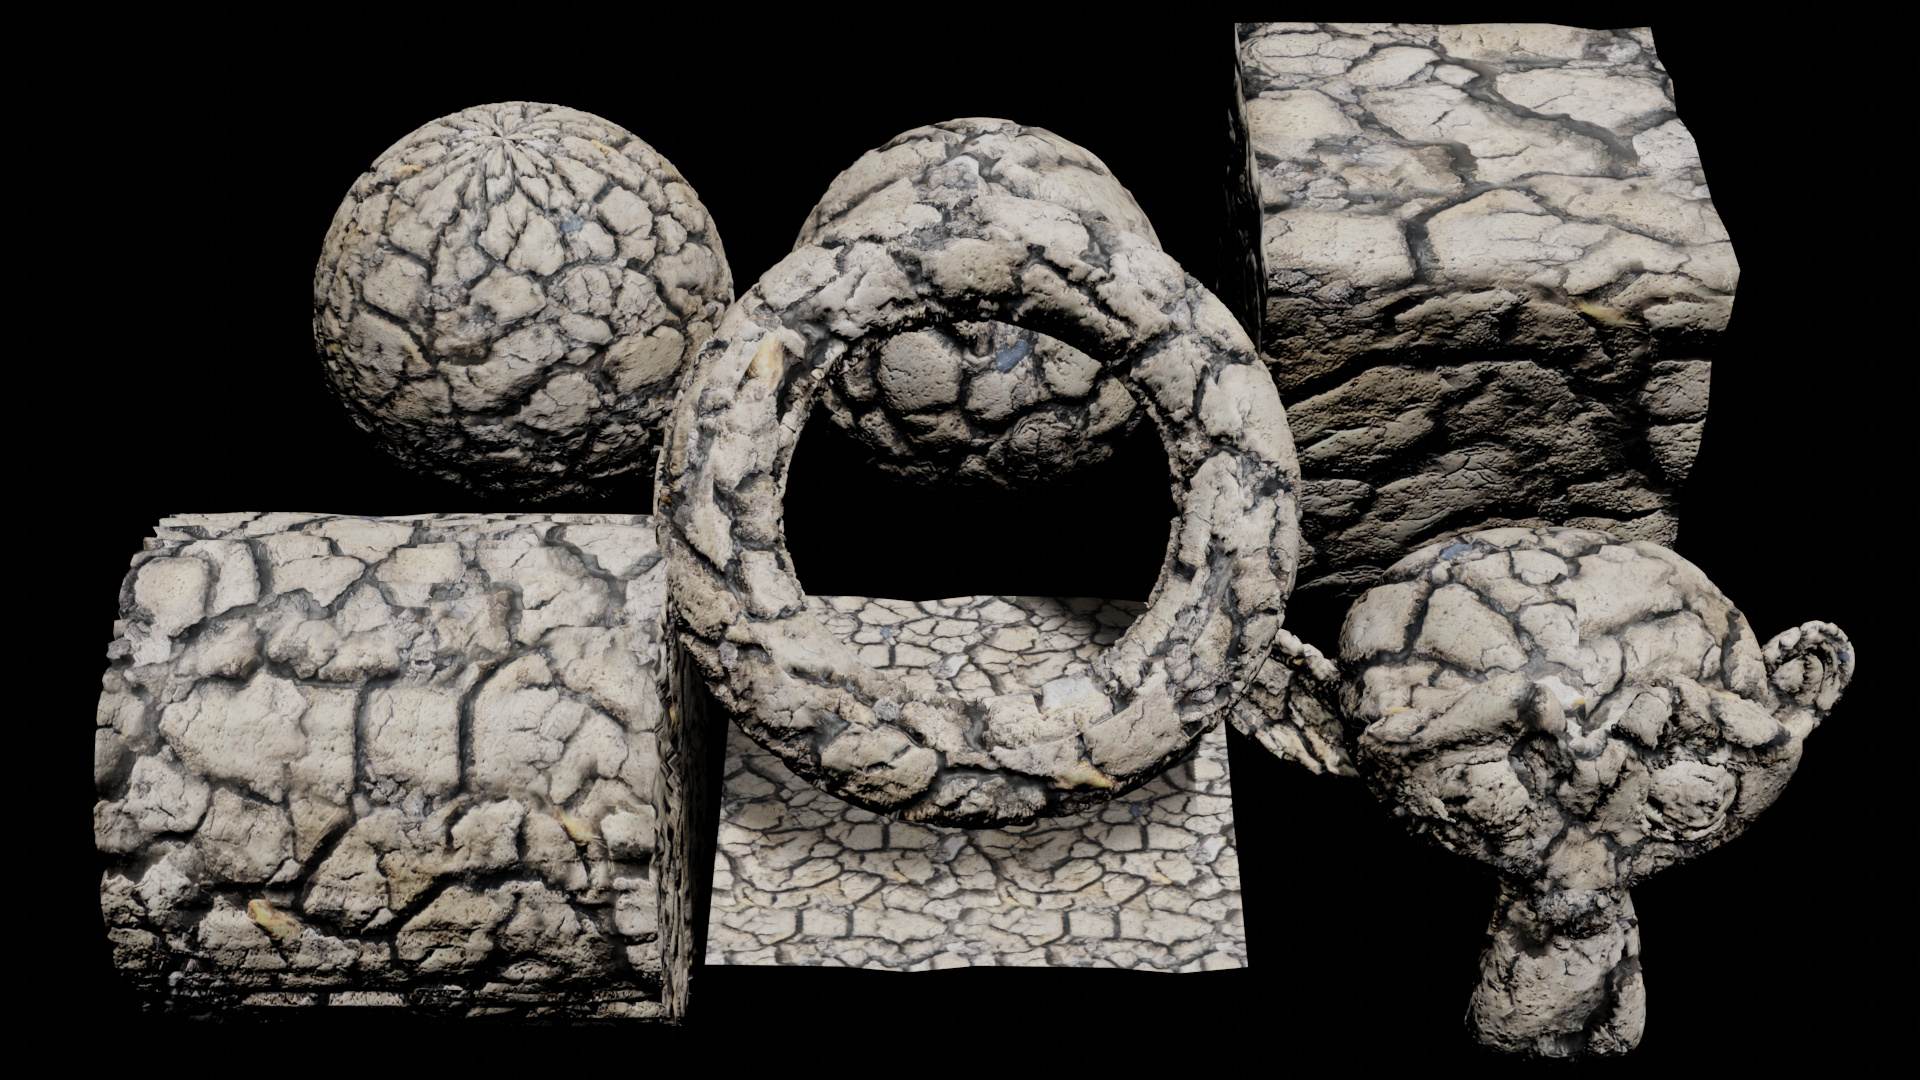
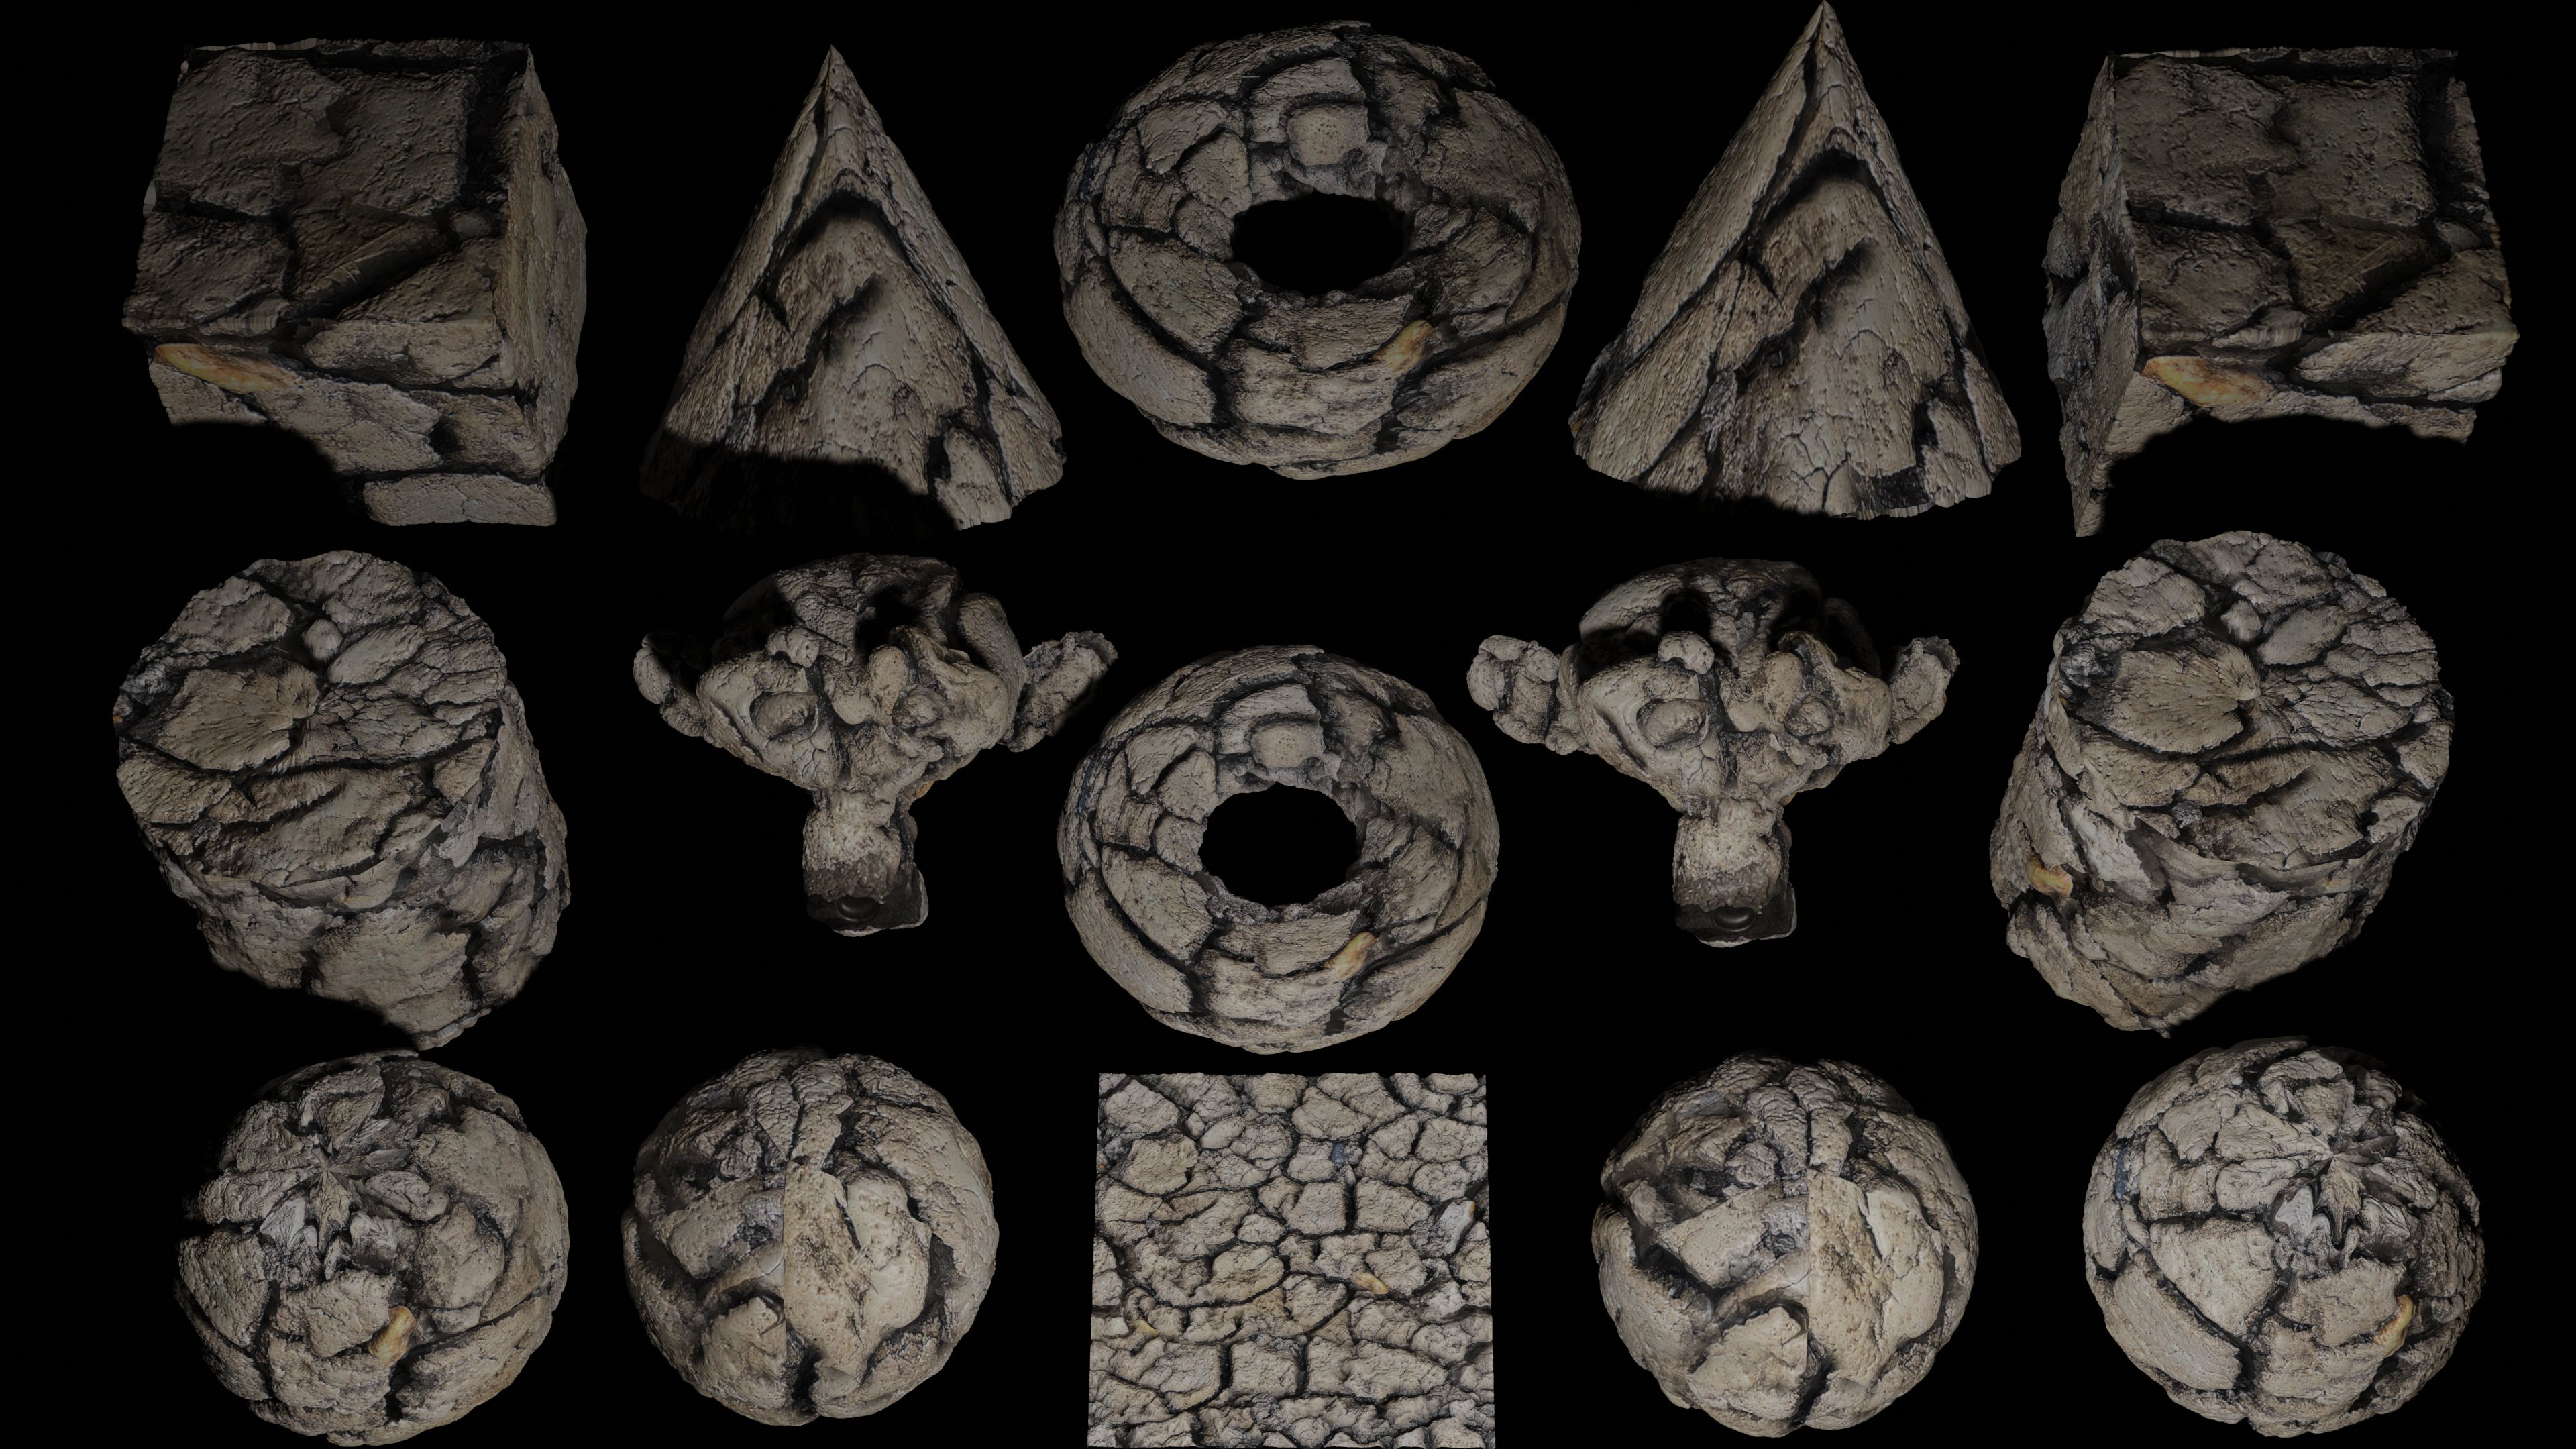
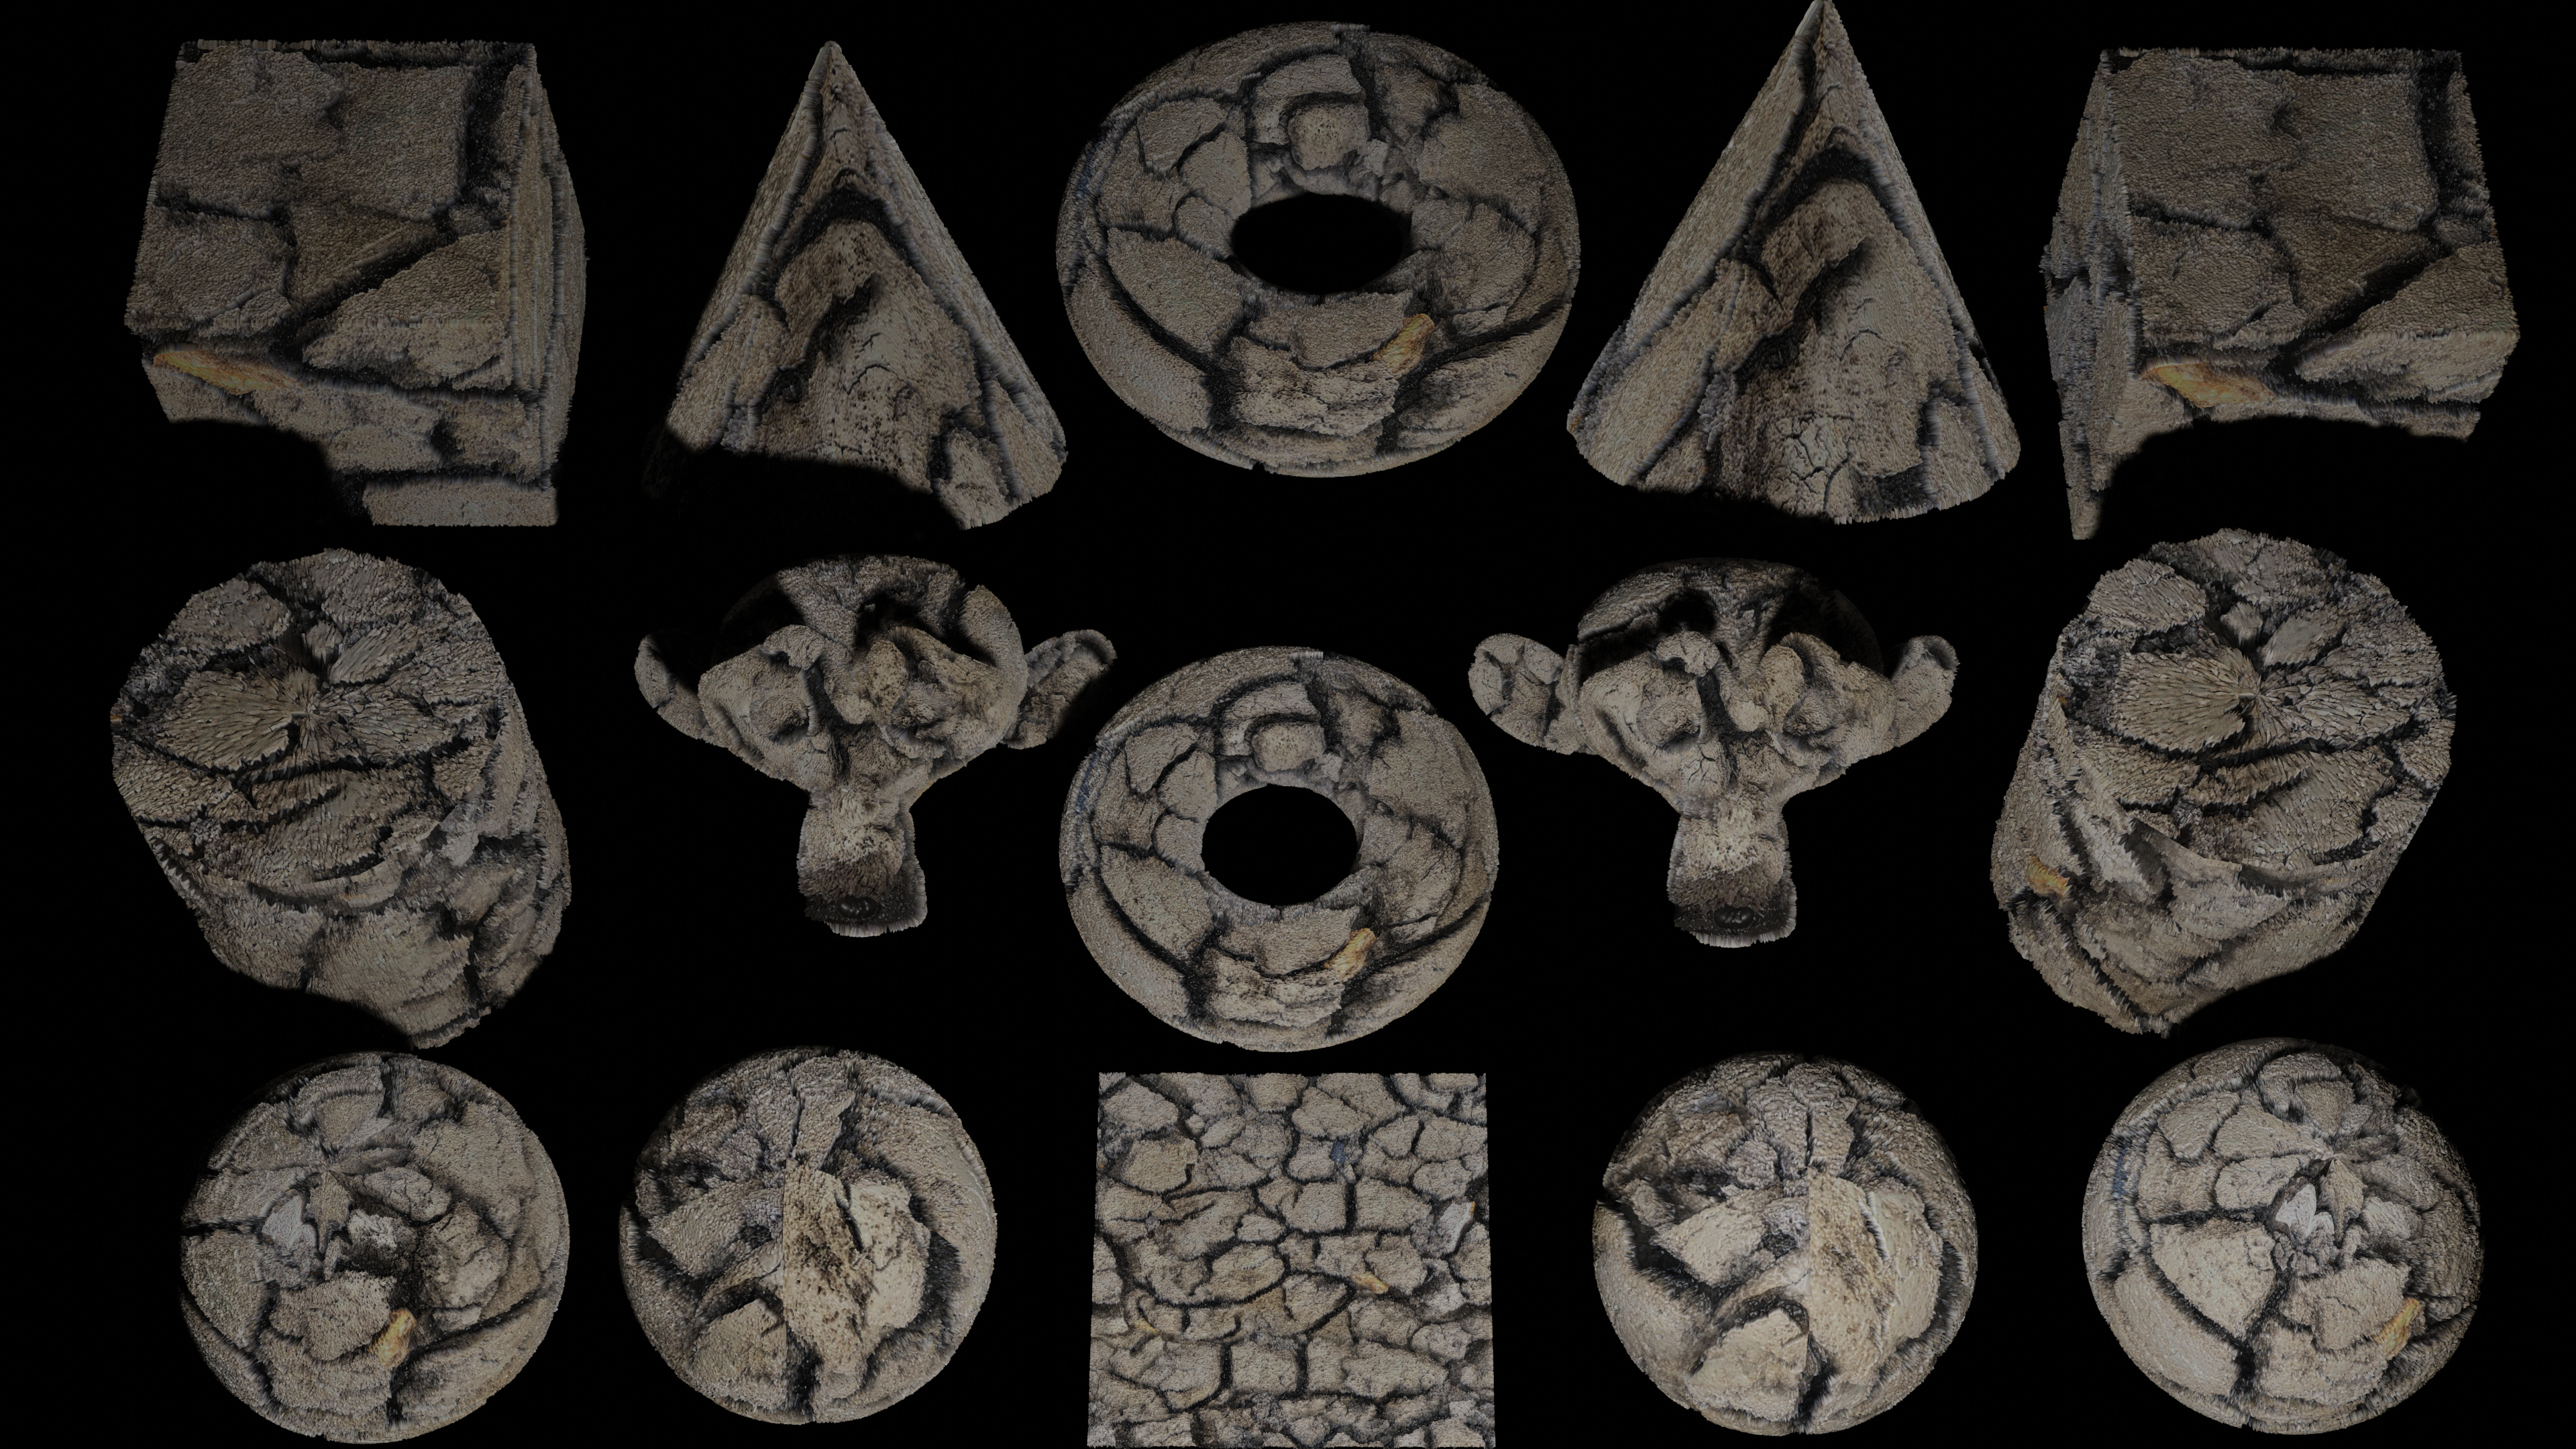
Blender generated Height map
Provided Height map
Seems very similar. It’s good to have the option to make height maps in blender. In the past I have used Gimp and an online service call http://cpetry.github.io/NormalMap-Online/
All seem to give good results.
1 Like
Interesting one! However I suspect it is not always as easy as using just a contrasted BW version of the color map. 
1 Like
I also prefer the hand made version of the Displacement map.
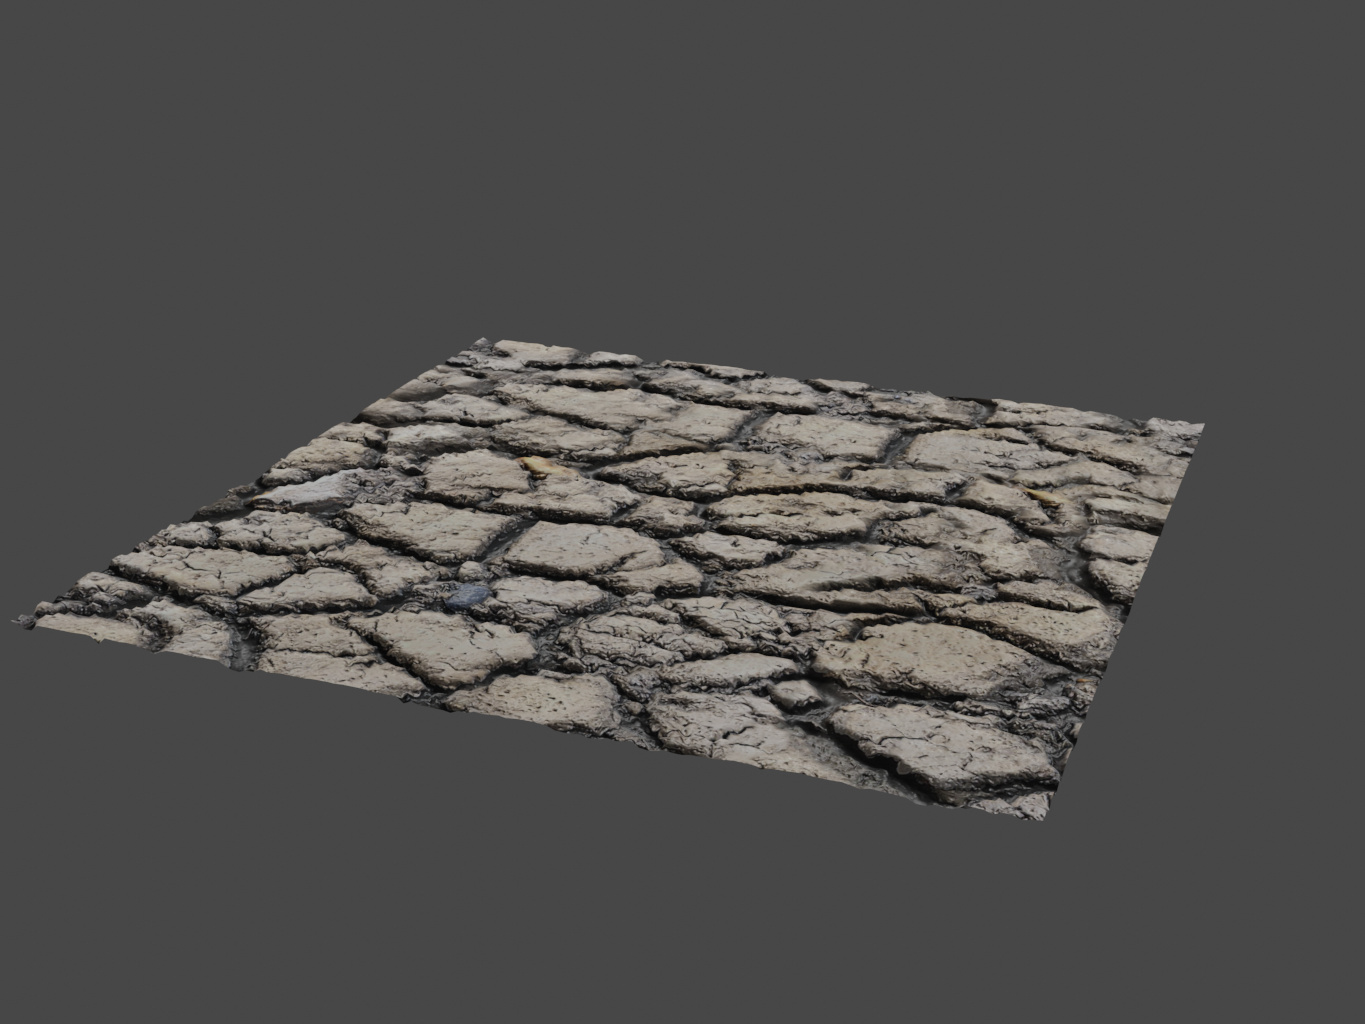
Here are the two maps:
Original Displacement Map
Hand made Displacement Map
I did not set the Subdivision Subsurf high enough for the plane (I left it a 3 like the others) and It definitely needs to be higher.
Well, for height maps its purpose, probably more for the relief of the surfaces of the environment, or we need more correct UV for objects, but this is just my opinion)
PS on foliage is better to do normal maps, everything mixes up)
PPS Well, they eat resources very well)
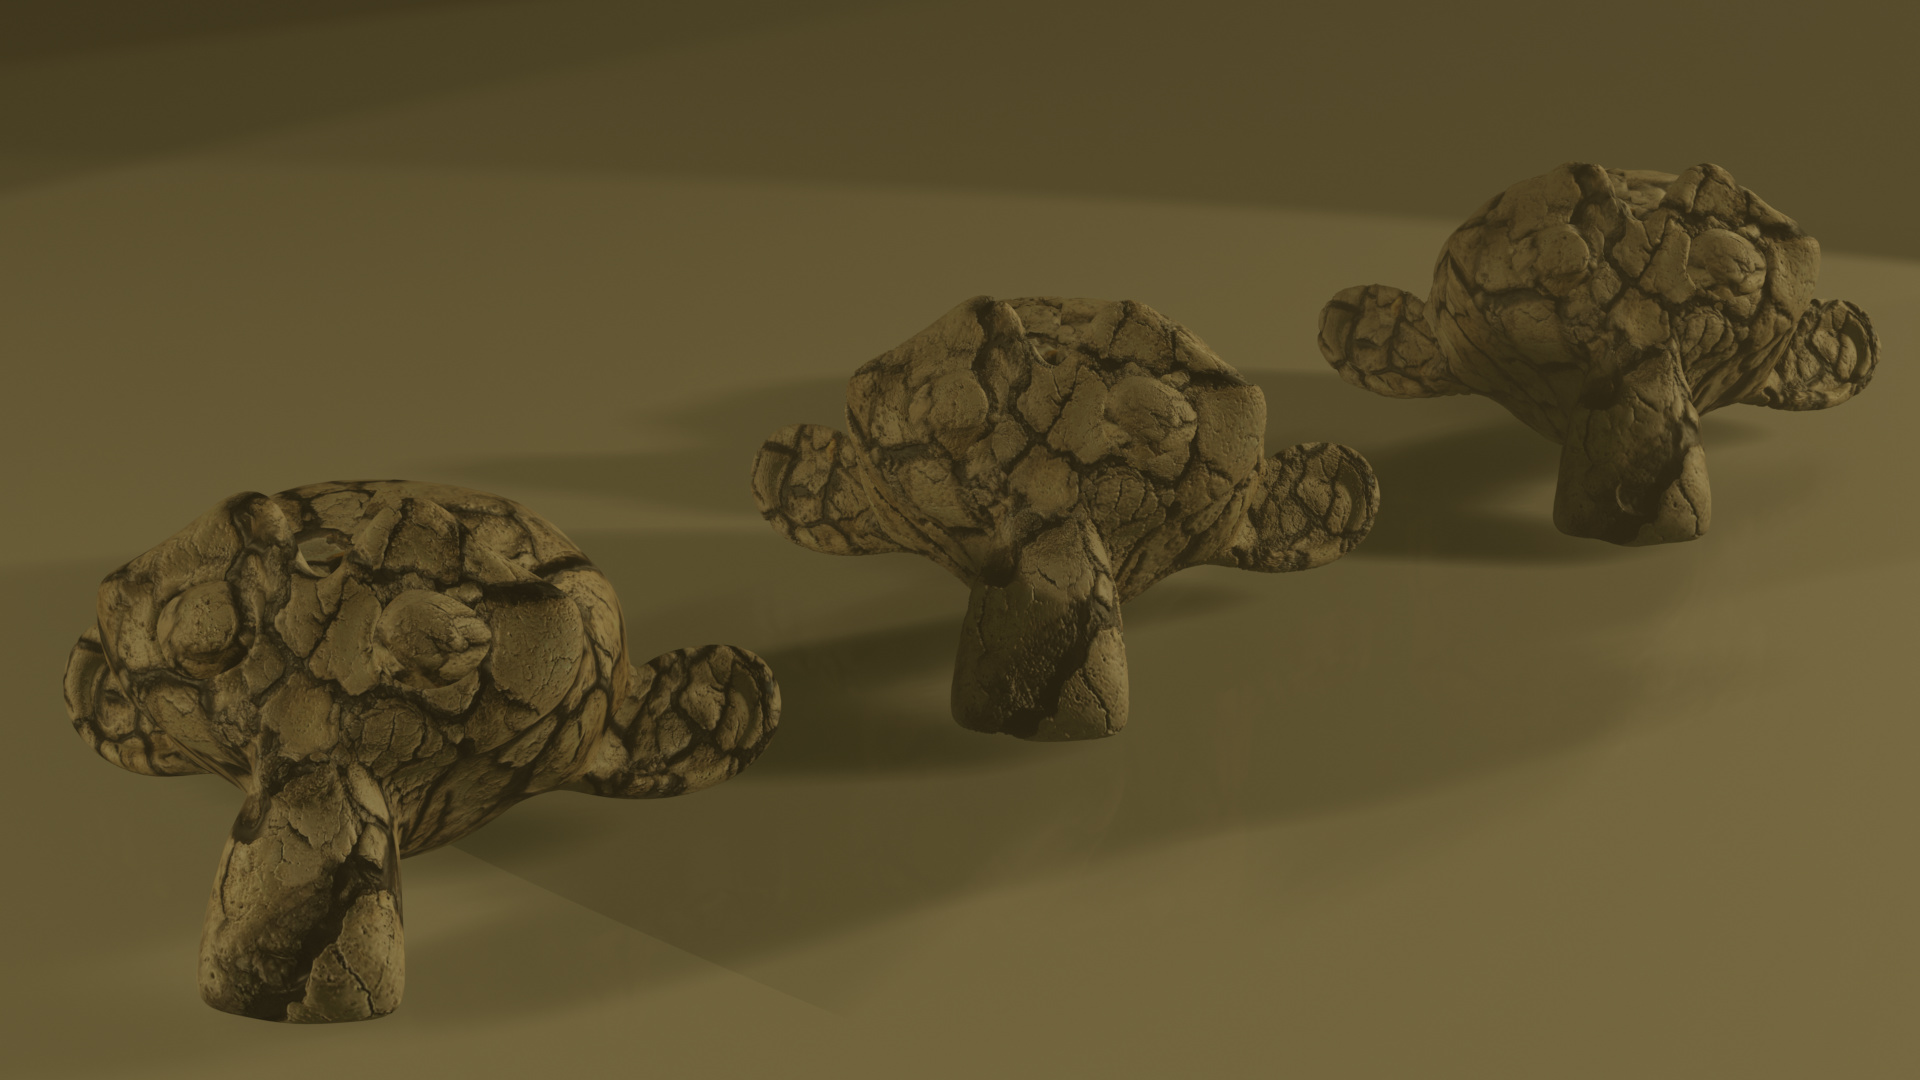
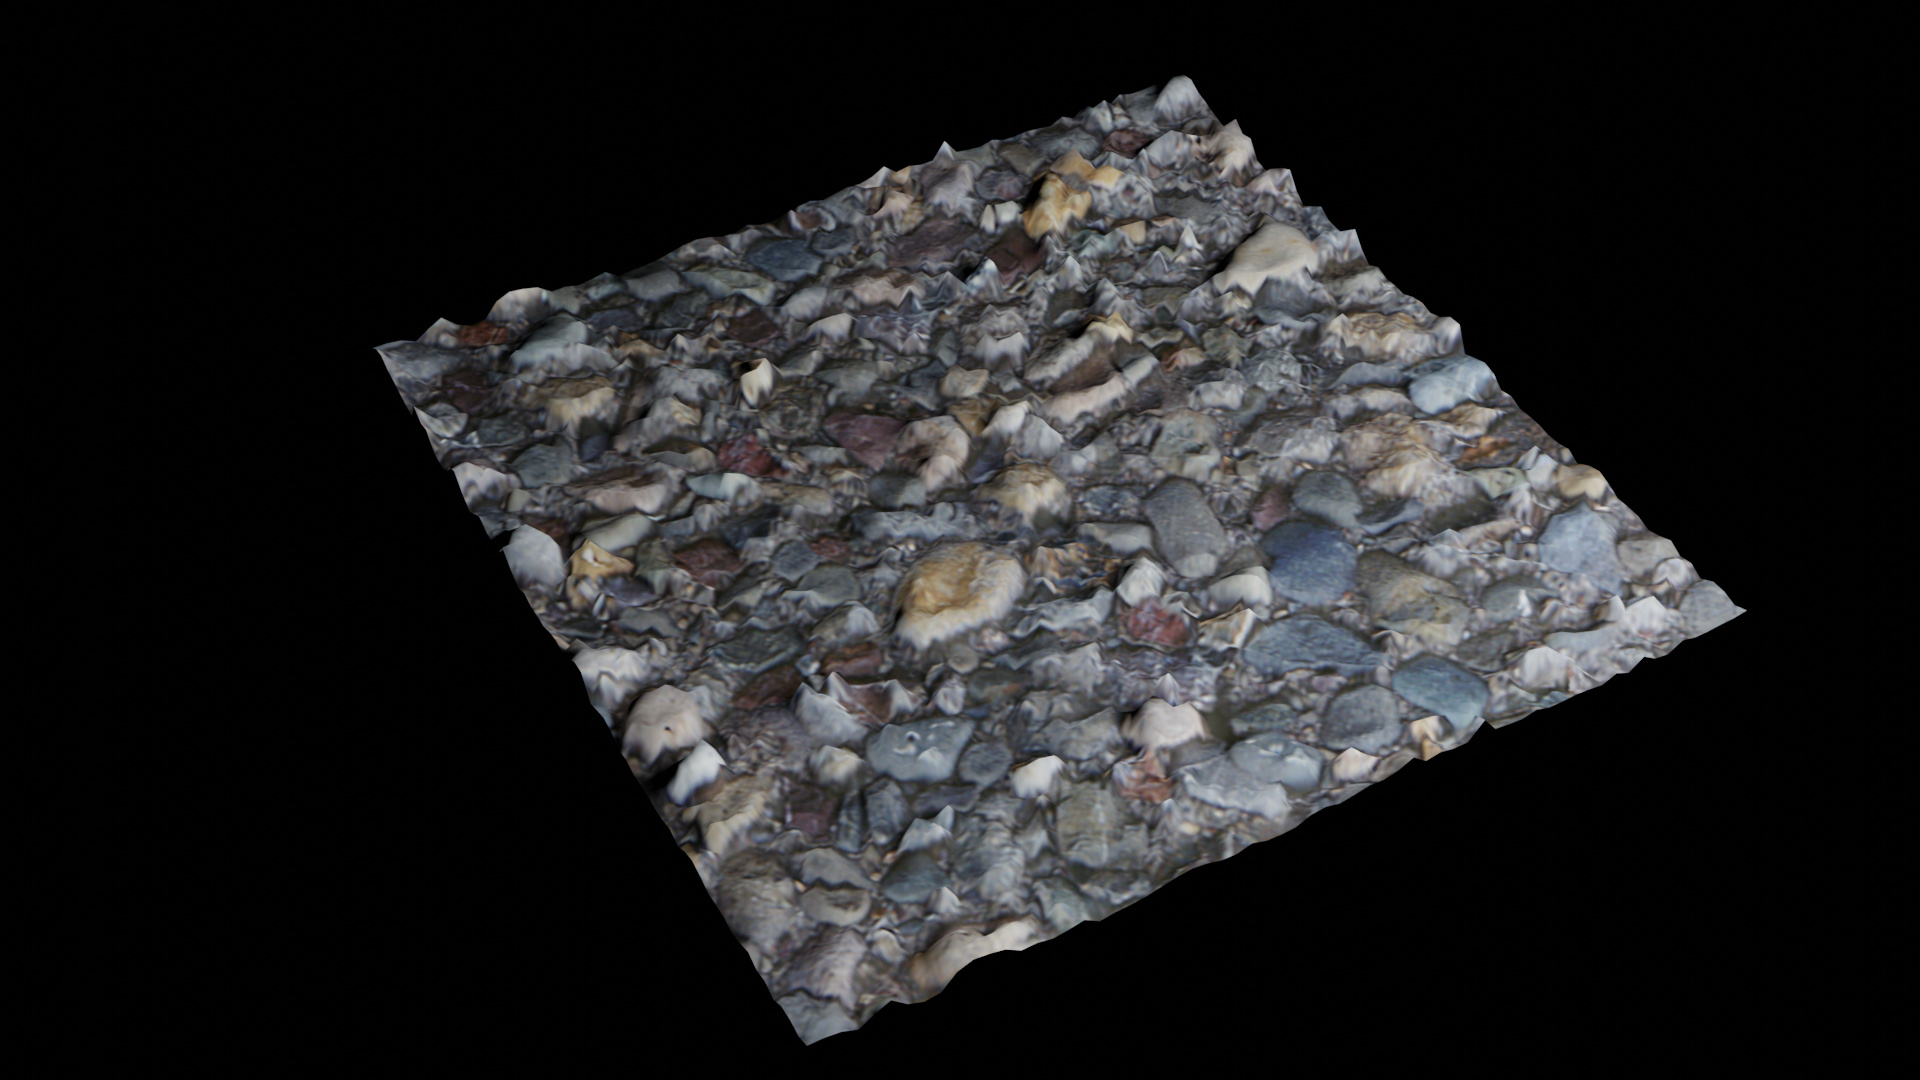
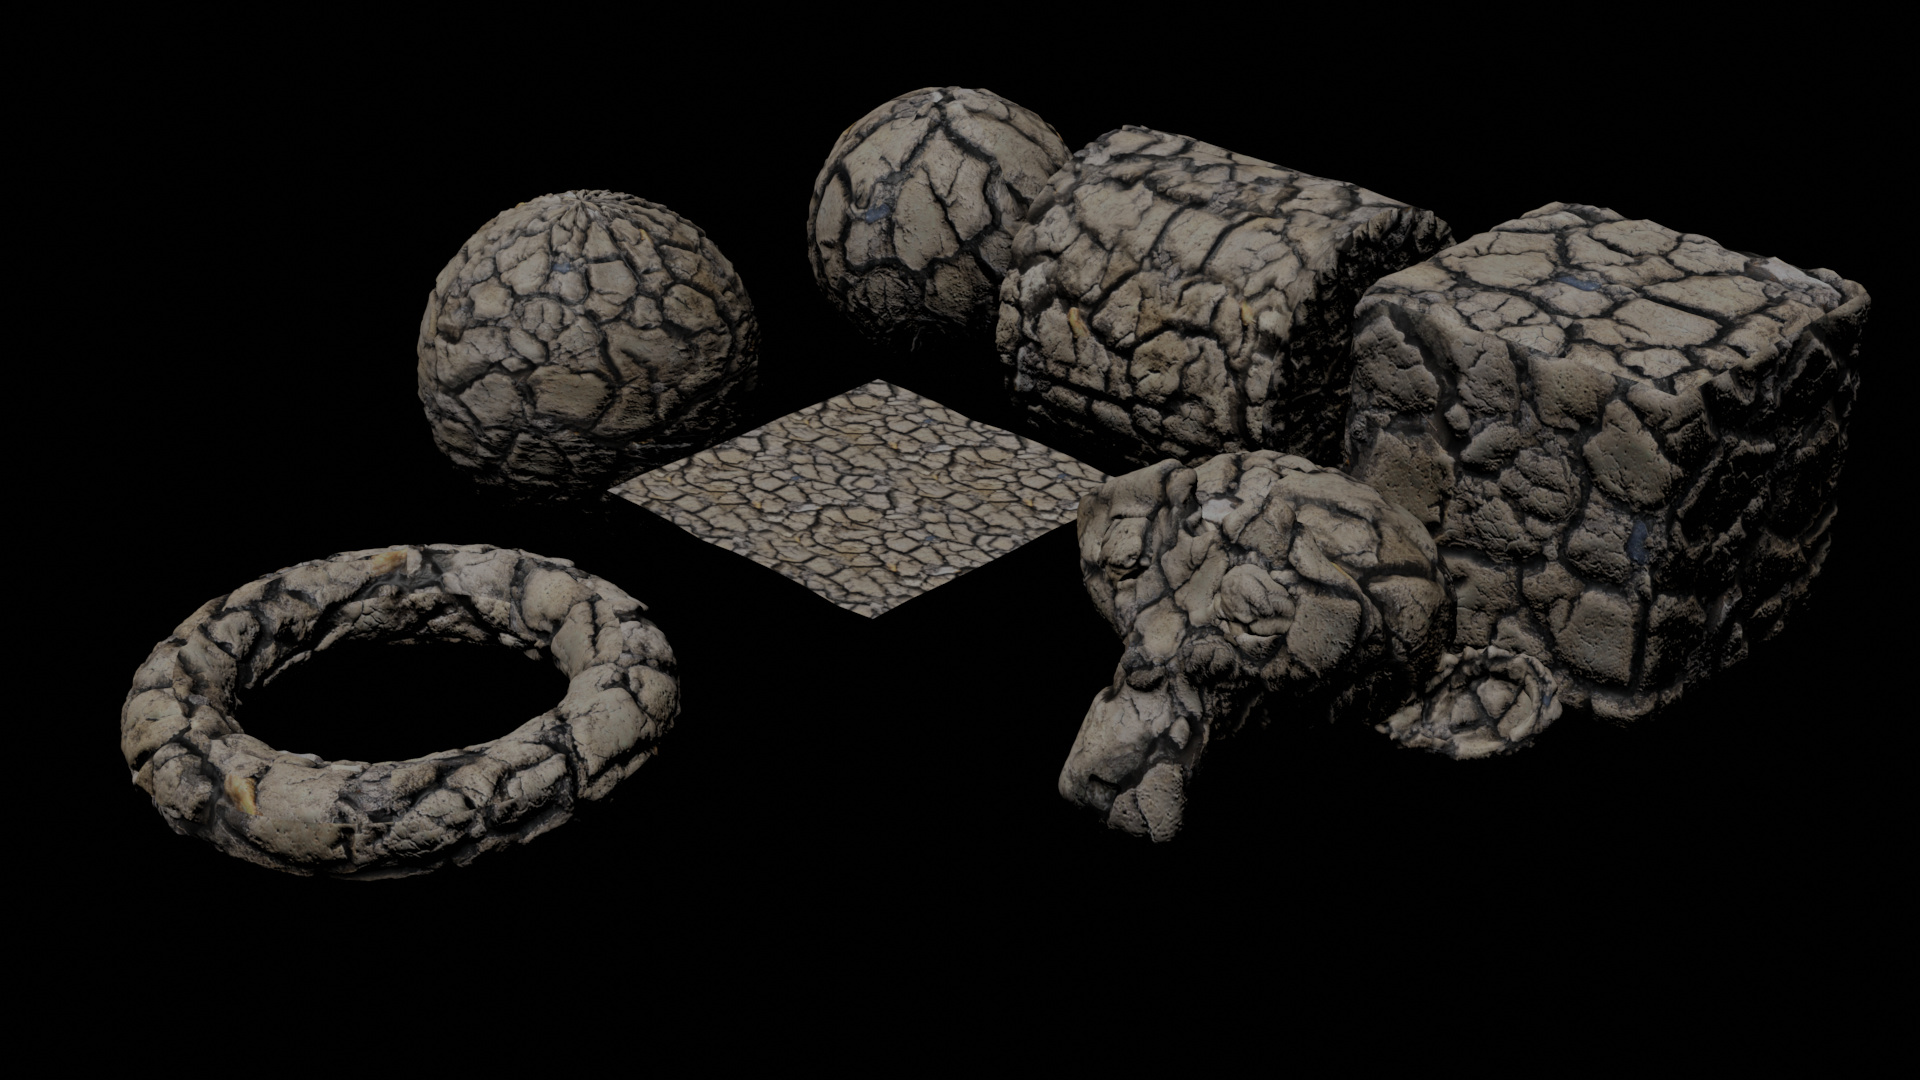
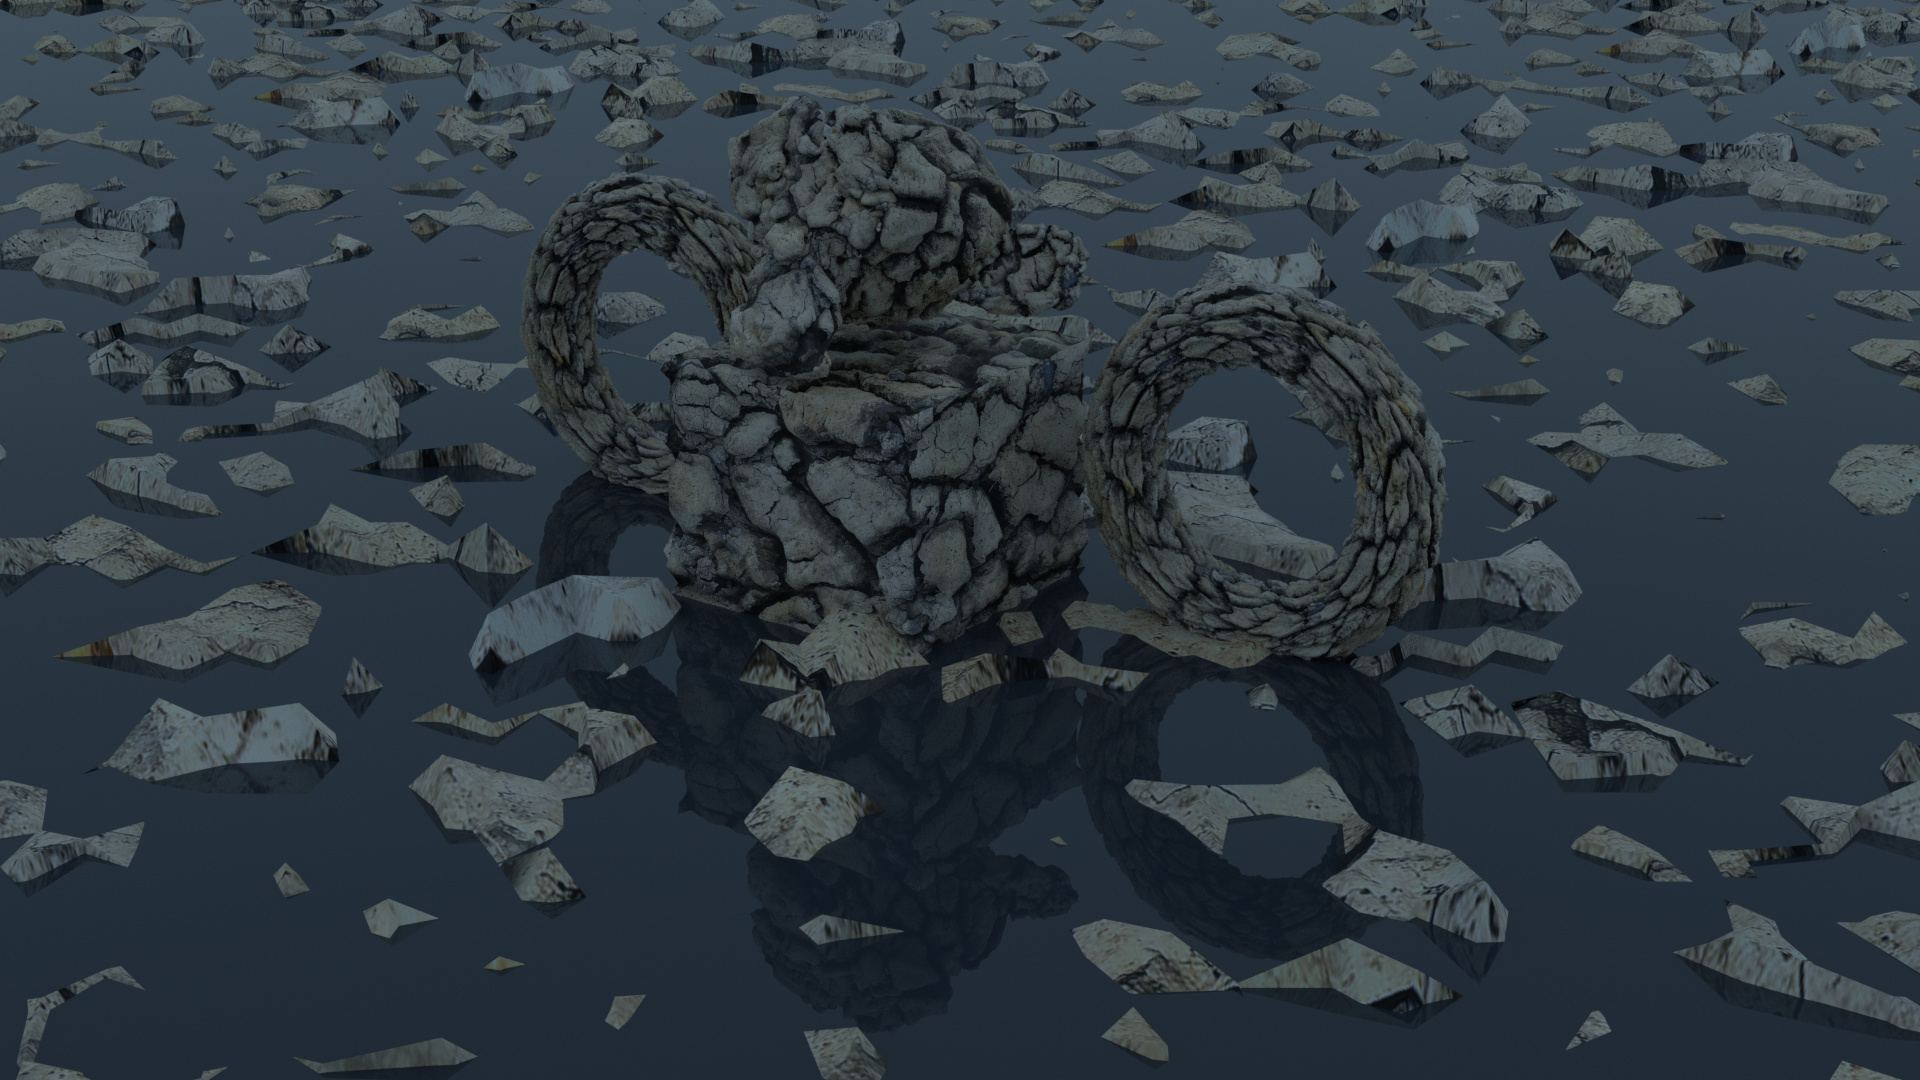
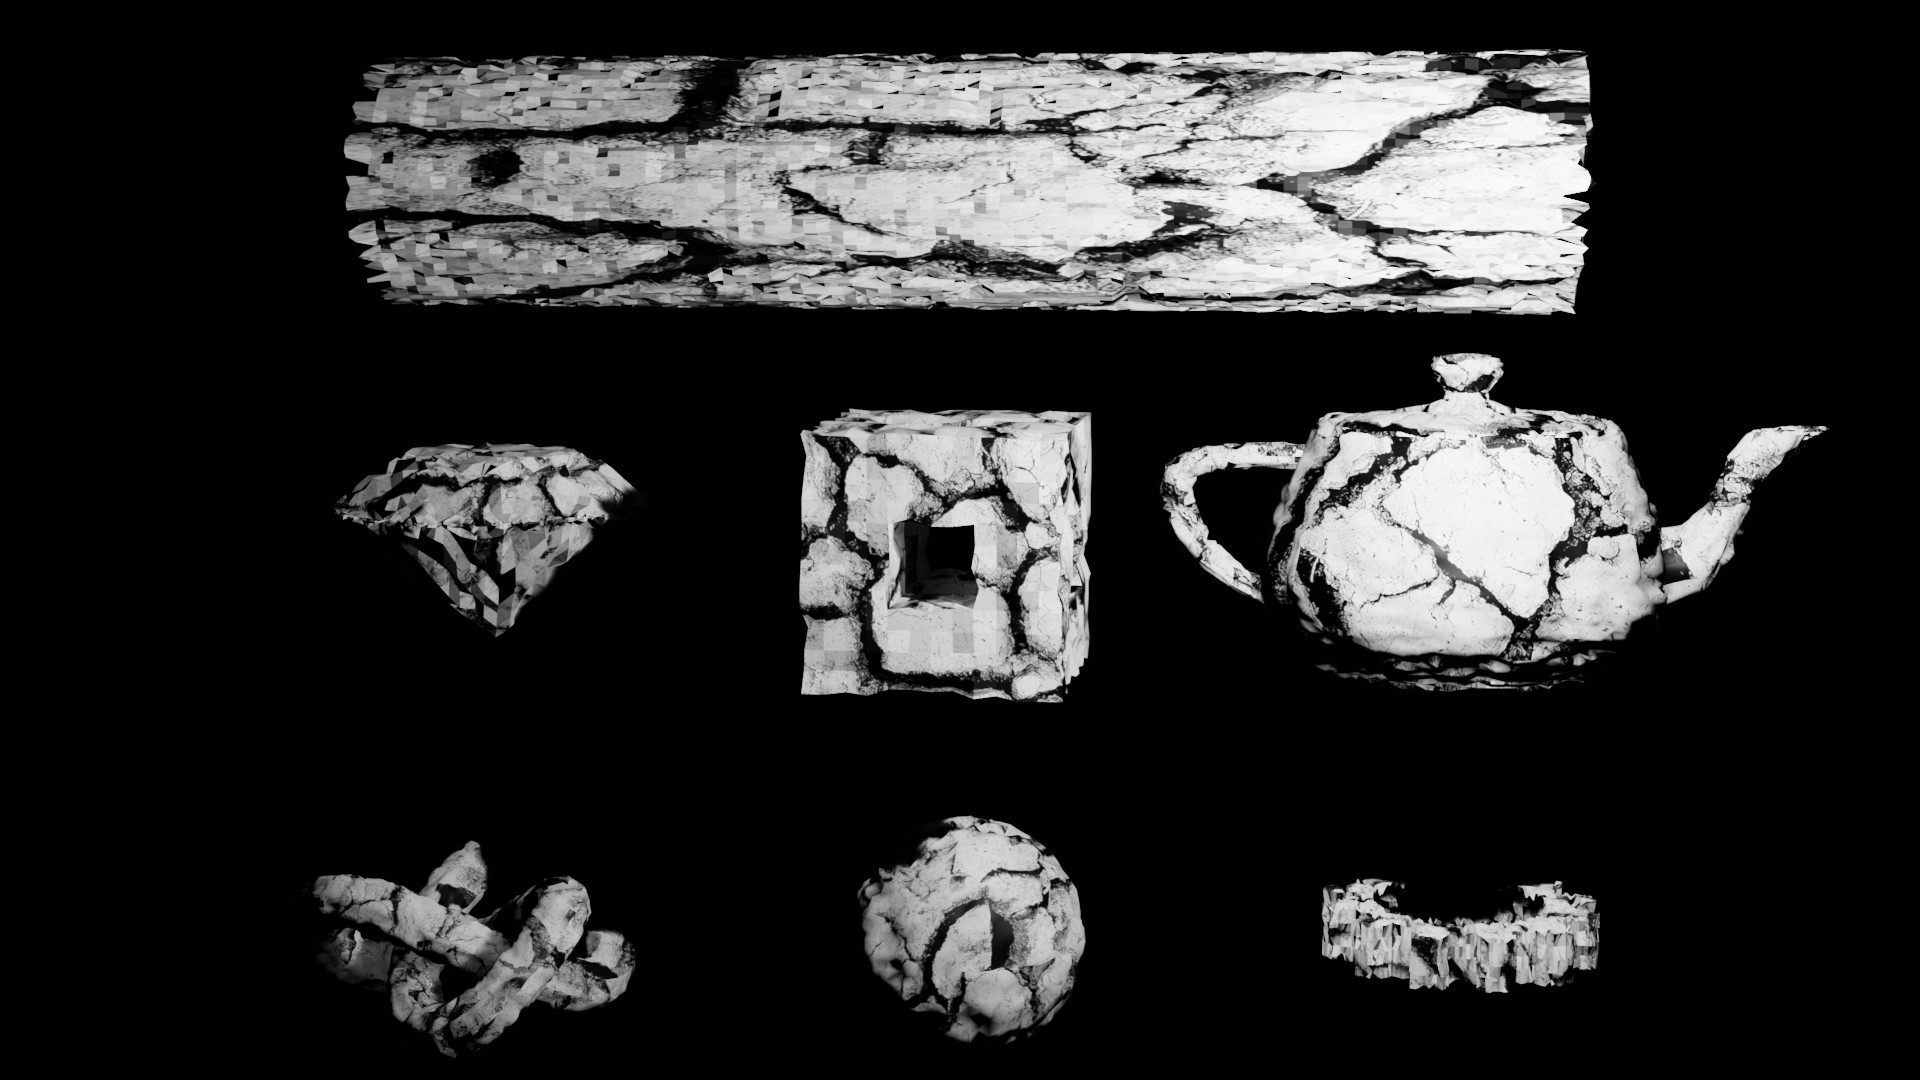
Here is my result.
The left is only the normal map, middle is the generated displacement map, and right is the provided height map. I honestly like the one we made in this lecture, I feel like it feels less perfect and therefore more realistic. I think my opinion might change with smoother, more polished material however.
1 Like
Given heightmap (Pixar 128 library) vs Generated from colour heightmap. They look very similar to me, but I think I slightly prefer the original over the generated one. I reduced the intensity of the generated one to 0.1 (vs 0.2 on the given one) because it was too strong.
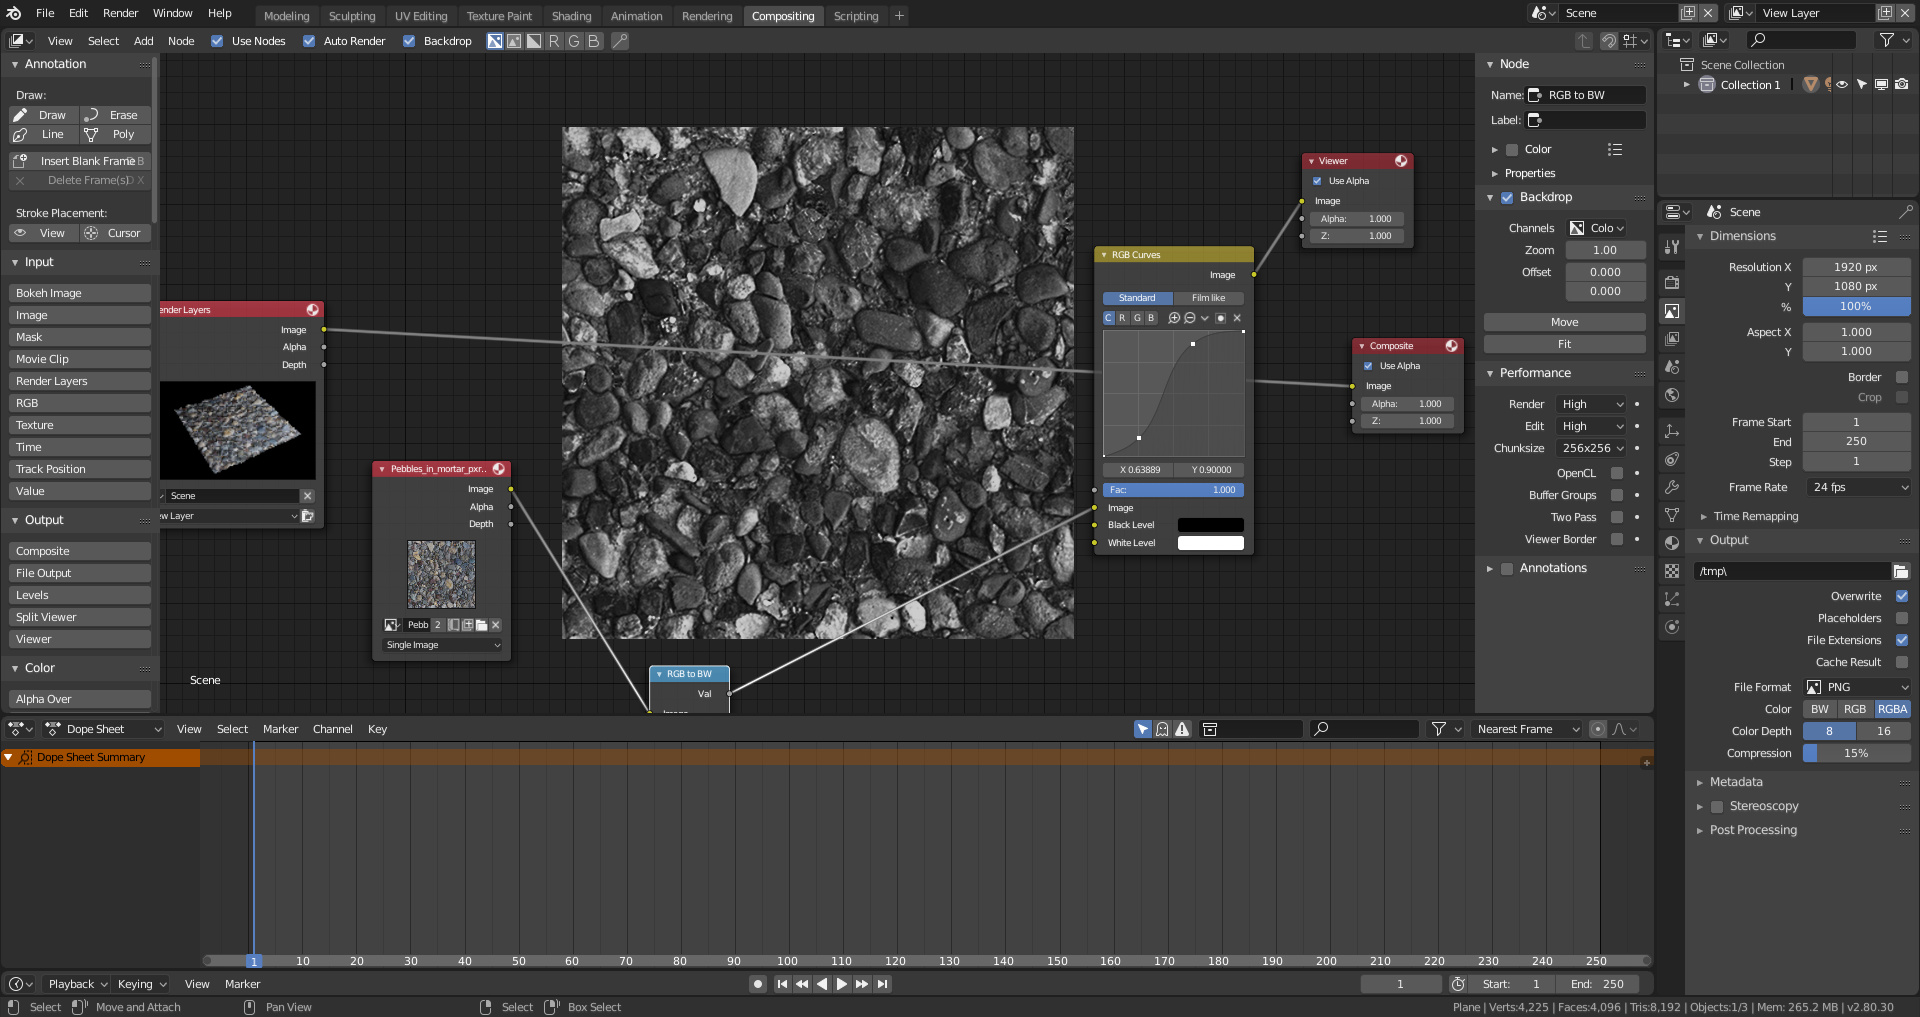
I used the RGB curves instead of contrast to make my height map, emphasising the highs and lows while keeping the mids in proportion
3 Likes
Ether RGB curves or Bright/Contrast I think being able to control you darkness with image increasing depth.
You can use brightness and contrast in shader editor with RGB as well could increase the depth and destroy Pixar Image.
Or attempt goals are nice.
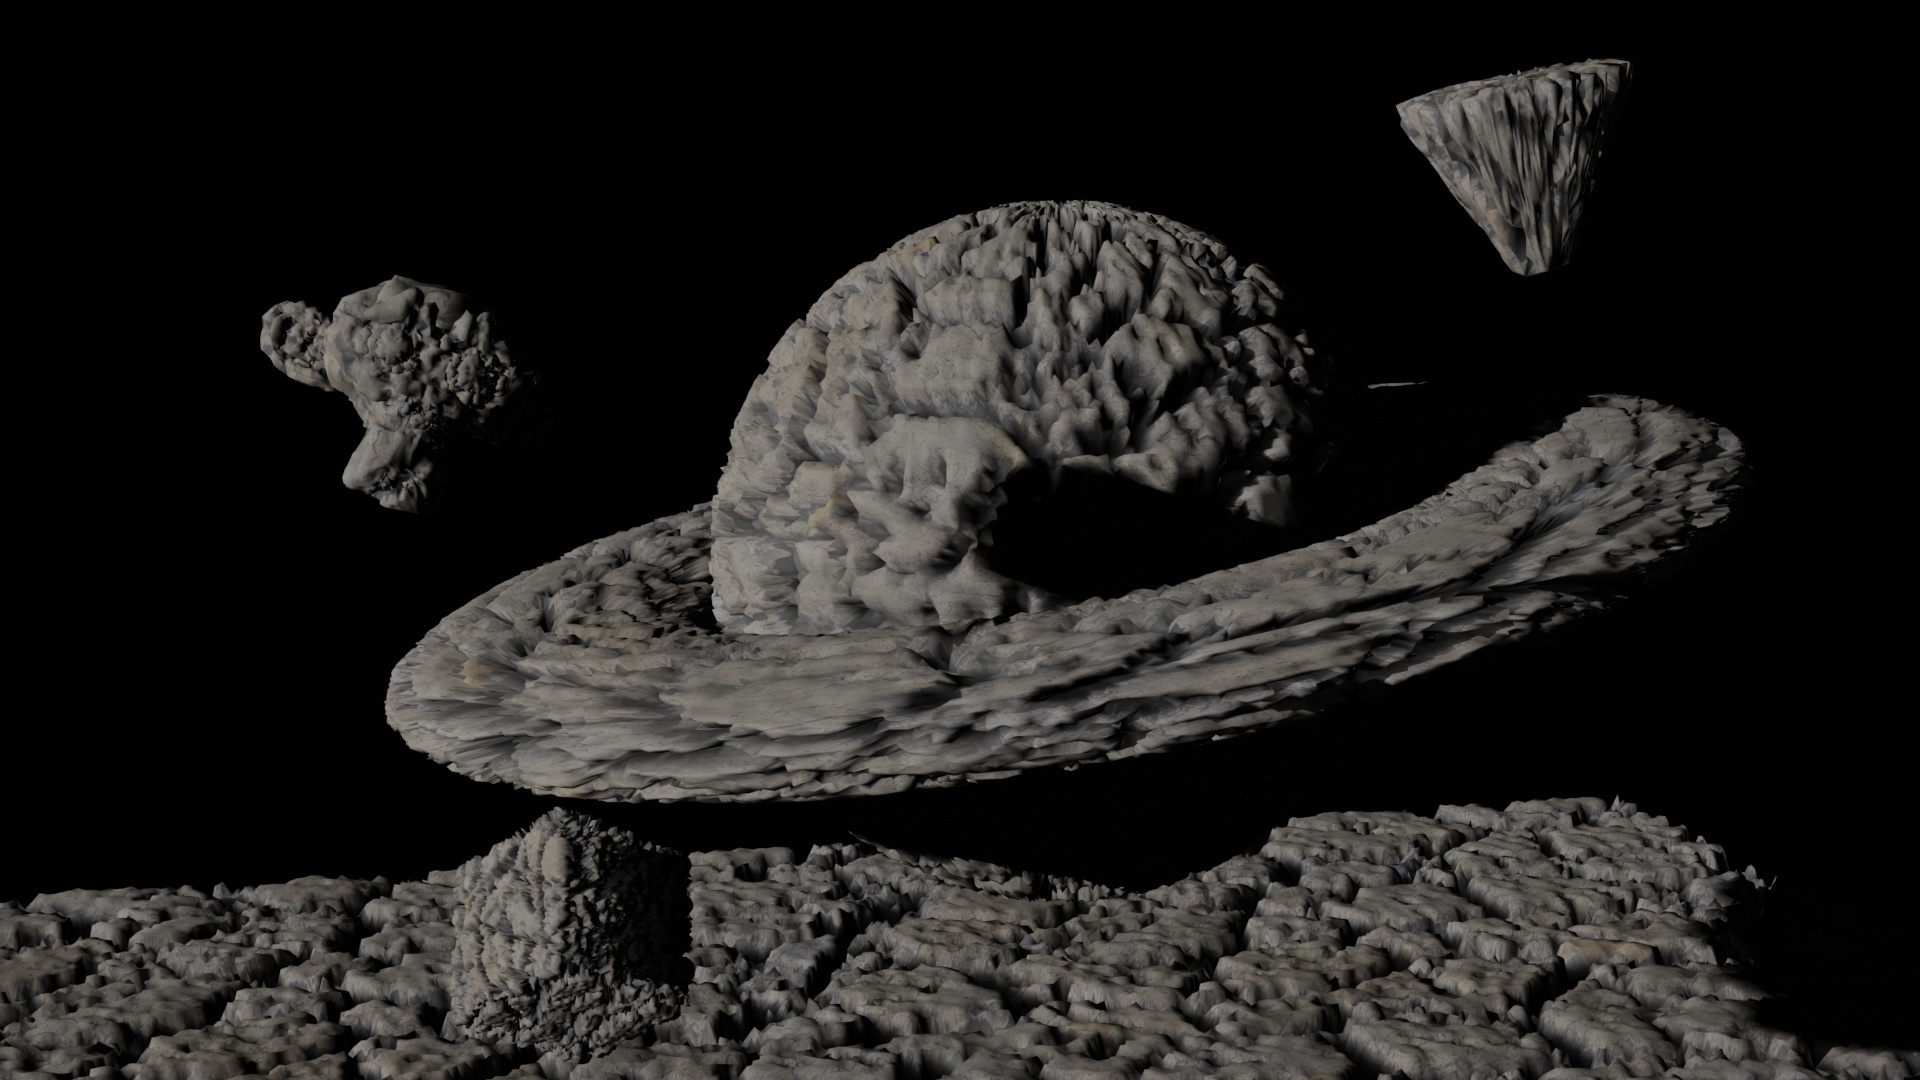
I gave it a try and it works awsome with low light, bright material for cool shadows. Took the light (sun) as low as it would almost go. Then brighten contrast texture. You can really brighten color if you want too. I tried to go a little light to make it look like space high contrast shadows, and bright light.
I used an external editor to create the ‘Height Map’ and while I was at it, I turned all of the images into power-of-2 images. This looks much better to me
If you want to play around with my modified images you can get them here
Hello!
This is awesome. This is the result of my heightmap.
Cheers!
Provided Height/Displacement Map
This one feels a bit more flat to me for some reason, still looks okay, but not my favorite.
Blender Generated Height/Displacement Map
I like the one blender generated because for me it adds a bit more bumps, and knobs giving it that extra bit of detail.
My height and normal map project.
1 Like
Provided:
Created:
I like the provided better in my case, as the created one has way more noise and is less pronounced. Better luck / job next time