
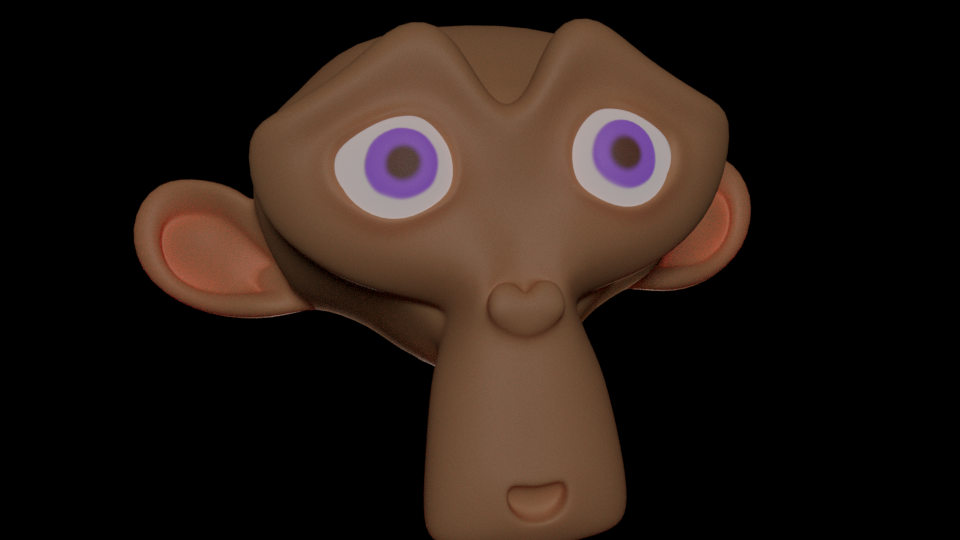
While George apparently had a Probiscus of Presidential proportions, I decided I didn’t like how the face was coming together. Thus, I made a new start and then went straight into the mark-up phase.


2 Likes
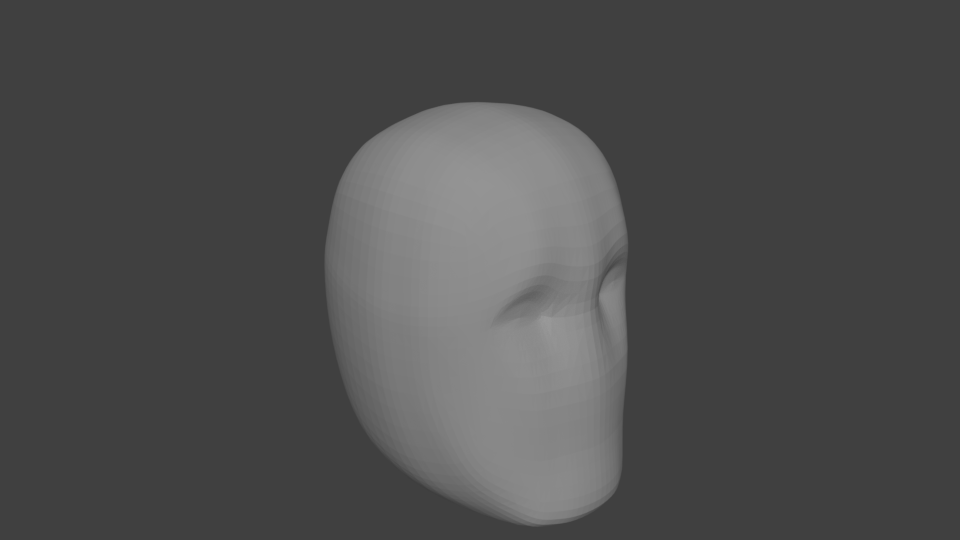
Lecture 220
This one was just a bit of a challenge as I had quite a bit of a challenge getting the geometry to line up. But I eventually came up with a satisfying result only to discover that my reference image was not the straight on view I thought it was. I ended up having to move the eye a bit in order to give the pair the right spacing.
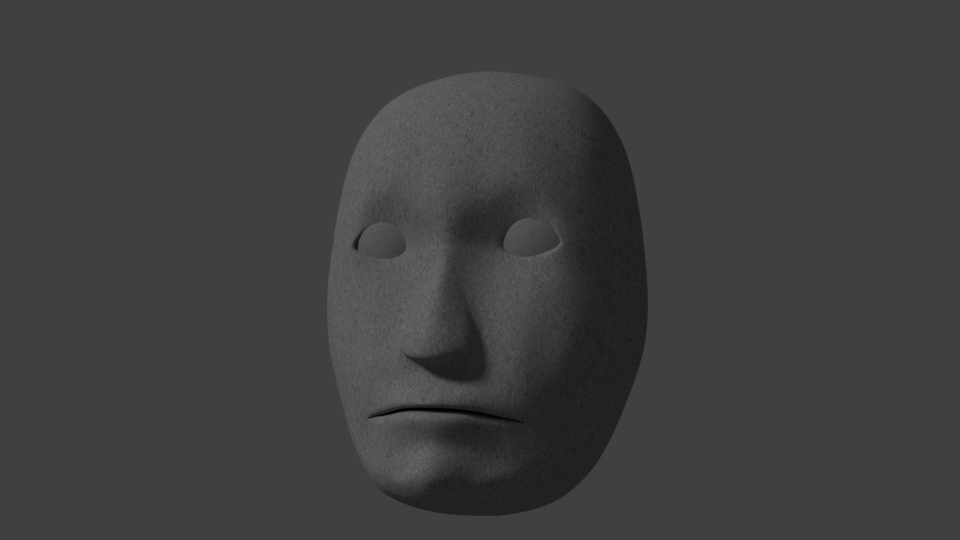
Lecture 221
ripping the mouth was fairly straight forward and left the frown in tact.

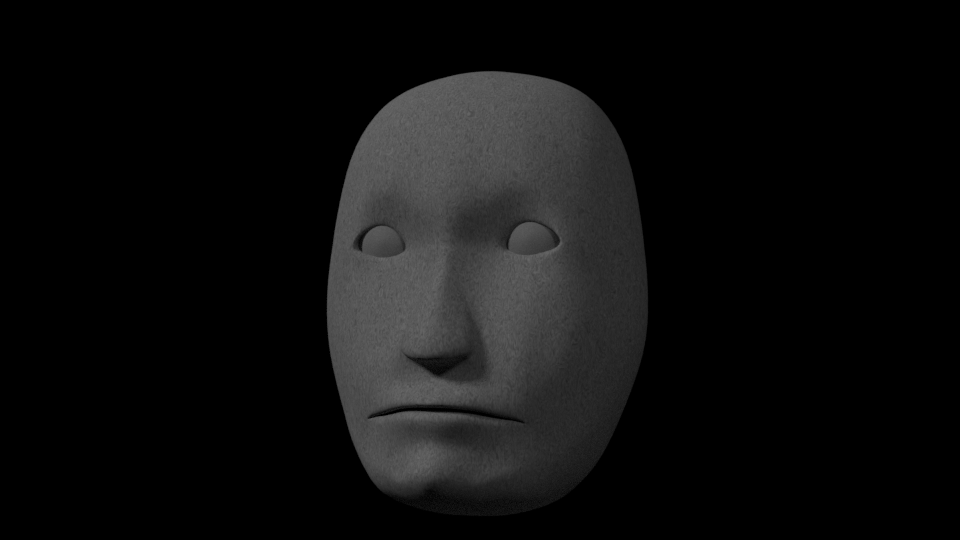
Lectures 223 & 224
I ran into some trouble getting the loops and just couldn’t figure out where to route the loop over the bridge of the nose.

But, despite that small issue, this guy is starting to look freakishly realistic to me

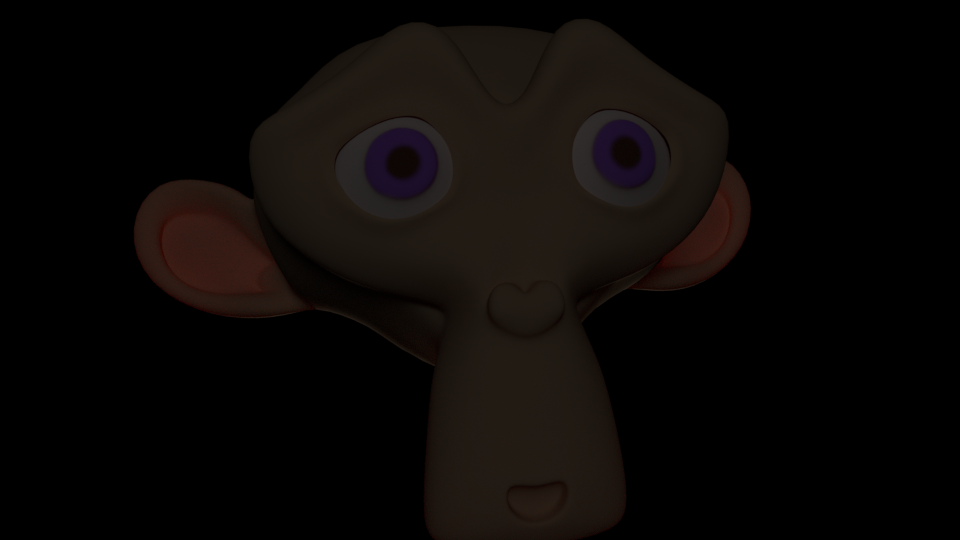
And moving right along to Lecture 225
Finding the right eye color was a bit of a challenge (geez I hate research on the net) but I got 'er done. Since I’m making a replica of a face carved in Granite, I did this first
But, I learned in the last section just how bad an idea it is to not do all of the lesson that @Michael_Bridges lays out as it will likely cause problems in a later video. So… I also did this one

in which I used Textured Paint mode to get the eyes
Lecture 226
Lighting was a bit easy for this one

Updated Thu Aug 31 2017 15:45
Lecture 227
This was fun


1 Like
Thanks for sharing that work, and showing the progression too! 
After watching the second half of Lecture 227 here is my adjusted image
The eyes are a bit washed out from the gloss shaders but, I think the skin is looking a bit more realistic. And of course the post wouldn’t be complete without George’s changes

1 Like
Lecture 236
Wow, that was a lot of videos leading up to the eye (@Michael_Bridges have you considered breaking the videos about the node set-ups out into their own section? You could call it something along the lines of “Basic Node Management” and locate it before the Game Asset Section)
So, anyways, after dinking around with it for 5 or 6 hours (2 of those lost in the weeds of trying to create the hair) here is what I ended up with.
First I created a color control map for the iris
and then another one for the eyeball

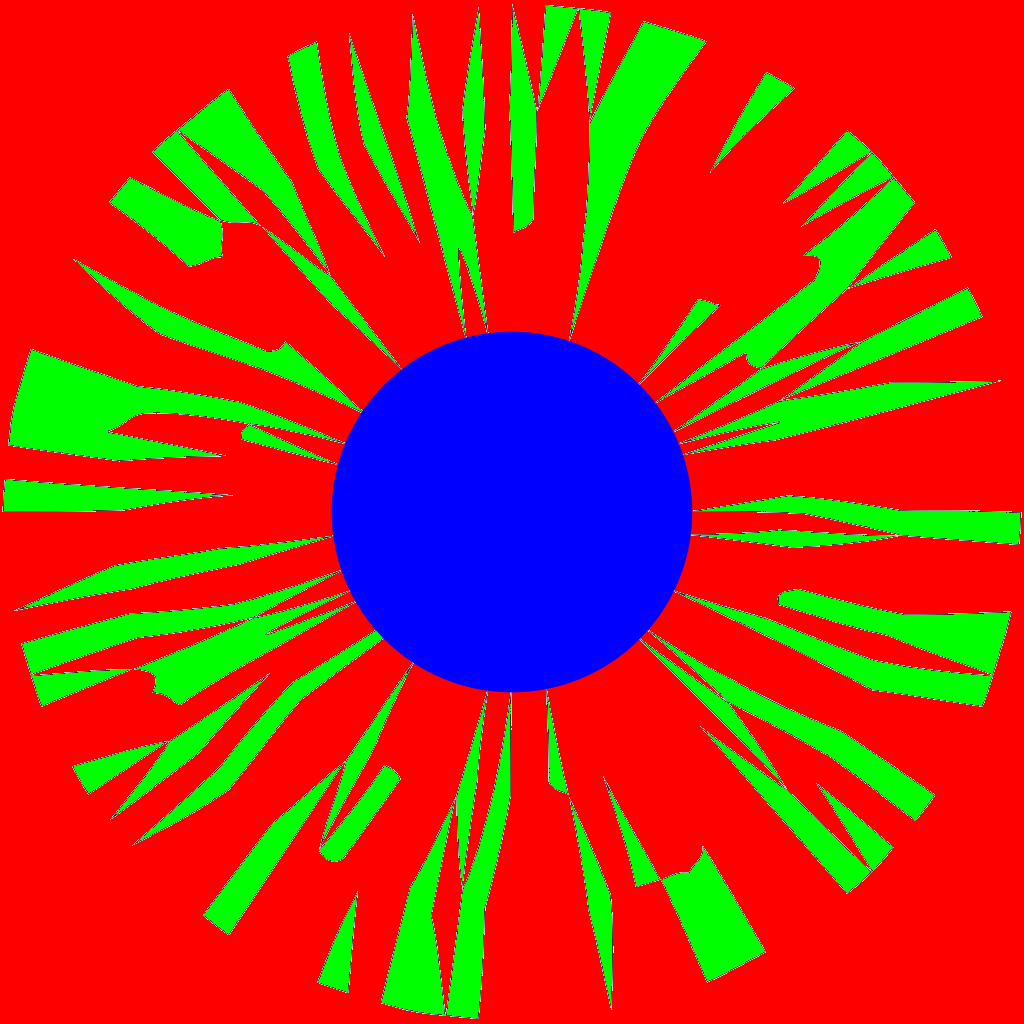
then a Normal Map for the Iris

With my Control Maps ready I began constructing the eyeball material, starting with the iris…

Next, I created the Cornea (the white of the eye) narrowly avoiding a bunch of extra work by realizing I could use a procedural texture to generate the SSS pattern
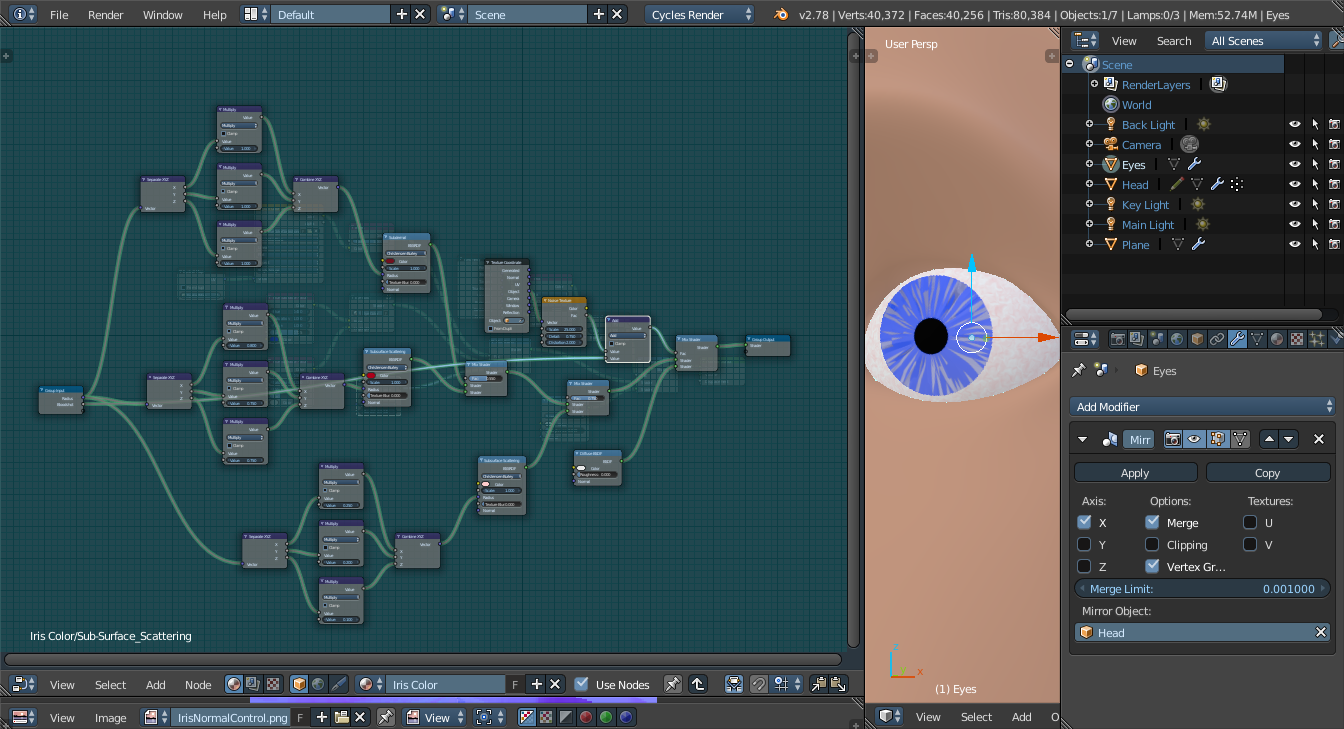
Then I brought both of those together and added a Fresnel controlled Gloss to simulate the moisture found in all our eyes

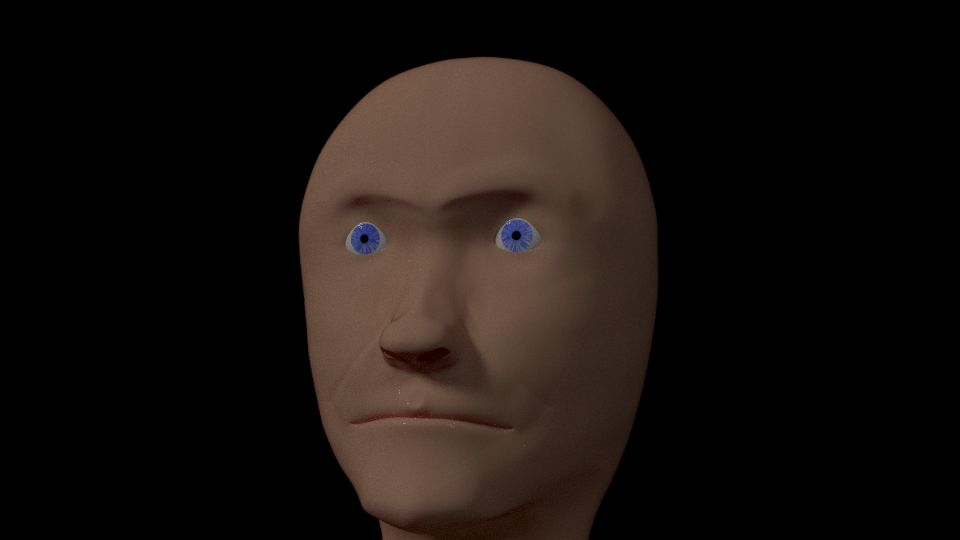
And the final result of all that is

I rather like the way it turned out and will certainly be adding that to my material library (I’ll post it here when I do).
Lecture 240


Finished the section so all that’s left is to do some final tweaks on the model
Here is where it sits at the end of Lecture 241
Looks like tomorrow will be about getting a texture map together for it and then fighting with the hair particles some more. I think I may be reviewing the lectures for the fluffy bunny to figure out what I forgot…