3D Print tryout - Final print results

3D Print results

It took some time to do the 3D prints!
Due to the configuration of the Ender3 v2 printer (calibration, fast, slow, scale), it took some time to get a 3D print. The model design didn’t give that many problems. But the print itself was the biggest problem. Basically: re-print with improved configurations, which retakes time, we didn’t do.

The photos are bad, I don’t have enough light.

Version 1

3D model

The idea was to use the flat glass surface to glue parts together seamlessly.
This didn’t work!
Problem was, due to the heat the print started to curl. Even with a print boundary.
Also, we detected that the glass plate wasn’t entirely flat.

Print process

Glass plate (calibrated, not flat, it’s slightly dented) and still heat problems, bending the model.
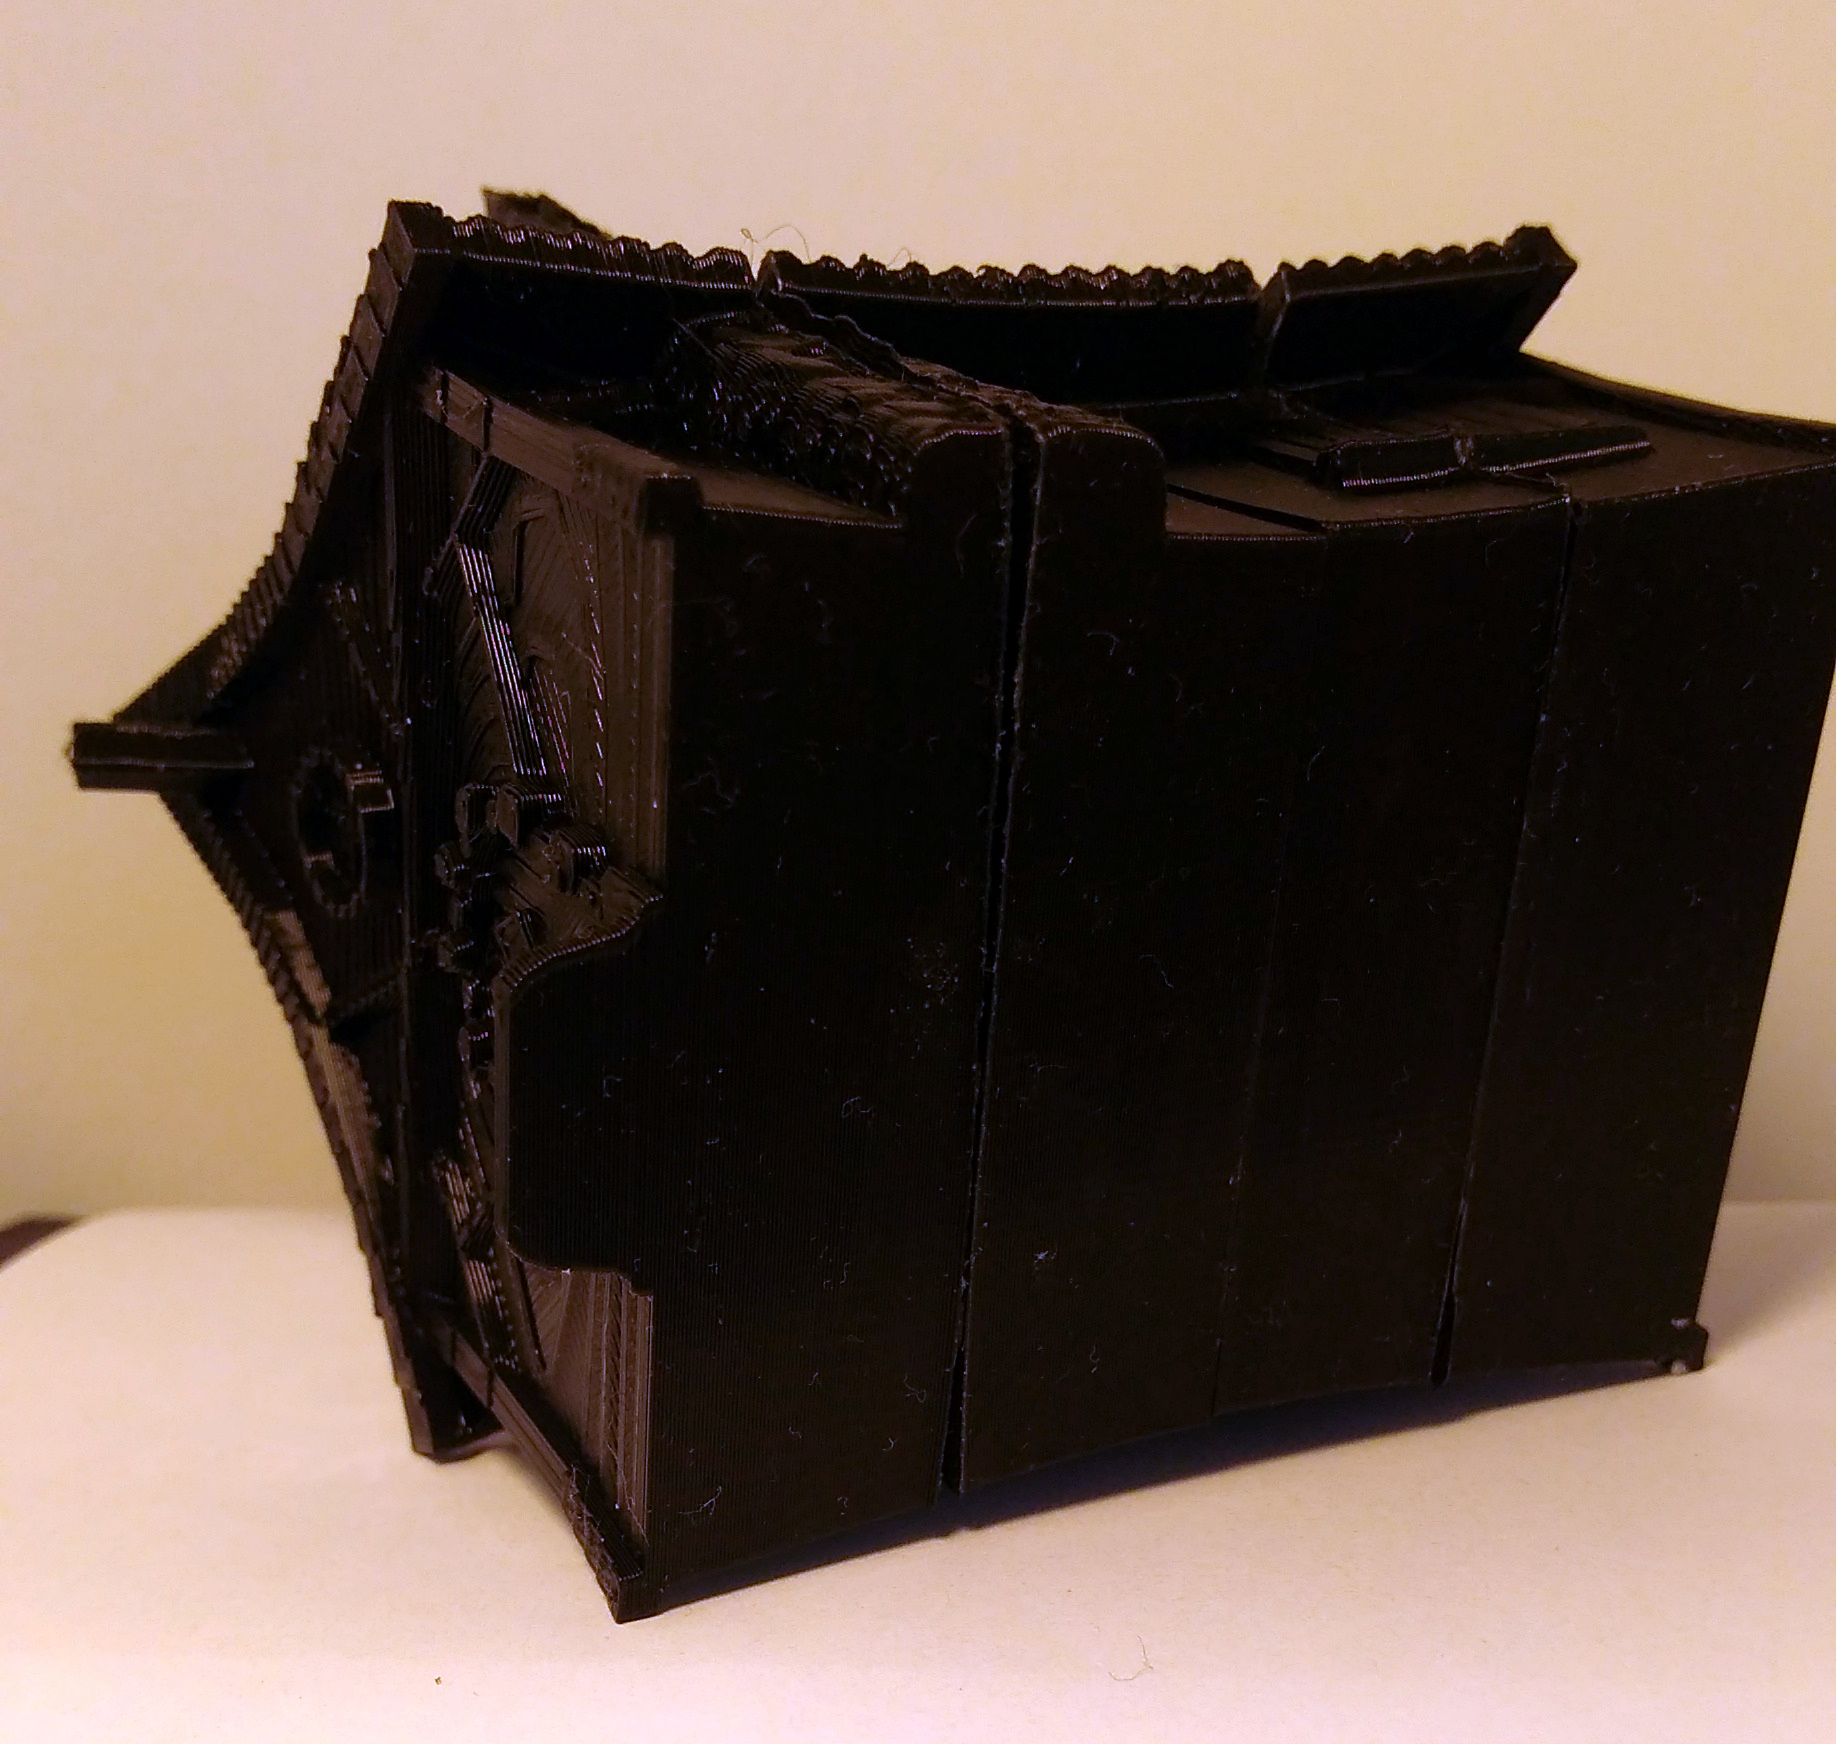
Glued together

Also, the vertical walls weren’t flat. For this, we need to try out the technique of “ironing” the surface, in a next print.
But It gives the house wall some nice texture. Not a big issue.

Good to see that the glued faces don’t match.

Strange artifacts on the vertical walls. Because they where printed horizontally. Because of the choice to print them in four parts.

A lot of cracks and spaces. For this to solve we need to do a lot of manual fixes. Or a reprint, hoping a new improved configuration will improve the outcome.
A funny outcome, is that the top surfaces (the middle one) are reasonable flat (nicely glued). While the four glass plate sides not!

Version 2

This strategy was to print the model in a natural way, bottom-up.
The biggest problem was overhang of the roof tile, on the left and right side of the building.
We could switch on auto-support in Cura but that would mean we need to clean up a lot.

We decided to print in two parts, house base and roof.
Again here the strategy, to use the glass plate as most flat surface for gluing.
At this point we didn’t know about the glass plate dents.
And at the last moment I decided to turn the print direction of the house body.
Because the door has also a overhang, which shows in the below image (brown part).

Glued and painted

Because we ended up with one dented glass plate surface and a flat printed surface.
The gluing was much better (horizontal line. Because of this success my nephew decided to paint the model quickly (he likes to do this).

This bottom-up print approach (besides the glass plate problems) gave a better result. I must admin, this print was also a bit bigger.
The printer details are good, see the chimney, roof tiles, and door details.
It’s a pity that my photos are so bad.

1 Like

Version 3

Using an online 3D print shop. And a technique in which plastic particles are glued together with a laser beam means that you will not be bothered by overhangs. Or printing interior parts that need support. Basically, the model is made in a box of plastic granules.

You need to pay for the plastic used. So the model is empty inside.

(My camera couldn’t focus on this white model, resulting in mostly blurry images).

Very clear surfaces and sharp details. No artifacts, except for the window bars. They differ in horizontal and vertical size. Don’t know why, but in the 3D model they were the same size.

Inside is empty, to lower the print costs. Could be more optimized. 0.7mm walls are excepted. You can also see how clean the roof tiles were printed (no support needed).

Details are crisp, but not that visible in the photo.

1 Like

Conclusion

I can say many things. Perhaps not supported by facts. I compare professionally printed models with high quality 3D printing techniques and technical support configuration.
Against a simple home printer, which you have to fiddle with a lot, and try it out to get reasonable results.

But it’s nice to do it at home. It requires a lot of patience and visual checks during printing.
The print details (bottom-up) are good.
But it depends on what you are trying to create.
Models with a hard (flat) surface are difficult to make.
Organic shapes with many textures blur imperfections. Or become part of the texture.

But it takes time to get a good print and gain experience with the hardware. Or even do multiple reprints.

Using a printing company is easy. Just send the model and all technical details will be handled by professionals. And in the past I used them a lot (about 15 times). But it’s expensive!
And to keep costs down, I send multiple prints as one, to minimize shipping costs.
I pay a lot of attention to reduce the cost of plastic use, reduce manual handling by the print staff, and reduce the space it takes up in the printer.

In the end, the white ‘laser-ed’ version costs EUR 75,- including shipping costs. We estimate the black ‘home print’ at EUR 5, including electricity and plastic.
The white version took some 10 days, between ordering and delivery.
The black one took more than a month. Not in printing, but configuration, test prints, not having time etc.

My final conclusion is positive about home printing quality. Not that I will buy a printer soon. But we will start a new 3D home-printed project. Using the things we’ve learned.
I like to model, my nephew like to print and paint.

2 Likes

Great update and informative of the experience.

The layer lines of FDM printing are the problem. This is why those after better finish and details use home resin printers. Basically the entire tabletop gaming world. Needing small fine details and no layer lines.
I pinched the below from a Facebook resin printer group to show the difference.
Although it is big, the group is for a larger format printer, (the one I have but never get round to using!) the surface finish and detail still show why this resin printing is the best of home printers.
240mm total height yes big.


2 Likes

Amazing sculpt work, my nephew uses 3D Print also for table top gaming.
And an acquaintance of mine using resin printer for modeling trains and others.

It’s fun technology.

2 Likes

Great job on printing the model out. :checkered_flag: Your nephew did a fantastic job at painting it. :+1:

1 Like

Privacy & Terms