3d Cartoon Outline

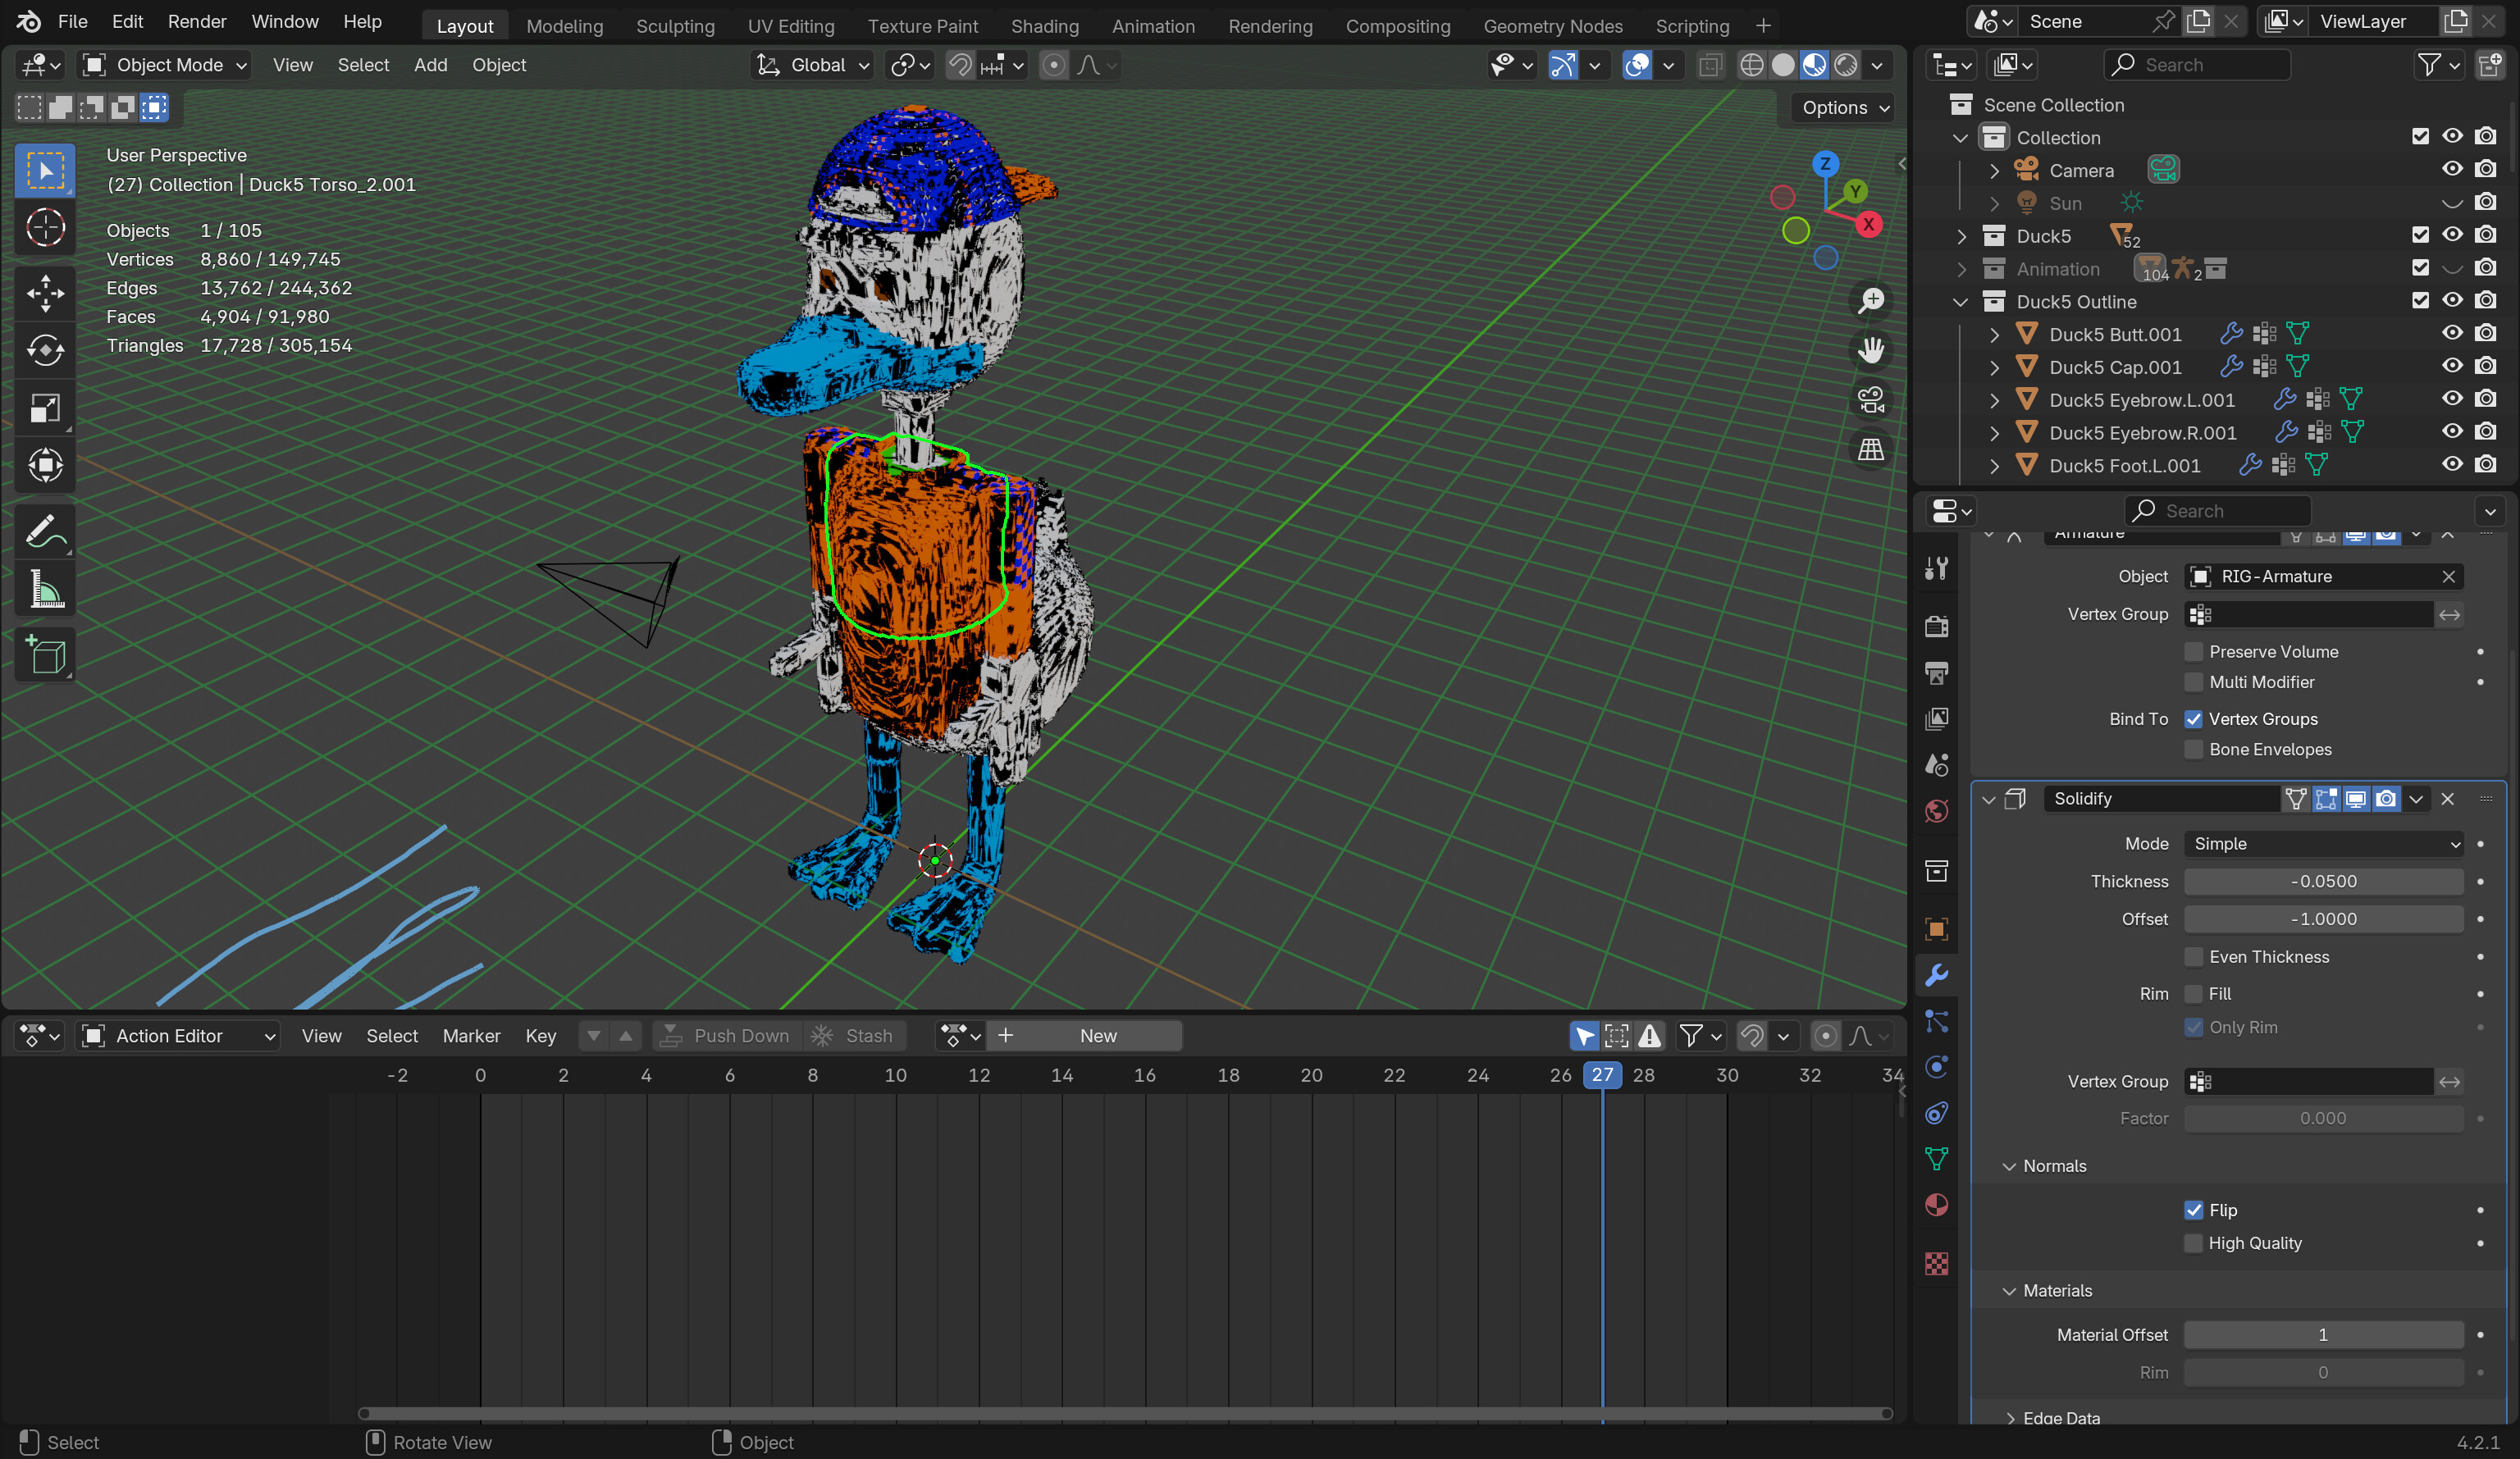
I want to make an outline for my character for 3d animation. I asked Chat GPT for this and it used its own version of the Solidify Modifier method, which didn’t work for me. I was wondering if there is a different method to make an outline for 3d animation. Here’s what happened when I used chat gpt’s method:

Just how do I make an outline for my character for 3d animation?

2 Likes

Here is the method that Chat GPT showed me:

:hammer_and_wrench: Steps: Inverted Hull with an Armature

1. Duplicate the Mesh

  1. Select your character’s mesh (not the armature).
  2. Press Shift + D to duplicate, then Esc to keep it in place.
  3. Move the duplicated mesh to a new collection (optional for organization).

2. Keep the Armature Modifier

  • The duplicated mesh still has the Armature Modifier from the original.
  • Do NOT apply it—this ensures the outline moves with the rig.

3. Flip the Normals

  1. Select the duplicated mesh.
  2. Enter Edit Mode (Tab).
  3. Press A to select all faces.
  4. Flip the normals:
  • Alt + N → Flip
  • Or go to Mesh → Normals → Flip

4. Apply the Solidify Modifier

  1. Go to the Modifiers Tab (Wrench Icon).
  2. Add a Solidify Modifier and adjust these settings:
  • Thickness: Small negative value (-0.01 to -0.05).
  • Flip Normals: Enable this.
  • Material Offset: Set to 1 (helps separate the outline material).
  • Fill Mode: Set to “Only Rim” if you want a hollow effect.

5. Assign an Outline Material

  1. Create a new black material (or any outline color).
  2. Enable Backface Culling in the material settings.
  3. Assign this material to the outline mesh.

:white_check_mark: Final Check

  • Move your rig, and the outline should follow.
  • If the outline detaches or distorts:
    • Ensure the Armature Modifier is still active on the outline mesh.
    • Check Vertex Groups (it should match the original).

Now, your outline will animate smoothly with your rigged character! :rocket: Let me know if you need further tweaks!

1 Like

Are you using voxels (cubes)?
Is your object manifold?

Your solution seams ok, as it is the old default solution.

But with GreasePencil there is an other solution too. Line drawing


Perform the steps on a simple Cube and see if it works.
Blender evolvess every day, so maybe things have changed.
But the trick is based on:

  • Solidify modifier
  • Invert normals
  • Backface Culling
1 Like

Yes, I used Magicavoxel and imported my creation into Blender.

2 Likes

Then for each object (voxel / cube) a line/shadow is created.

  • Maybe work with the distance, thickness of the solidifier.

This line trick works well for single objects and correct solidifier outcome.

1 Like

You’re talking about the Offset of the Solidify Modifier, right?

2 Likes

I swear Chat GPT makes people braindead. You could just type in what you need into youtube, there are countless easy tutorials on how to do this. This one is literally less than 1 min - https://www.youtube.com/watch?v=XsywSvBG4t8

Chat GPT is a bad way to learn because it doesn’t validate anything it spits out. It never used Blender or any other software and has no idea how it works. It just guesses what an answer could be based on training data which you have no idea where it came from, some of it could be wrong or outdated and it could also try to combine multiple methods into something new that doesn’t work at all.

I don’t understand why bother with clever-bot here when you can get a faster and more accurate anwser typing the same thing into google.

2 Likes

If you’re going to stay in blender then you don’t need to do the inverted hull method. You can also simplify it by just using a solidify on the main mesh. There is no reason to duplicate the mesh. If you’re going to export to a game engine or a different render engine.

I’d use Line art or Free style. Personally I prefer the line art method. Move all the mesh objects that you want lines for into a collection. Then in that collection add a collection line art grease pencil(Shift+a->grease pencil->Collection Line Art. This creates the lines based on how the objects are viewed from camera. So as you move the camera lines can disappear and appear, but you won’t see that when viewed from the camera. Also you can select the grease pencil then in properties editor modifiers tab under the edge type you can change what edge types to include. If you check edge marks then you can go into edit mode of the mesh and select edges you want lines for then press ctrl+e->Mark Freestyle edge. This can be used with freestyle too. You have a lot of control with this method.

2 Likes

Freestyle is a post process effect so you only see it when you render. To turn it on under render tab of the properties editor check freestyle. Most of the setting are under all the freestyle panels in the view layers tab of the properties editor. The freestyle line color can be set under the mesh’s materials tab of properties editor in the freestyle line panel. It’s super powerful, but again it’s a post process and can be overpowered for what most people use it for. That is way I prefer Grease Pencil’s line art.

2 Likes

Privacy & Terms