2018-09-04 Delving into the course

2018-09-10 (4:51 PM)


Relearned how to use arrays. just did some spikes on the cube.
kinda funny how when i don’t have a direction on what i want to build, i just end up with some visually complex Blob/Box. i think i’ll try and do a low poly chainsaw next. maybe use an array to make the teeth on the chain? idk

2018-09-11 (11:14 AM)


so i noticed that background images don’t appear in the other windows. Mayhaps i have to add the image to each window or create copies of the main window after i add the image.
as for my setup, i’ve got my cube to 32cm and the image set to 32cm.
also found the text window.
gunna see how Michael does it now

PS: missed a lot of time yestarday and today, Playing games got in the way of me learning to make them XD

2018-09-11 (11:31 PM) S3 L44

  1. So he deleted the default cube (took me time to figure out why)
  2. upon creating new cube you can adjust it’s parameters, in this case we want to adjust it’s radius (which is a default of 1) [We switch it to 1.9 because…? i don’t really know. For some reason we want to work on a scale of 3.8BU and half of that gives us our radius which is 1.9. Seems really random and i don’t know why we did it]
  3. Scale down the background image to match the height of the reference cube
  4. Rotate it 1 degree to the right

i just really don’t know why we adjusted the radius of the cube :confounded: . As a note of import: adjust the radius of a created cube and all other cubes created after it have the same adjustment. Probably a good thing but it caused me to panic when i couldn’t delete it and work from step 1 again to try and figure out why we were adjusting it.

PS. I get sad when a cube is deleted and happy when a new one is made. Dunno just something oddly satisfying about it :grin:

2018-09-11 (1:11 AM) S3 L45


the curves don’t seem to be too hard, though i have to admit that adjusting one part of the curve bothering the rest of it bothered me. i’m not sure just how accurate we were supposed to get so after getting it near perfect in my eyes i went back and watched the solution. Turns out i didn’t need to be that accurate. Though when Ben Adjusted the handle for the top and bottom nodes and i went to do the same i got frustrated that the rest of my curve ended up off course again. :angry:
all figured out in the end though

Noooooooooooo! i just screwed up. gatta remake my pin and curve QnQ
Remember to Save often folks

2018-09-12 (1:37 AM)


made my pin from the spin!
i know that keeping low poly counts is a good thing so i only opted for a 5 step spin, 6 would probably have been just a bit better. Kept my original outline so i guess i can always remake the pin. Also moved it +1.9BU along the Z axis (i moved it up 1.9).
didn’t realize setting up pins for bowling took so much work. Can’t imagine how folks did it 100 years ago without computers :laughing: jk jk

Edit: AHH right i forgot to mention i flipped the normals the right way round as well :arrows_counterclockwise:

2018-09-12 (2:03 AM)


Upgraded to 6 step pin for symmetry. Wanted a Triple Stripe and added a Blue stripe cuz i remember 5pin bowling has this big blue rubber bumper around the wide point.
Also for the colours i upped then intensity from 0.8 to 1.0 cuz bright colours!
Woo! :fireworks:

2018-09-12 (7:18 PM)


deleted extra items in the hierarchy, removed materials and made convex. Still determining seeing how many Verts i can get away with. if i remember it’s “As few as possible but as many as necessary” -Ben?

Edit#1:


1 un-subdivide itteration

Edit#2:


2 un-subdivide itteration

yeahhh i’m not un-subdividing it, the others just look unbalanced and asymmetric

Edit#3:


well i still wanted to do my best to lower my poly count, so i manually deleted faces and connected the vertices. I think i cleaned it up quite nicely! :smiley:

Edit#4:


fixed the bottom and flattened it

2018-09-12 (10:41pm)


keeping with low poly, i went with only 3 subdivides on my sphere, which i gatta admit is hard to work with.
found that trying to use 2 hexagons which share triangles doesn’t work, insetting the holes too deep causes them to intersect in a bad way. The lack of geometry i was working with made it difficult to place the thumb hole for the sphere cuz pentagons kept getting in the way, though i suppose i could have used the same technique on them?
made my holes a bit too shallow and too big i think. i’ll leave it for now to continue on the lesson though.

Edit #1:


fixed up my ball, made the holes 1bu in depth each and shrunk thier diameter

hooray for trying to keep it low poly

Edit#2:


somehow gave one of the holes an Eye, so imma just delete the faces and create new ones with the point in the middle

Edit#3:
image
sooooooo i accidentally deleted the central Vert and can’t undo it back, soooo immma see if i can create a new one?

Edit#4:
image
so i selected 2 opposing Verts, made a line between them, subdivided it once, then used the new vert to make all the faces, then pulled it out 0.01 along it’s normal Z vector.

Edit#5:
i was all excited about my ball but then noticed the holes are pretty far apart. thats just due to me using a lower poly ball and not knowing how to create the geometry close enough. guess i’ll just use a higher poly sphere next time. Must only be the colliders that have to be low poly. Also wondering if it’s better the less poly i use for colliders or if anything under 256 performs perfectly.

Edit#6:
image
All coloured up. Manually went around and SHIFT+CLICKED every triangle i wanted to turn yellow, not sure if there is a faster way of doing it but TADA! :rainbow:

2018-09-13 (12:15AM)


Looks like we’re getting set up to go bowling. as for getting to this scene, i was just in the same boat as Michael. So i followed him and scaled my ball by 0.415

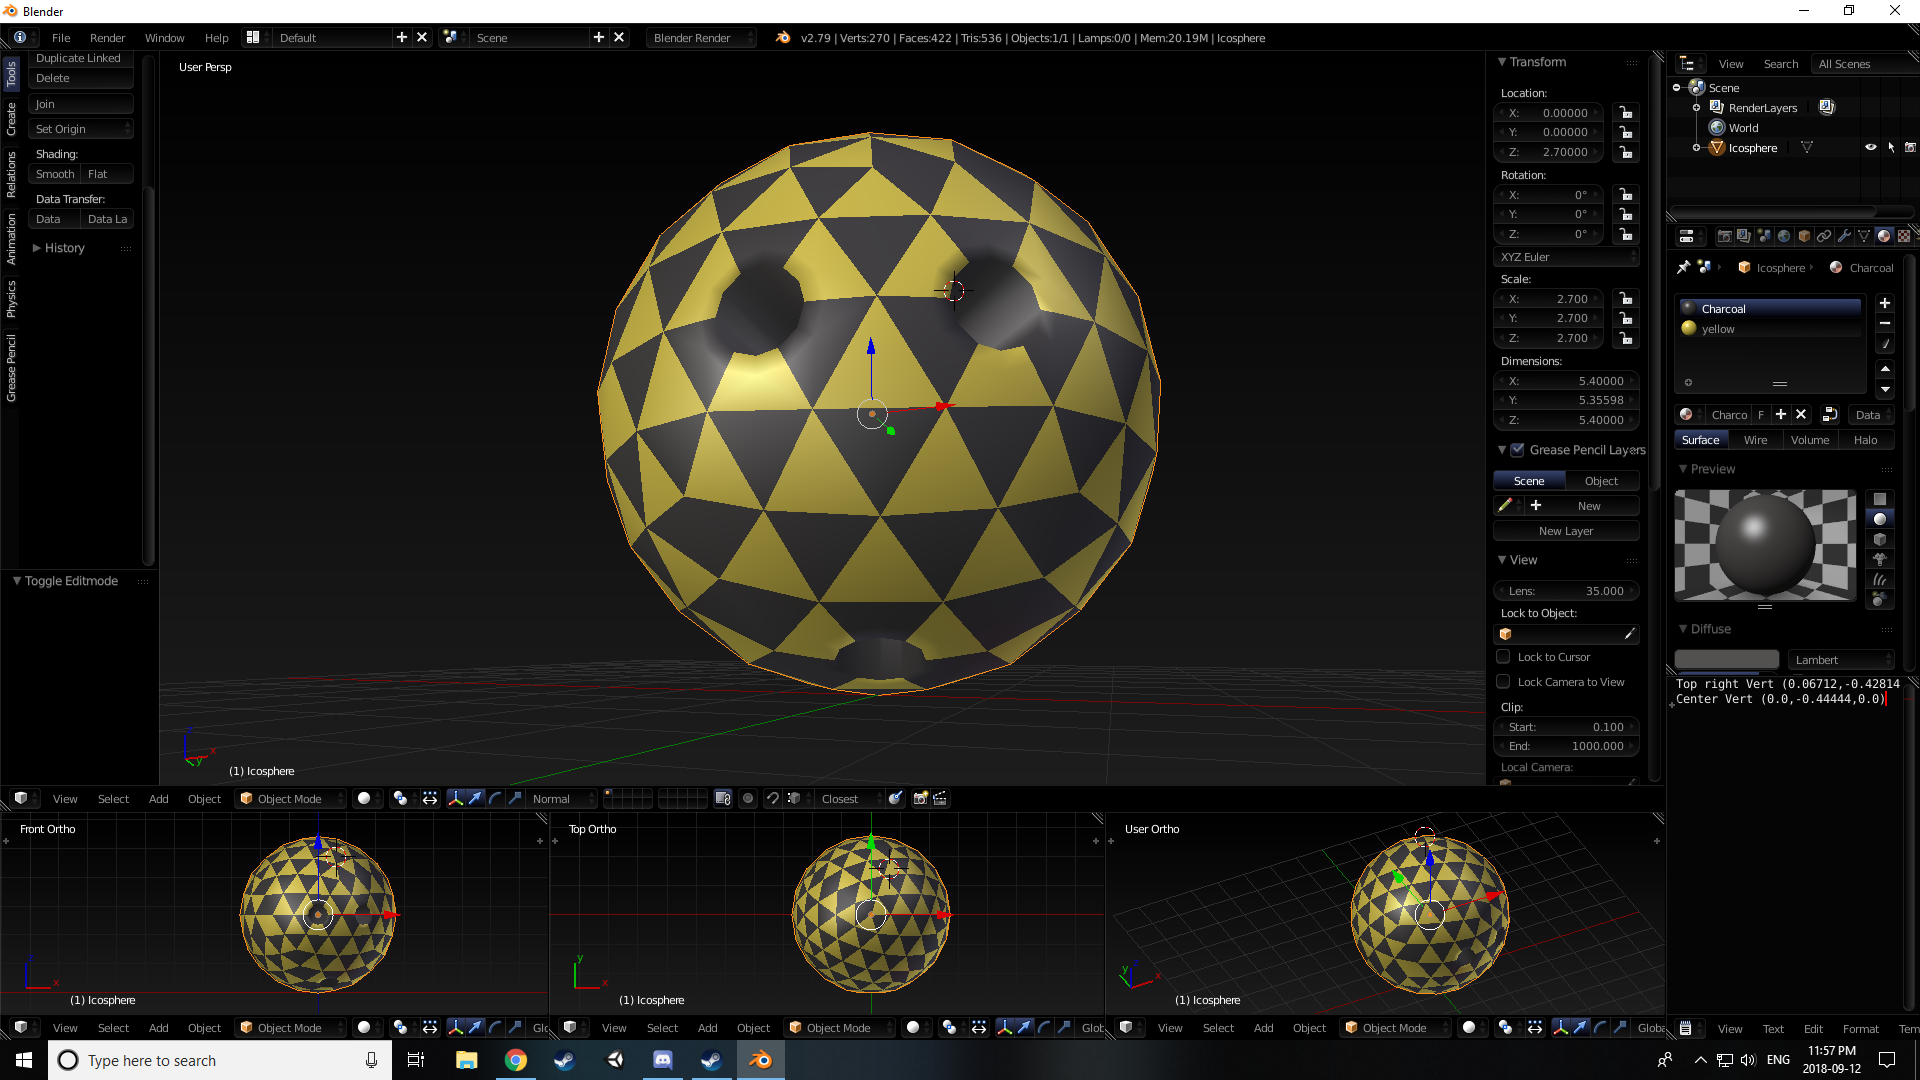
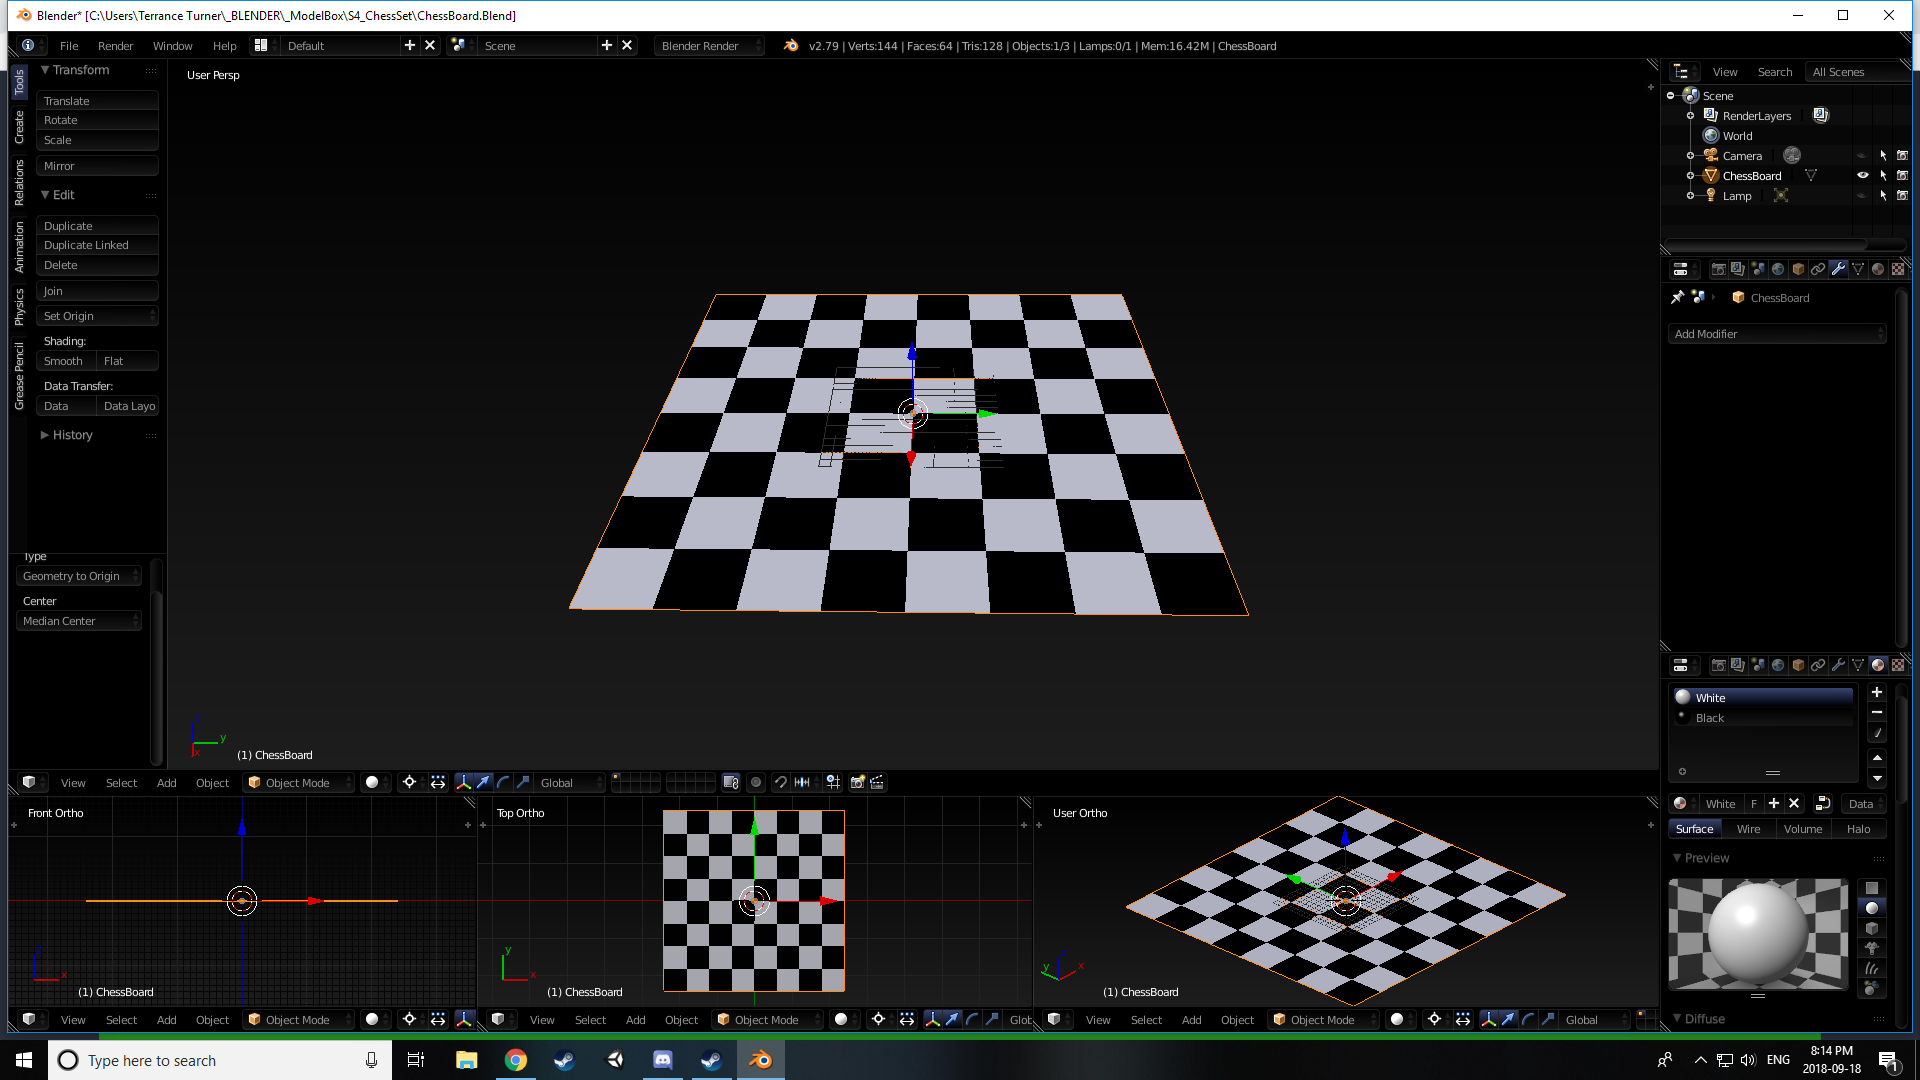
2018-09-13 (12:20 AM)


:musical_note: 
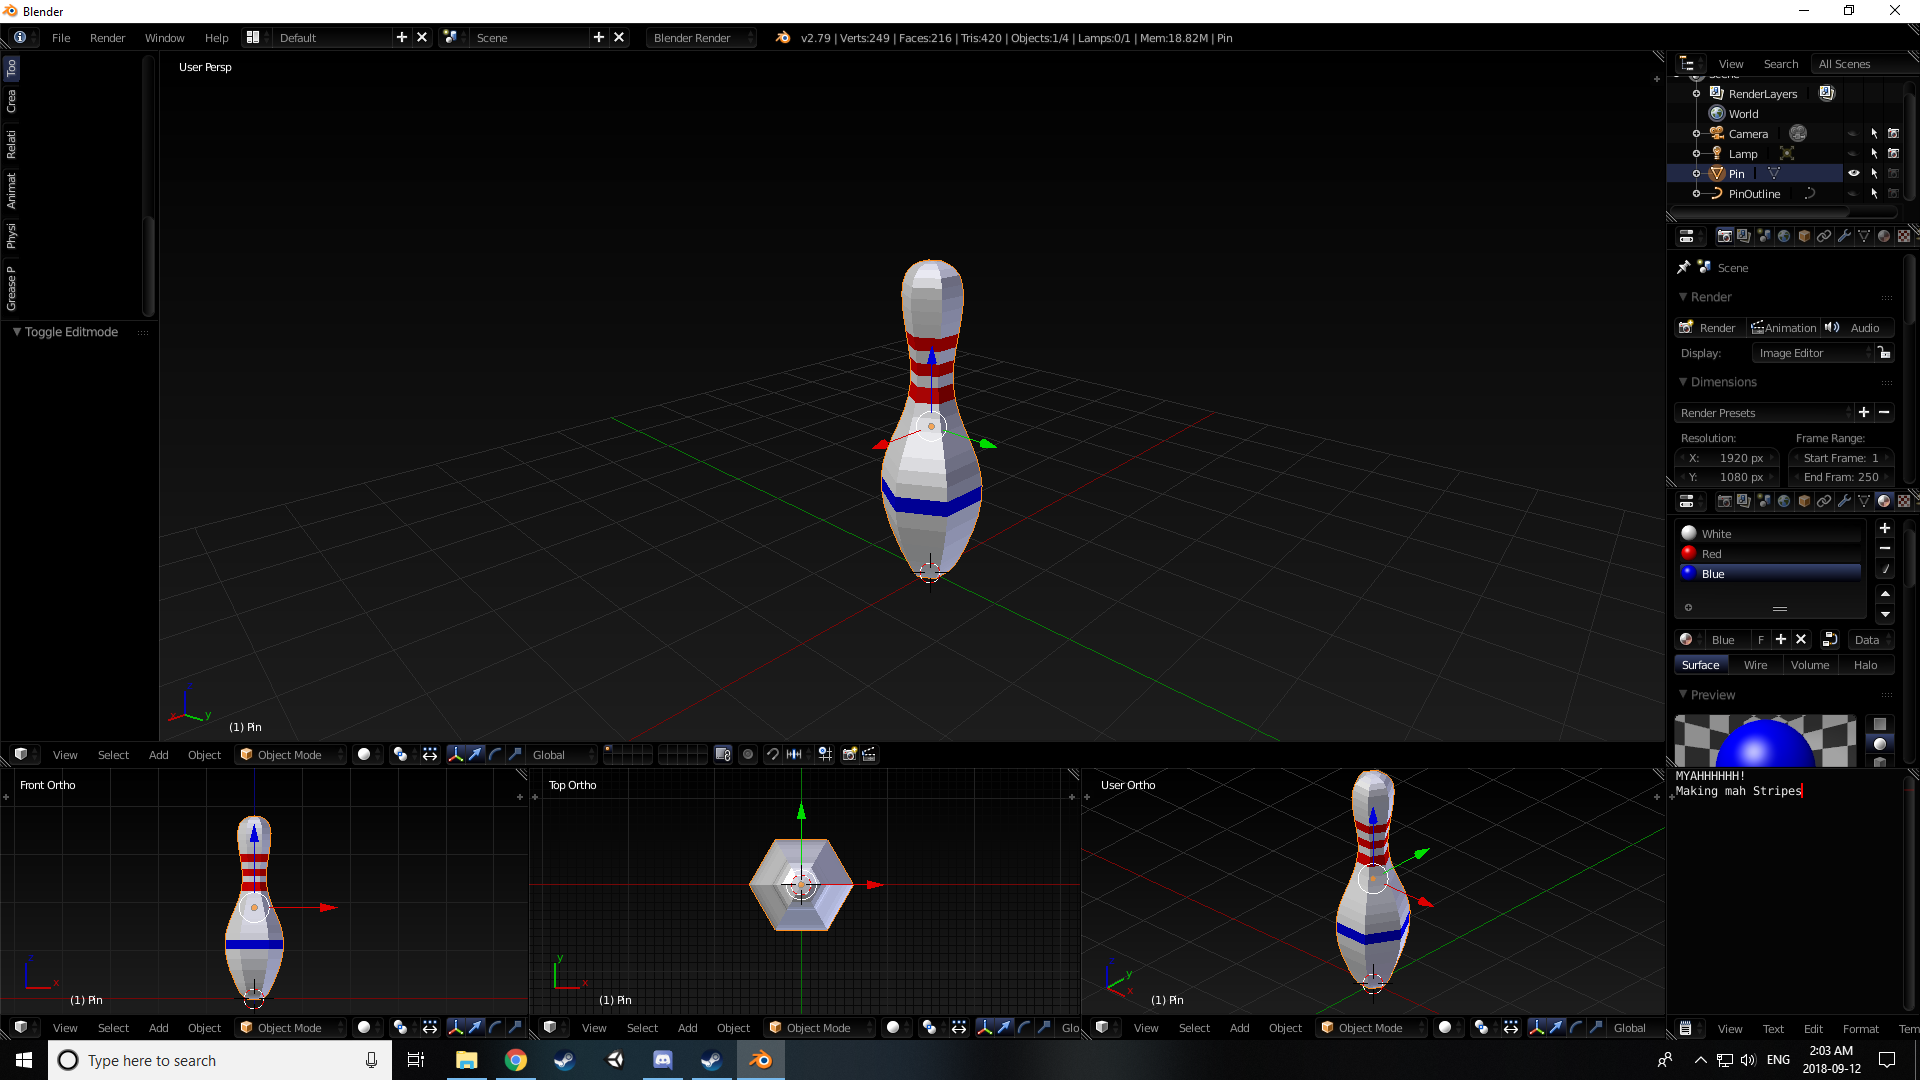
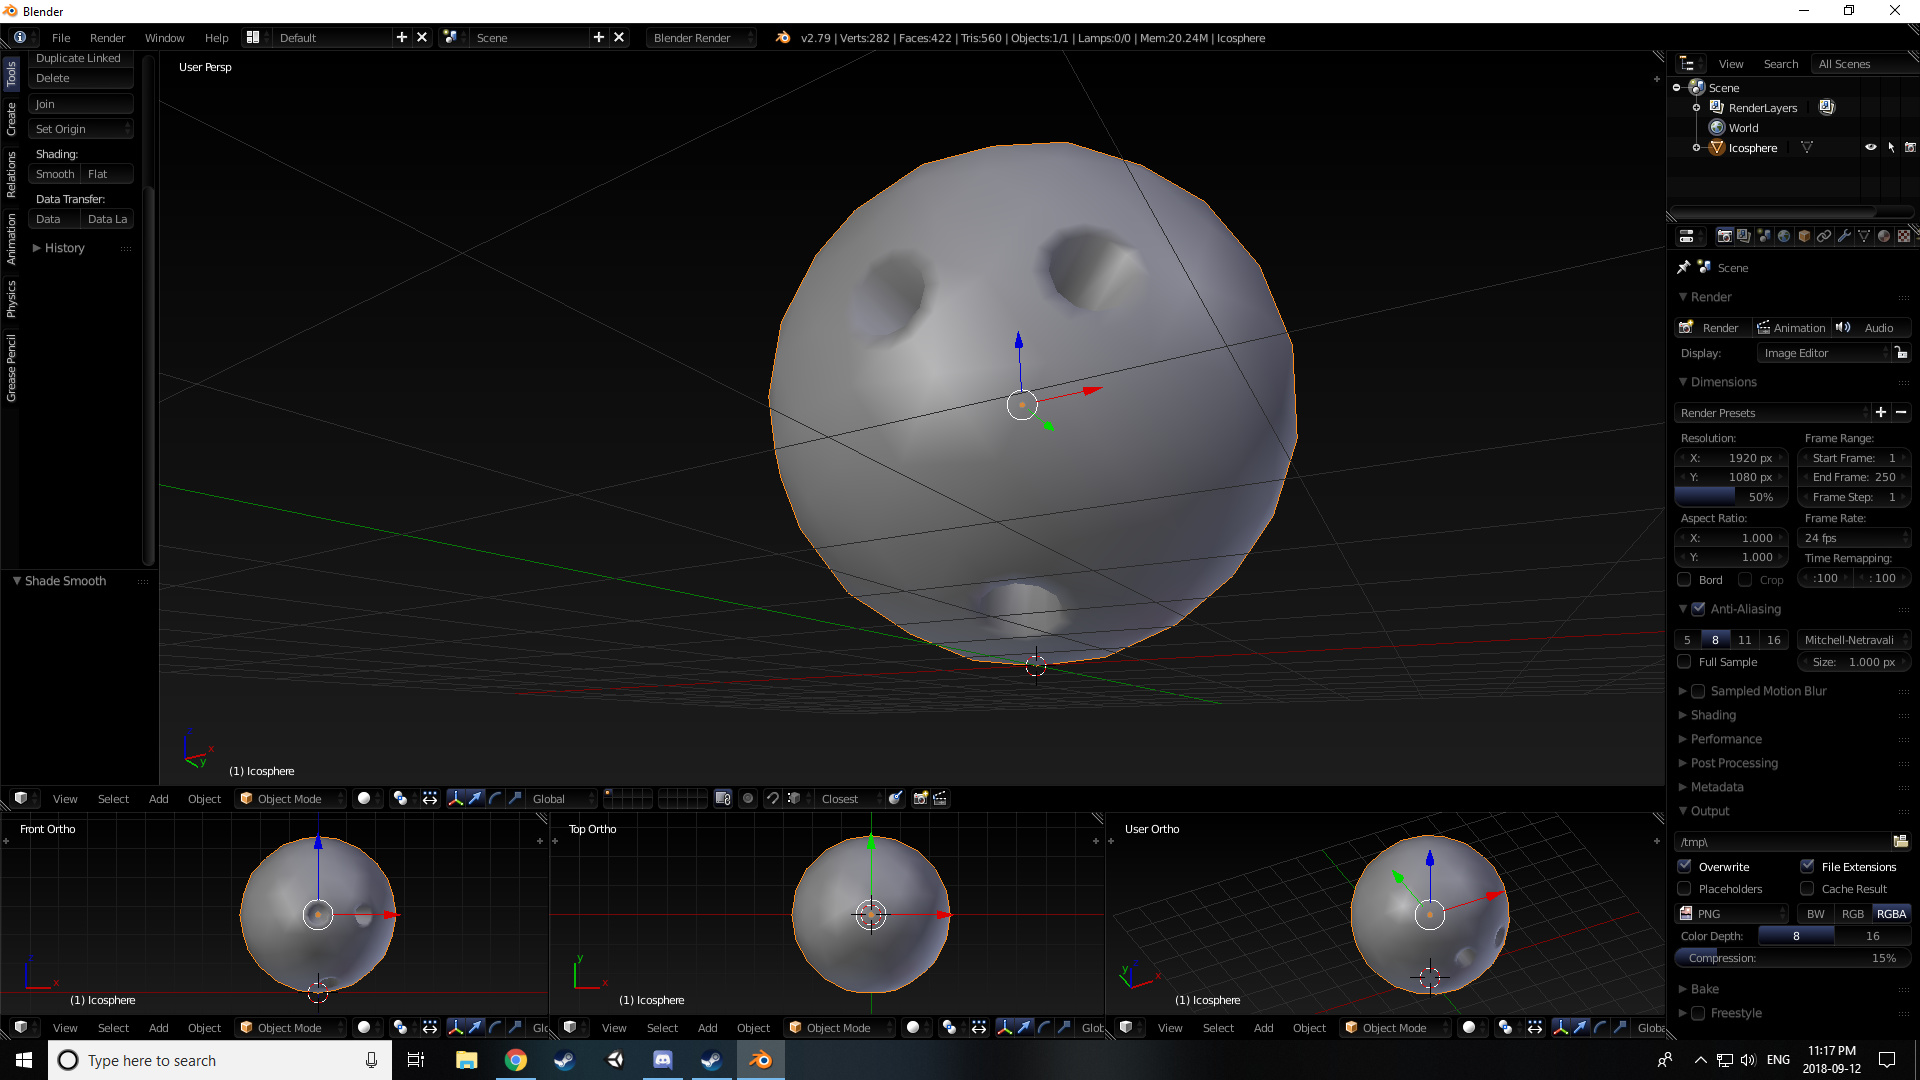
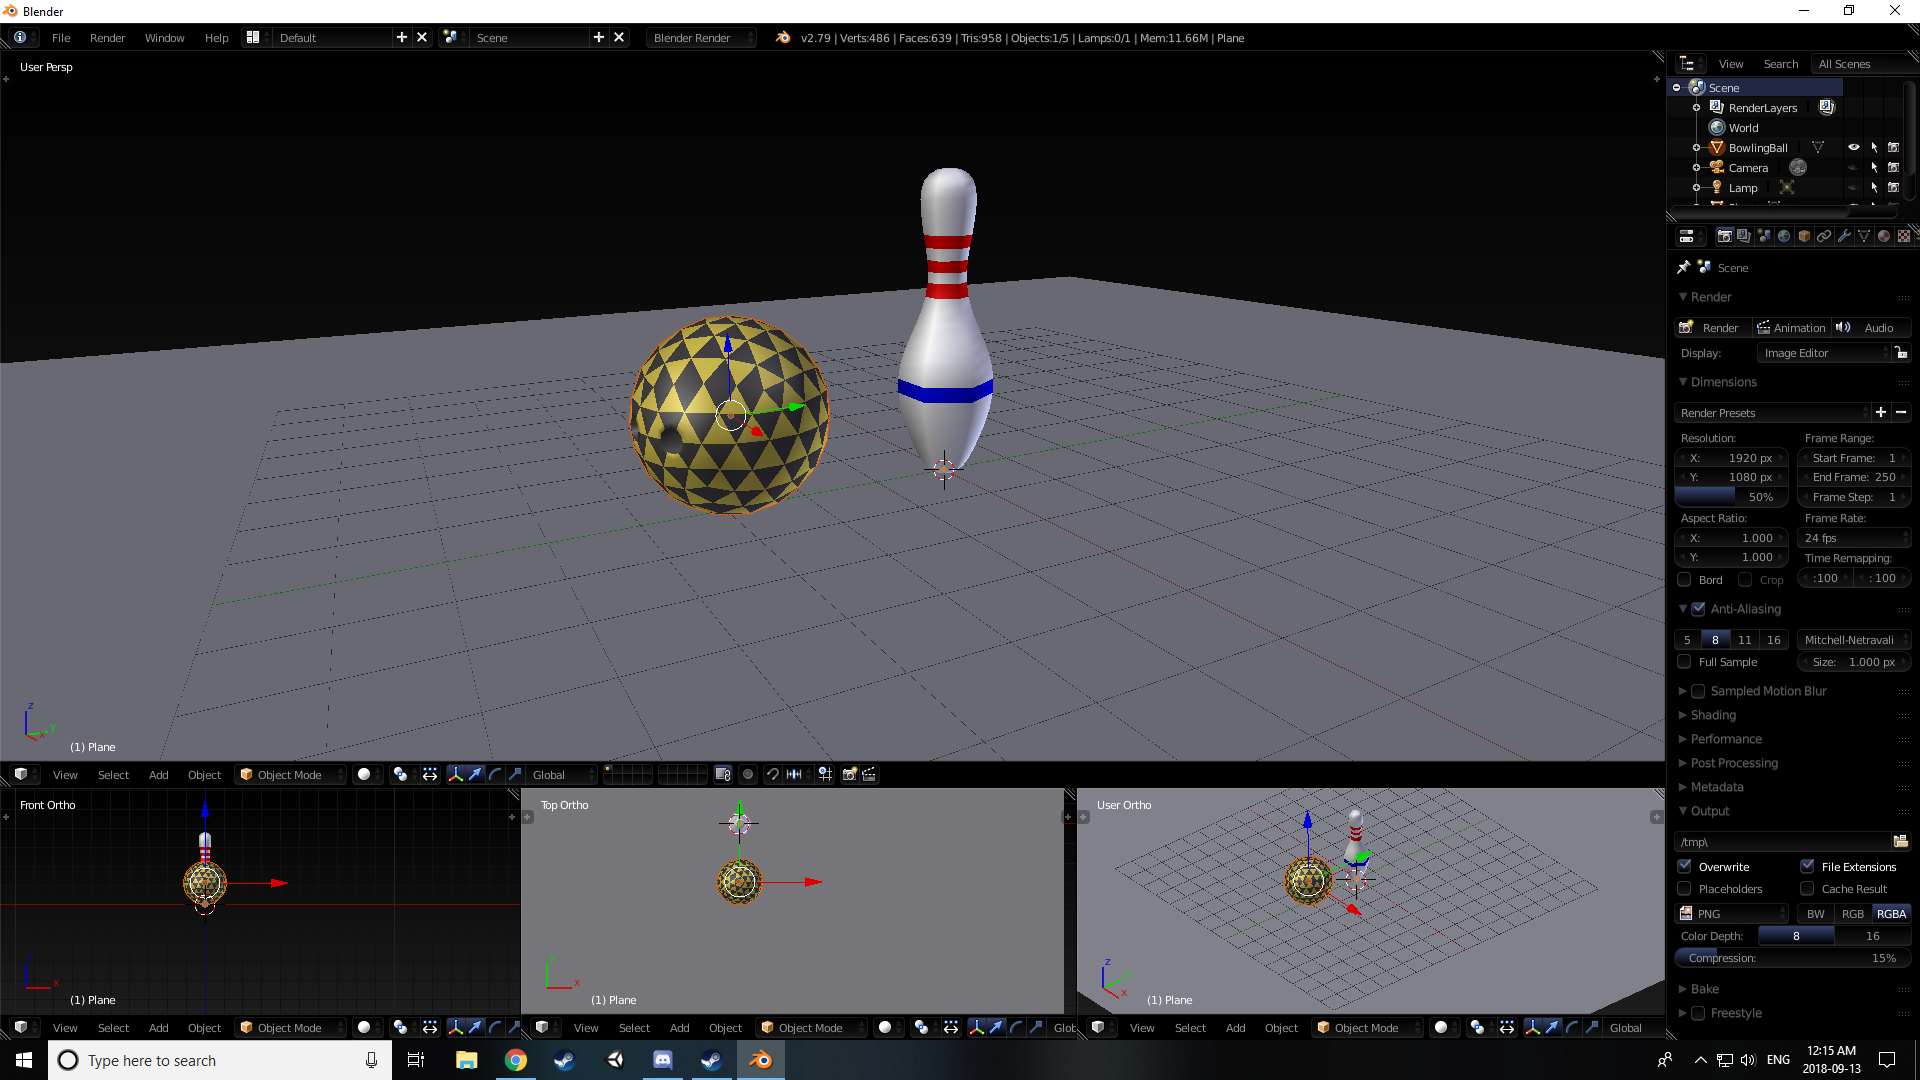
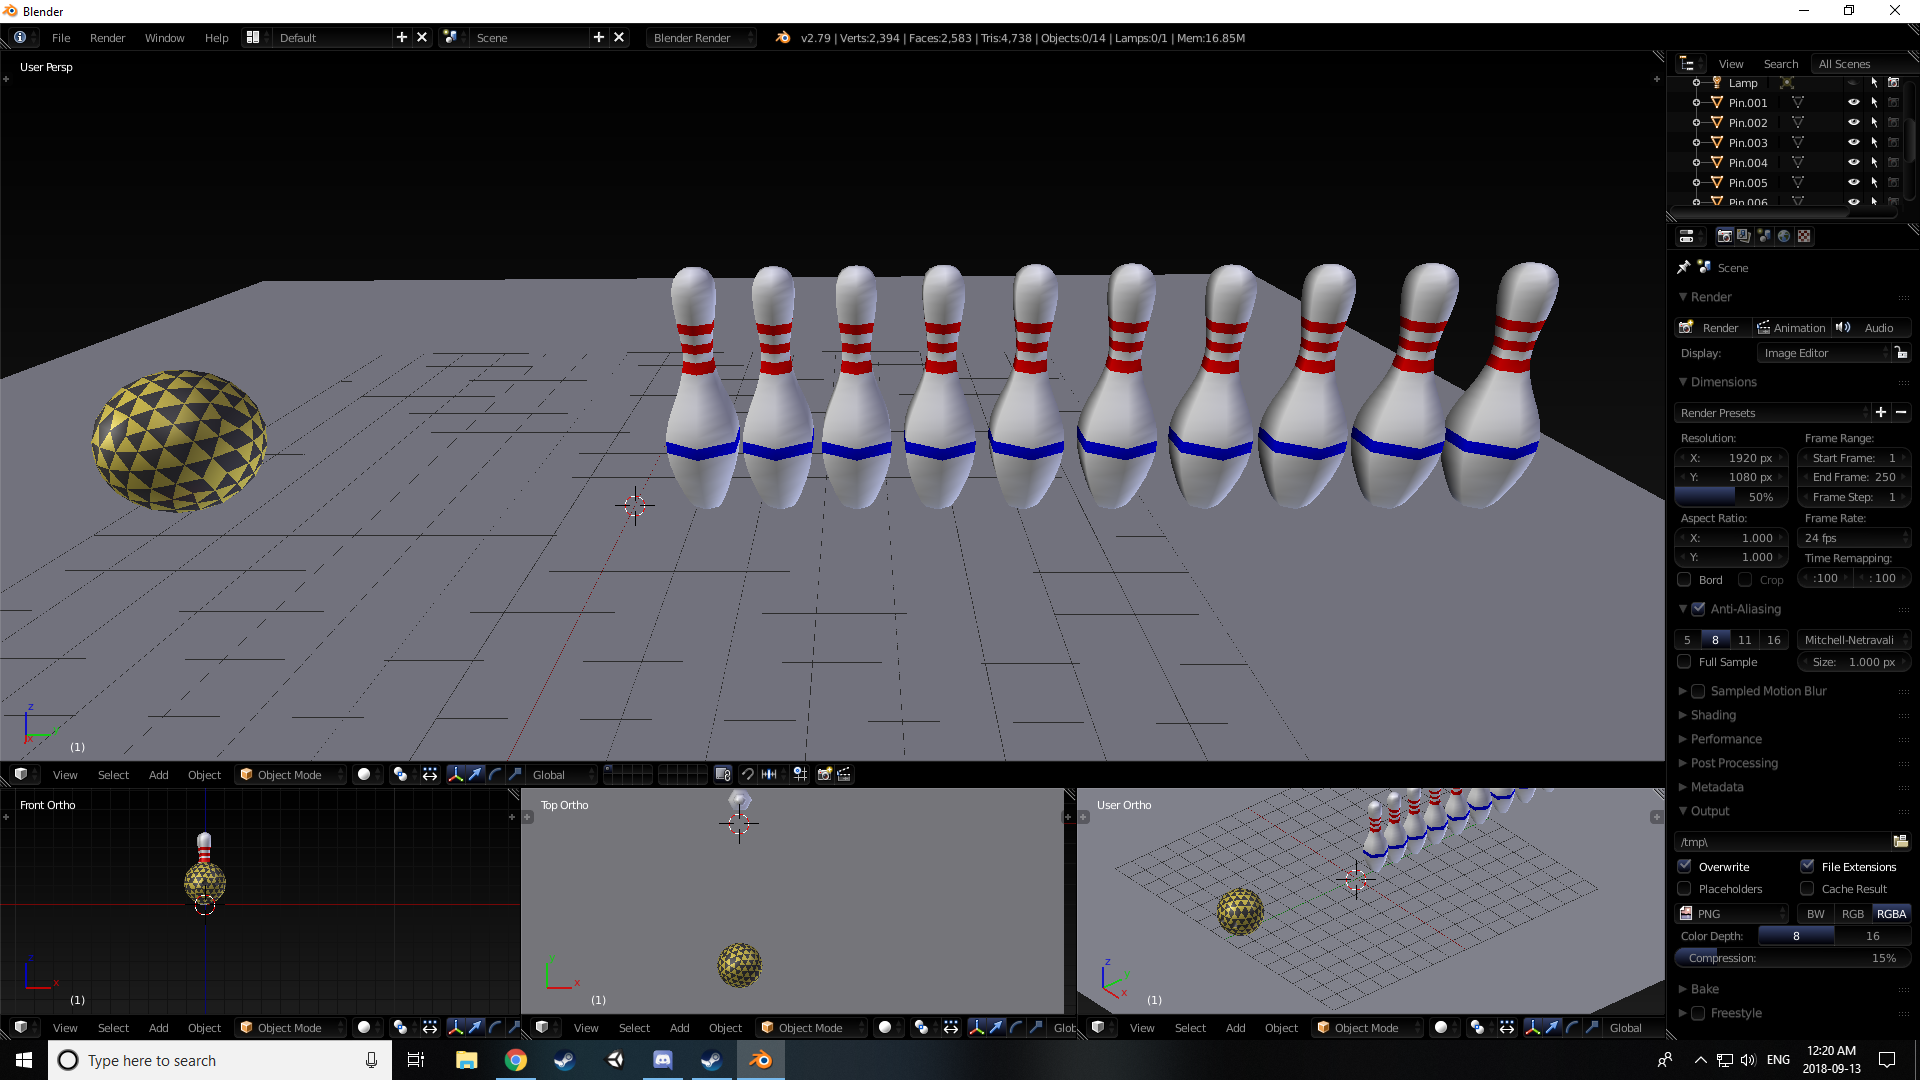
I’ve got a Lovely bunch of bowling pins :musical_note:
:musical_note: There they are, all standing in a rowwwww :musical_note:

Edit#1 (12:30 AM)


now they’re in their general positions, now i just gatta math out what the actual spacing is, and how to use it in my blender units. Cuz they’re 12 inches apart but my models are in cm sooooo
12inches x 2.45 = 30.48cm
now using Pythagorean theorem i should be able to figure out how far along the X and Y axis i need to move each pin

Edit#2 (12:42 AM)
so i know that from the center of the first pin to the center of the back, right pin is 36inches
i Also know that they are placed in an equilateral Triangle. So that means the back row is also 36 inches
so if i was to cut the placement in half, i’ll have a right angle triangle with the sides of 18 inches (half of 36), 36 inches (the hypotenuse) and X. so

18(squared) + X(Squared) = 36(Squared)
324 +X(Squared) = 1296
subtract 324 from both sides of equation to isolate X
X(Squared) = 972
X = 31.17 inches

so the Coordinates i have to move my furthest pin is (31.71, 18, Z)
BUT WAIT, i’m in cm and these coordinates are in inches.
31.71 x 2.45 = 77.68cm
18 x 2.45 = 44.1cm

which leaves my new Coordinates as follows: (77.68cm, 44.1cm, 1.9cm)

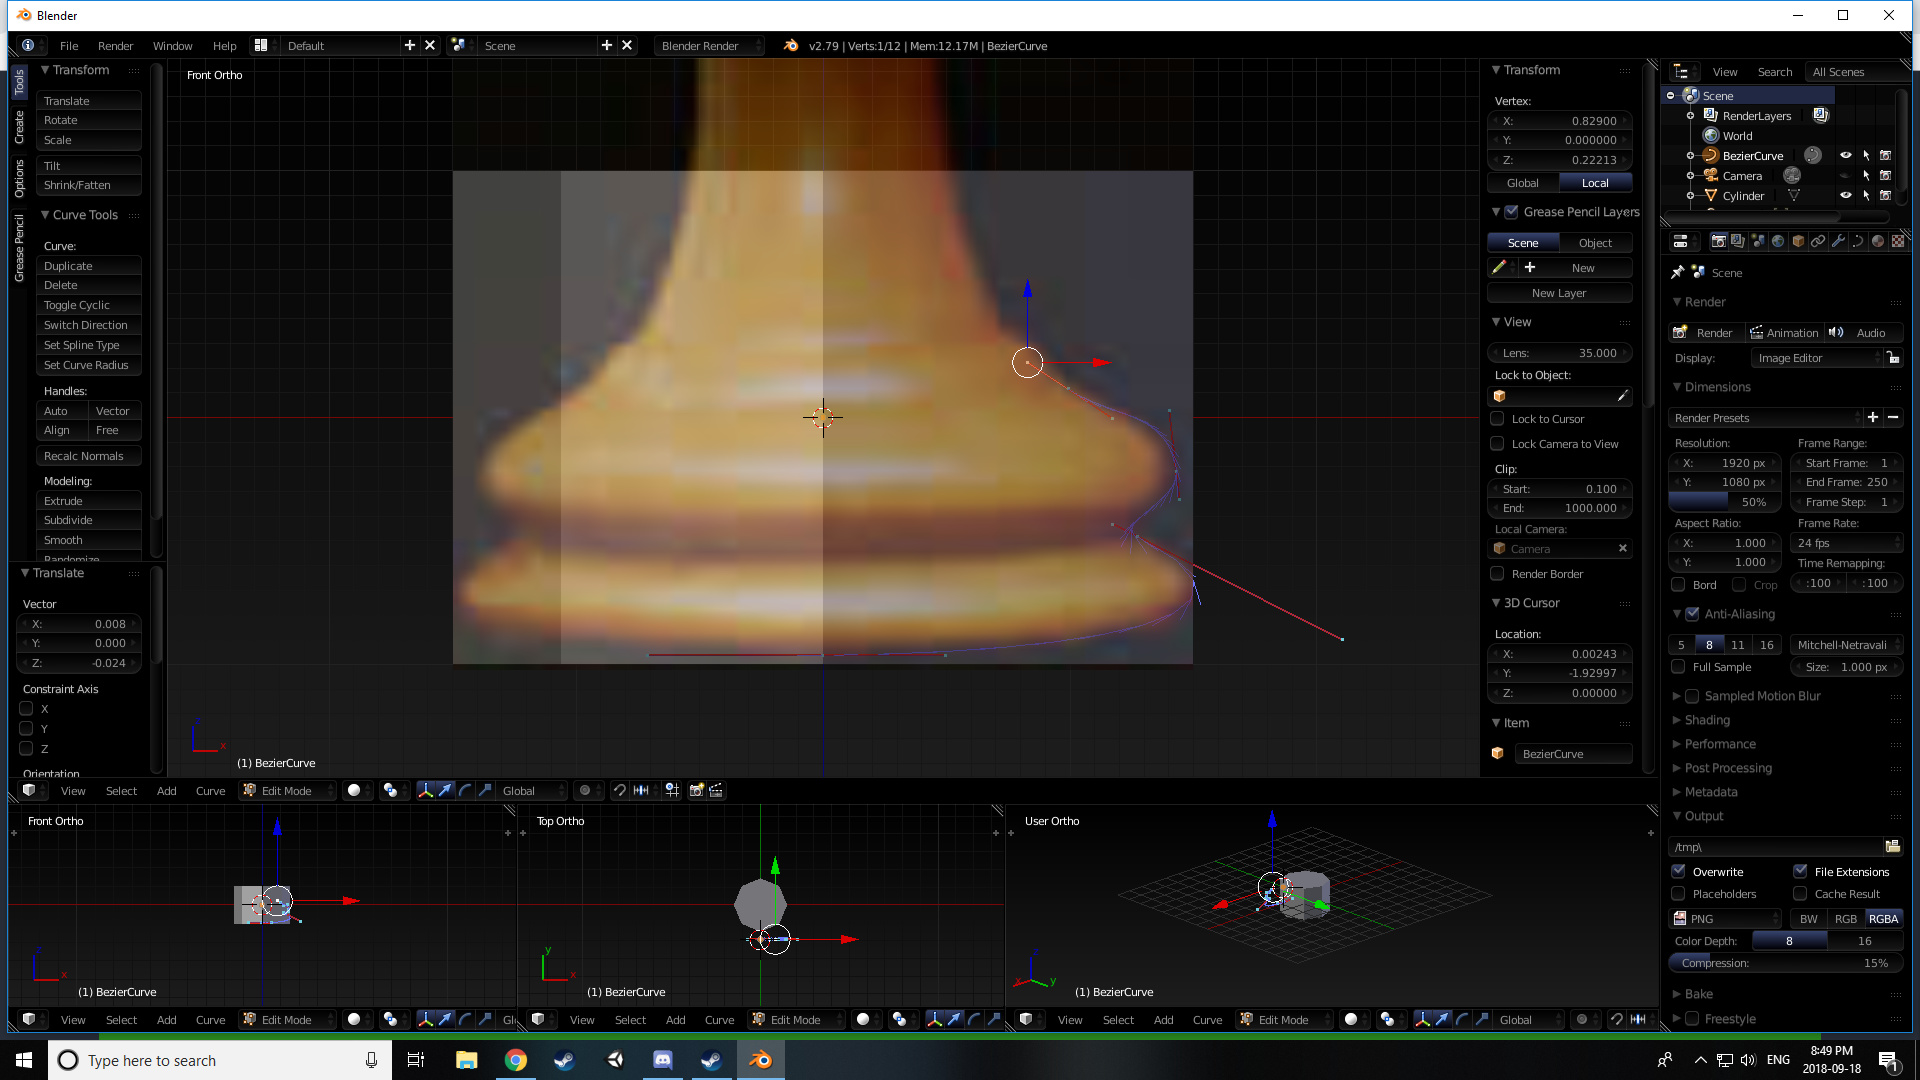
And after much fiddling around i forgot the pins and ball were made upscale by 10x
sooooooooo guess we’re working in meters.
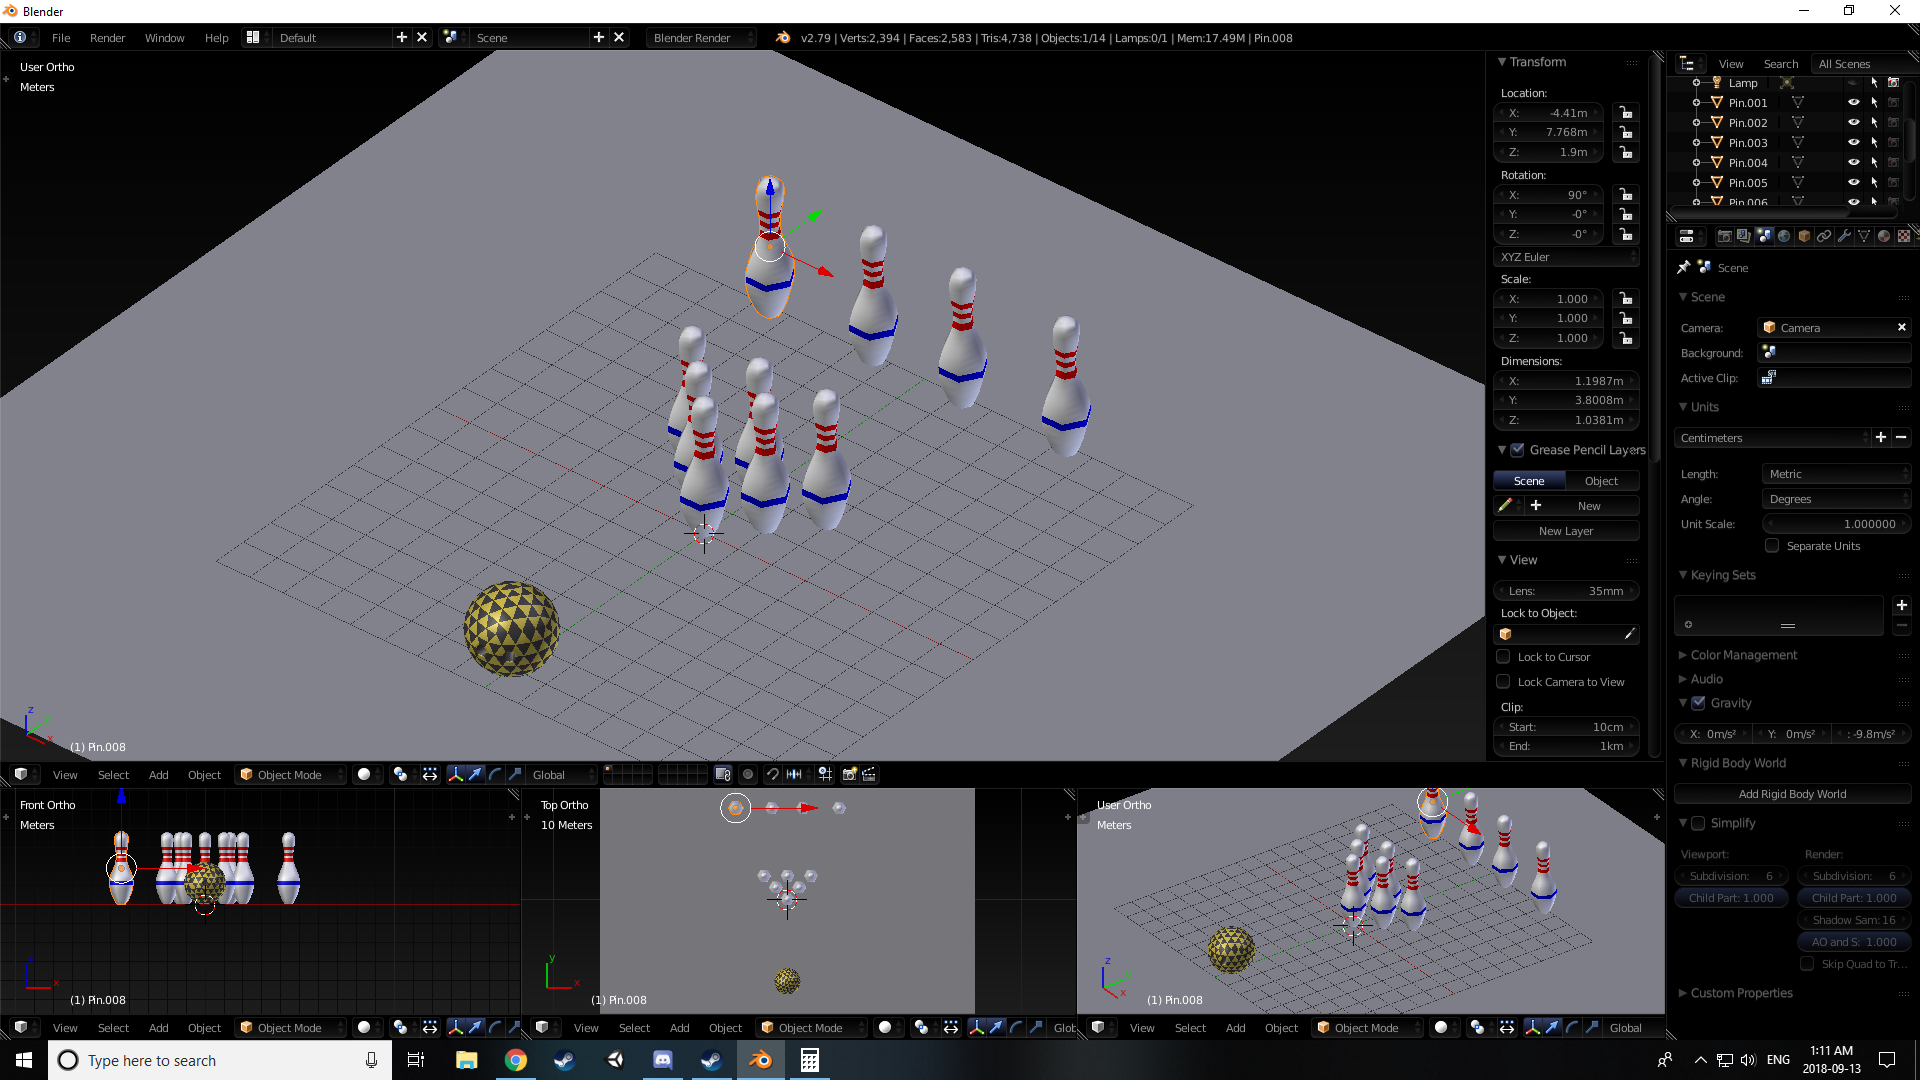
so new coordinates for the furthest pin is (7.768m, 4.41m, 1.9m [that’s just so they sit atop the plane we made)
and they are each spaced out by 3.048m

so the back row Coordinates will be
#7 (7.768, 4.41, 1.9)
#8 (7.768, 1.362, 1.9)
#9 (7.768, -1.362, 1.9)
#10 (7.768, -4.41, 1.9)

and after putting that in mine, i see that i have my axis backwards but still got the same result.


now to figure out the others

okay so their all 3.048 from eachother, so if i was to match the coords of one of the third row pins with the corner pin, i should be able to move it half of the spacing between pins (1.542) along the x axis then along the y axis cuz they form equilateral triangle right?

well i tried it and it failed XD

alright well back to Pythagoras’ theorem
A = half the distance between pins, so 1.542
B = ?
C = full distance between pins sooo 3.048
I’m cutting the equilateral in half

A(Squared) + B(Squared) = C(Squared)
1.542(Squared + B(Squared) = 3.048(Squared)
2.322 + B(Squared) = 9.29
B(Squared) = 6.968
B = 2.639

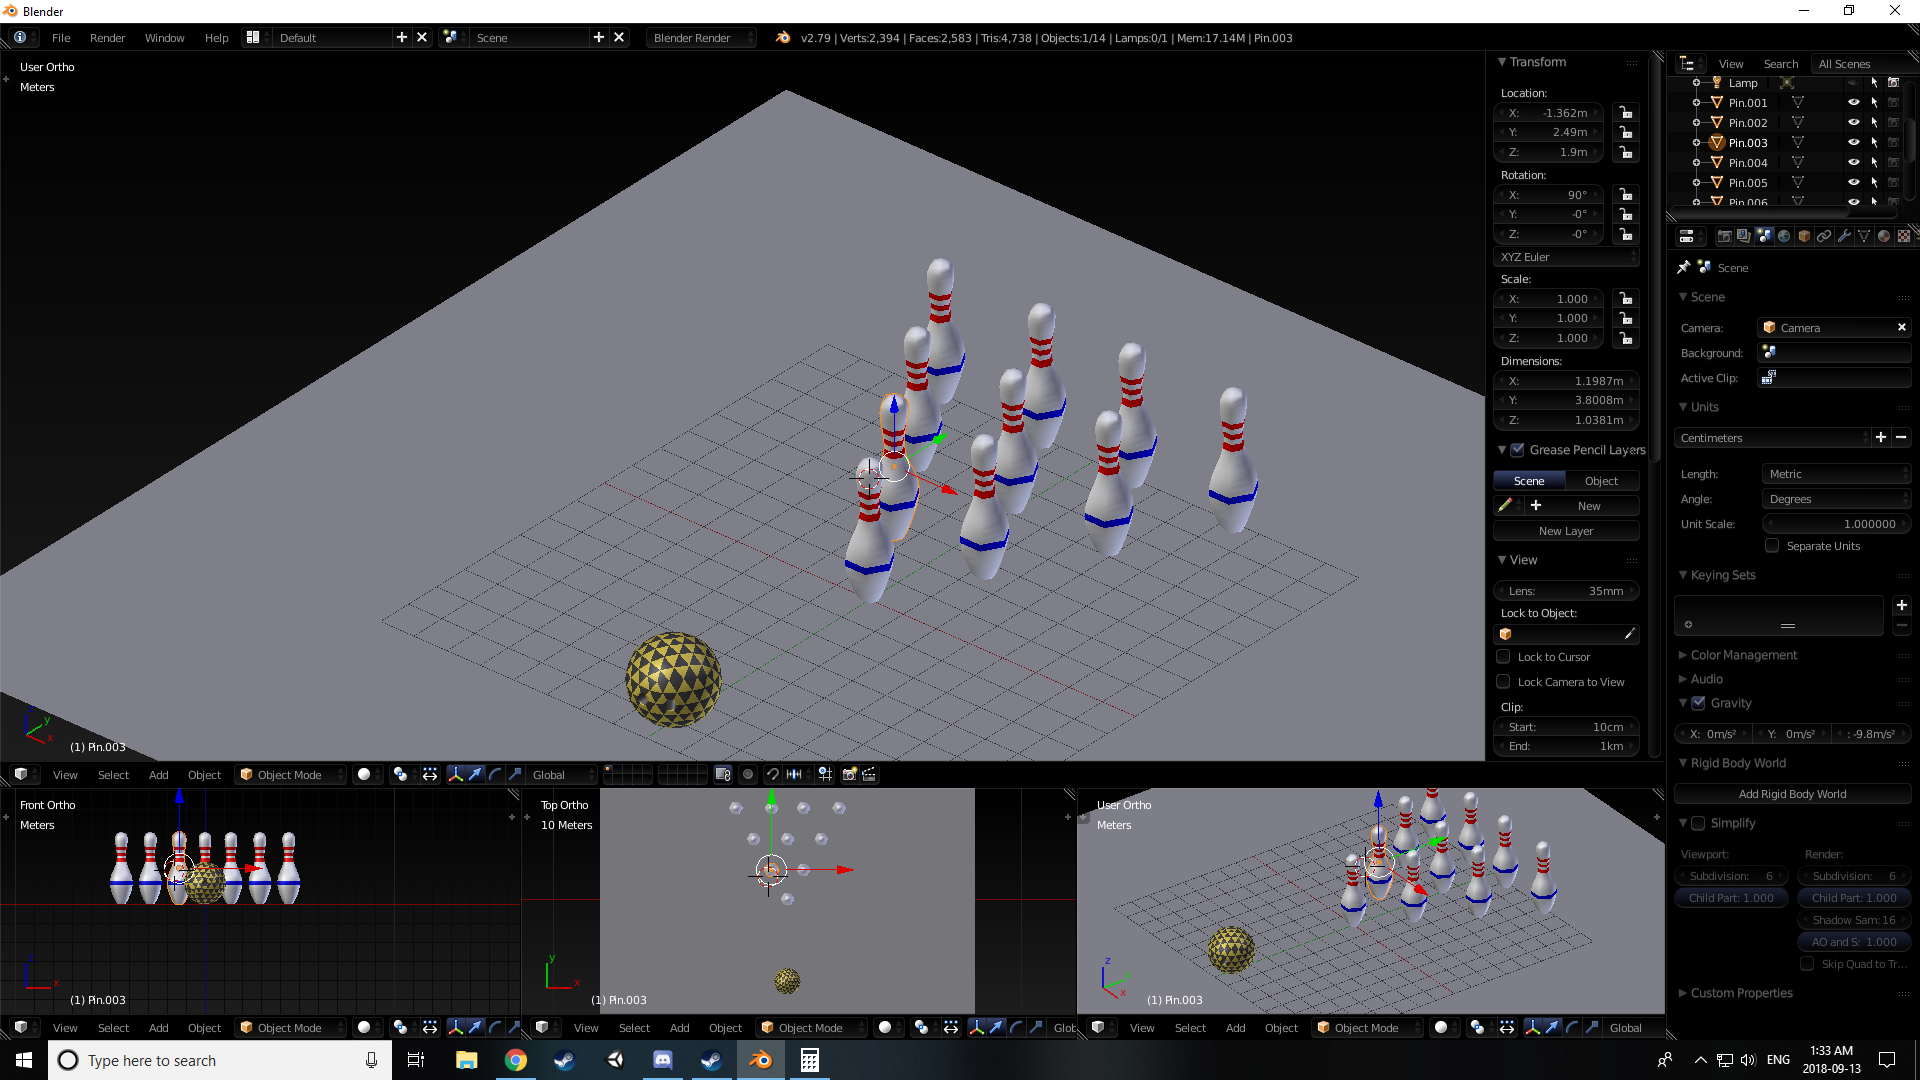
I’mma start rounding to the nearest 100th from now on

#4 (-2.886, 5.129, 1.9)
#5 (0 , 5.129, 1.9)
#6 (2.886, 5.129, 1.9)

#2 (-1.362, 2.49, 1.9)
#3 (1.362, 2.49, 1.9)

#1 (0, 0, 1.9)

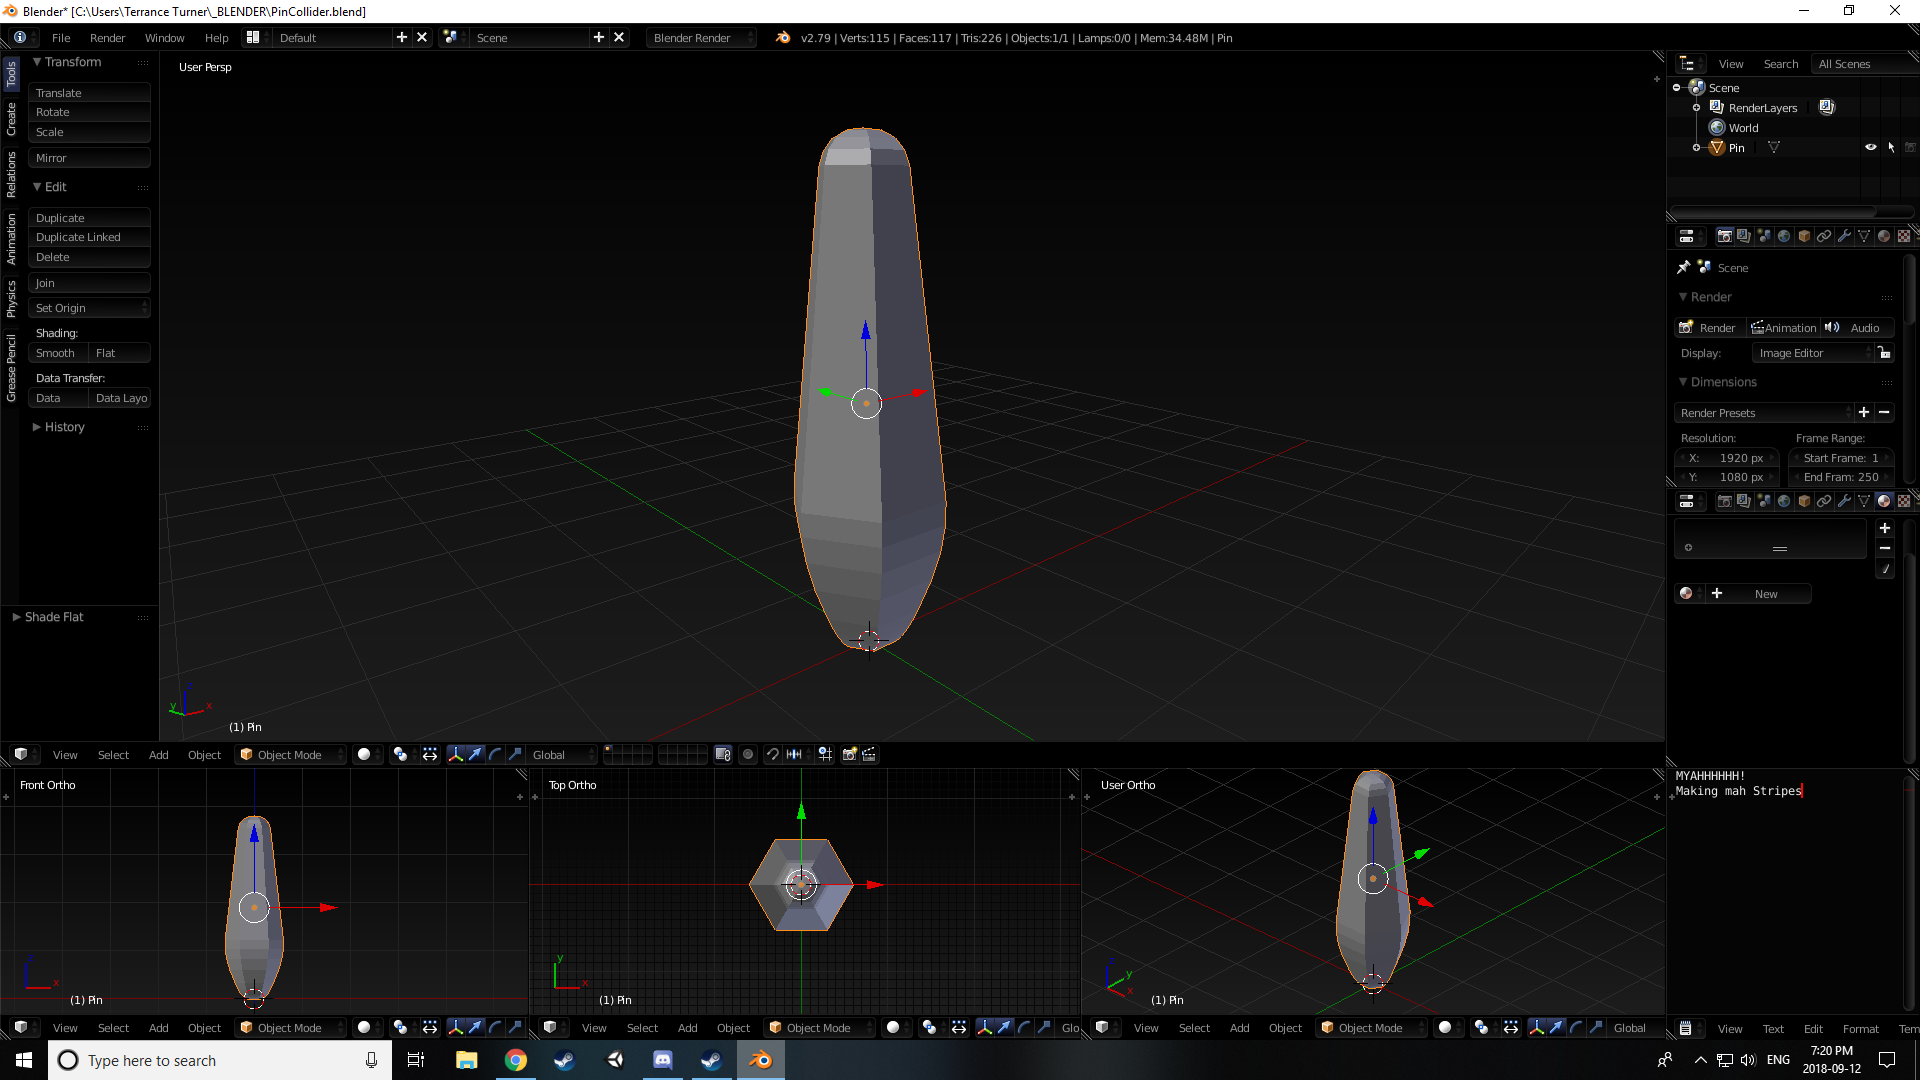
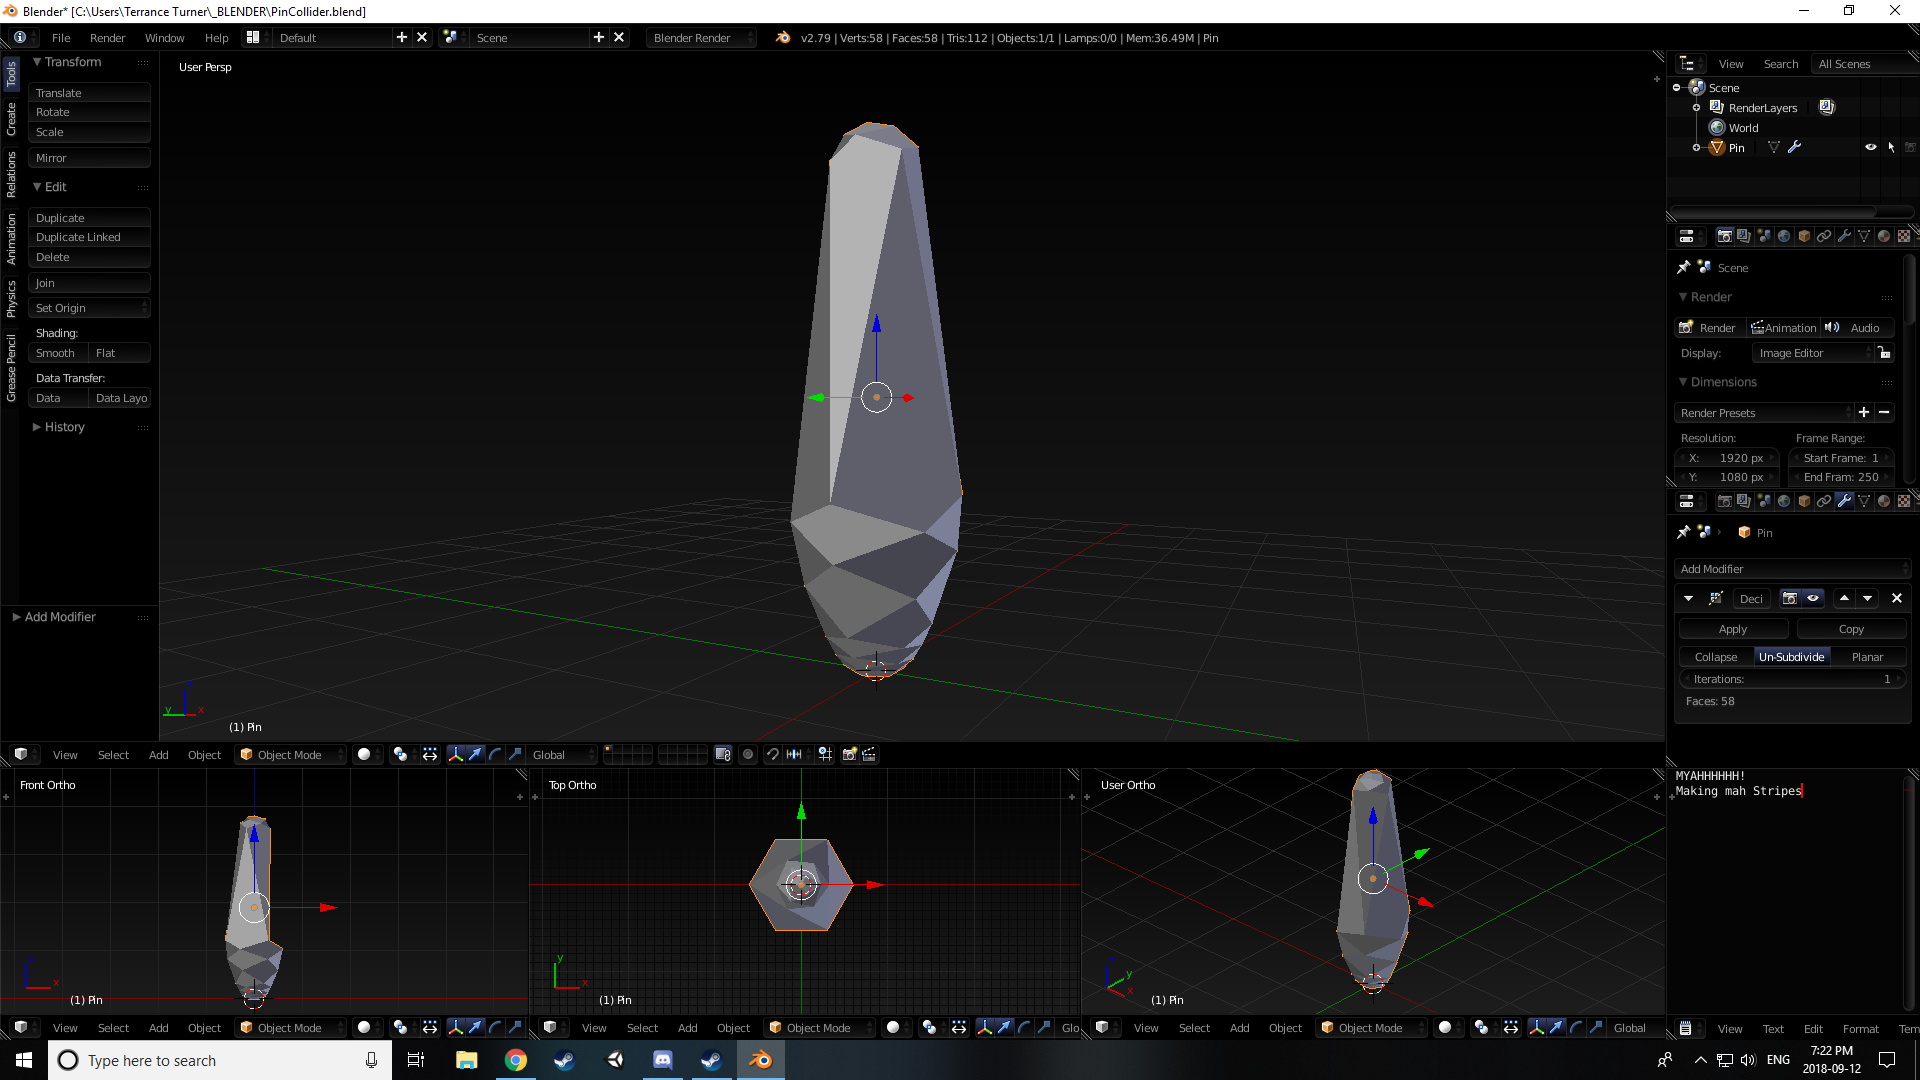
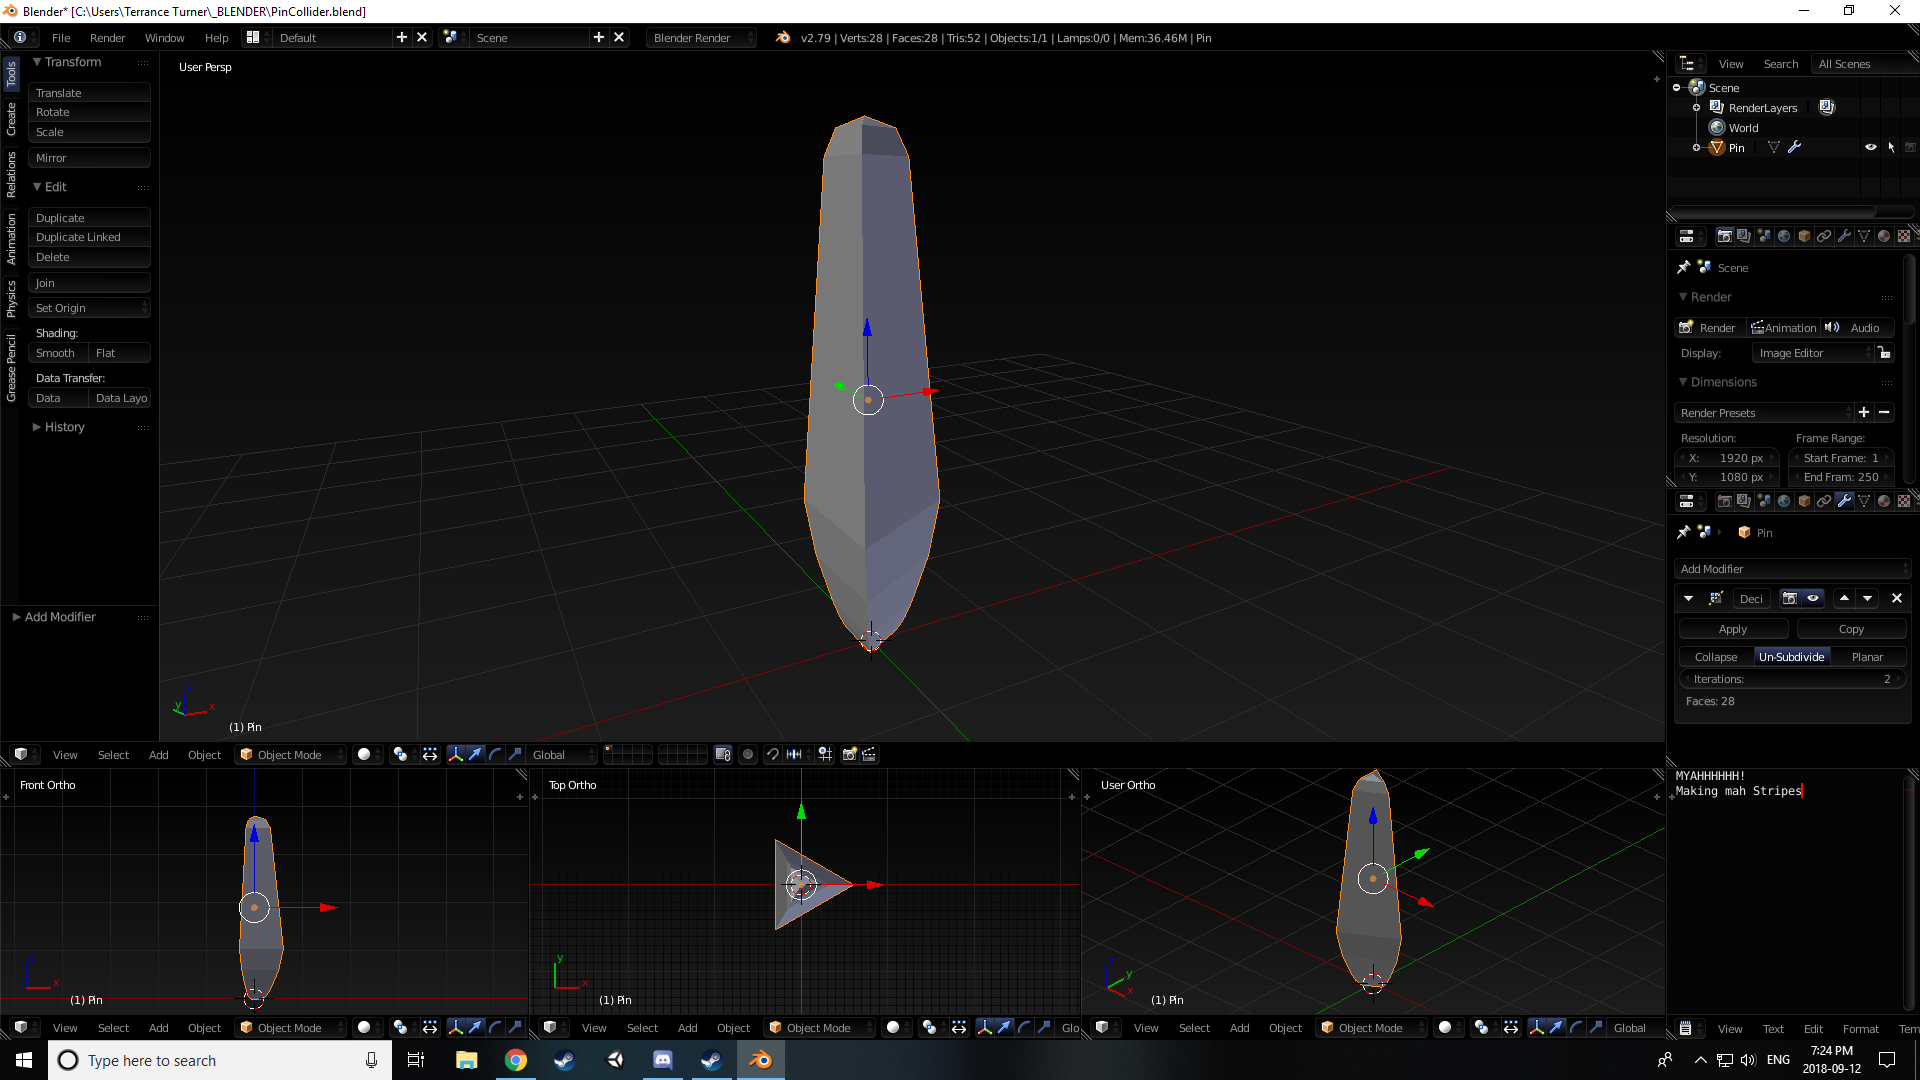
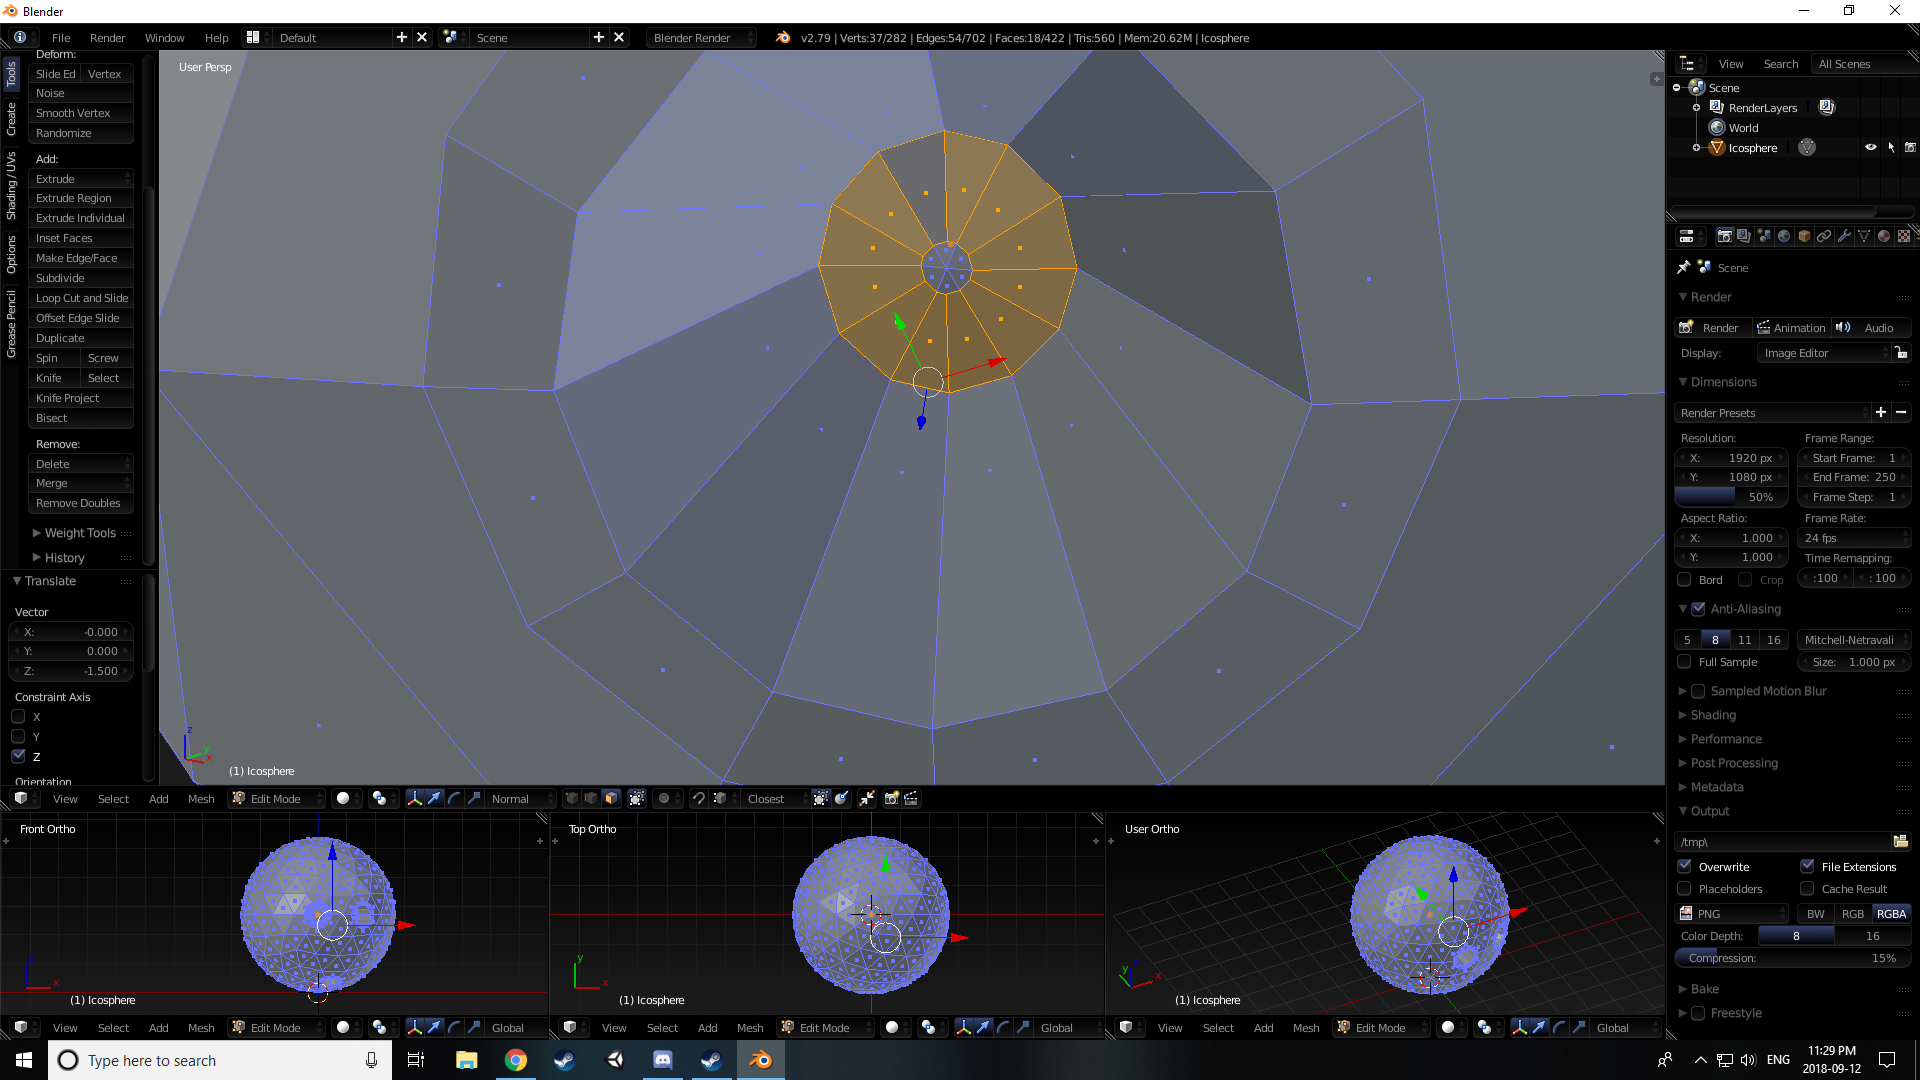
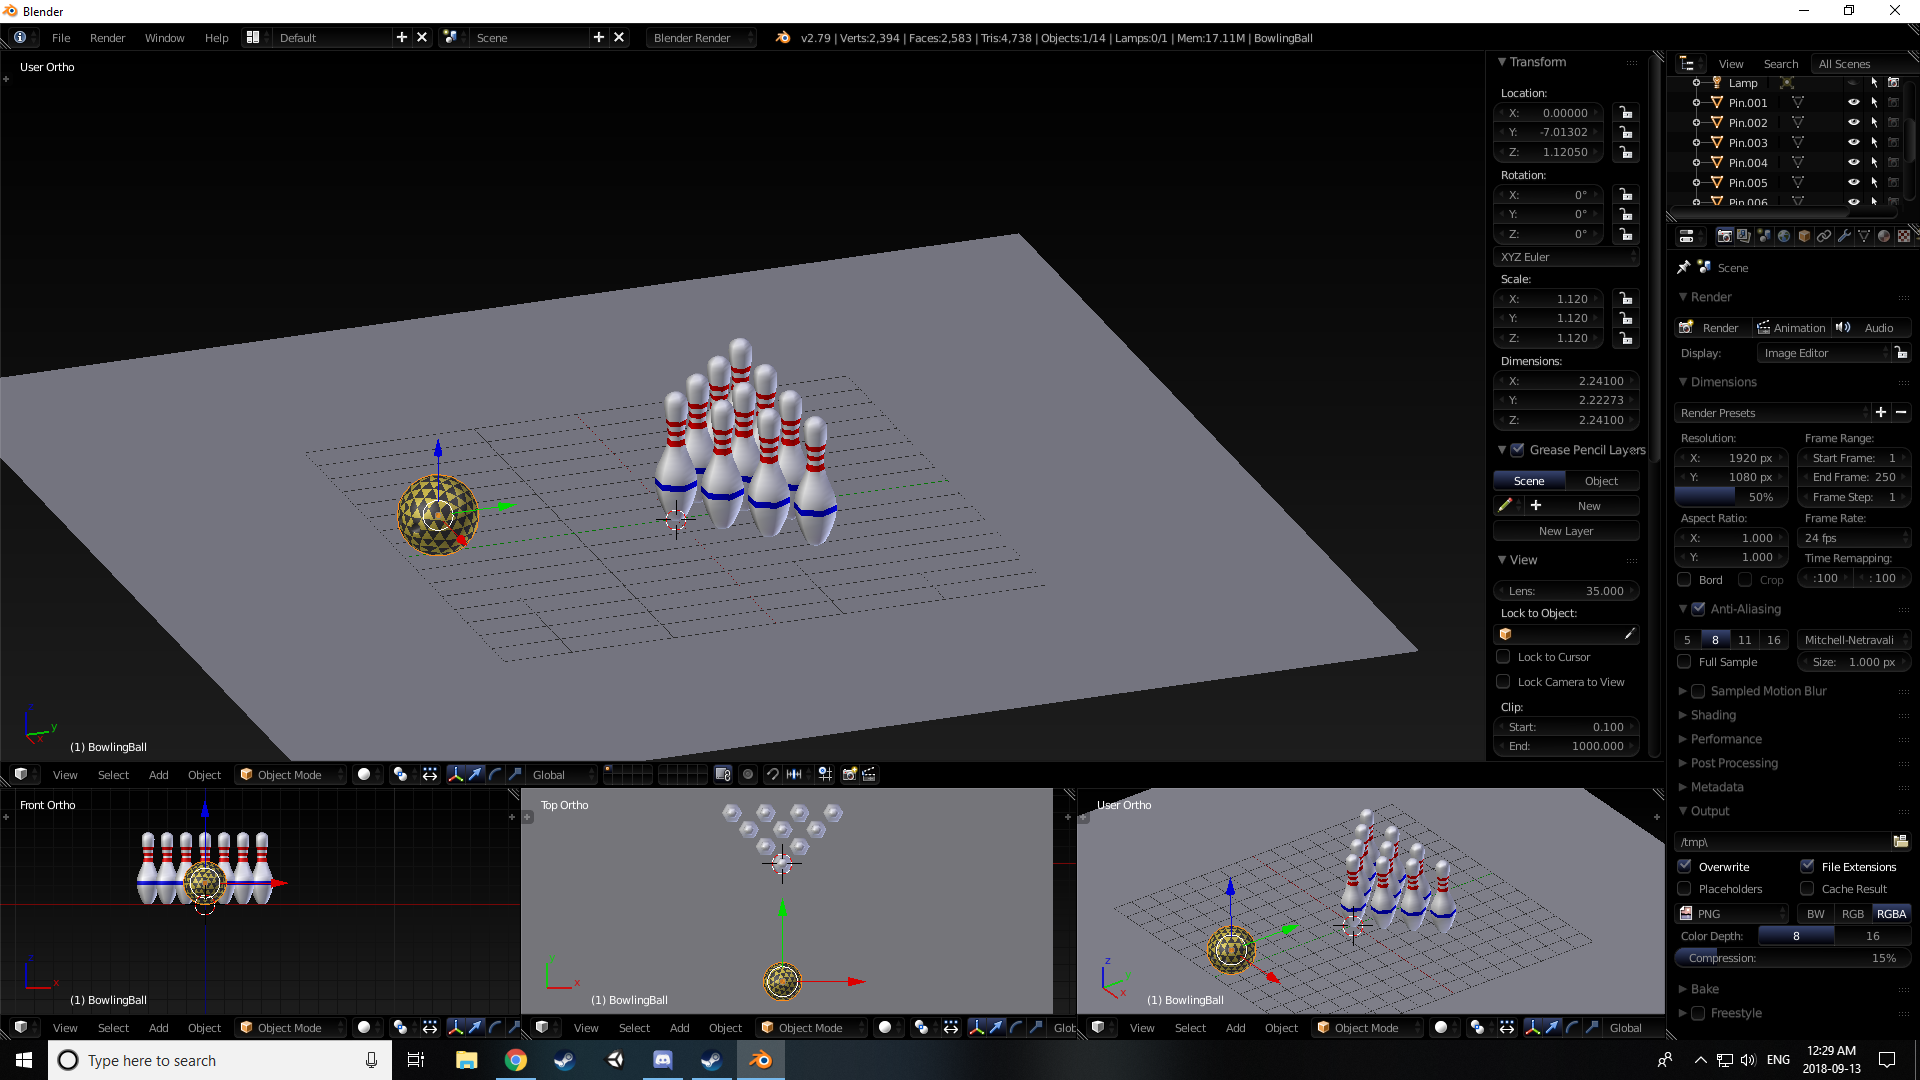
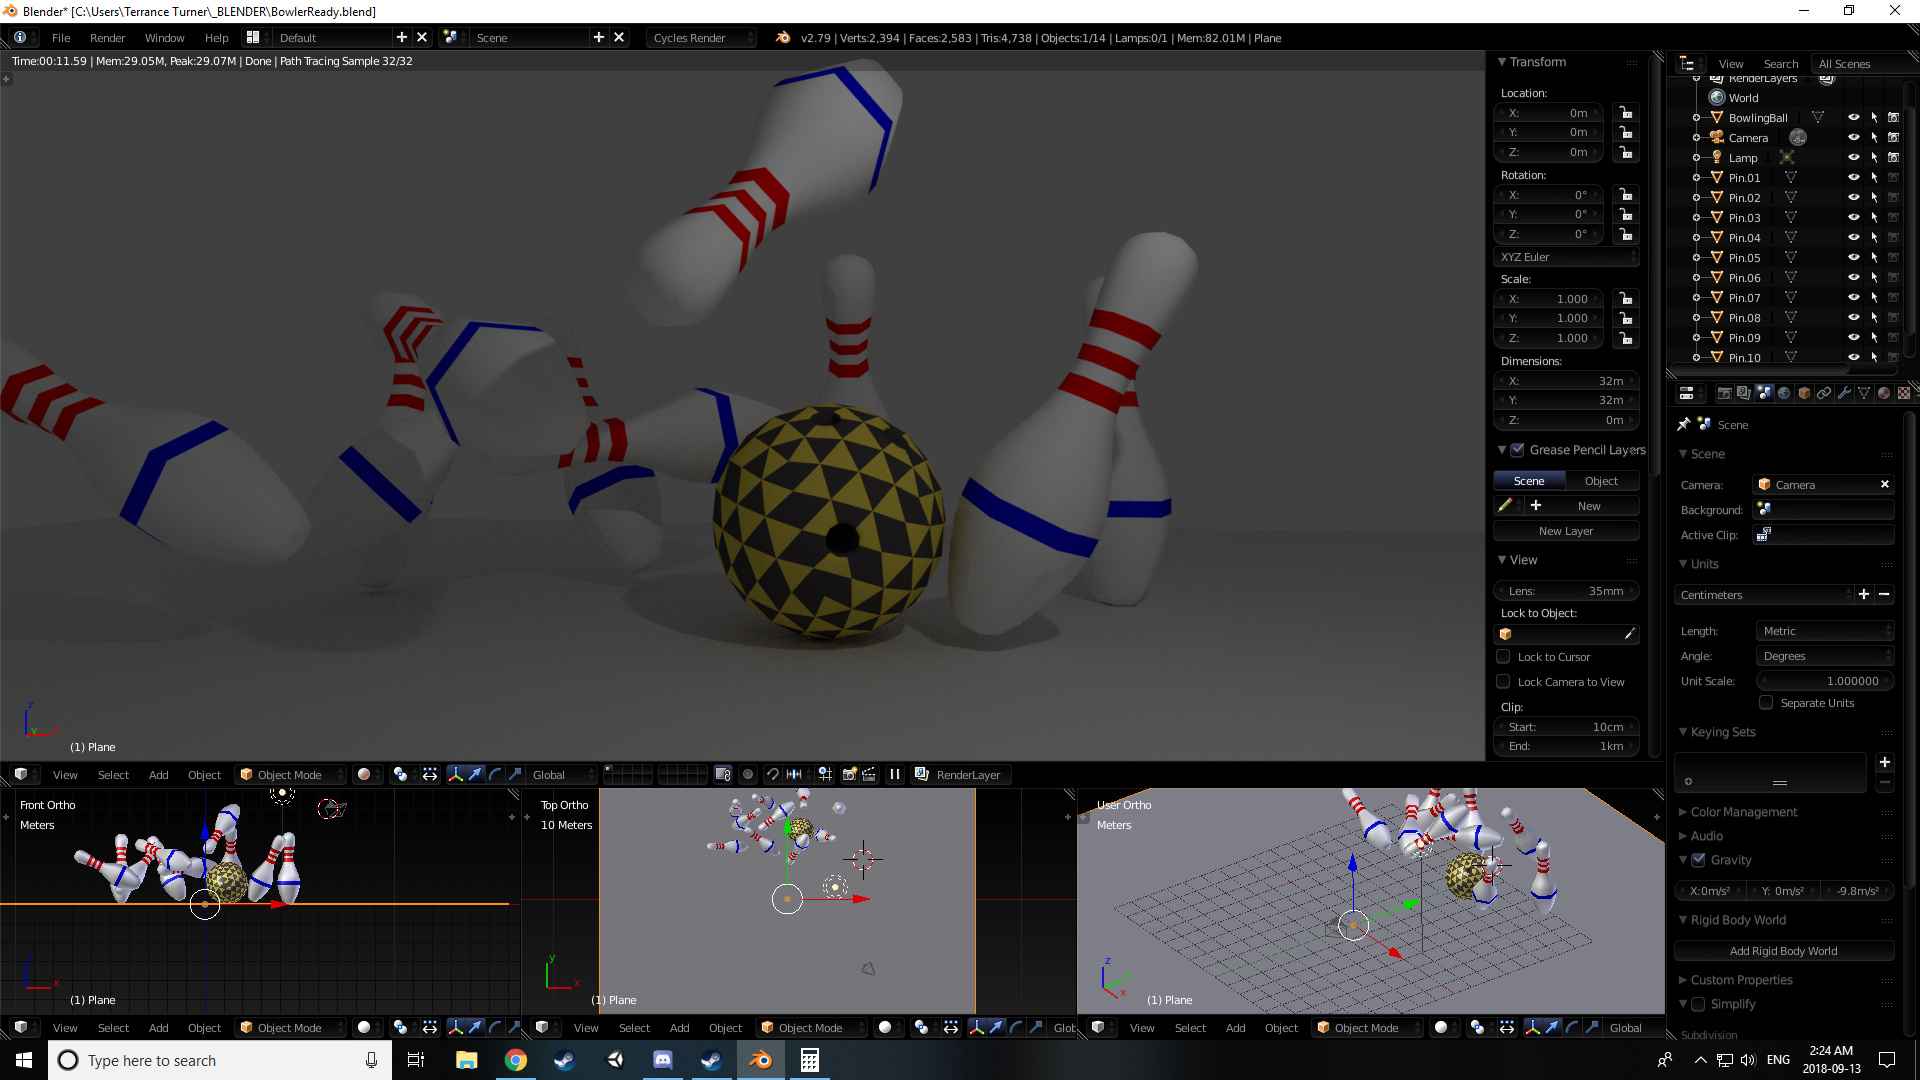
Well there is all my work to get to this scene

Jeeze i gatta look at some other folks and see how they did on this, cuz damn i think i went a real hard way to get all the maths right. :confounded:

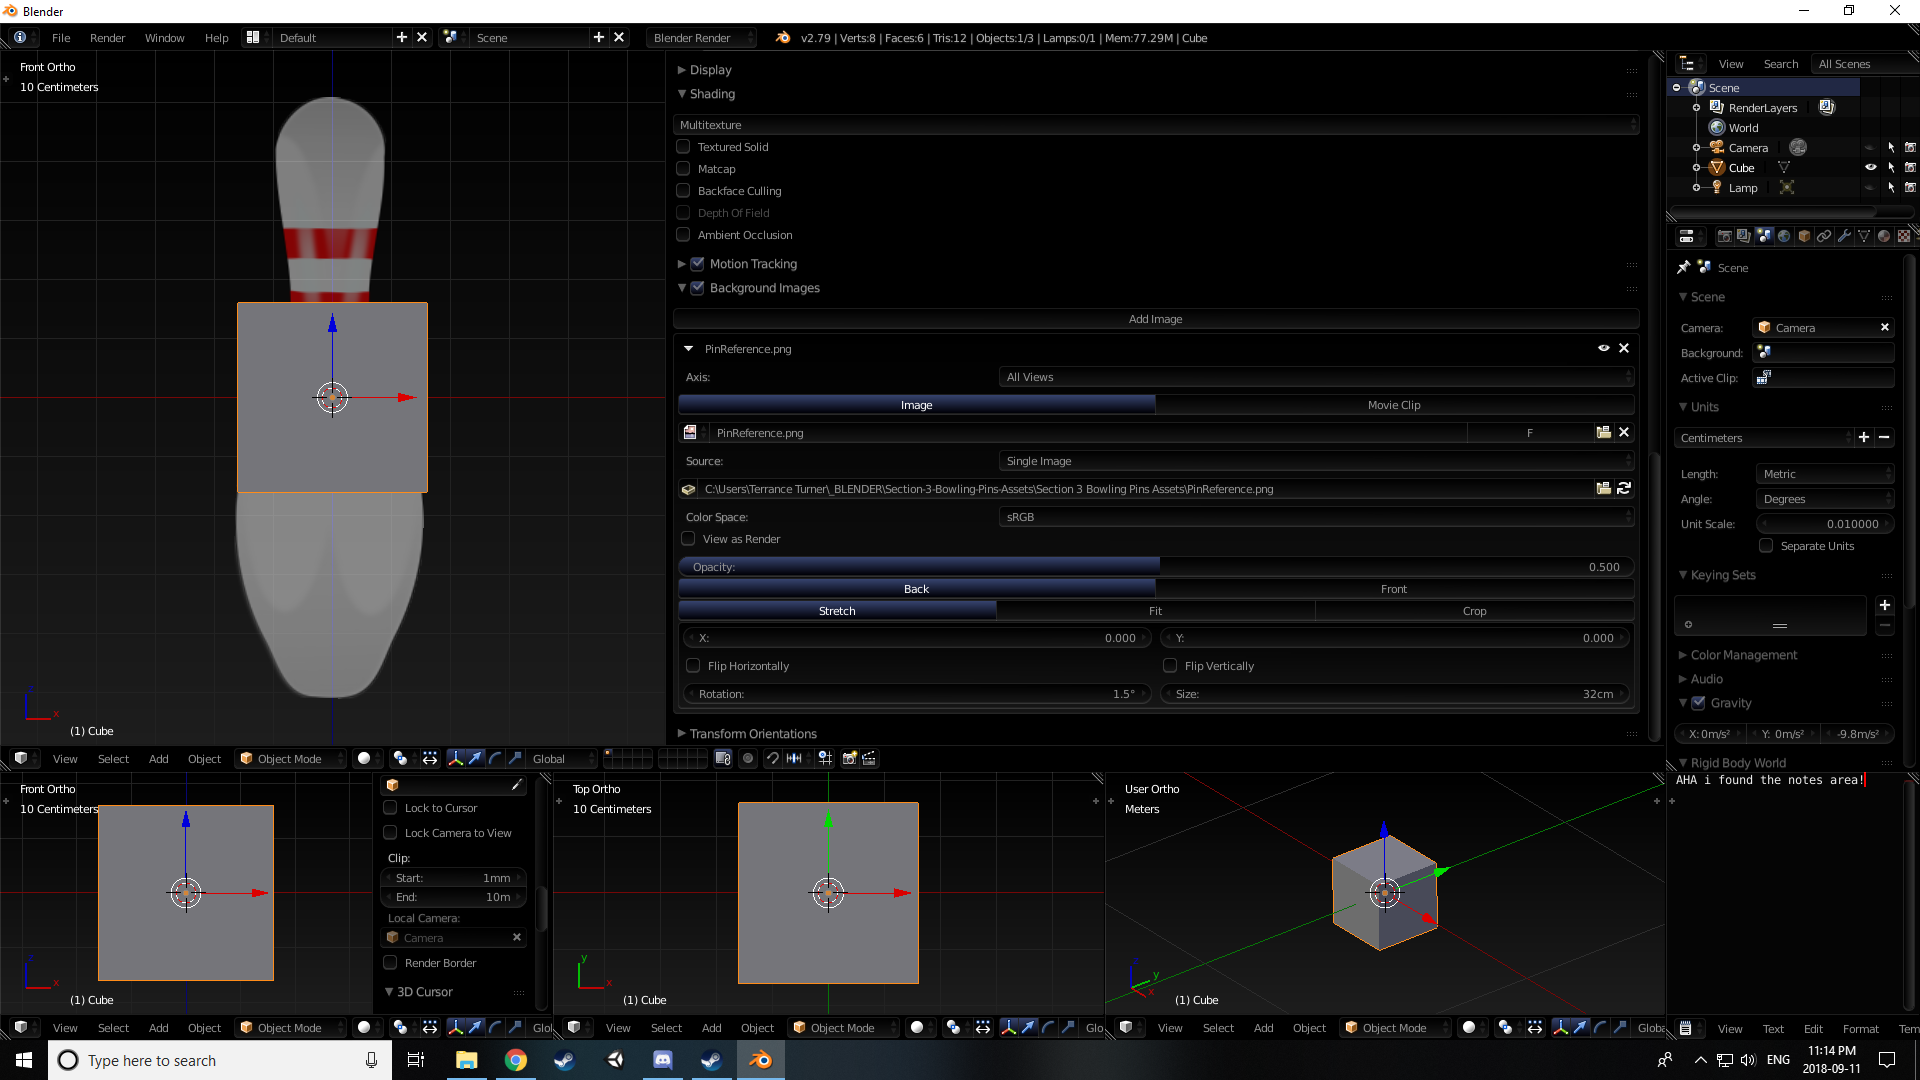
Oh by all that is good and holy in this world. Just watched @Michael_Bridges solution to creating the extra pins and setting them up… QnQ owwwwww my brain. Why did i do that to myself… Oh jeeeeeze. I’m glad and all that i completed the challenge and after watching the vidja i know how to do it better and more efficient in the future.

2018-09-13 (2:24 AM)


CRASH :boom:

2018-09-13 (3:47 AM)


downloaded OBS to make a quick vid of my bowling ball knocking down pins
2 Likes

Callin it Quits tonight folks. Good luck on your current projects! chao for now

1 Like

You’re getting the max benefit from this course. While I am ahead of you in the lectures, I feel that you have spent more time thinking through the steps. I really like seeing your progress in one thread like this.

1 Like

@John_Moore Glad you decided to stop by again!
I agree with you about having it in 1 thread like this. Makes it feel like a journal i can look through and see just how far i’ve come with it all. Probs not super helpful for other people looking for comparisons on specific lectures or challenges. So maybe after i’m done the course i’ll chop this up and put the right parts in the right places.

Anywhos back to the grind! :man_mechanic:

2018-09-18 (7:58PM) S4 L61
image
Alrighty so first of all: OH NO ARRAY MODIFIERS! :imp:
These things are stupid useful and i dunno why but i find them very intimidating, at least this task wasn’t too hard
Created my Grid, brought it down to 3 subdivides, created my first material which was white and instantly applies to all faces since it’s the first material. then i created my second material, highlighted the diagonal faces and applied the black material to them. Then i went to object mode (cuz Array modifiers only like object mode), made 4 itterations of my board (making it a 2x8). applied that. then did the same thing along the y axis which gave me my final 8x8. soooo uhhh hooray for no explosions?

Edit#1:
oh Cool by using the copy feature in the array modifier, you can keep the entire board in the array mode so you can alter it before applying it!

2018-09-18 (8:14 PM) S4 L62
image
Since my origin was already at the center of the scene i just used the set origin of moving my geometry to the origin. However i thought about if it was off then i could have done the following
1: Shift+S = Bring up the menu to set my cursor to center
2: Set origin to cursor which is now centered
3: Set Geometry to Origin which is now centered
Huzzah! :sparkler:

Edit#1:
Shift+C = Center my view on the object. will make it easier to line up all my views now!

Edit#2:
PFFFFFFF Michael_Bridges just explained how to get the board to center the same way i hypothesized :laughing:

2018-09-18 (8:49 PM) S4 L63


So Far i Created a Cylinder with 8 sides cuz there are 8 directions pieces move in chess: Forwards, Backwards, Left, Right And Diagonals. Except Knights who don’t follow the rules but then if they did, the wouldn’t be very useful pieces so they get a pass on this.

Anyways just like the pin, i made the background image (Remembered that you had to be in orthographic and viewing along one of the axis to see it. so in my case Front Ortho). Then i made my Bezier Curve. Made the points have a Y value of 0 so that way i don’t get some wonky shape after i’m done. Aligned it along the base of the pawn pic and added a few points. Remember, the number of points you use are “As few as possible with as many as neccessary!”

Next imma make a mesh outta the line, then spin it probs 8 steps.

Edit#1:


Soooooooo i screwed up. Ended up with something like my base, but it’s connected all wierd n junk.
did some fiddling around and found out it ended up like this cuz i set my Center coords all to 0 when i spun my line. So to fix this i deleted the mesh and i’m going to create a new base from the original line, make sure my center coords are left alone and my spin coords are (0, 0, 1,) which will spin it around the Z axis.

Edit#2:
image
So somehow when i went to go spin it again all the coords for my center were still (0, 0, 0,) which was bad. So i looked at the coords for my outline and it had a Y Coord of -1.93. Punched in the new Coords and it all turned out good. Highlighted my mesh and removed doubles. Then i noticed i only did 6 steps instead of 8. Sooooo imma kill this mesh and spin a new one with 8 steps this time. :man_facepalming:

Edit#3:
image
AHA! :smile:

Edit#4:
image
Moved it up, Created a plane to snap to so i could get the bottom of the geometry to sit at (0, 0, 0)
But doing so my origin wasn’t centered on the Geometry so i moved it so at least the Z coord was in the right spot. then i centered origin to Geometry and then adjusted the X,Y coords to (0,0)

And while this all sounds awesome n junk. I just realized it was cylinder which was 1.5bu radius. Not my base, so imma go check that now

Edit#5:


There we go!

2018-09-18 (9:51 PM) S4L64
Sooooooooo
Guess i’m using Beveling instead of Bezier lines.
Well i’m glad i got the practice in with the line though but i’m going to go bevel up a new base.

Edit#1:


Alt+R is the shortcut for spinning. Whoops
i’m supposed to use Ctrl+R to cut lines


all beveled up


looks like you can bevel vertical edges to round out your object. neat


Boxes can be round!

Edit#2:


tucked in the middle of the base and then started trying to make it more detailed. was thinking it looked fine till i saw the top of the model and i saw it only have 8 sides to it and now it looks Super funny. i might just go back to the old base and adjust a little from there as opposed to what i have now. though i do kinda like the stacked pancake look this one has xp :pancakes:

Edit#3:


Kay i’m not touching it anymore. i like it now and if i touch it again i’m going to lose ANOTHER half hour to fiddling with it. It’s fine i swear! :triumph:

Privacy & Terms