Simple Building before the Bowling Pin

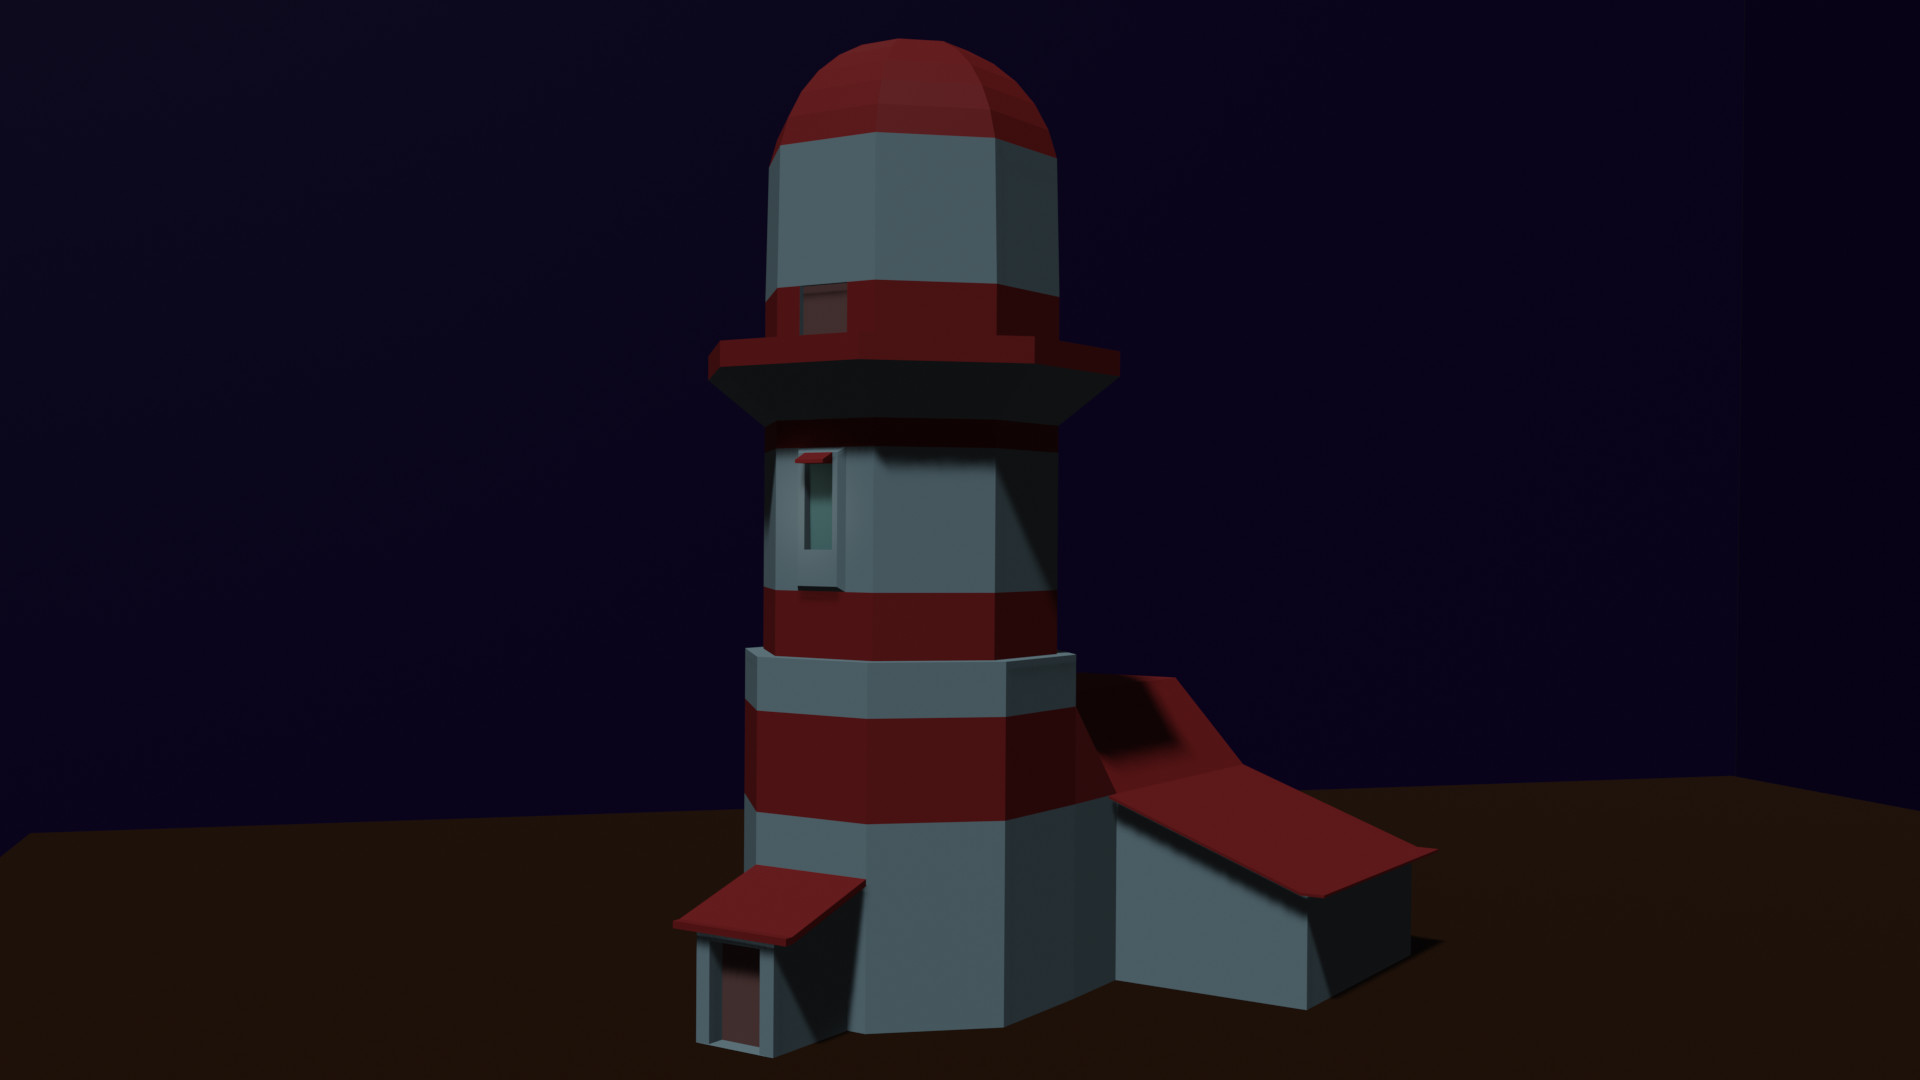
So I wanted to try another simple building before moving to the bowling pin project.
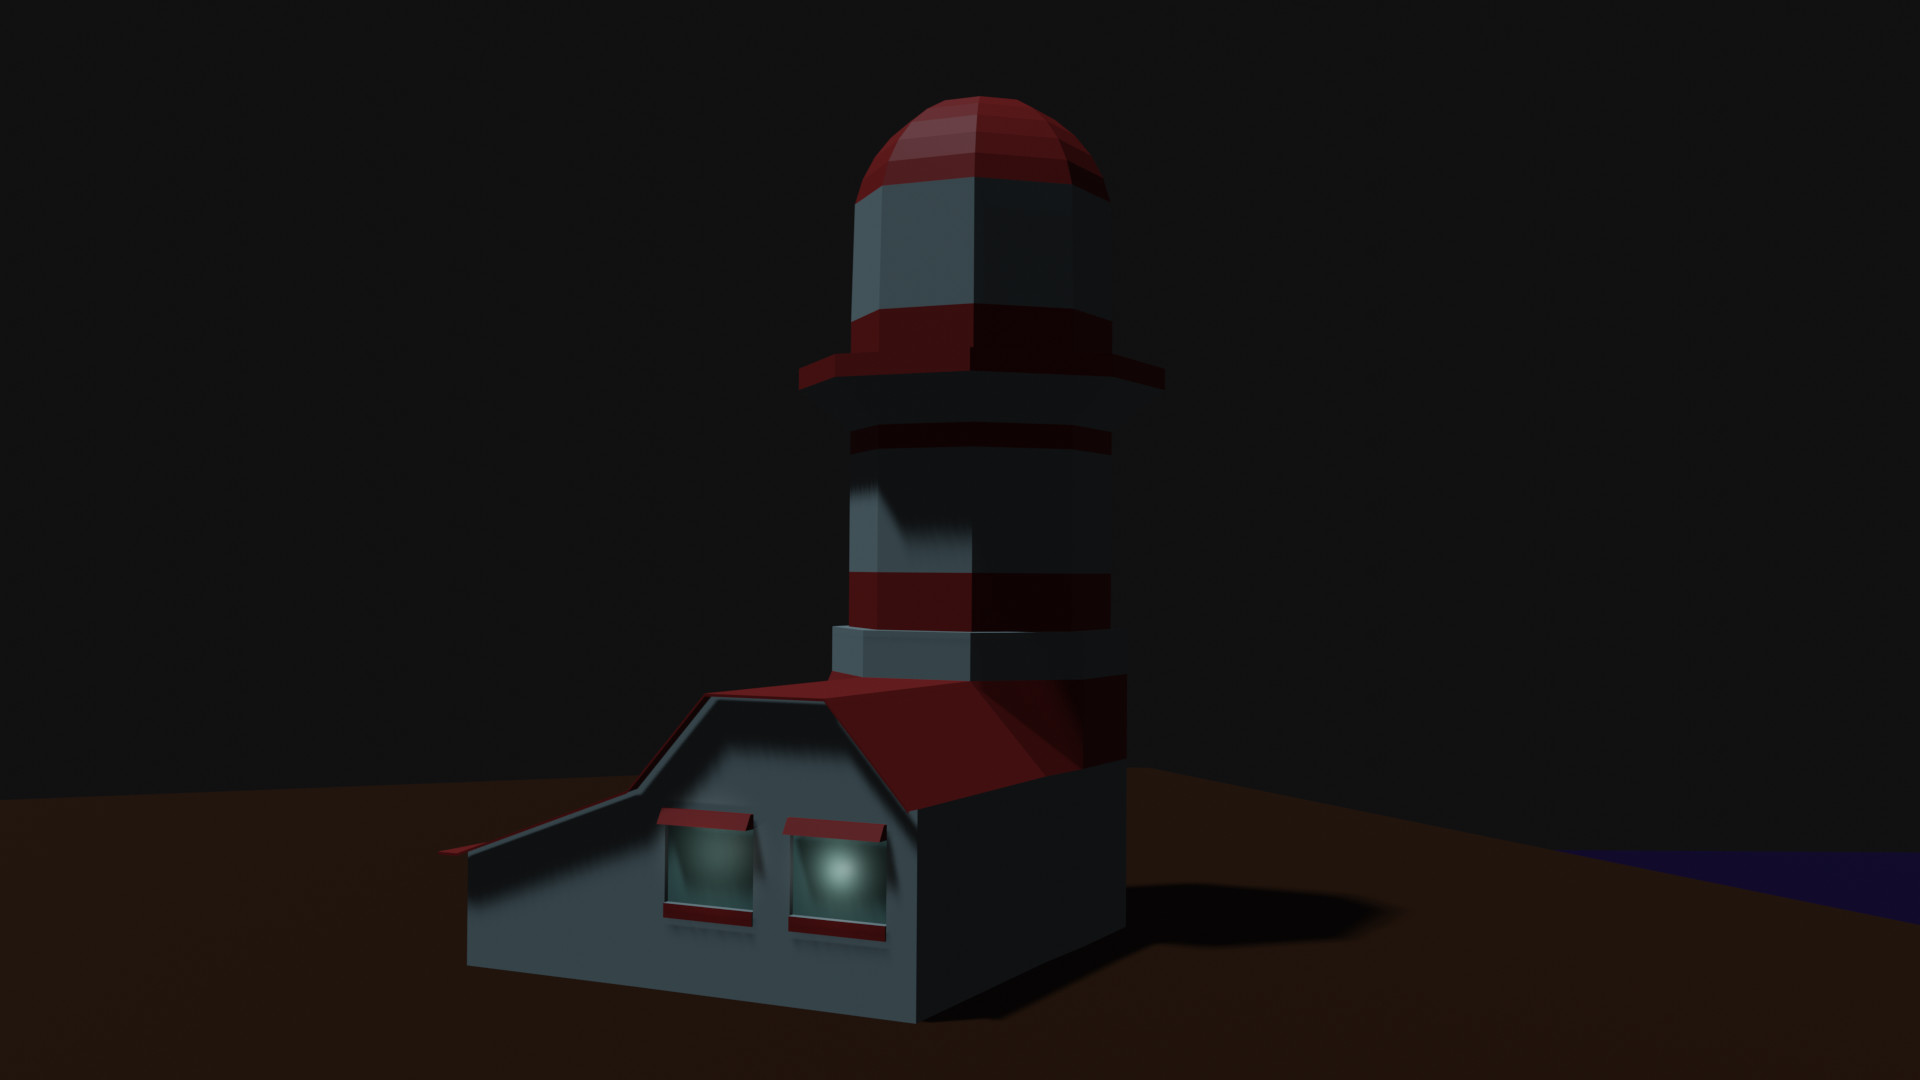
In the Mayan project, the idea was to have a night sky lit by moonlight, the scene was way too dark. @Josa_Booba @Miss_B advised to use sun lamp as approximately 2.0w, and the results turned slightly better.

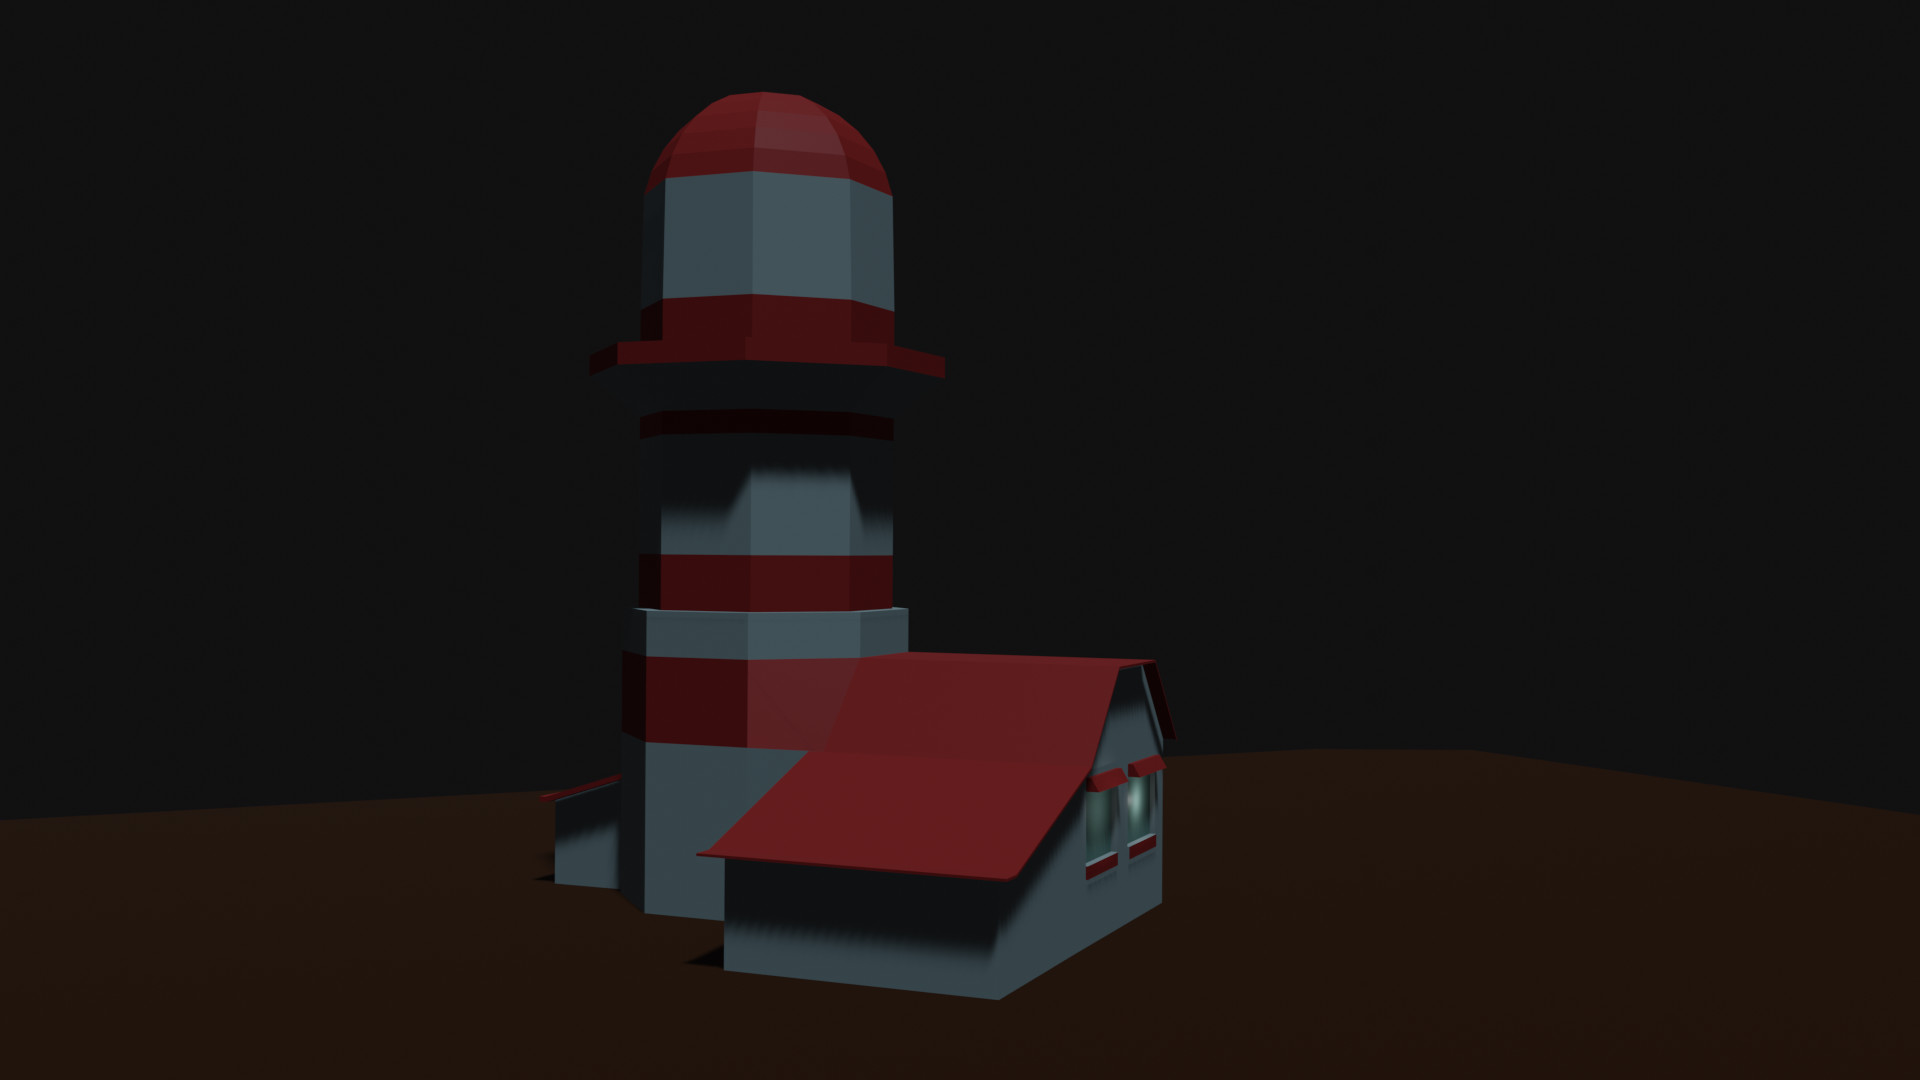
I ran into some issues when attempting to enclose the scene within a sphere or a cube. Specifically when viewing the scene in camera mode, the cube and/or sphere would grey out like it wasn’t rendering. The issue would resolved itself when I made the polygons smaller. I went with diorama approach and just moved my skybox where I needed for the scene.

Overall, still l like how the lighthouse and I feel like it was worth messing with the light some this time round. Looking forward to learning more.

5 Likes

When you surrounded your scene inside the sphere or cube - did you make sure that your lights and camera were also inside the sphere.?

The greyed out camera render suggests that the camera was outside the sphere and thus rendering only the outside faces of your sphere (or cube) - obscuring your scene.

You can hide your sphere in object mode with H once it is just big enough to surround everything - therefore making it easier to tweak or further edit your scene.

Another handy tip for turning your 3D viewport view into the camera view (i.e. moving your camera position to that of your current viewport position), is to press CTRL ALT Numpad 0 --> this can quickly get your camera to close to where you want it to be.

With CTRL ALT Numpad 0 to set camera view, I often find I need to exit camera view and scroll to zoom out a little and reuse CTRL ALT Numpad 0 to better align my camera for rough setup view.

1 Like

Fine extra simple building, keep on going through the course.

@Scribble31 - not sure at what point the course you’re following will get to this (I’m following both Blender courses as well as getting heavily side-tracked) - but another way to light your scene is with a HDRI

The image attached indicates how to set one up, but the basic steps are

  • grab a HDRI from i.e. https://hdrihaven.com/hdris/
  • go to Shading Tab
  • select WORLD, where it will says Object
  • SHIFT A (in the shading section to open a search)
  • Type in “ENV” and select Environment Texture (which will add the orange box/
    node as per my image), connect these as shown, i.e. Colour to Colour
  • Open and locate your HDRI saved image, mine here is called kiara_1_dawn_2k.hdr.001
  • you can then change the slider STRENGTH (or click within and input a value) in the Background Node
  • if you want to go back to shading your created object, i.e your building, click the WORLD dropdown back to OBJECT (step 2)


If you want to hide your HDRI so it will not render - you can follow this quick and simple video - Hiding HDRI Background in Eevee & Cycles …

2 Likes

Privacy & Terms