Problem with the chess board surround

I have played with and played with the settings, set them exactly how Ben did. Redid the whole lecture twice. I cannot get my corners to look like his. I have scaled up, scaled down, scaled by 10, by 100, by 0.01, 0.1, 0.2, 0.3 etc etc etc. I always have this super fine wood grain that looks, fake…

@Marc_Carlyon Can you help? Please?

Hi John,

Sorry if this reply is a little disjointed (Its 10pm UK time)
I think the issue is arising due to the way its mapped. Michael changes the mapping to generated and plays with sizing around 11:45 in the video.
I also notice you have chessboard surround and colored as children of the chess board where i dont think it matters Michael does not.

Let me know how you get on and i will check in with you in the morning :slight_smile:

Its ok. He actually switches back to UV mapping. And sizes it double up at .5,.5,.5. At 13:04 it shows his final texture settings. Here are mine:

Hi John

The way you map textures to a model will probably always look off in some parts of the model if you do not do a full UV unwrap (I assume we’ll talk about this at some point in the course). Basically, whatever wrap or projection method you choose, when applying a texture to your model, you’re letting Blender guess where the texture should go and how big it should be. Blender isn’t terrible at guessing, but does tend to get things wrong from time to time.

If you want really good results, at some point you’ll have to explore manual UV unwrapping, where you split the model in logical chunks by marking seams on certain edges and fit the texture to the unwrapped model yourself. This would look something like this:


Image from the Blender Manual page on UV unwrapping a mesh

It’s a bit more work, but I feel like the result is definitely worth the investment. If you want to learn more about UV unwrapping, the Blender manual is a good place to start: https://wiki.blender.org/index.php/Doc:2.4/Manual/Textures/Mapping/UV/Unwrapping

While there might be a quick fix for your problem now (some sort of cubic projection seems logical), in the long run this is a skill you’ll want to acquire.

I do have an a little understanding about UV wrapping. My problem is that using the exact same files, exact same settings, I someone, magically came up with something that looks totally different from what he did. These are things I am trying to figure out. Why? How something different?

Here is something even more fun. Tell me the differences between these two board scenes?

And

I believe i have found the issue.
You are editing the the wrong tab.
The values you are editing are the “Mapping” which sets the UV map, What you want is the one above called “Image Mapping”.
I keep my project files from going though the course twice and noticed on my second time though i hadnt done this and it look exactly as you does :slight_smile:

Sorry i was a bit vague last night (I had been out) but didnt want to leave you hanging overnight waiting for a reply

Hope this is the solution you need.

Edit :- Leaving this in as this is not the solution and i realized i typed Mapping and Image Mapping backwards and was confused by the original screenshots. Just clarifying for future students :slight_smile:
Still working on this at present with the student (pawn issue could be a duplication issue)

Update.

On pulling the video to pieces i noticed that Michael does have a distortion on the model its just after he changes it back to UV near the end of the video.
I dont think we ever actually make a UV map so its using the presets which is not the greatest option but for this purpose it introduces textures and materials.
I think the best solution for now is to move on and revisit this section after the game assets section where we deal more in depth with SmartUV unwrapping and mapping textures.

Just before this screenshot Michael rotates an edge away from camera but it shows the same distortion on both our models and Michaels (This is why it threw me when my model had the same issue)

Hope this clarifies now a little better and apologies for the confusions along the way

Sorry for another reply but i couldnt resist having a little play to see if i couldnt improve on the lecture a little using my knowledge of completing the course.
I found if you select the chessboard surround, Go into mesh and unwrapping and do a smart UV project and then change the mapping to the UV UV map in the mapping settings and then change the values to 1 you get this result.

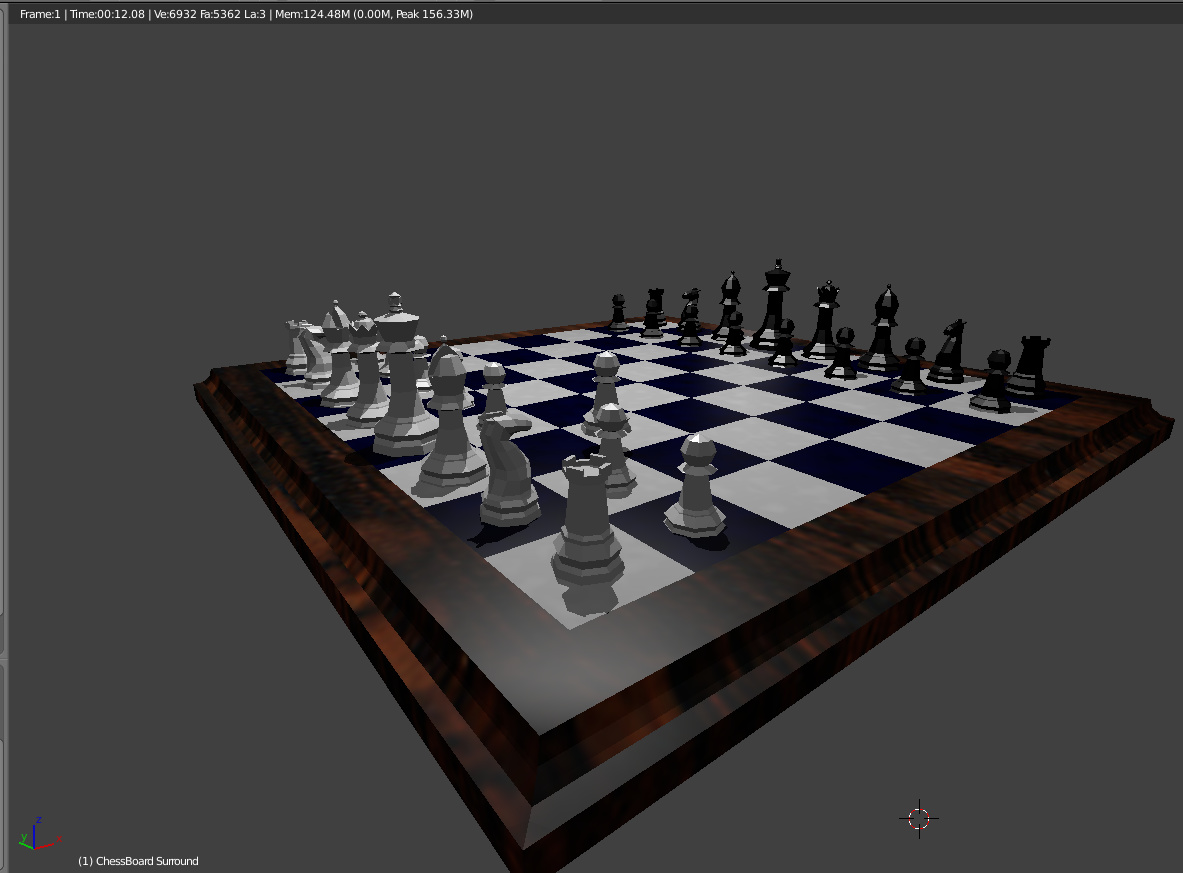
As i said it goes into more detail about mapping etc later but i thought as its a simple method and an improvement on the model i thought you might like to see it (I know you are aware of uv mapping so if i am reteaching the wheel please disregard :slight_smile: )

Ok, I got the crazy little pawns deleted and remade. That was easy. Still no idea why they were broke. That is really what I wanted to know. How I broke them.

As far as the texture thing. I tried what you suggested and mine is still broke looking. I will just drop that for now and move on with the course. Thank you so very much for your help!

1 Like

I am not sure why its not working for you as the model above is your model not mine :slight_smile:
I would try one last time but this time make sure you delete the section assets from the disc, Delete the texture and the material and then go though the process again after redownloading the file.
This was the only difference in that i used the section assets i downloaded as yours was not packed into the blend file.

It might may well pay to continue on as you say and revisit this section once you have the game assets section under the belt as that section really opens up the opportunities in the prior lectures :slight_smile:

Privacy & Terms