
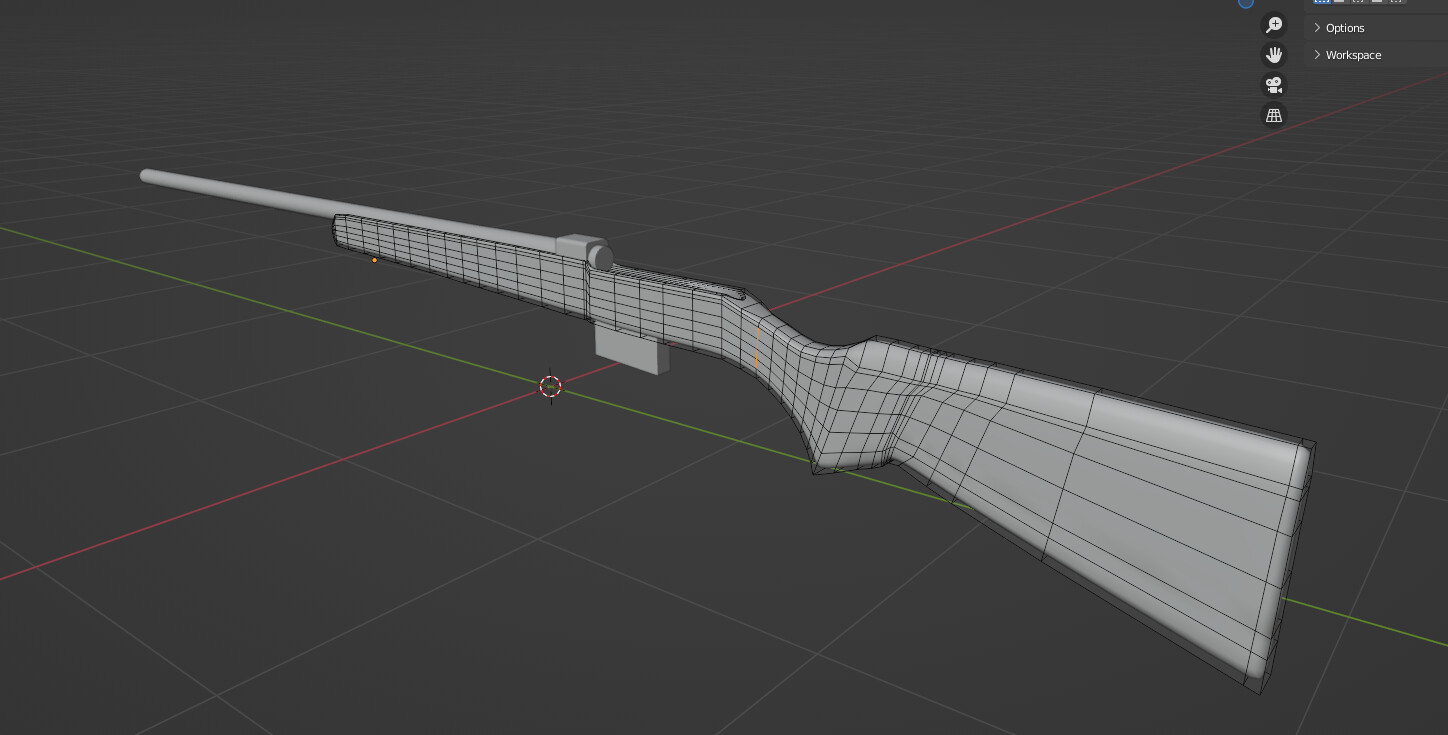
So I’ve been trying to model a bolt action rifle for a long time, and had different kind of issues when I got to the point where I need to model the grip of the rifle. I don’t know what is the best way to make this curved grip that connects to stock (which I’m not sure how to make too). I tried making block model, then with Sundivision Surface modifier make it smooth, but I had problems with shading later, what’s more when I apply this modifier and edit my model, Blender gets really laggy and my CPU loads on nearly 100% (although I don’t have huge amount of verticies, and my CPU is not that weak - Ryzen 5 5600X). So please, tell me the proper way of making the grip! 

here is the reference that I use (CZ 527)
1 Like
https://free3d.com/3d-model/carbine-cz-527-1155.html
Look at this 3D model of one there are images of the wireframe. Should be a help to use as a guide.
1 Like
It doesn’t matter how big, fast your computer is. A sub-surface modifier will fill your memory very quickly. It goes from 1 to 4, 16 …
If you need a high level of sub-divisions, then your base mesh model isn’t good.
Learn more about Blender usage! Follow more lessons!
Organic shapes are difficult, and you need more Blender knowledge. But the basics start with block modeling, moving vertices, with that you can do really a lot!
2 Likes
Alright, I will try again with better mesh model, thanks for the help!
1 Like
Show us your base mesh, maybe some of us gave give you some tips.
And, if my memory is correct, There are other students working on the same type of project with equal problems. Don’t give up! Show your progress!
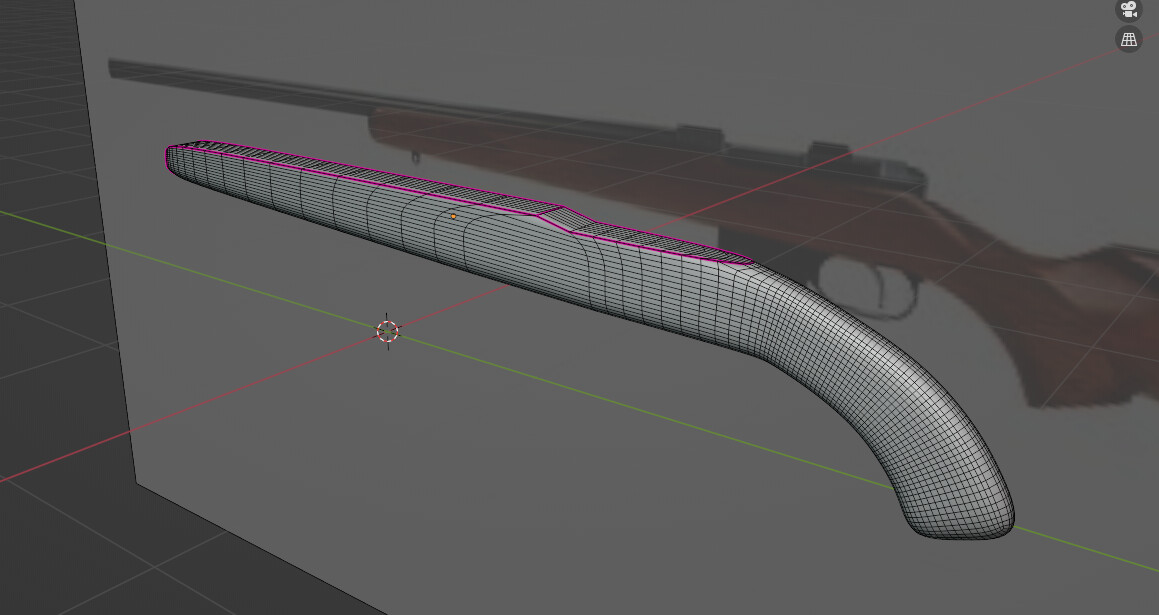
So after some research about topology, I see now that my mesh is kinda wrong, I need to get more knowledge about that. Here is my mess…
2 Likes
 it’s much better then I expected!
- If you have a flat surface, then you don’'t need that much edge loops.
- Edge loops closer to each other, will create sharper corners (bumps).
- Use the proportional editing tools to manipulate vertices with a fall-off. (will be explained in the course).
- some times you nee to introduce more mesh data (vertices) to allow more details. But that it will be more difficult to manage all those vertices …
2 Likes
- After you’ve selected the ‘proportional editing’, use the scroll wheel the set the radius of the influence.
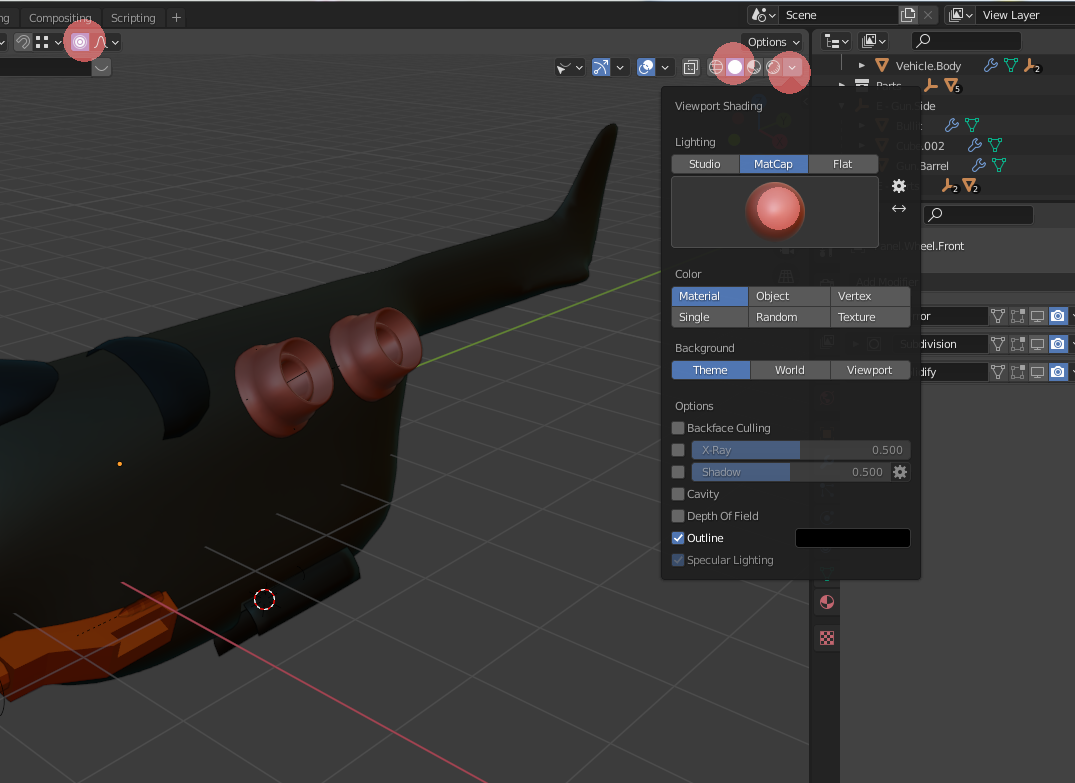
- The MatCap will provide default material and light setup, to see better how your mesh curves are working. This matcap can be used for developing only!
1 Like
I didn’t get to the point where proportional editing is explained, BUT, I’m experimenting rn with subdivisions, and sometimes I get strange mesh divisions, I don’t know why those vertical edge loops are kinda curved, but I’m getting better
2 Likes
Oh wait, I did watch the proportional edit section, absolutely forgot about it, thanks for reminding me!
1 Like
Sub-division basically divides a face into 4 faces (one sub division).
If you get a lot of tiny faces, like the handle, then your base mesh has already a lot of faces (and edges).
And indeed with the grease number (purple line) you can manager the sharpness of the edge.
2 Likes
when I apply subdivision modifier on a base block model with small amount of faces, I get things like this

1 Like
Do undo !!!
I did, just was checking what result I would have when there is small amount of faces, so I think I need to make some edge loops for support, more faces
1 Like
Subdivision has two different levels !!
- “Levels Viewport” - when you are working on stuff
- “Render” - a higher level for rendering.
Also the object needs to have smoothing on!.
Right click Object, select from menu “smoothing”.
1 Like
-
If you are experimenting, we all do ;), keep a back up file !
-
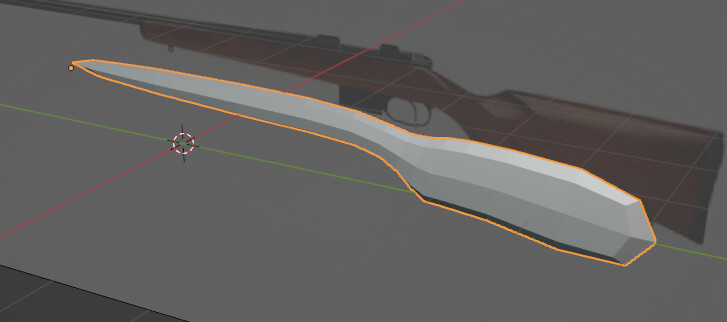
Just work with the mesh you have, there is no need to have something called low poly. Because that is what you did in you last attempt. Low poly and curved (organic objects) are difficult to do as you experienced. You need to place loops a the right places.
1 Like
I think its better to start from the scratch again (had a couple of issues from the start), but now with full understanding of things I learned, thanks much for the help!
1 Like
This is called block modeling, just use the reference image to block the model. Just using a cube, and extruding, rotating the correct faces.
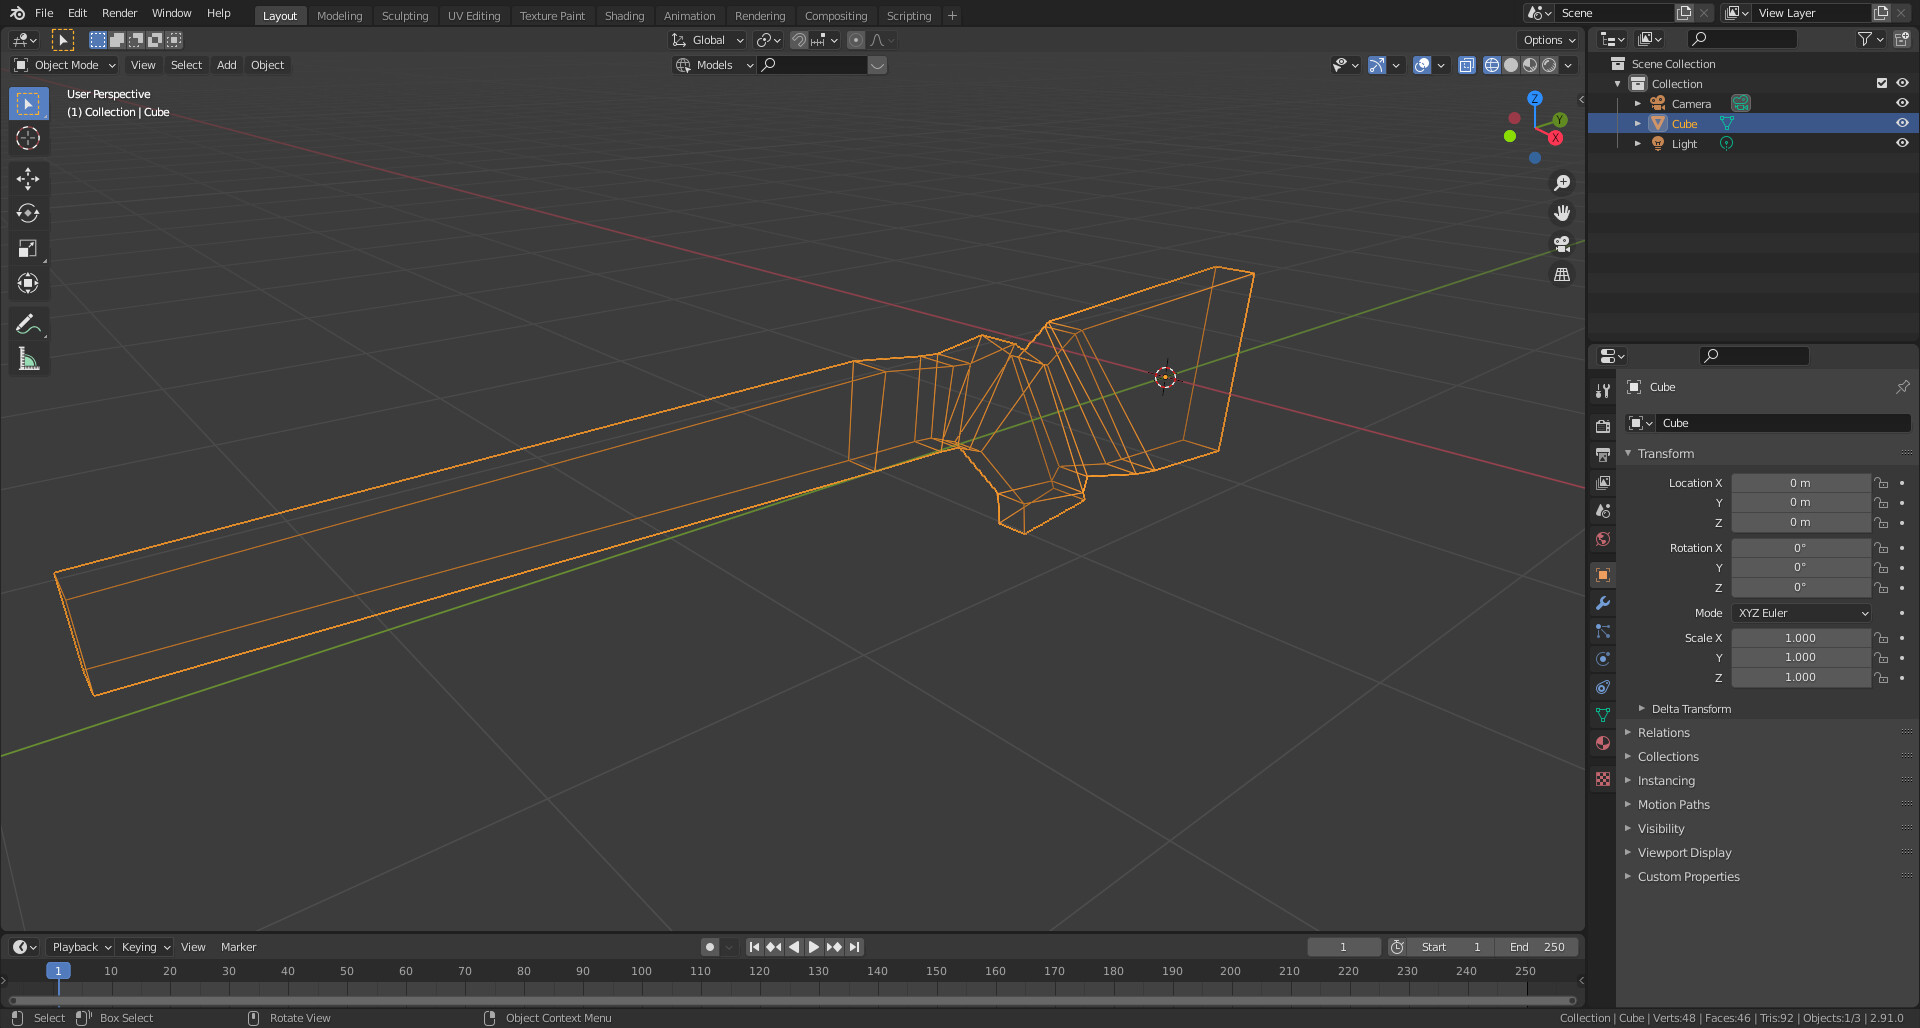

1 Like
ohh, that’s what I need! Didn’t know how to make stock properly, thanks again
1 Like
Ohh, btw, I wanted to know, why sometimes random shades appear on flat surfaces? Even if it’s nothing wrong with mesh. Can I somehow clear them after my model is done? (When I was doing the model I took a screenshot and in that moment my electricity went out in my house, happens often. Later when I re-do all the stuff I will upload an image if needed)
1 Like