Horse WIP

I tried going full in on Blender once, and ONCE ONLY (and that was back in 2020. I don’t remember much as we speak rn). Here’s what I got back then (P.S: There’s no interior):

This one took me SIX months to make. I have a few more pictures if you want

3 Likes

It does look amazing tho! If you could send over some pictures, that would be great! Did you mostly model it or sculpt it?

lol neither, I shrinkwrapped it. In other words, I made a hard model of the car with no holes or what not, and then duplicated it and used the original for the shrinkwrap modifier. The next step was to cut the holes into the duplicated body (since the shrinkwrap model is now the backbone to ensure I don’t mess things up), and then I modelled the other parts. This includes the tires (the tires for example had a lot of extruding, array modifying, etc… idk if that still exists in blender or not. This project was in version 2.79b), the flaps, winglets, etc, etc…

Fun fact, if you look very very closely on the tires touching the ground, you’ll notice the car weight is actually pressing hard on them. I did that back then because why not :slight_smile:

Heck, I even made a racing version for fun, just never bothered to color it up back then

Unfortunately I can’t find the pictures as we speak, but if I find them I’ll hit you up :slight_smile:

1 Like

could we see what your base mesh looks like?

If you want to unwrap and texture paint, rig and animate, you definitely need to retopologize and mark seams. If you want to Sculpt paint, you can likely leave it as it is, but rigging could be harder and animating is not recommended(you can do small movements and Pose the model still, if your computer doesn’t melt trying to do it).

I prefer to make everything myself as well, the learning process of “how to make a wheel” is important too.

1 Like

Sure thing!

I decimated the model and then added the details in the face. (Big mistake). Since the decimate caused the body to have less detail. I should have just made a high poly horse and then do the retopology. So it’s a big fix I’m doing at the moment. (And honestly something that could have saved me hours if I did it right the first time)
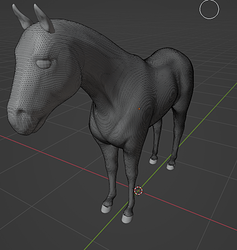
An older one before the decimate (About 125000 faces)

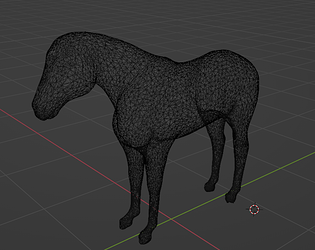
This is the decimated mesh. (About 25000 faces)

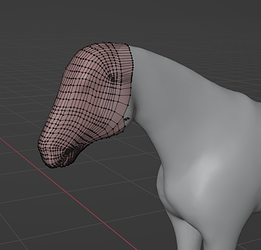
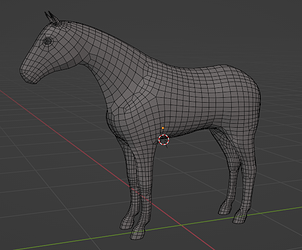
And this is the beginning of my retopology.
(Blender experts are probably screaming at me now, but we’ll find that out later :slight_smile: )

1 Like

I definitely understand the issues you’ve run into; I’m remaking and fixing parts of older projects constantly now a days it feels like or using a bad process and having to redo things entirely.

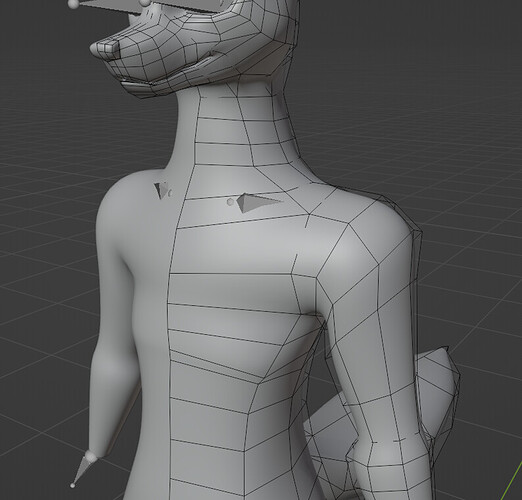
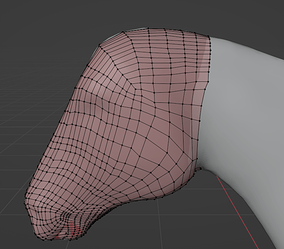
Regarding this new horse retopology my only tip is to keep it a little bit lower poly still from what you have. Create almost a low or mid poly re-top on top of the sculpt shape, then add more as you go back over it instead of having to remove extras or having too many at first. You could make his muzzle/face area much simpler with removing a few of the lines. Everyone usually advises this is up to personal opinion though since if you get more comfortable working with higher poly things it’s no real problem.

It’s not a horse but this is the best example I have at this time.
Before sub-div is applied, toplogy:

after sub div is applied:

Now of course, if that’s your topology after the sub-div is applied, it is probably totally fine.

1 Like

The funny thing is that I just realized, I made it too high poly. Since it’s just a lot of work for nothing. I unfortunately don’t see how I can easily fix this. I’ve been sliding vertices around, but to no avail. Should I just delete and redo?

alt select an edge line and try dissolving it, you may have best results doing those one at a time, I find if I try to dissolve too many at once it acts funny. If this doesn’t help get it simpler within reasonable time, then restarting could be quick.

alt and then hit x and down to dissolve:


removed the line on his mid torso which ran all the way up his bottom jaw

1 Like

Thank you! That did work indeed. (Applied it on the other very high poly part above the eye first.)

1 Like

All depends on your intended use of the horse.
And possibly the strength of your computer.
Low poly is not some always right objective, it is an expedient that has to be put up with to do certain things like game engine or animation uses.

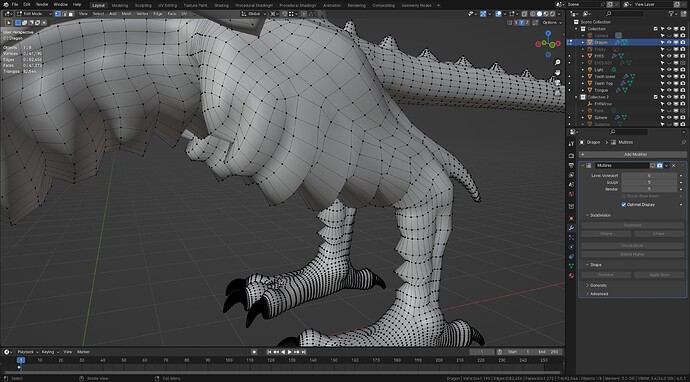
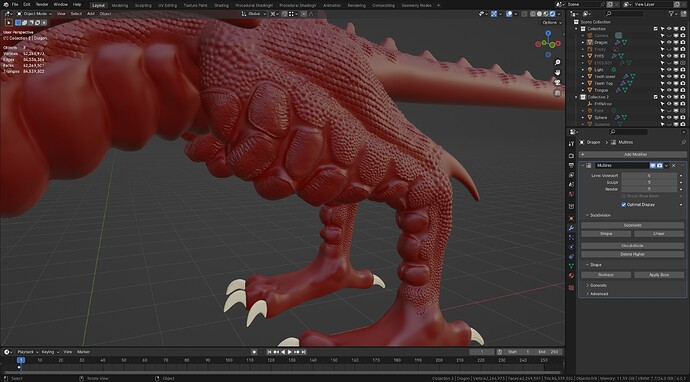
Retoppo, you can keep it lower than you have started, quite a bit. Especially if you go on to use a multires modifier on it.
Actual geometry.


Multires modifier geometry, so all the extra detail is on modifier created non real geometry.

Yes I need to reduce the base topology on the feet, old project in need of finishing.

2 Likes

Thank you so much. I didn’t even know about the multitures modifier. Does that mean that I should have applied in the beginning? Before sculpting?

1 Like

No sorry it is another complication really. Personally a better way to work. Block model the horse/dragon use multi res modifier. Means you start out with a good topology rather than retoppo a sculpted object.

But the images show how low poly can be plus subdivisions added afterwards.
All the subdivisions on a good topology remain a good topology, as it just subdivides it.
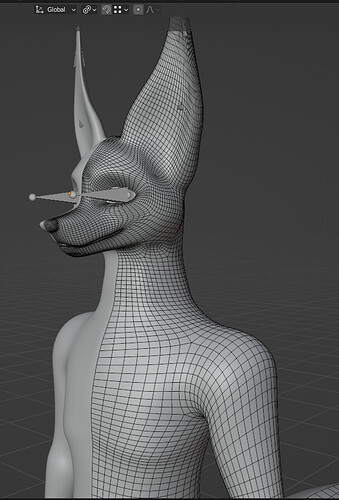
Seen in Hobby Pirate’s FoxMan two images as well.

With the multi res you can use any level of the model. Make a copy, apply the modifier at the level you may want to use. You can also bake the details from the highest to any of the lower ones.

3 Likes

So I realized that I probably shouldn’t retoplogise this object, simply because of the low amount of detail from the desimate modifier. The good news is: Atleast I know a little bit of how it works now and I got familiar with the tools. The bad news: I’m going a couple of steps back to apply the things I’m learning about it.

Then I stumbled upon this video from Grant, to learn more about it.

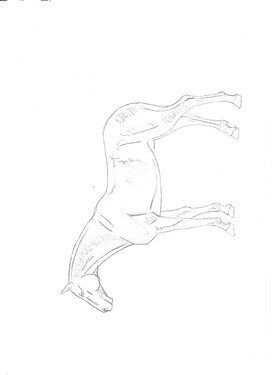
Since I accidently screwed up my mesh, I decided to start over and try to use some other techniques. The first thing I wanted to improve on was the reference. My previous drawing didn’t have a lot of information, apart from the outline. I improved the reference drawing by drawing where the eye and nostrils should go, as well as some scribbles to indicate flow and height. It isn’t the prettiest, but it’s a lot more functional than my old one.

2 Likes

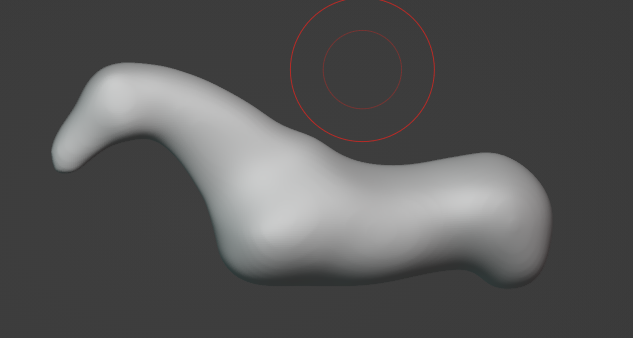
After about 20/30 hours of learning, I came to the conclusion that: My old one wasn’t bad, it just needed a different workflow. Anyhow, I still learned a lot of techniques and wanted to show you this thing. It doesn’t look like much, but by utilizing a different method (UV spheres to mesh) I sped up the entire process by hours and I think that is incredibly valuable. I also learned that for a beginner I wouldn’t recommend going for a realistic horse if you’re not determined to finish the project. Why? Cartoon characters and monsters have big features + it doesn’t really matter if you don’t get it completely right. It could be a feature! Pointy bum? Why not add some horns. For horses it’s a little different. Where cats and dogs have characteristics that stand out like: heart shaped noses, big eyes, point ears, paw pats. Horses have none of that. Compared to other animals: They’re way more smooth, while also being a little bit spindly. Nothing about them is particularly “special” or catches the eye. Of course this could be solved by just making a less realistic horse, but I want to sit right on the edge between realistic and fantastical. Pretty, but not over the top. Another thing that I learned is that: Using mouse slows down the process considerably, but it isn’t unusable, so I might get myself a tablet. They’re way less expensive than I thought. Probably because I got one about 15 years ago and oh boy where they expensive back then. (The budget models didn’t even work properly) Oh well! Here we are, on try 2.

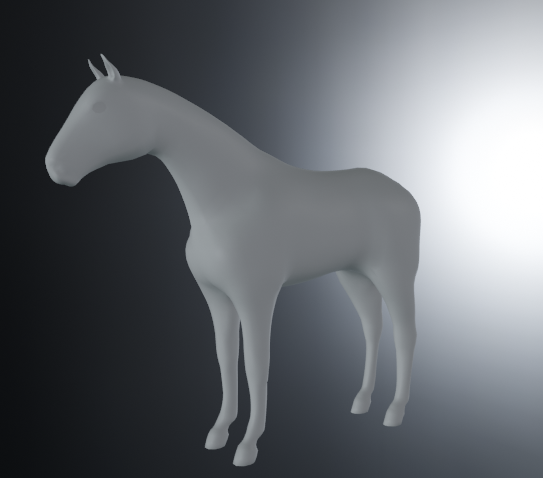
Horse2Show1

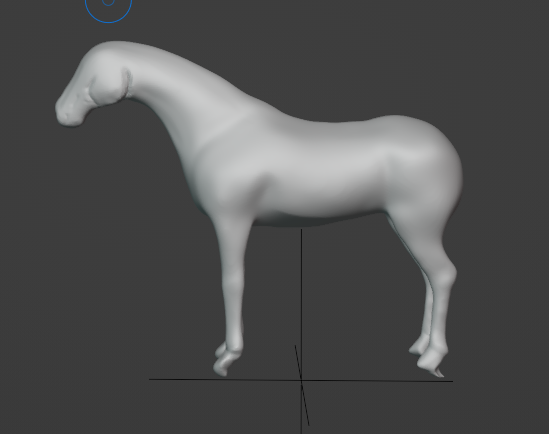
I messed up my previous mesh, but it felt like I unlocked an achievement. “Speed sculpting”. It took me a fraction of the time it cost to make the first body, so my fail already paid off.

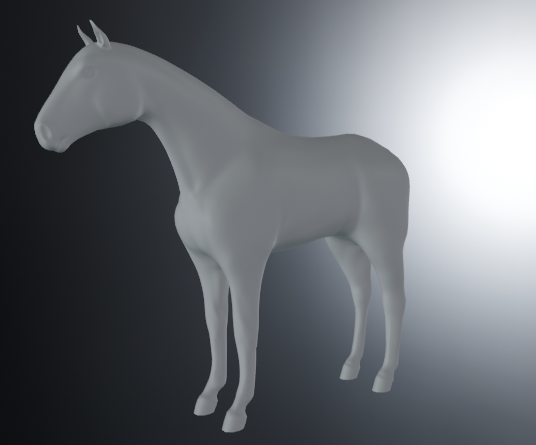
Horse2Show2

2 Likes

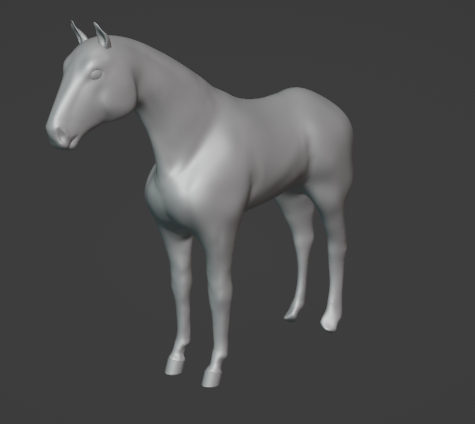
It’s a lot of work, but it’s already looking better than my previous one.
Horse2Show4

1 Like

And here we have the retopology. That took a lot longer than expected, but I now know a couple of tricks to make it go faster.

1 Like

The normal map really ties the horse together.

Without
Hose2Show11

With
Horse2Show12

3 Likes

Nice work mate!

1 Like

Privacy & Terms