Hell Awaits you... Young Rabbit


Haha thank’s for the images @Michael_Bridges. Chin Chin was most pleased.
All I did was multiply them by red

Btw anybody know why the scene lighting might be effecting the hair lighting?
For instance when I drop in the enviorment texture it looks like this:


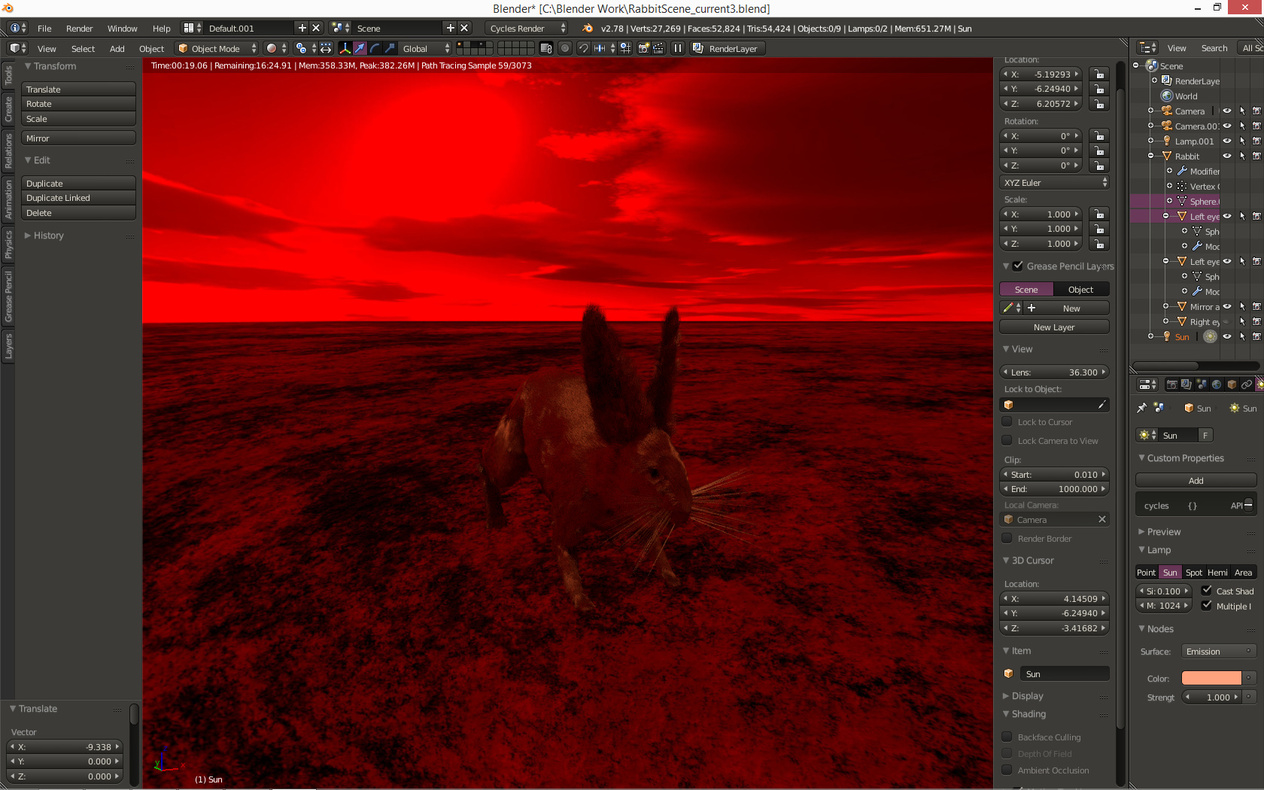
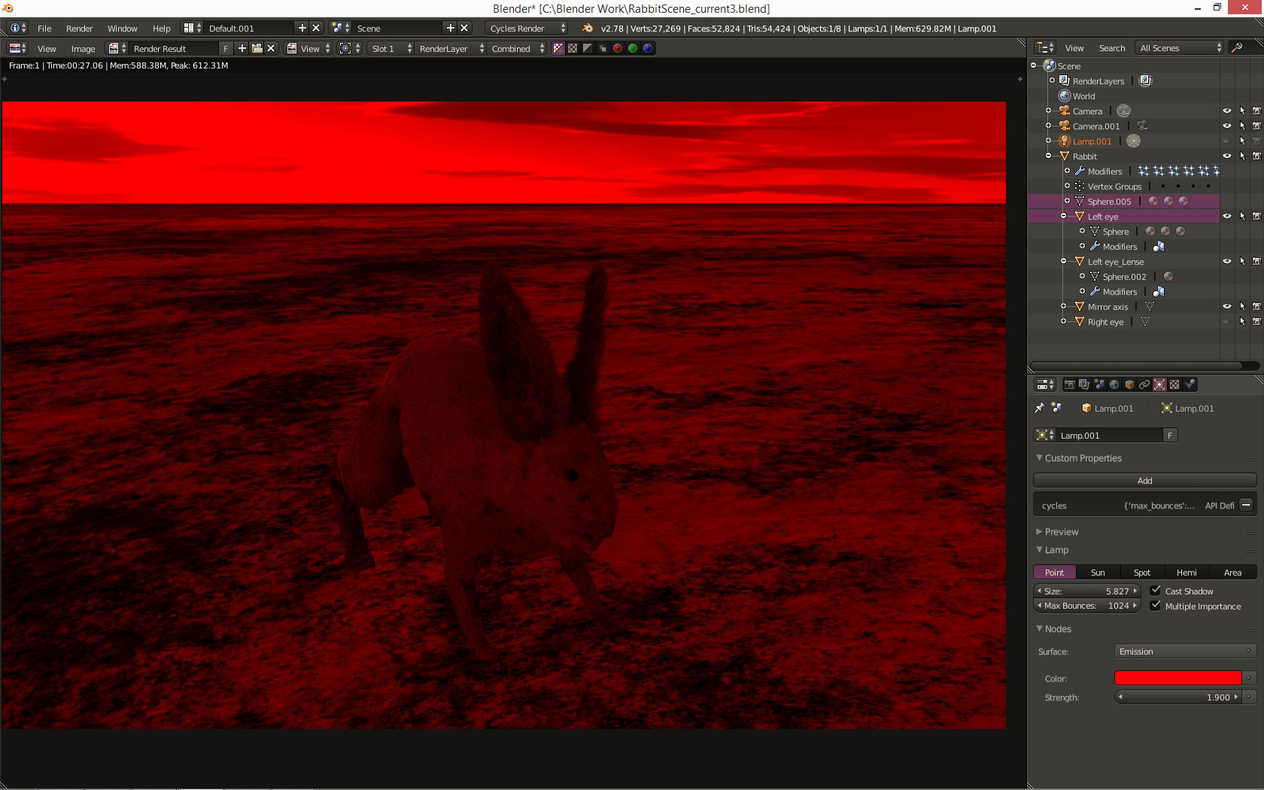
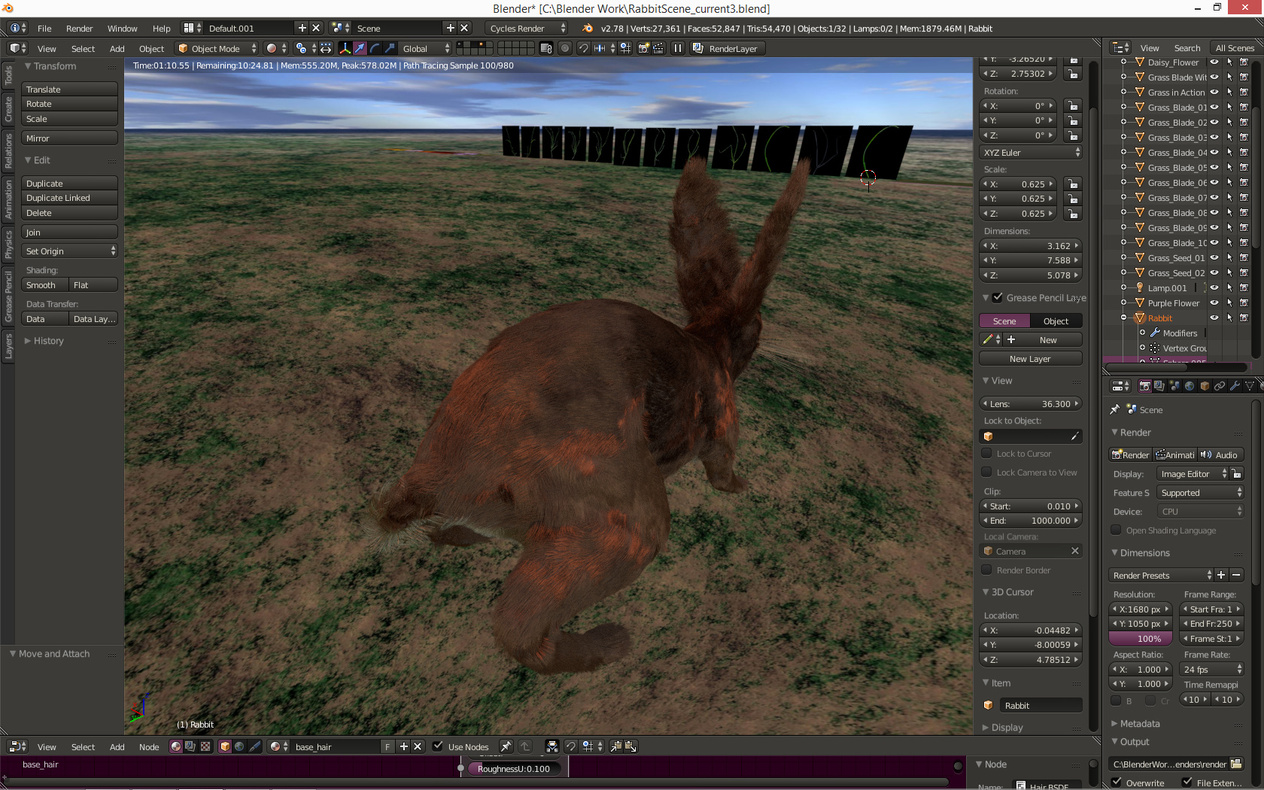
But when I add a Lamp, some of the hair seems to be uneffected by it, or conflicted somehow perhaps with the other hair? (notice the hair on the back):

I’m not sure what was causing this if It was a problem before but I don’t think it was…

1 Like


@Hagyto the lifelike skinning hero is coming to avenge my bunnies

1 Like

IF you are using the hair shader have to mixed the 2 types together- this looks like the hair is reflecting when the angle of incidence with the camera is just right.

Hah, your virtual world seem to be much more exciting than mine! :rofl:

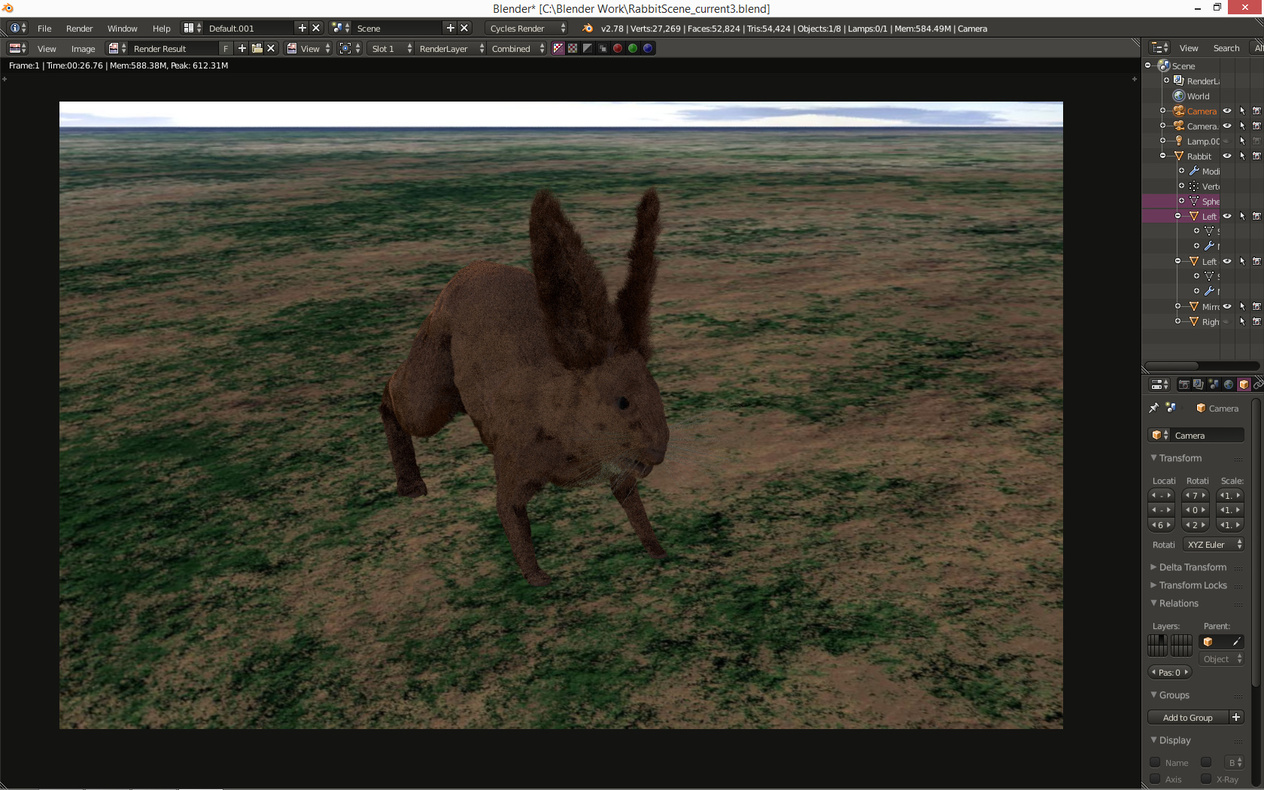
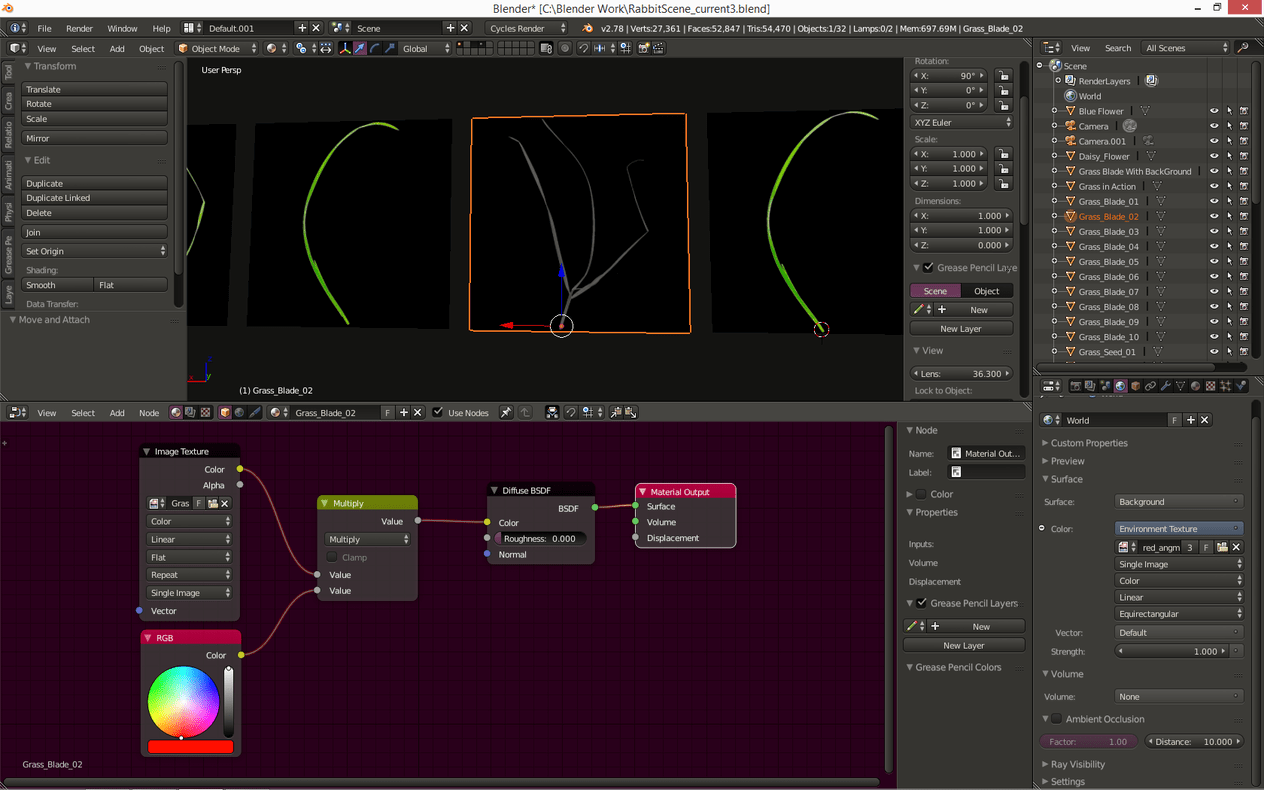
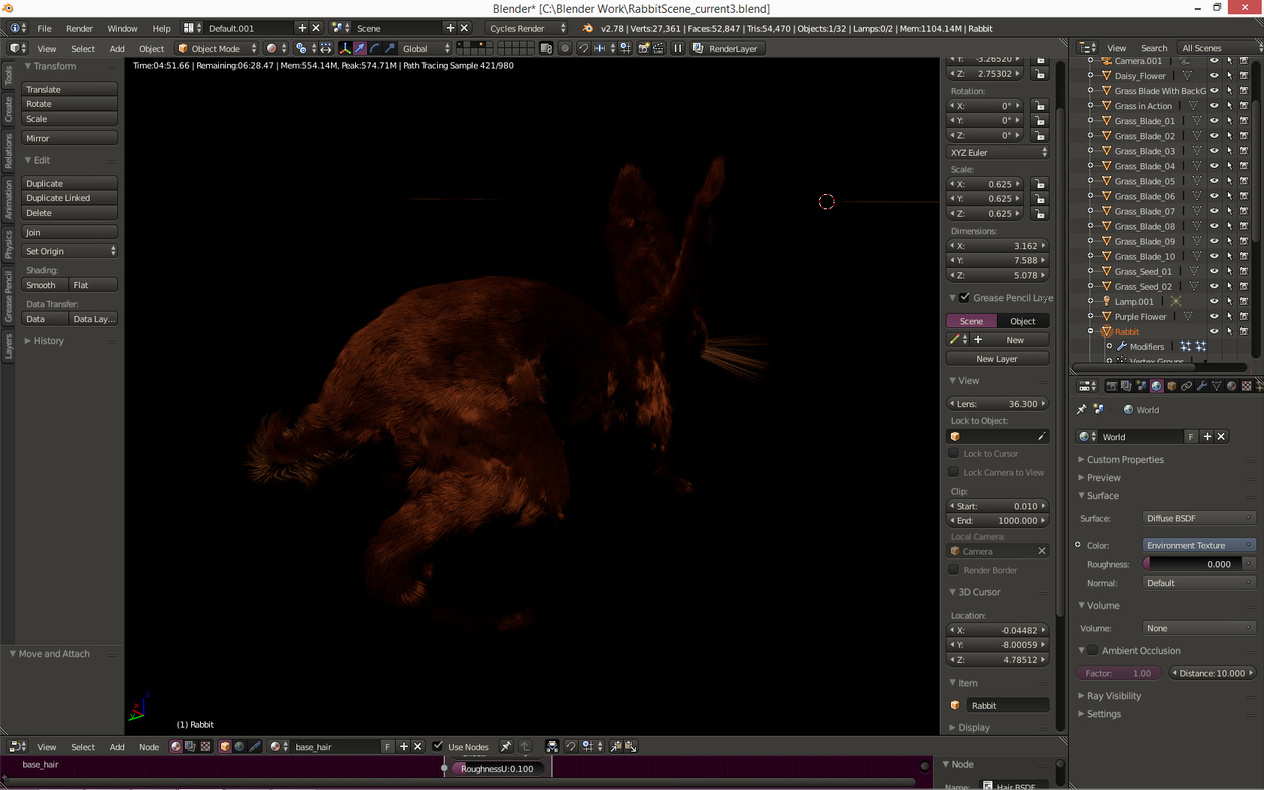
haha all I did was select an enviorment texture that Mike provided.
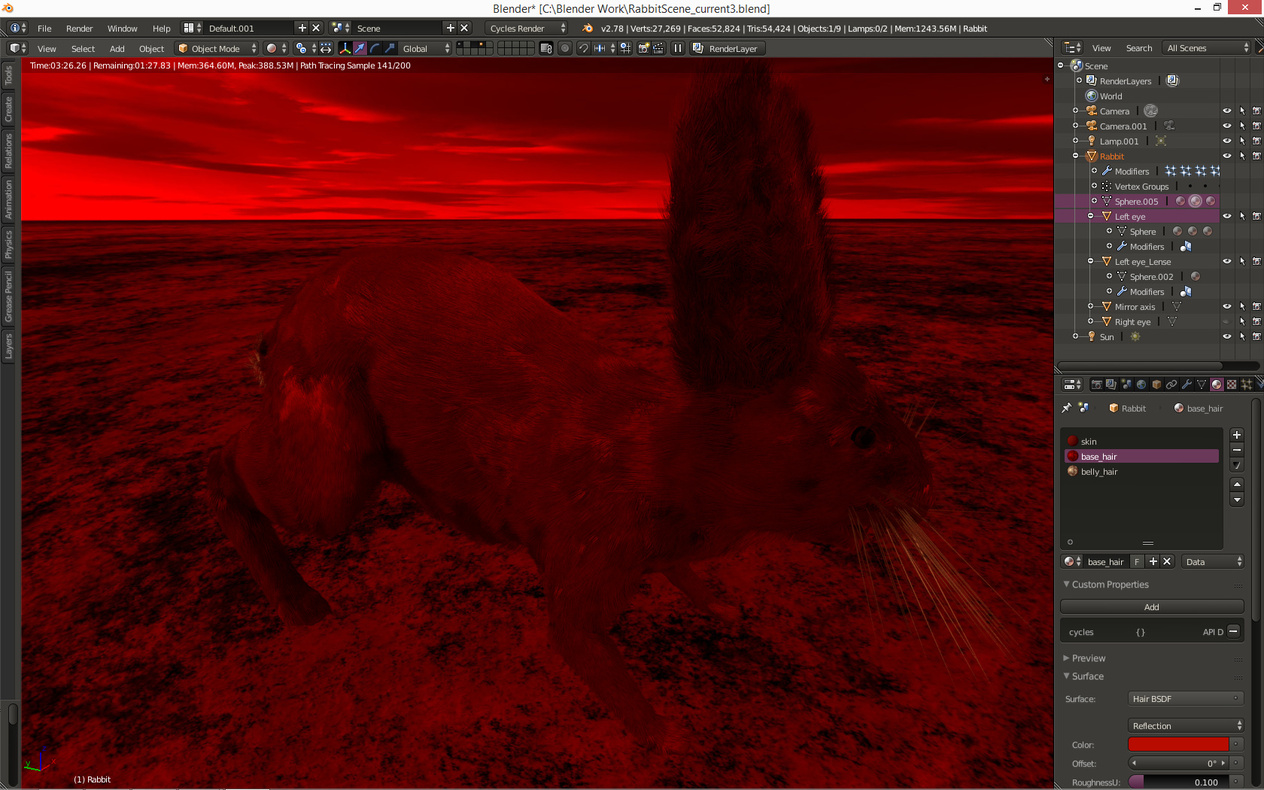
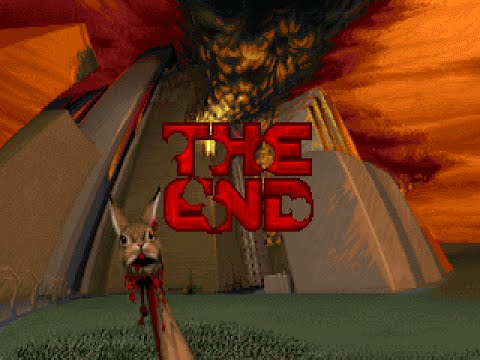
Figured I’d let you know about the rabbit’s progression into hell xD.
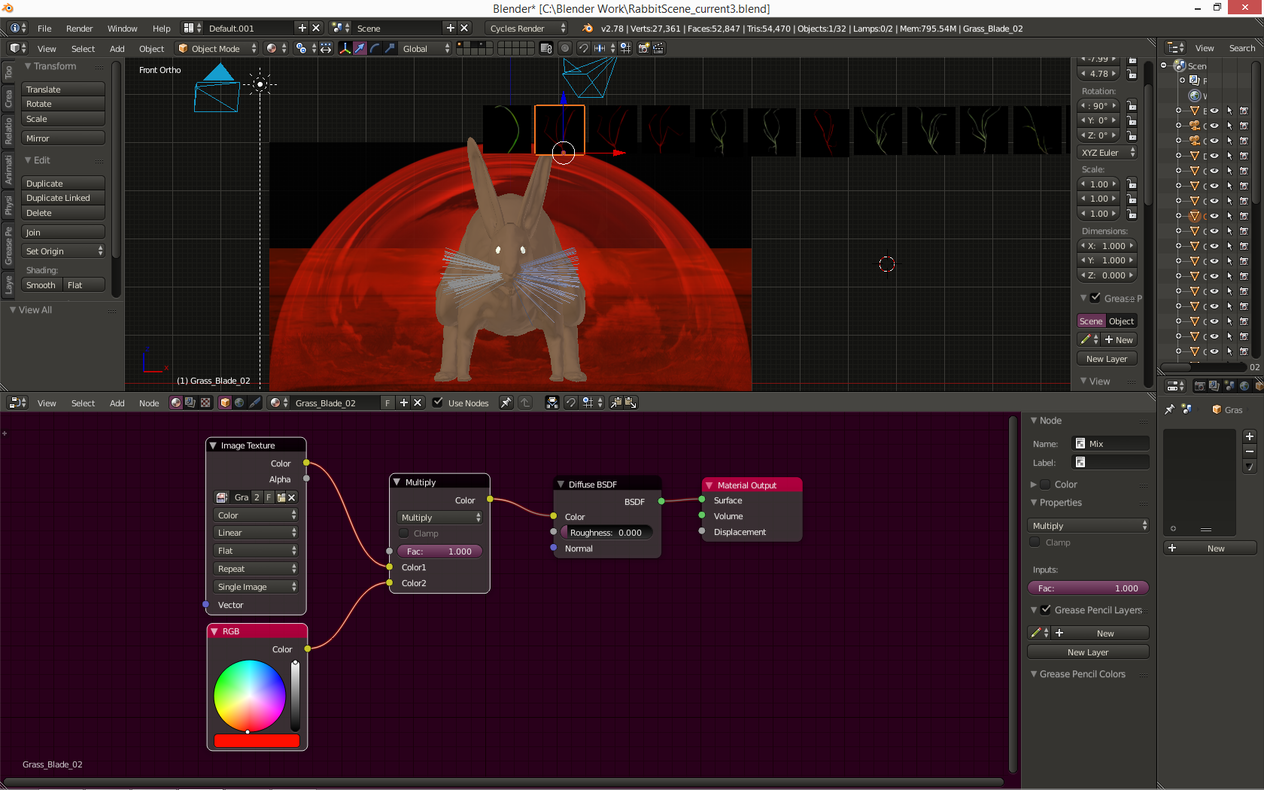
I went into photoshop first and made a red layer that was set to multiply.
There SHOULD be a way to change the color in blender with multiply… But i cant get it working atm.
I think because its expecting differnt type of data:


All I get is a black and white image in material and rendered mode.

(in rendered mode the red lighting makes it appear red anyway tho)

i learned the multiply technique from doing materials in unreal engine.(particles and every color change in game engines are done like this) Wierdly enough, I havn’t seen a single image editing tutorial that tells you the most proper way of changing an images overall color, which is by multiplying each color value by another one.
My memory is a bit foggy but this has something to do with the fact that each color value is actually a value from 0.0 to 1.0… which could also translate into an unsigned 8 bit integer which can hold numbers from 0 to 255, which is why 255 is the number for colors on a computer.
I forget exactly how this multiplication works now though…

Edit:
I was one lecture away from Mike explaining this a bit!

The damn thing was hidden under Color -> MixRGB.
Blender makes it very confusing because the different maths you can do are stored as selections inside the node itself! ftw!
So i could have just done my background image this way instead.
I did find a vector math but for some reason it doesn’t have multiply which is very strange… But for this case color multiplier worked anyway.

Actually, wait a minute. You can’t select a material for Enviroment Texture. So not sure how to set this up for the background

I think you made a typo so i don’t fully understand what you’re saying.

But, for some wierd reason I cant replicate this problem anymore D:

It seems it magically fixed itself after I fell asleep.

I tried changing the angle of the camera and it seems to work.

I checked and the materials are hair shaders… the only thing I might have changed was the color… very wierd.

The only other thing I can think of is that I re-enabled visibility of certain sections of hair when this problem initially happened.

Either that or the problem is still there and I’m not seeing it… maybe it was the angle or intensity of my lamp that changed?

Hmm… yes I think the problem is still there just manifesting itself in a differnt way:


You would think every side being hit by light would be illuminated to that orange tone…

Its hard to tell whats going on but you would think it would be at the least looking like… the old version:


which i put a few screens of there

Gah… i cant remember what the old settings were it comes out like this without the background…

Looking at the way its rendering in blackness I think it might be its interaction with the automated environment texture lighting thats causing this.

Then again… The light patches are almost the same on a third glance.


But these settings are not identical to my old version.

I can’t tell it not to use nodes so not even sure how to get it back to normal xD.

Privacy & Terms