Geometry nodes

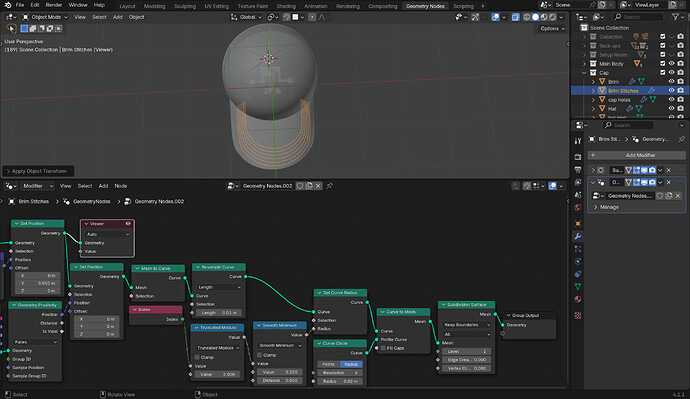
I am very new to geo nodes and I was copying a guy putting stitches on a cap he made with them. This is what I got so far just by copying him:

I got it working so far, but after one accidental click off the stitches of the brim, everything goes off. What I mean is that I want those orange lines to be on the brim, but then what I previously mentioned happened. I already tried switching the target of Object Info to the Brim and set it to Relative, but still nothing works. And I already applied the scale to the stitches. What do I do to fix this? I am using 4.2 by the way.

2 Likes

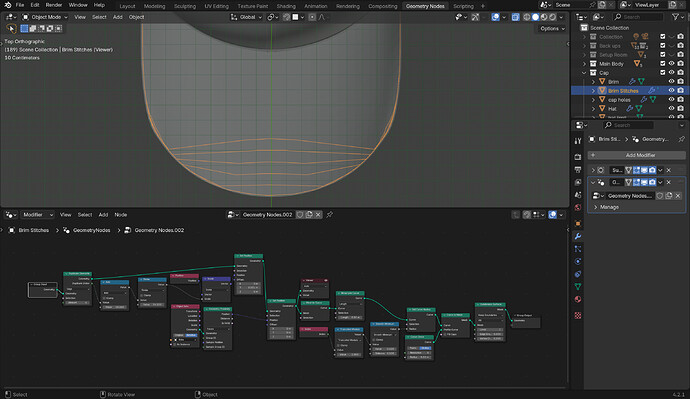
Never mind, I fixed it by changing the Viewer node to the other Set Position node. So now, I can get to the real problem:

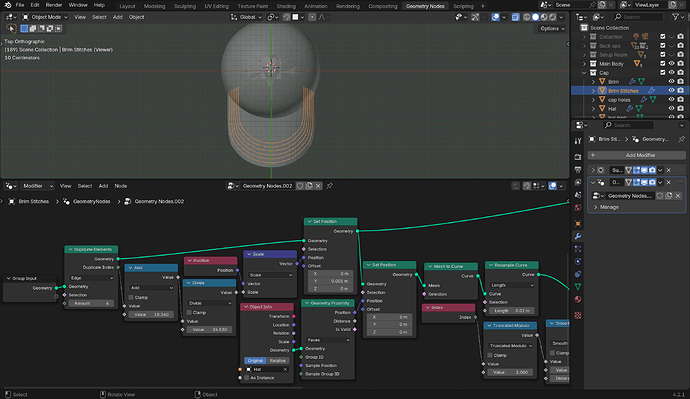
I followed this guy step by step to get what I wanted, but when I set the target of the Object Info node to the Brim and set it to Relative, this above happened. In the first images I have shown previously, the math nodes’ values are the same as in the one above and it showed where I wanted those lines to be, so I didn’t change them to get this view. However, I wonder if I should change them to get the stitches to their places. Is that right? If not, then what do I do?

2 Likes

I redid the brim’s stitches and I am confused on how the Math nodes add and divide work. Also, the guy I am following used math node called modulo, but in my version, it’s divided to truncated and floored. How do these above mentioned nodes work?

I finally figured out the add and the divide math nodes but nothing about the Modulo. Anyway, after even doing all that, the result is still the same as before, which I’ve shown in the last picture. How do I make it perfectly? What. Do. I. Do?

I, sort of, fixed it, but …

I moved all the objects of the cap down so that the brim is below the y-axis, but, for some reason, it looks like this. What do I do?

1 Like

Privacy & Terms