End of Section 1 - Deserted Viking Village

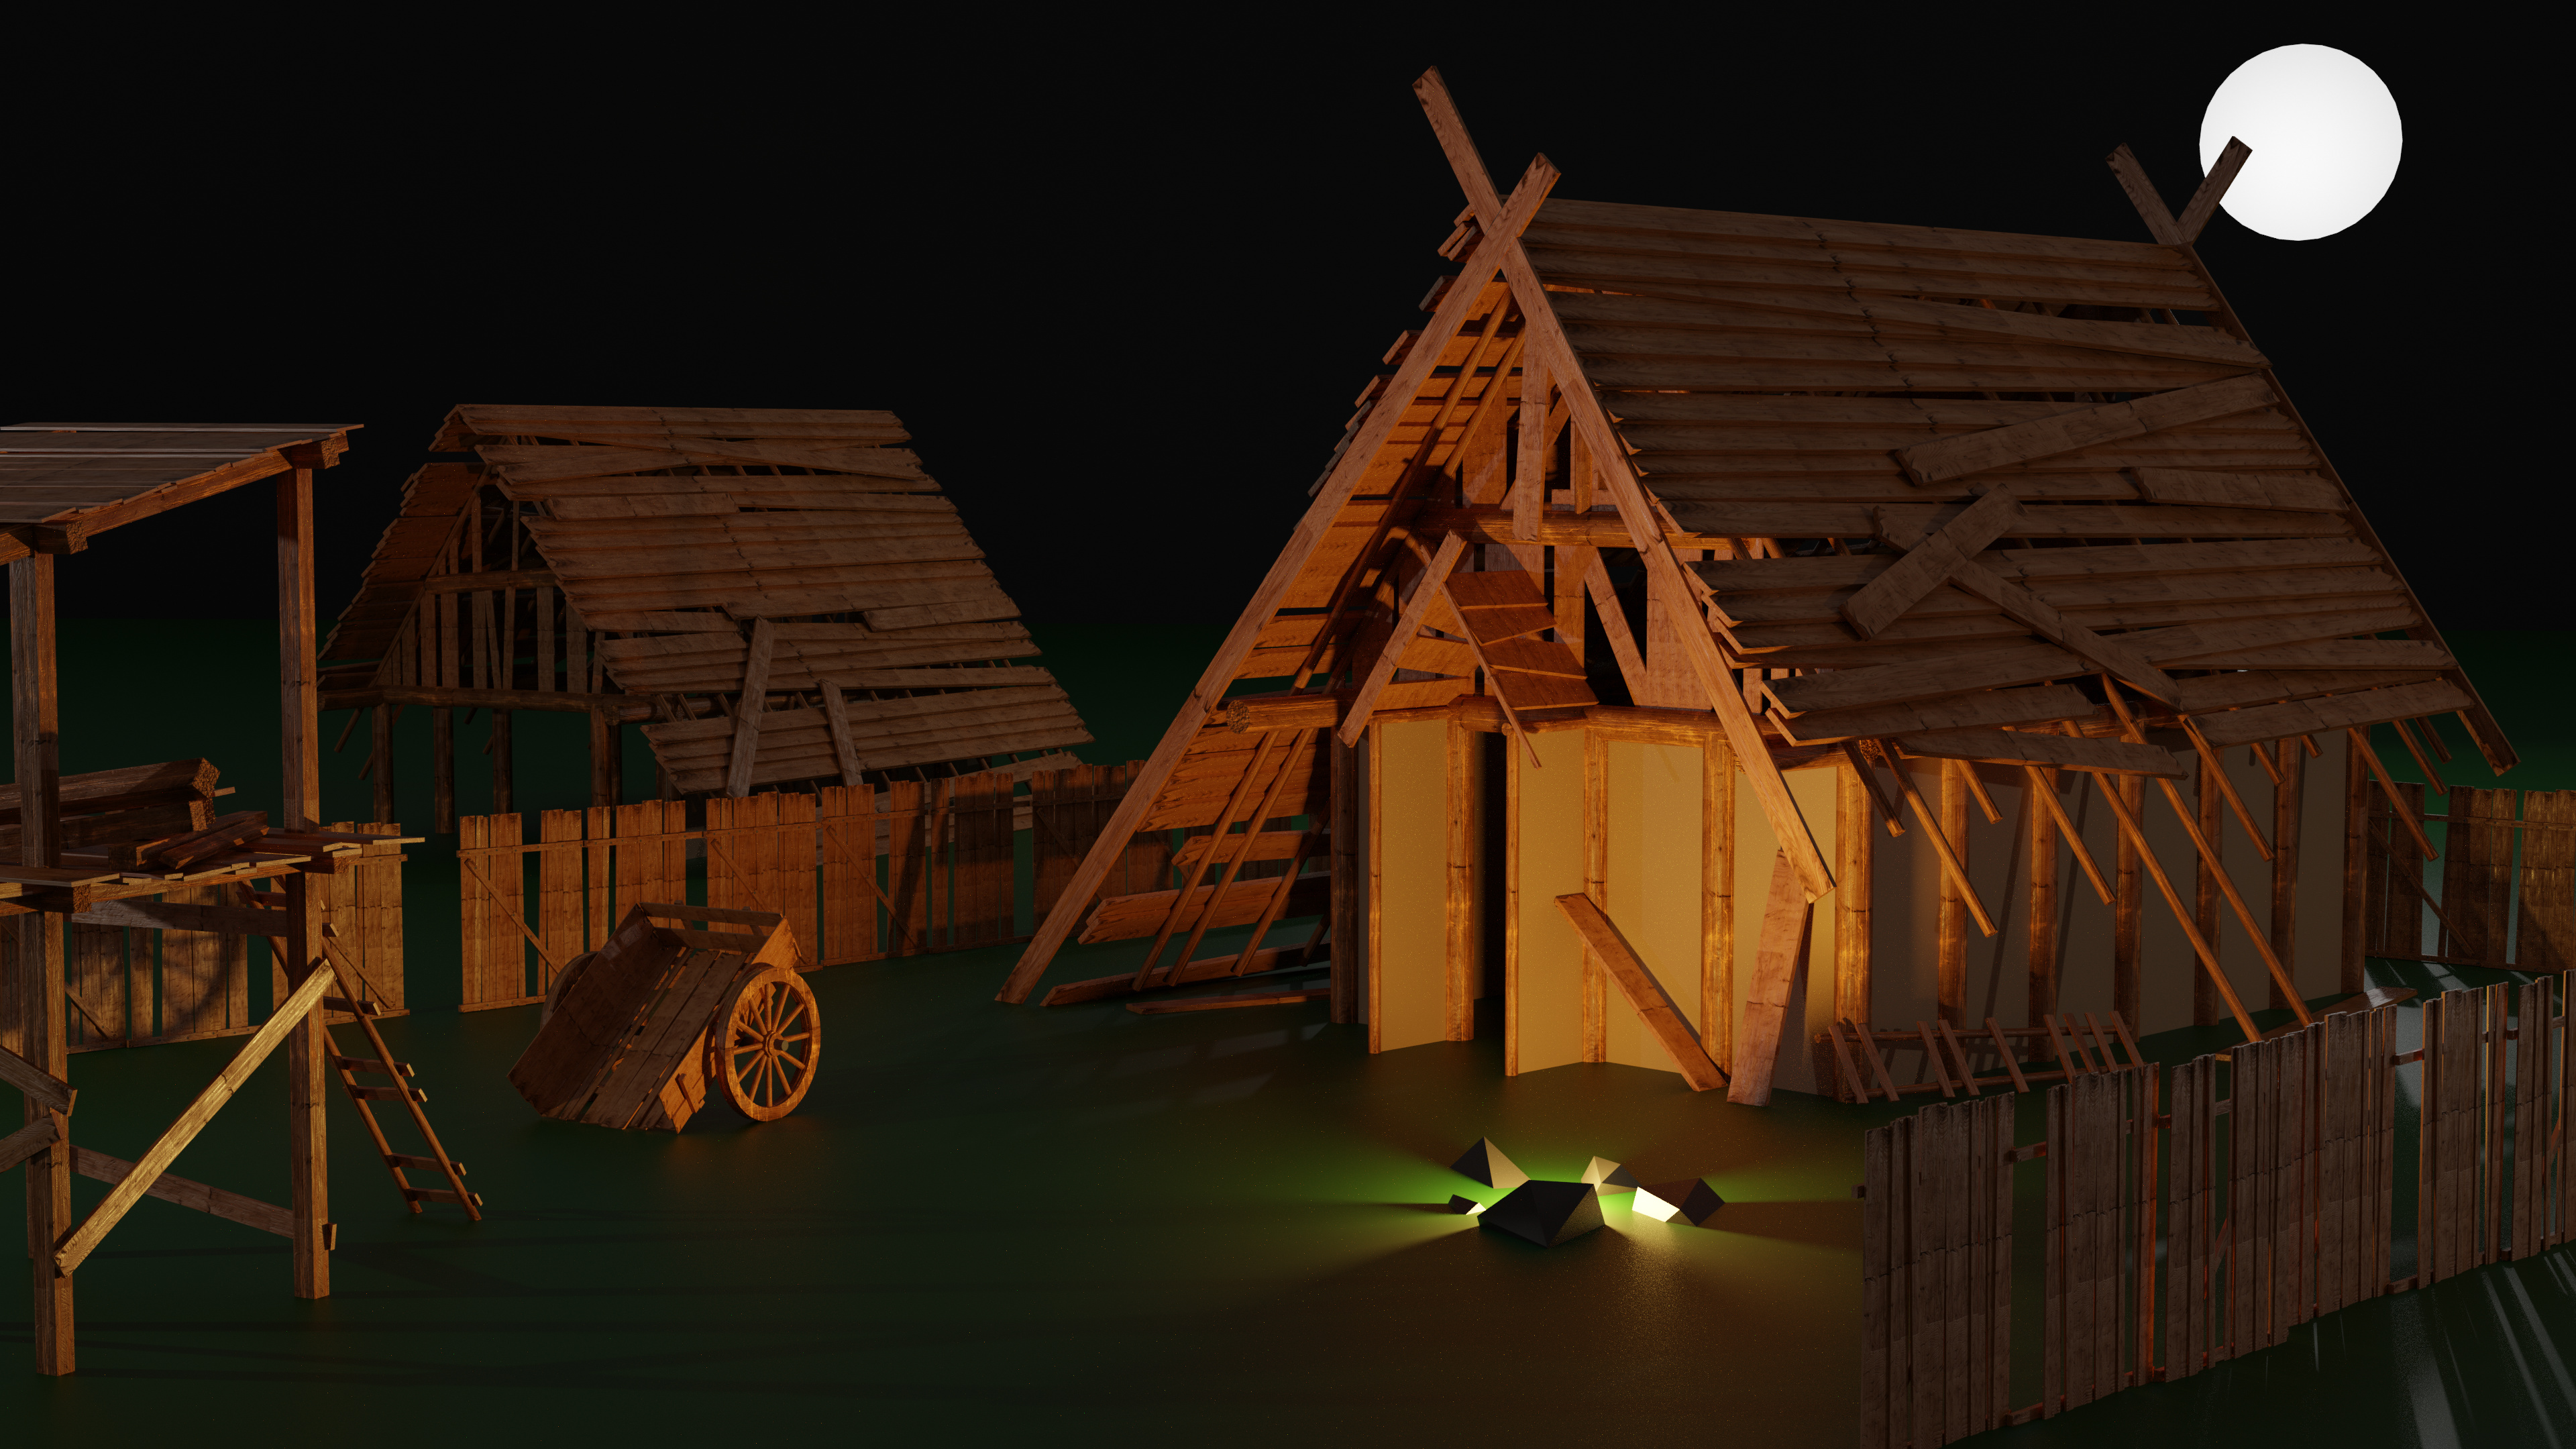
My first 3D scene - a deserted viking village. Spent a little too much time on this, but I enjoyed every moment of it :slight_smile:

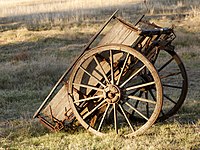
I started with the cart, then the “outpost” on the left and finally the house. The hardest part for me was to arrange the roof planks so that it looks more like a wreck. I just had to build it normally, then delete and rotate all the pieces individually.

I reused the floor of the cart for the fence and duplicated and rotated the house for the more damaged-looking shed in the back.

The lights with the fire and the fake moon took a while (tbh I still don’t think they look quite right), I also added some free wood textures for my planks and beams that I found online. Rendered with Cycles.

Thanks for the great tutorial!

9 Likes

Excellent!

Blender is like that you start with a simple thing and it ‘grows’ on you as you add more!

Reusing part where suitable is a good work saver.
Particularly good to see end grain effect on logs.
Where planks have the same texture in a line you can edit each plank and just drag the UV up or down so the texture, grain etc. is apparently different on each plank.
Cart wheels could have done with more verts to smooth it faceting shows up on the rim noticeably.

Did you have references for the buildings style etc?

Welcome to this site!

3 Likes

Thanks!

  • Moving the UV up or down - great advice, will look into doing this for the next challenge.
  • Cart wheels - I was thinking about this too, but I couldn’t get the torus primitive to look less like a tire and more like a cartwheel - adding more verts just rounds it up too much.
  • References - Yep! I used this image for the cart and this one for the viking house.
1 Like

When you add the torus, a panel opens lower left of the screen. Open that if it is not, there is a major segments slider you can increase the segments making the wheel rounder. also a minor segments slide you can reduce the rounding the other way with.

Or better still
Add, Mesh: Extra Objects, an add on in preferences. (Edit, Preferences)
Then extra options appear in the Shift A add mesh menu, select Add super Toroid.
Then.
Use those panels again.

2 Likes

Amazing work man!! I love what you did! Keep it up!

1 Like

@NP5 Followed your advice - it looks way better now :v: Wish I knew about this addon earlier :smiley:
Here is the rendered image, you can see that the wheels look way more realistic!

This time I used the Branched Path Tracing option under Sampling when doing the rendering, which seems to reduce the grain on the ground near the “campfire”.

4 Likes

Wheel is much better. You could also have used a cylinder and made a hole in it for the same effect. Blender has many methods.

lol Had to look up Branch path tracing, very complicated to get advantages from. The easy way to reduce the noise is to check the denoise box.

1 Like

So much work, really a great achievement. :ok_hand: :+1: :+1:

1 Like

Privacy & Terms