Character Design Specification

I think I am going to do a low poly version of Joker from P5 – no complications in terms of costumes or the such, keeping it simple.

Body: black hair (wavy spikey), lanky, leans back slightly and down when standing

Items: glasses, uniform (turtleneck beneath blazer (black and red), checkered pants (same olor sceme more grey than black))), school bag

1 Like

Never tried to make anime-like characters but may be somewhat different.

Please post your progress cause i’m curious now :smile:

1 Like

Sure thing – took a little bit of a break there because of work throwing some blocks at me. Always been more of an JRPG fan (though some WRPGs are definitely top of list) so this is down my lane of interest, but I feel like the color palettes will be especially hard to express.

1 Like

Nice :smiley:

About the shading… maybe this helps

1 Like

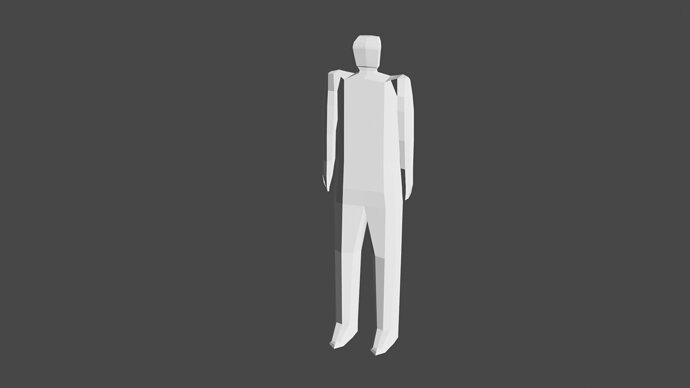
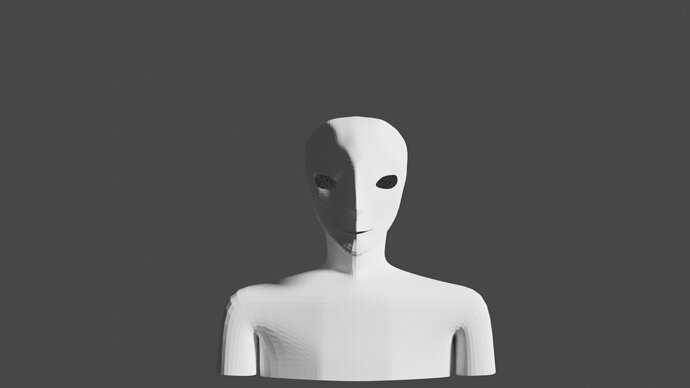
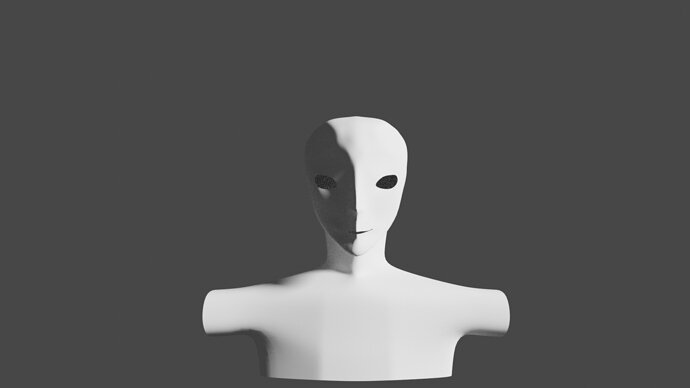
Thanks for that. It looks like it should be useful. I thought I’d just post an update with how far I am along. I’ve got a bit of a basic shape for the body, though it feels like a lot of iterations could be put in there to make things better:

Humm looks like you are going with the sculpting workflow?
Interesting.

Yeah actually – I’ve been looking up other methods on the net just now and found one that makes more sense to me – however it will probably be more detailed that just low poly. That said character modelling is something I am really interested in so I am probably going to take my time with this one.

Thought I’d like the video I’m using now.

1 Like

Yep I’ve watched most part of this series a while back.

Back then I didn’t have much experience and when he started to pull the vertices one by one I dropped and just watched. And thought “Man… There should have another way to do this…”.
It actually has but then you need to retopologize later.

After obtaining more experience I realized that a lot of stuff you really need this push and pull of vertices… And ended up buying his character courses for 2.79 and 2.8 which I found in Udemy too.

1 Like

Yeah. I feel like for where I am trying to get this kind of structure the workflow is more suitable. The courses here already really helped me get a grasp for various tools in blender so at least at this point in the video stream I think I’ve been able to work with it.

I like that the methodology of shown seems pretty flexible for creating different types of faces. Once solidified you can arrange for asymmetric looks if that’s what your going for as well.

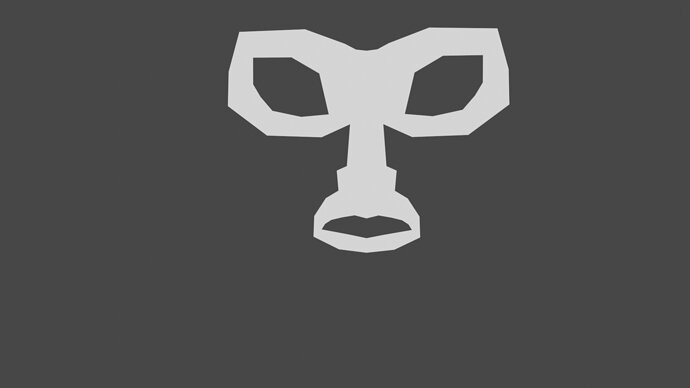
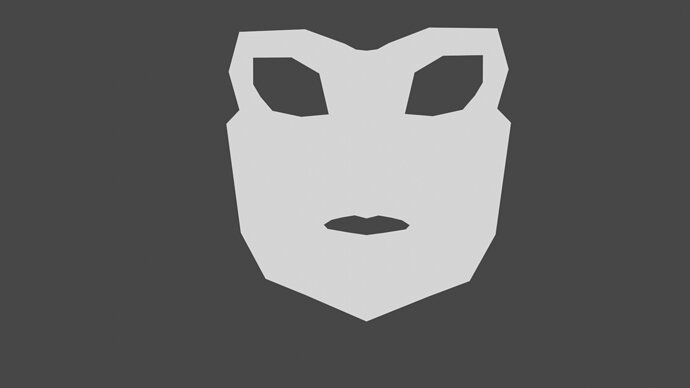
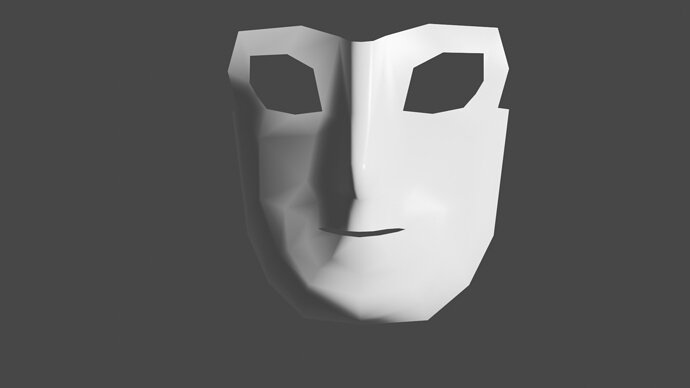
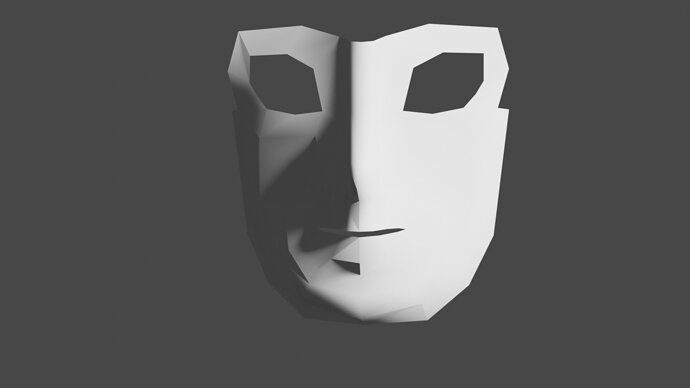
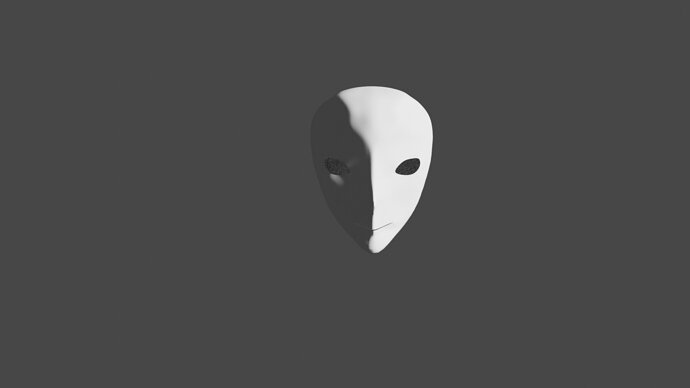
The way I see it there are basically three stages to getting the 3d “face” mask:

The eyes and nose:

Flat Projection of the face:

At this point I feel it’s pretty good time to concentrate on how you want the eyes to look for the character.

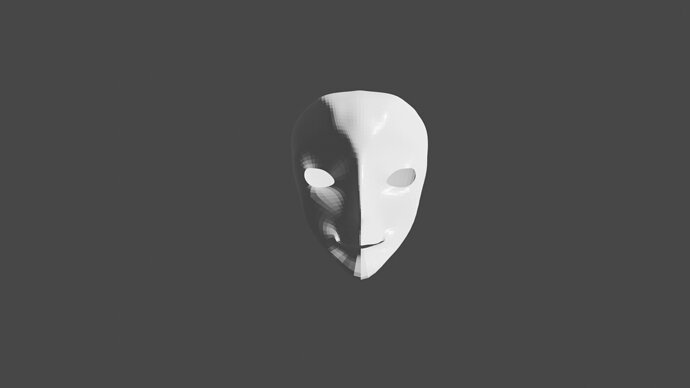
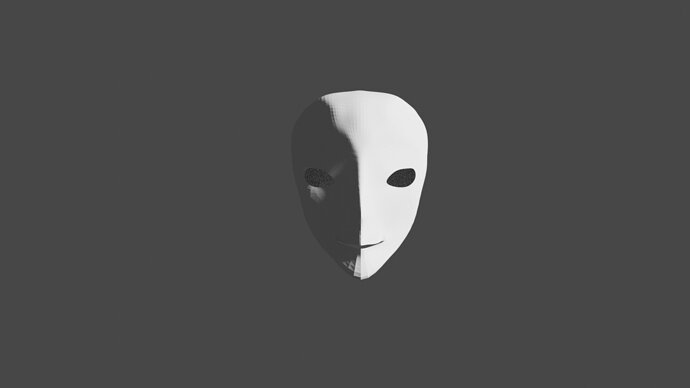
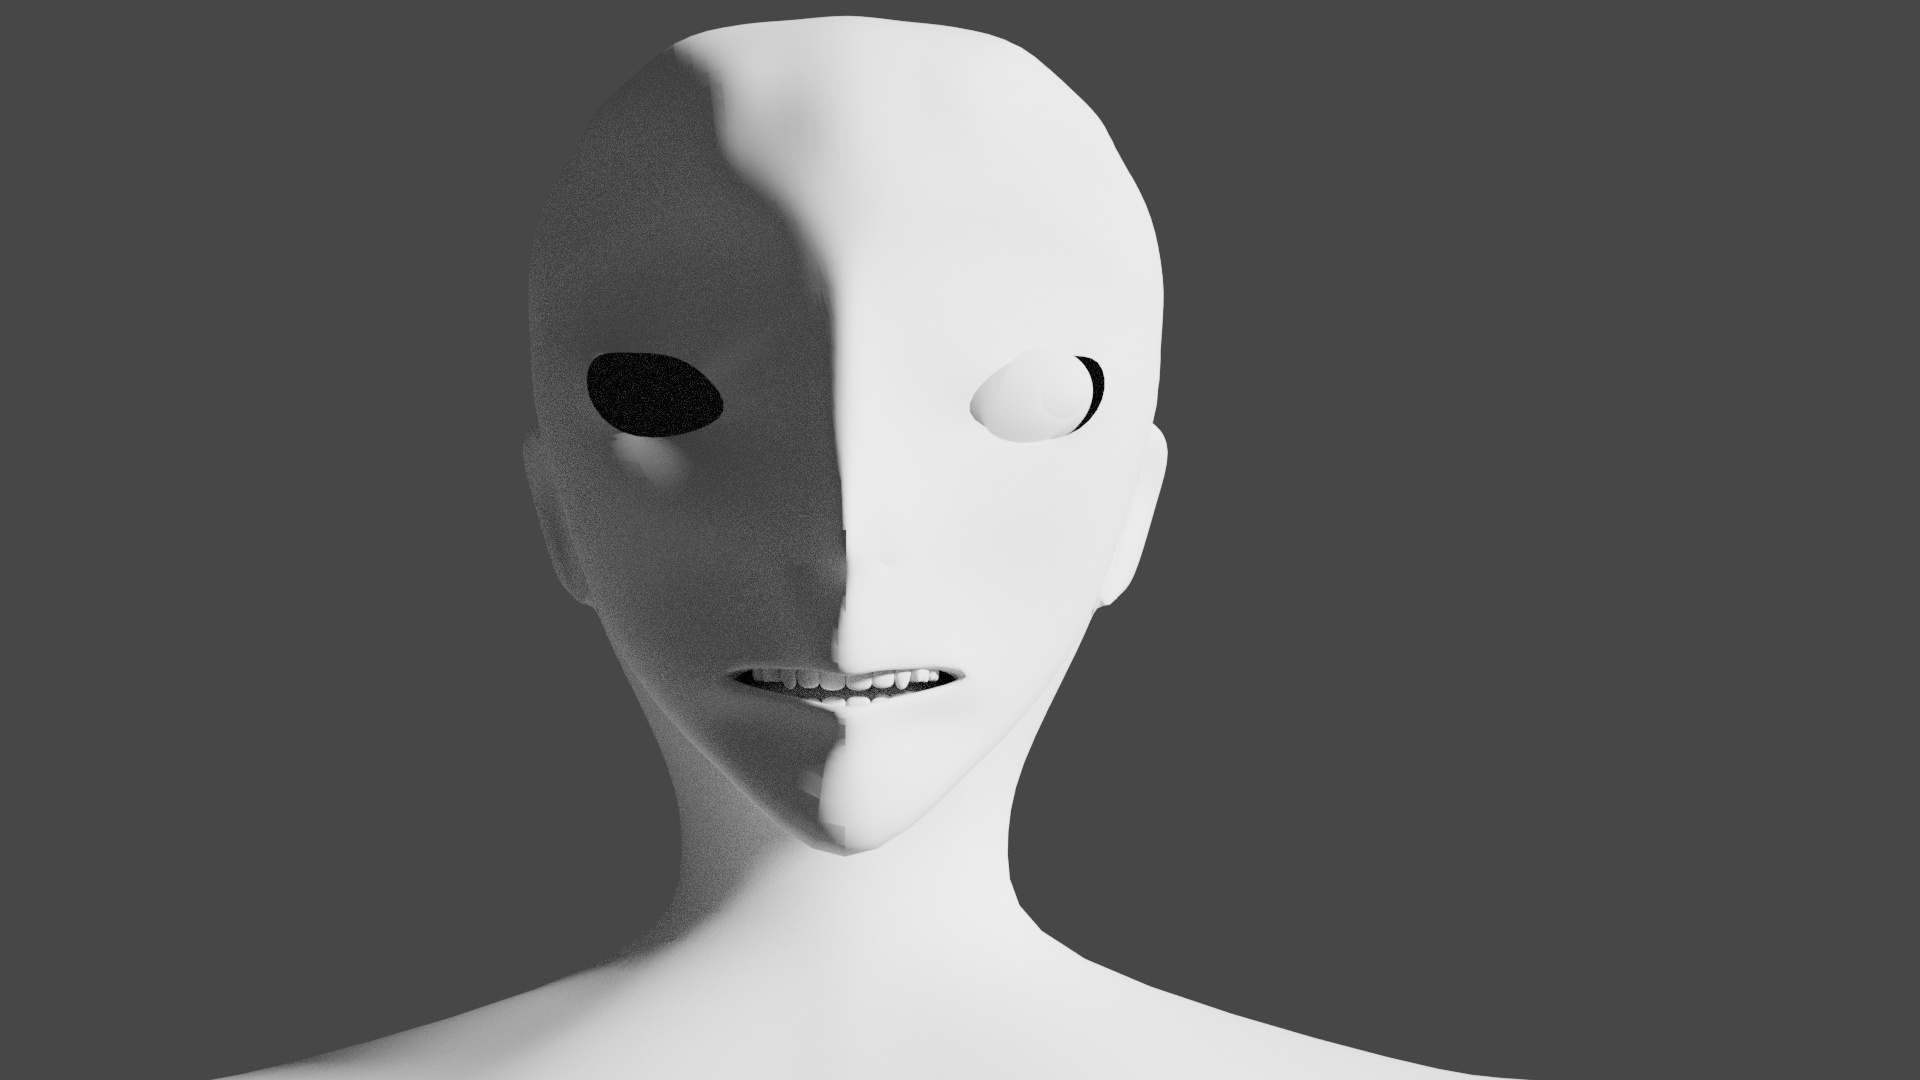
And in 3D (eevee and cycles):
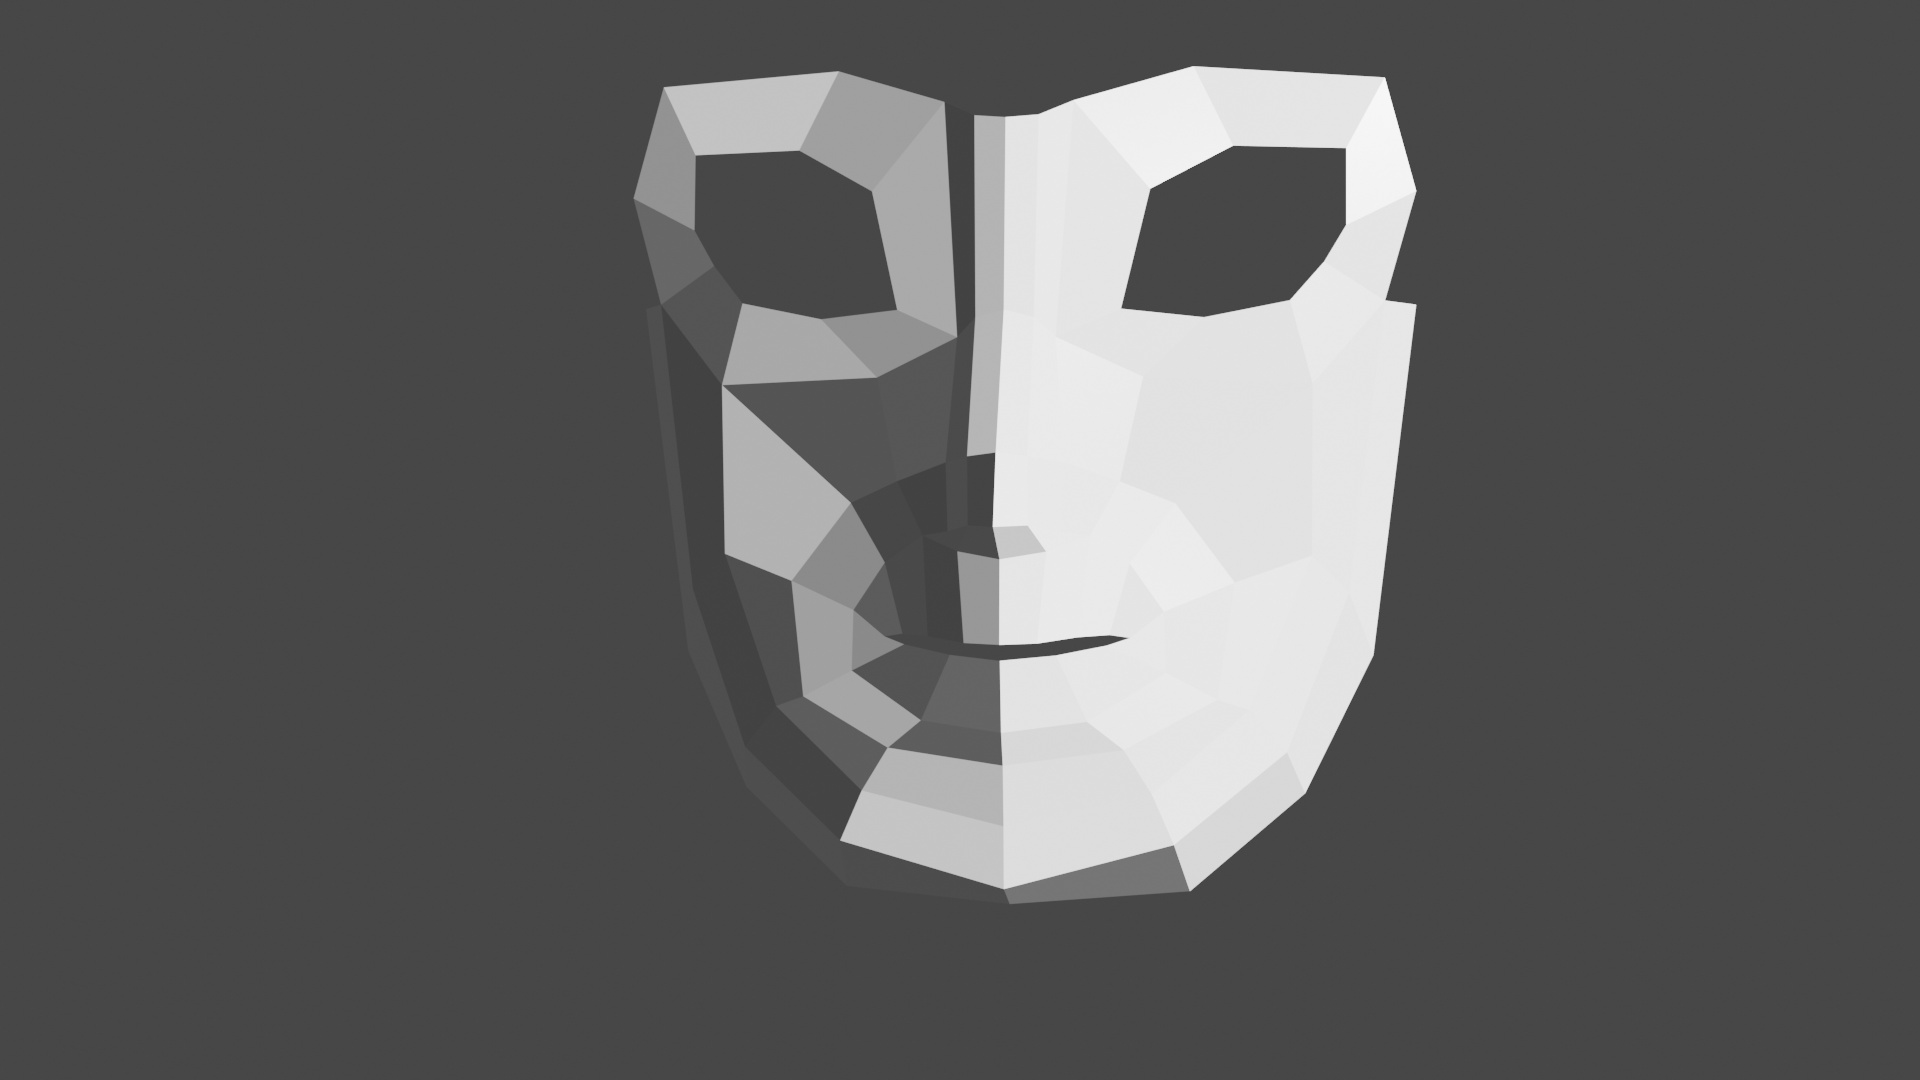
flathaded%20mask--eevee


I thought I might find this tedious – but it’s actually pretty fun getting the vertices pulled in the right places to resemble a 3d face. I think at this stage it’s important to be flexible, rotate around the model to various angles to see how the faces are angled – whether it feels right is a lame way of describing it, but at least that’s how it is to me. I imagine in the context of the entire body I’ll come back later and make further adjustments.

It’s a pity because if I were a better 2d drawer, I could probably make myself a reference of the character looking straight on. As is I’m working with the references I have and a few reangles. I have the source material so I get some value off of looking at the model there.

Drawings probably something I’ll be working on – since I have ideas for characters in my head that I want to create for game purposes. For now I’m just taking stock of features.

1 Like

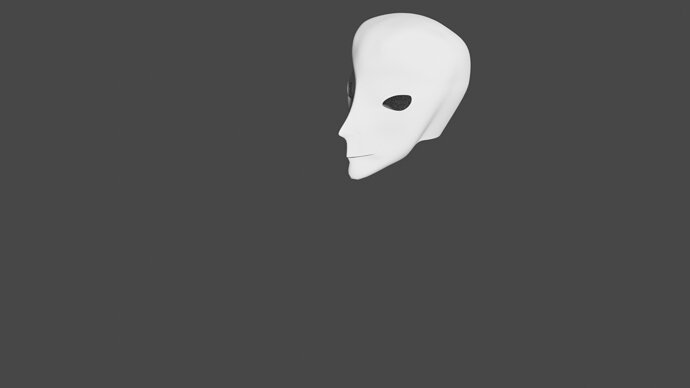
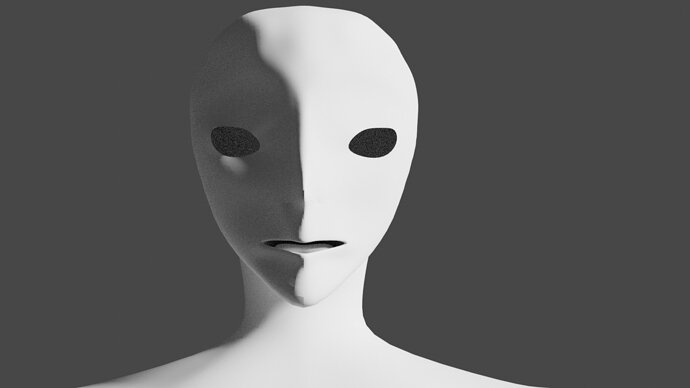
Next step was creating the shell of the head.

What I found going through that rotating the extruded edges as I made it further back didn’t really work for me and I felt better dragging the vertices where I felt they should be.

I found some decent reference material of the protagonist staring straight on and refined the face further. I feel like there will definitely be a point once the mirror modifier is applied where I will be moving the vertices again to add a little asymmetry.

eevee:

cycles:

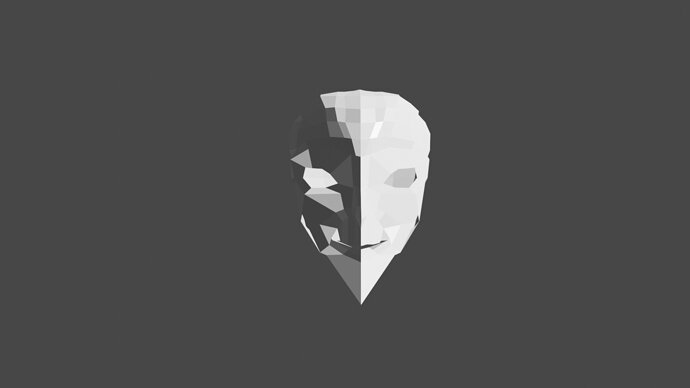
Also looks really ugly without the subdivision surfaces :laughing: :

1 Like

Looks like an alien yet hehe! :smile:

It will be really interesting to follow this thread!

1 Like

Now that you mention it, it does doesn’t it :laughing:. It doesn’t help that it’s so bald right now

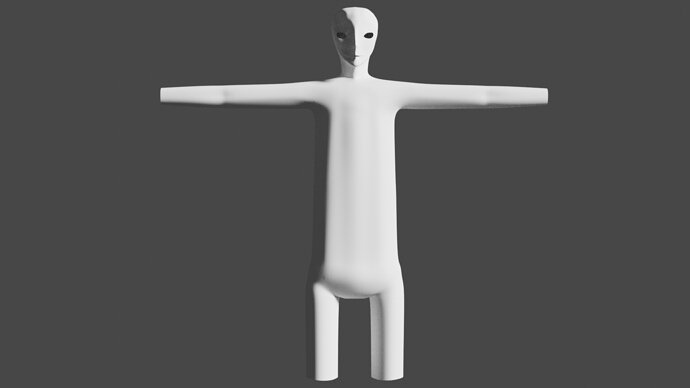
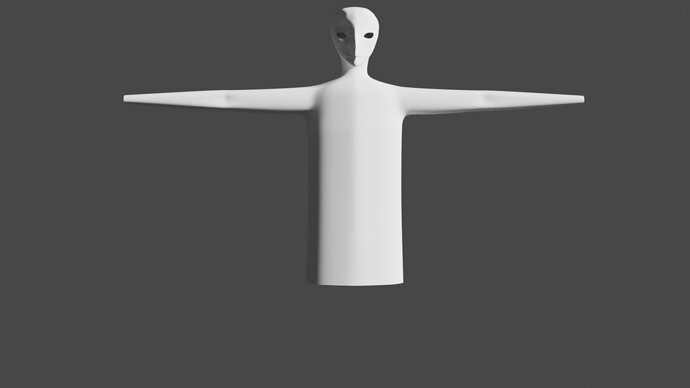
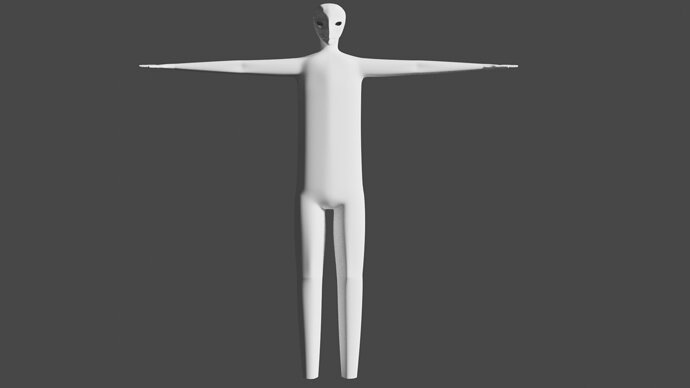
I’ve worked a bit down from the head now. At first I was going to try to follow the pictures I have and have the shoulders coming down, but I seems really hard to keep the proper dimensions for the arms that way – probably a reason why the t-pose is so common, I guess I’ll just have to try and guess the length of the arms.

Arms Down:


T-pose:

I think that’s it from me for today. Further refinements coming soon.

Ran into a few problems over the week with how the extrusions were shaping out:

Particularly when I came down to the legs it was noticeable as some of the edges that went down the back should have probably formed the side, leaving too little up front to form the wrap around along the groin area – thus the odd shapes were amplified.

Looking back it probably started around the head and neck area, where there wasn’t enough of a "roundness’ going down – probably a better way of saying, but what I’m trying to get at was that I went back a redid the edge flow so it came down around the head to the neck to a more circular cut-out at the bottom.

I also fiddled around with the shape some more, but all in all I will be restarting from this point.

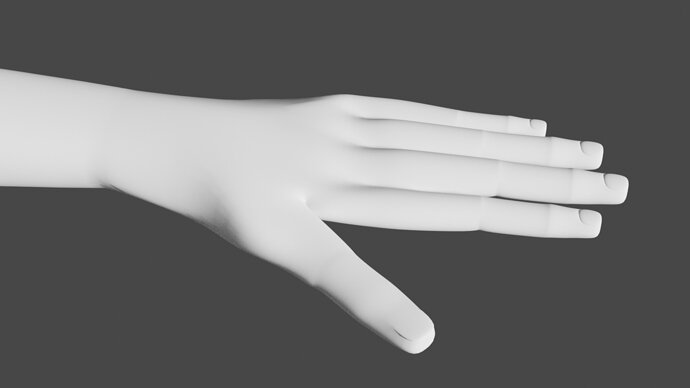
I think I did a bit better of a job of bringing out the arms this time:

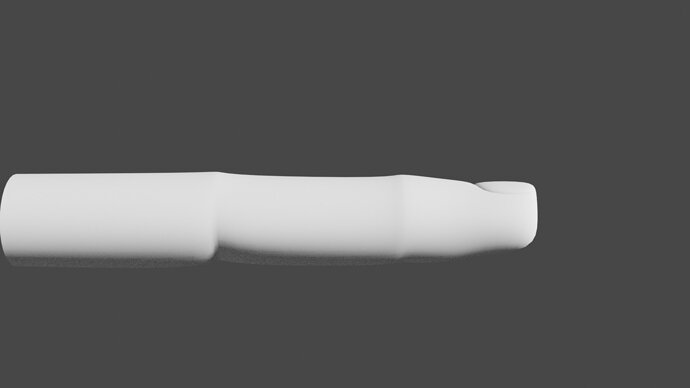
Spent some time on doing the fingers and hand. It was a neat trick to get the nails by extruding downwards, scaling smaller, extruding back up, and scaling larger again.

When it came to attaching the thumb to the hand I realized I made a mistake by joining together too many vertices early on. The rip tool in edit mode was useful here to sperate and create new faces.

Attaching to the body turned out well enough. At this point I am looking at doing some more point pulling to eek out a bit more shape; however, my guess is it doesn’t matter to add too much more detail especially if I will be adding clothes on afterwards.

1 Like

The nails trick is really nice. The first time I saw it i was like “Whaaat?!!”

The topology of the hand is really tricky to get right, specially when you have to merge to much to match the number of vertices of the wrist…

1 Like

Yeah! I had my doubts going in, especially with how it looked all blocky at no subdivisions. When I thought about it it made sense though considering that really what we’ve got there at its basic form is an inset of a cube, so you would expect the corners to become rounded and sort of come out looking like the top of a nail.

The fingers were something I considered a pretty important part of modelling for game character assets as for so much it would be pretty weird if their was just a mitten for a hand (unless you were aiming for a certain style or the character was always wearing mitts).

I took a shot at the next video where we did the tongue and inner mouth. I’m pretty happy with how it turned out – though I am thinking maybe the tongue should be a bit wider:

That said this is the point where I’m starting to question the level of detail you would need for game assets. A lot of games don’t necessarily have or allow you staring at character faces that much, and sometimes it’s mostly 2-d sprites that give that sort of point of view.

1 Like

I pulled the ears back a bit to give a more angular look that I would expect from a character model. With so few faces it is hard to make the inside of the ears look as creviced as I might like, but this is at a pretty good level already I think.

As for the eye business – this is a bit of a problem, particularly since the shape of the eyes I am going for is far from rounded. I’m not quite sure how messing with the shape of the eye will affect things – thinking it’s probably fine as long as the cornea and iris remain round even if the rest is less so. You can make some pretty interesting bug-eyes with the rounded ones though. I’ll cut things off for another day though, as this will be a bit more detail than I’m prepared for right now.

eyey_business

Think I might be ending up a different character here – but well, all is well and good in love, war, and point pulling.

1 Like

Gotten distracted while looking up tutorials so it will probably be a while before I update again. I am going to post one question which I will ask here as well.

I have noticed when I am doing character modelling with subdivision surfaces without adjust edit to cage turn on I have quite a few white blotches on the model where the new mesh seems to go through the un-subdivided cage – Is this something to worry about? A sign of bad topology?

This is just how subsurf works… Sometimes you need to disable the subsurf to see the edges clearly.

1 Like

Privacy & Terms