For the Squash and Stretch Lesson
In Eevee
Updated Sat Apr 06 2019 13:43
In Cycles
Bone-Based Squish and Stretch
in Eevee
In Cycles

For the Squash and Stretch Lesson
In Eevee
Updated Sat Apr 06 2019 13:43
In Cycles
Bone-Based Squish and Stretch
in Eevee
In Cycles
So I told my wife earlier tonight that if I had to animate one more ball during this course I was going to shot the f’ing thing…
[hangs head in shame]
she thought I meant from a cannon and it sounded like a good idea
Been working on the “Anticipation” lesson in Character Creator and here are my final videos
(Eevee)
(Cycles)
Been a while for this thread and honestly I’m just a bit toasted after today.
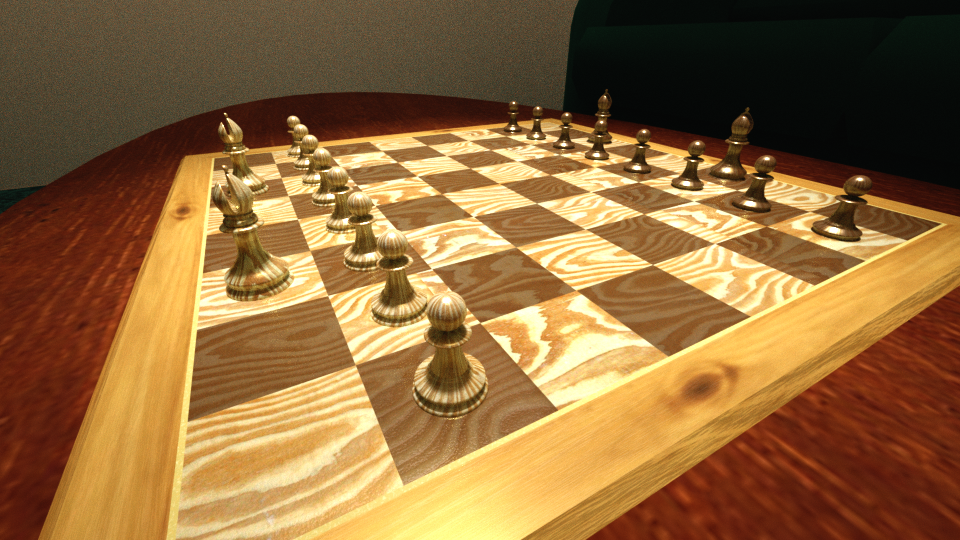
First, is the Surround for the Chess Board in CBC Sec 4

Seemed like there were some serious problems with today’s version of blender Blender as I spent an hour or more trying to get it to Unwrap the model correctly… I finally gave up and just manually shaped the UV Map.
Then it was on to the Procedural Textures for the board. While I’m not planning on using it here is the result (I absolutely love this one)
Then on to the queen. And at some point between doing the Surround and starting the Queen, the Remove Doubles command disappeared (

 Microsoft

 }
}
I got going on the Knight as well, sadly I’m once again fighting with the UV Unwrap so no pic of that one.
Updated Sun May 05 2019 08:23
After quite a bit of fiddling I finally managed to get a UV Unwrap I could live with. But now I’m not really likent the knight… guess there’s some organic object modeling practice in my future.
Getting Caught up…
The first of today’s projects was the King. For this one I chose to leave the tiny little ball off the top of the cross.
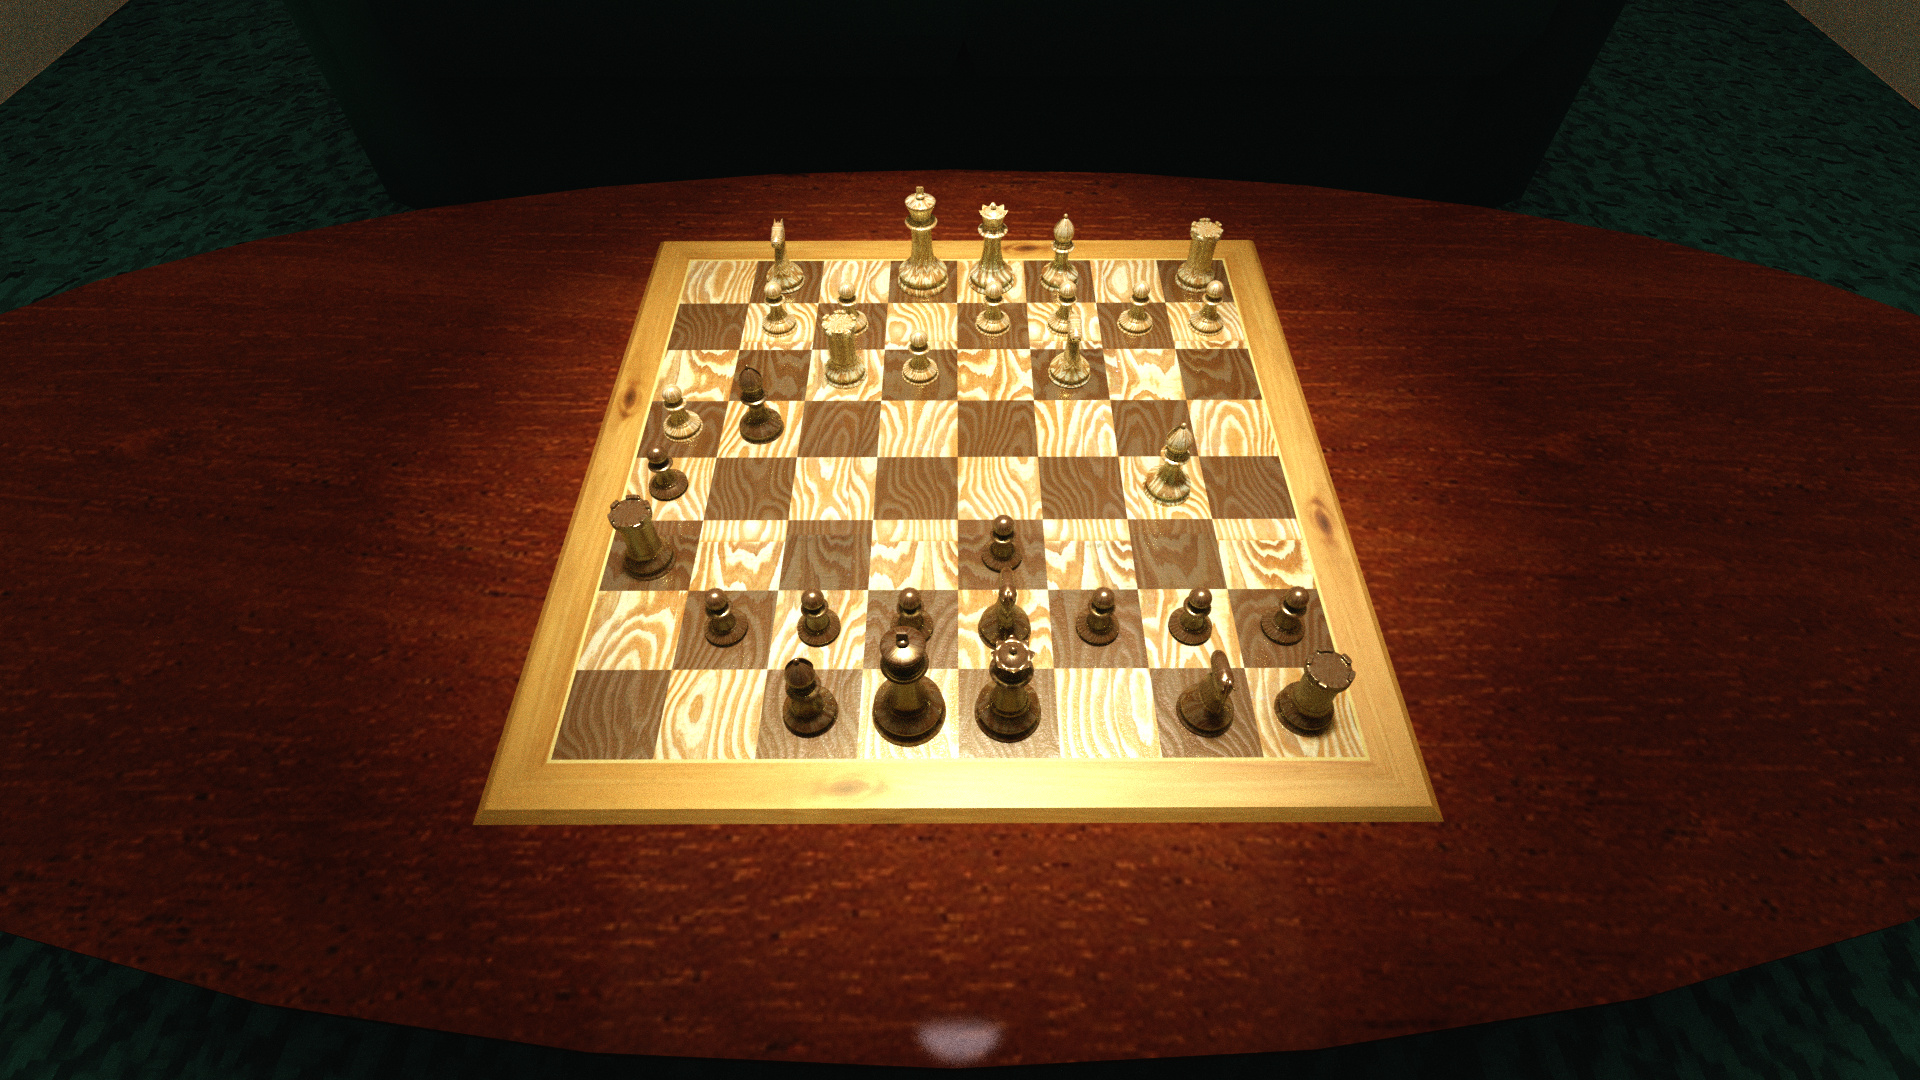
next, is finishing up the Chess Scene itself.
And here it is in a posed position…
This shot was just intended to show the posed game from a different perspective but actually works quite well to show the second camera in my scene.
And finally, the third camera added just for the “Multiple Cameras” Challenge.

And of course, who can forget about the wonderful fun of playing with settings I really don’t understand…
Had to take a bit of a break but finally got back too it. Here is the design concept for my Animated lamp…
After a bit of dinking about while I tried to figure out why I couldn’t edit my GP strokes, (Note to Self: you can’t edit a stroke made with a Locked Grease Pencil Material) here is my video for the “Intro to the Grease Pencil” Video:
You are awesome sir… For how long you are using…?
Probably you already know it, but the remove doubles command has changed the name to “merge by distance” . 
I’ve been using v2.80 since February, or maybe late January, Doing these two videos actually revealed a new posibility to me about animating the Grease pencil… you don’t actually have to redraw the object to change it’s position (ie: rotating the lampshade or changing the position of the arms).
Time to get caught up with posting my work
Challenge 68
Using curves to generate geometry (14_pl_cbc)
Challenge 69
Adjusting curve resolution (15_pl_cbc)
Challenge 70
Converting a ‘Curve’ to a ‘Mesh’ (16_pl_cbc)
Another batch done
Challenge 71:
Existing geometry to create new (17_pl_cbc)
Challenge 72:
Creating sharper edges (18_pl_cbc)
Challenge 74:
Revisiting the “Mirror Modifier” (20_pl_cbc)
Challenge 76:
Applying Transforms (23_pl_cbc)
Challenge 77:
Constraining Bones (25_pl_cbc)
Challenge 78:
Upper Arm(s) (26_pl_cbc)
Challenge 79
The ‘Screw Modifier’ (27_pl_cbc)
My work for yesterday…
Challenge 80:
The Solidify Modifier (28_pl_cbc)
Challenge 81
The Bevel Modifier (29_pl_cbc)
Challenge 82
Finishing the Lamp and Rig (30_pl_cbc)
Challenge 84
Simple Worn Edges (32_pl_cbc)
Sadly, my lamp doesn’t have any “Pointy” parts according to the Geometry node so I used a procedural texture to give it a bit of a beat-up look instead. I also played around with the lighting quite a bit in order to show the materials on the Logo and it ended up giving the lamp a washed out look.
Challenge 89
The Timeline (38_pl_cbc)
I’m really coming to despise Inverse Kinemetrics as every time I get into them it takes 3 - 4 times as long to do an animation as without them  But Finally, after 2 1/2 days, I finished the rough run of my lamp animation.
The refined version of this video is here