Align transformation to faces in edit mode

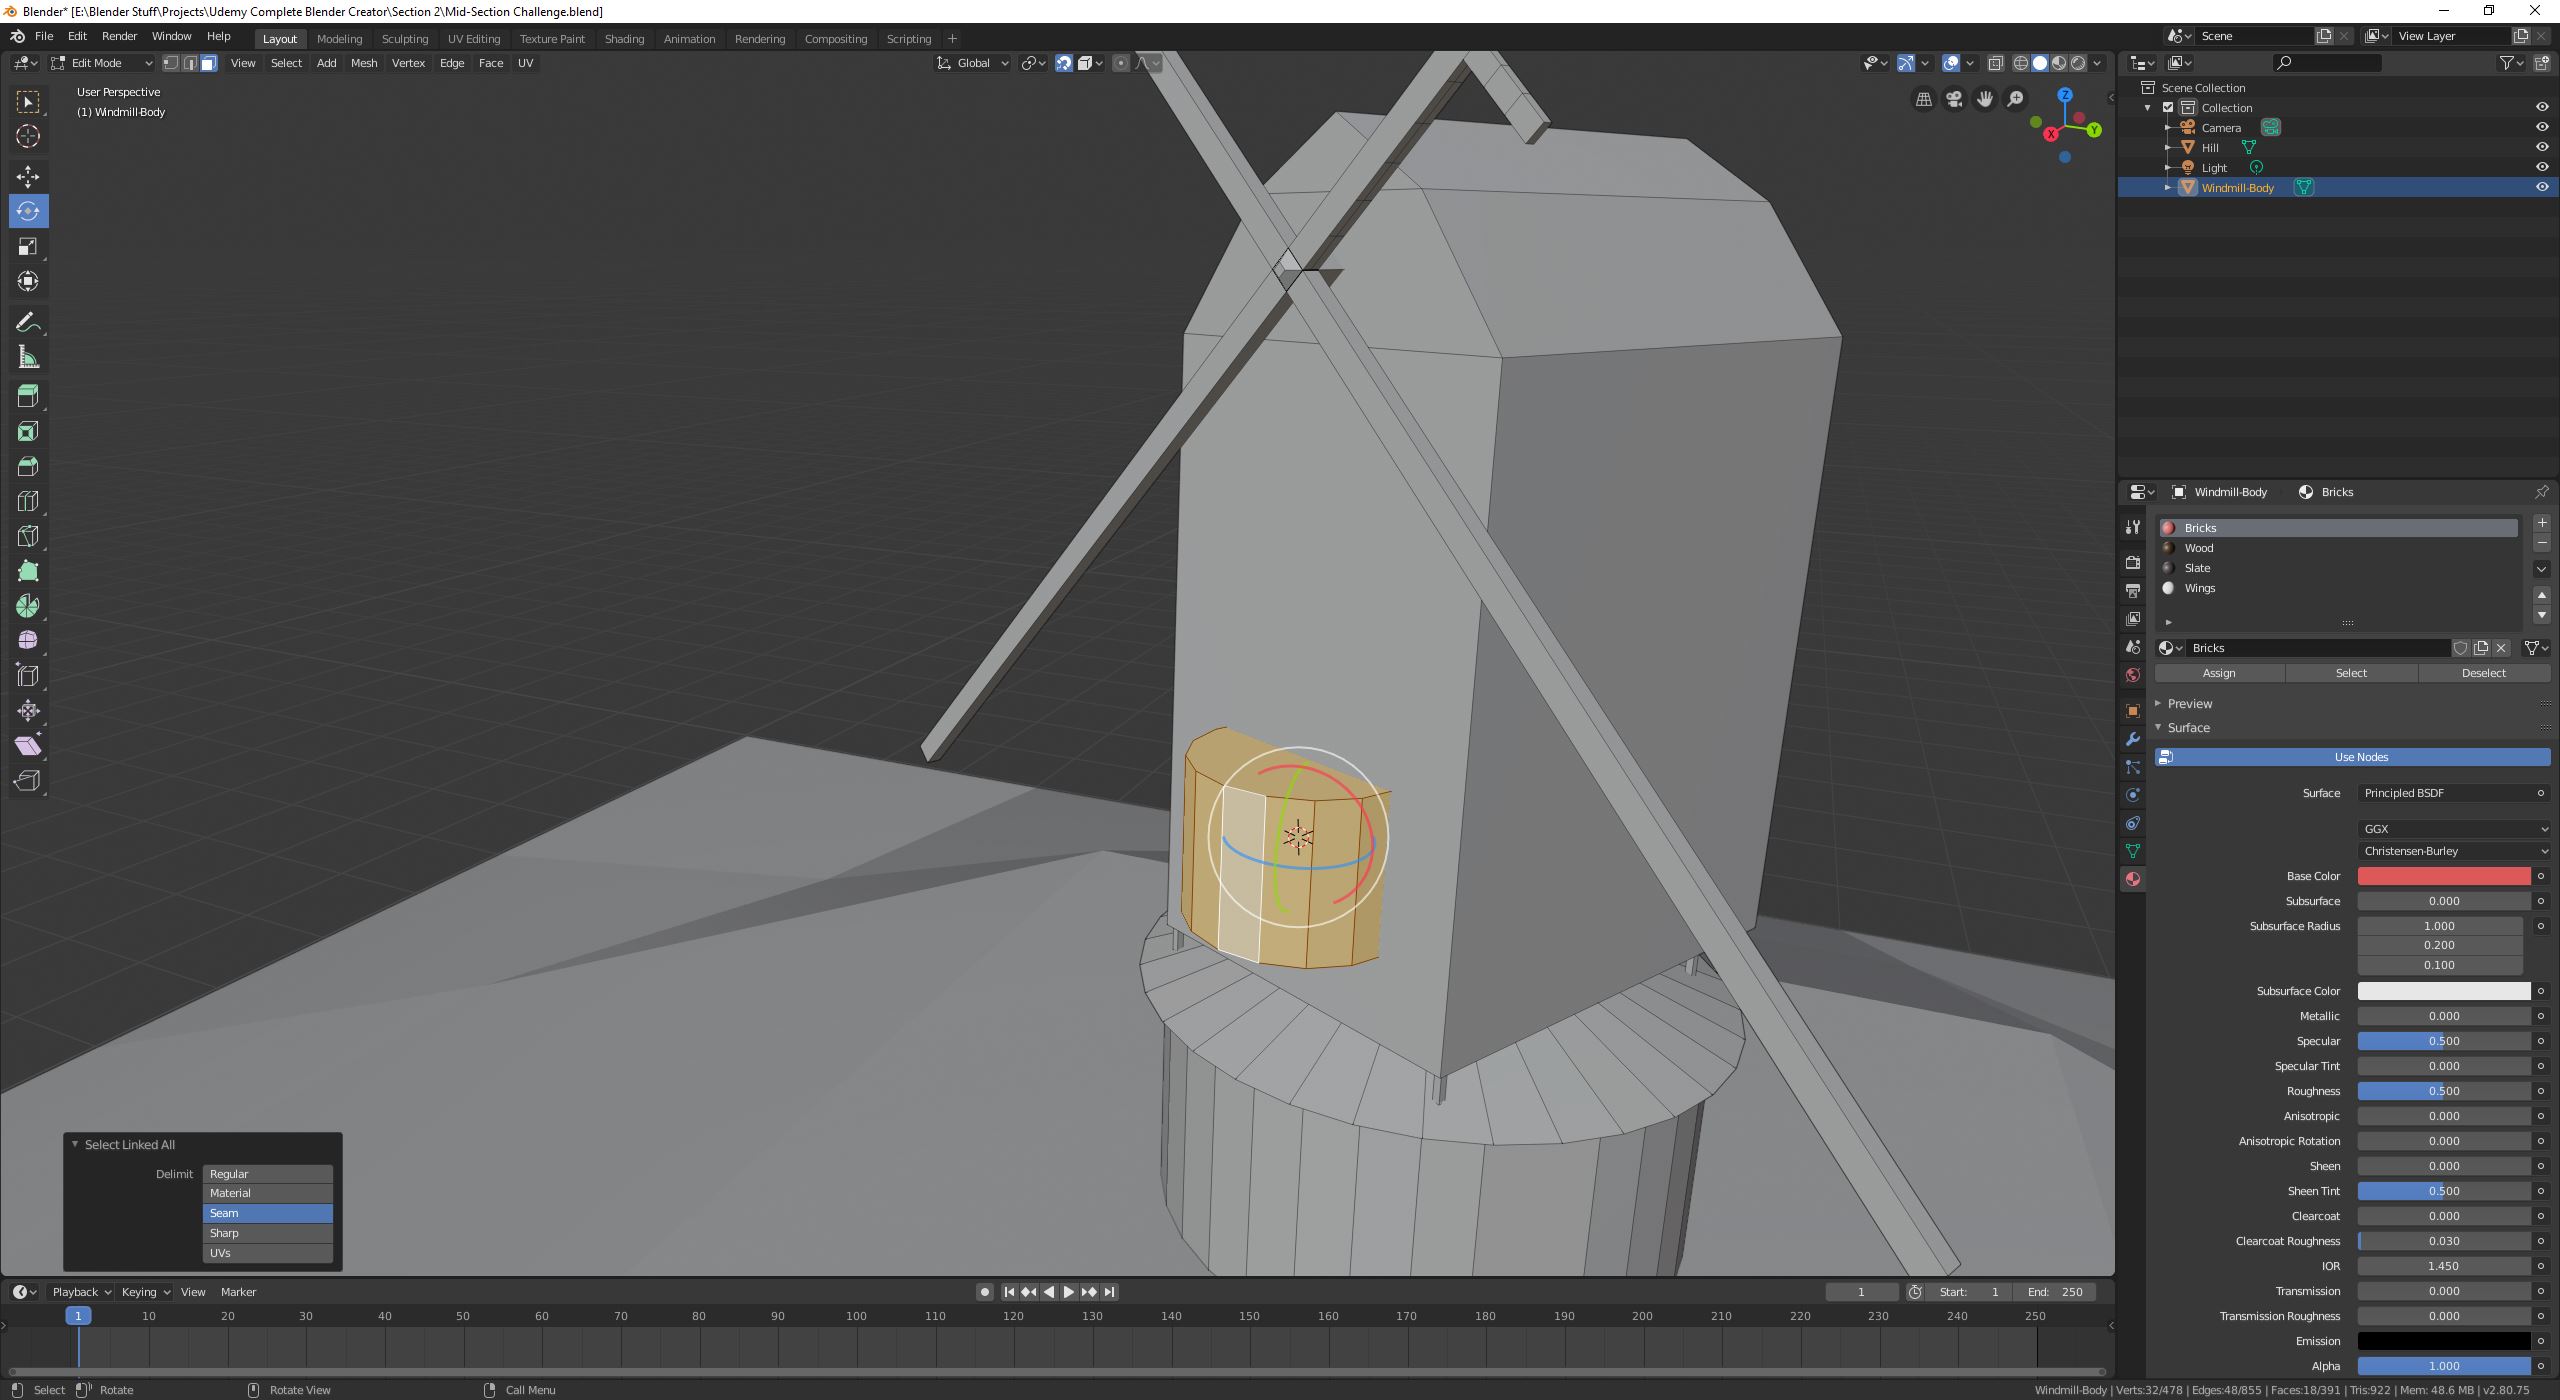
I am currently at an impasse with my model for one of the course challenges. I want to create a model that is not perpendicular to the global axises and then create new geometry that aligns to that. Unfortunately I can’t find an option that gives me result I’m looking for with regards to the transformation after adding a new part to the object.

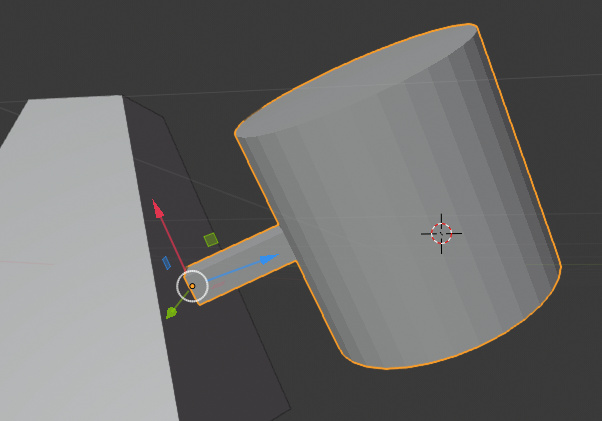
In this screenshot I want the cyclinder to be perpendicular to the plane that it is inside. Now if the windmill itself would be aligned to the global axis I could simply rotate the cylinder around the Y axis to get what I want. But no matter which of the transform orientations I choose none allows me to make transform like that here.

For the axle at the top I managed to get it done after messing about with the transform tool aligned to the camera, but that stills feels kinda inprecise and error prone to me. So is there an elegant way to get the transform alignment I want here?

hi, there is an option within the snapping tool that you can use to help.

if you change the snapping to ‘Face Snapping’

The next section for Target. for this, if you just want the closest face of the moving object to be snapped to the closest face on the target you could just use the ‘closest’ option.

the one i tend to use alot, is to have the origin of the piece im moving be on the face that I want to snap onto target.

The other important thing to check, is to ensure that you have the tick in the ‘Align Rotation to Target’, this will rotate the piece your moving around to be pointing in the same direction as the targets face normal.

image

Just as a gotcha, the piece you are moving around, it will be its local Z axis that is used to align to the targets face normal, heres just a quick screenshot for an example.

image

it does seem to work in edit mode as well, but imo a new object would have more control especially when oit comes to aligning to face normals etc. as you have no way to edit what way is up on the selection you are grabbing.
image

that said, you could create the object in object mode, and then join it to the other giving one object agian.

Thank you. Creating the new geometry in object mode and placing it where I want gives me the control I was looking for. This also makes the new piece behave much more reasonable after joining since it somehow seems to keep the orientation.

1 Like

This topic was automatically closed 24 hours after the last reply. New replies are no longer allowed.

Privacy & Terms