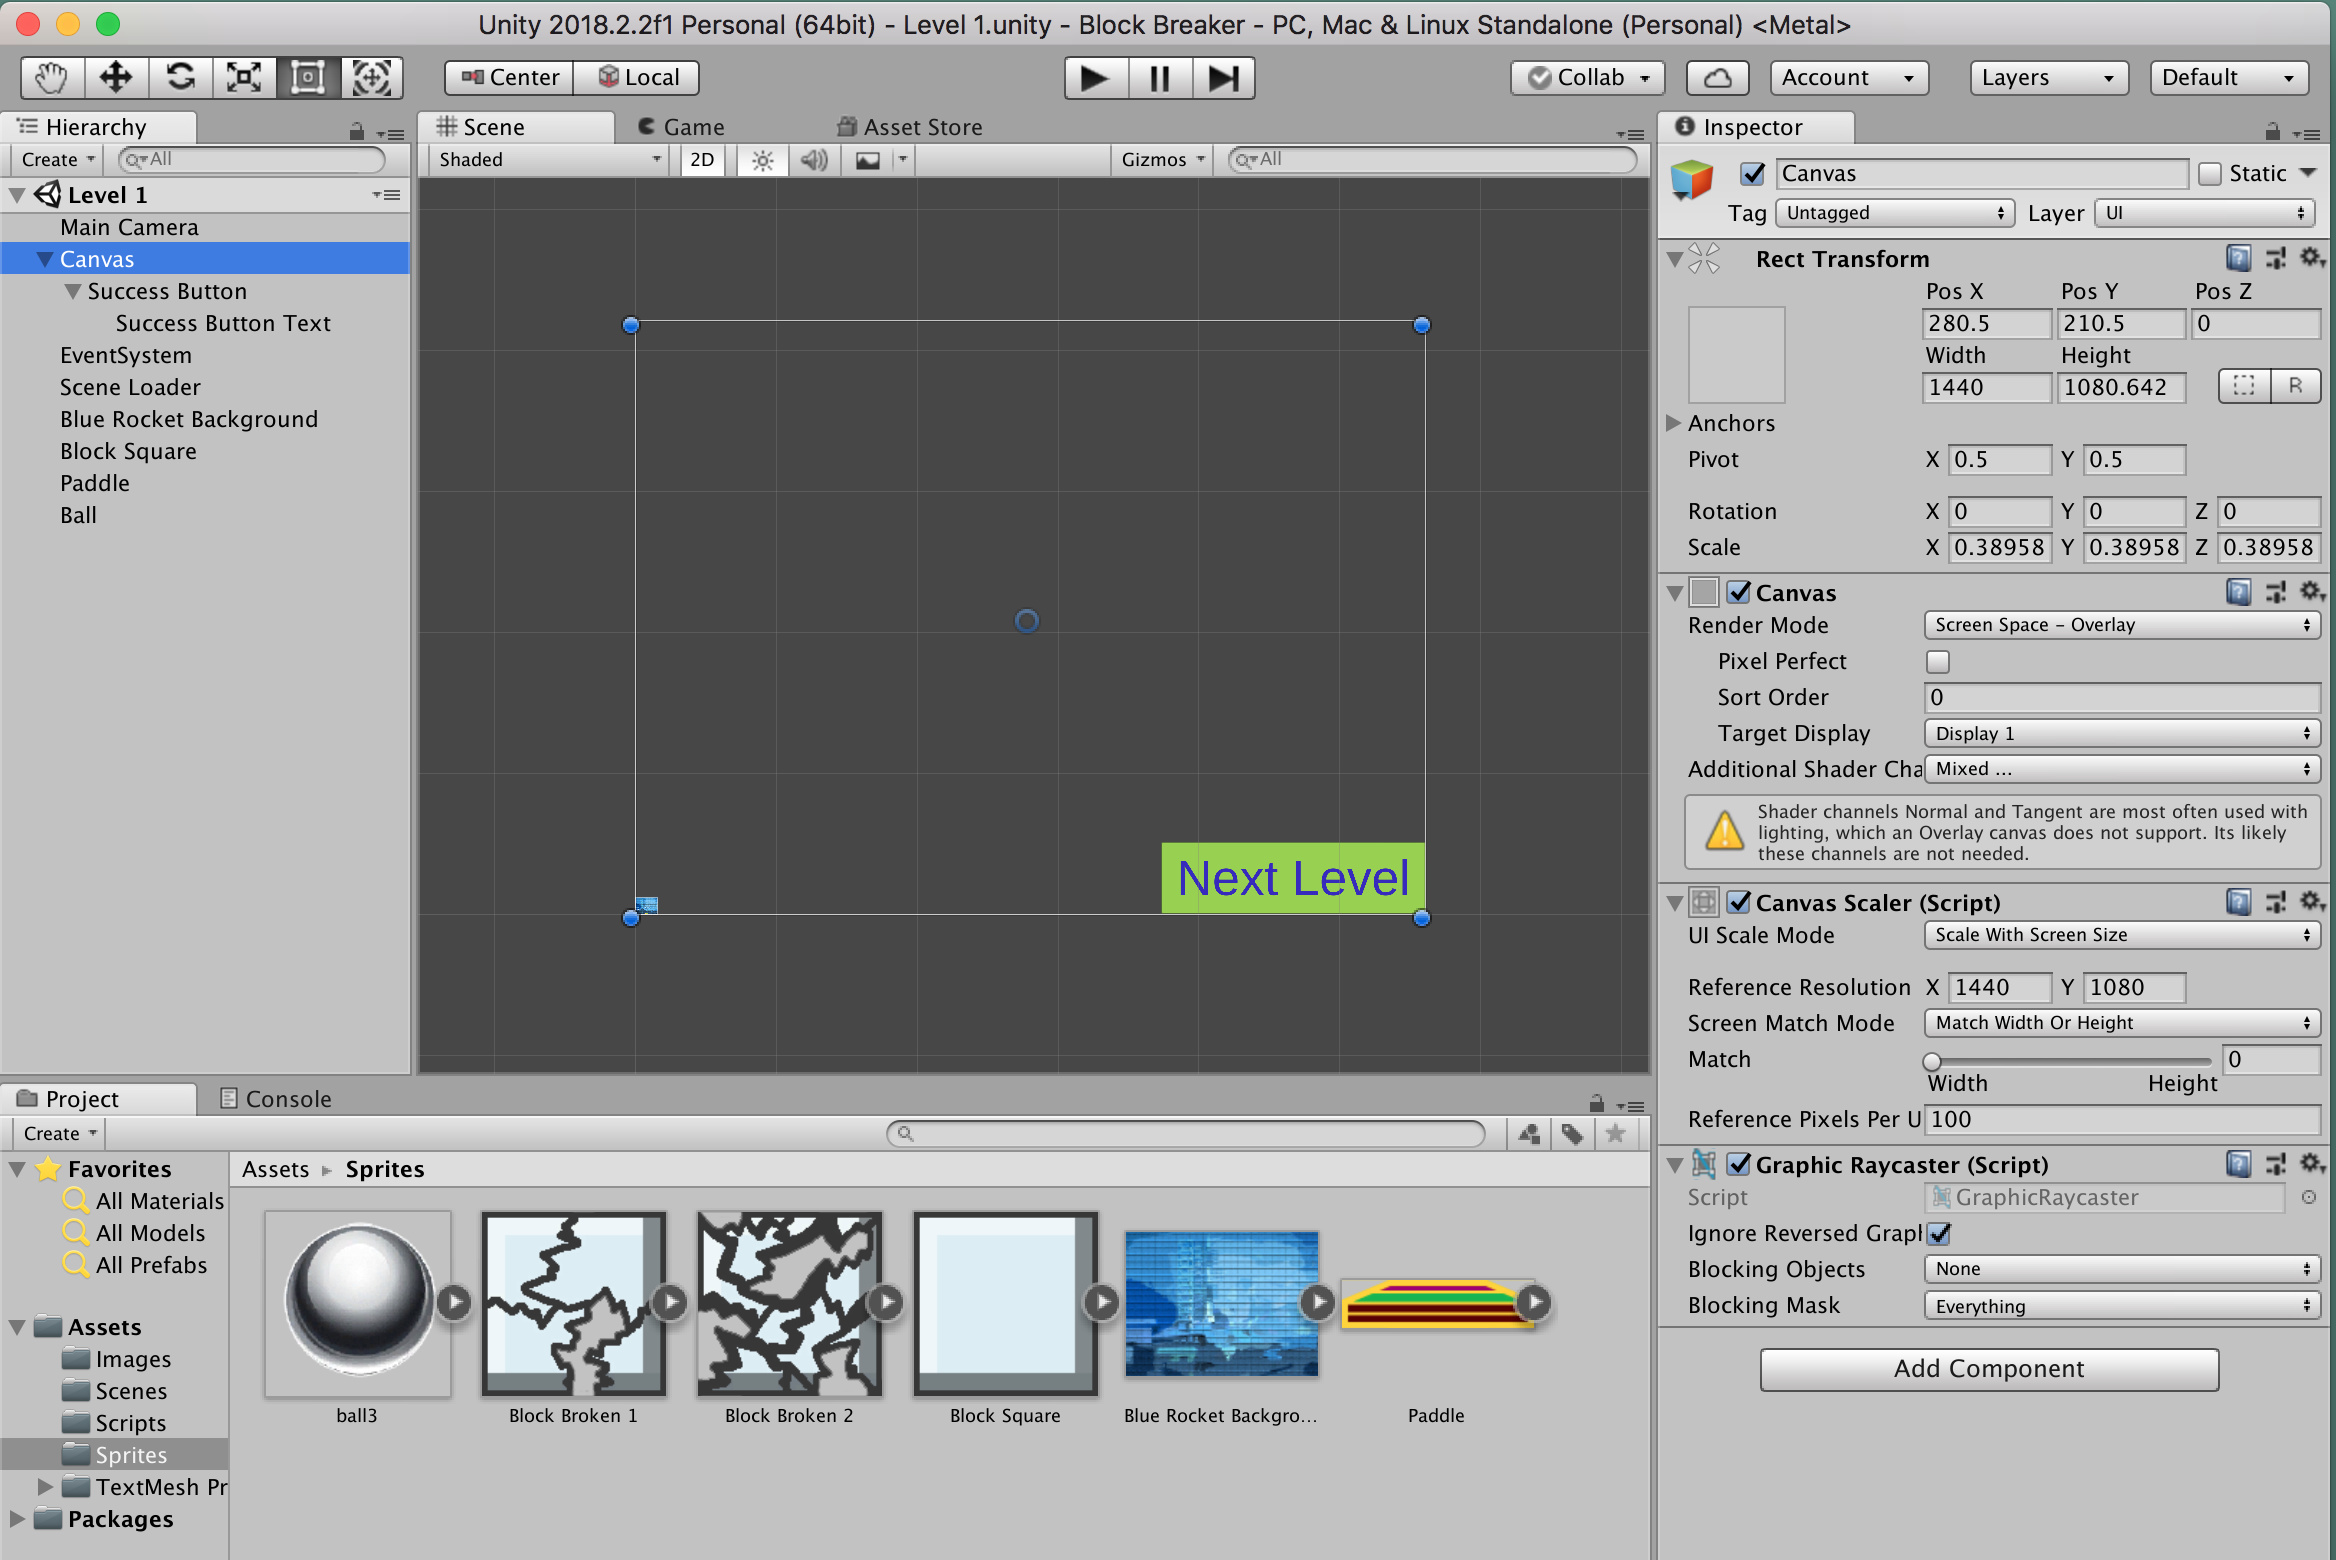
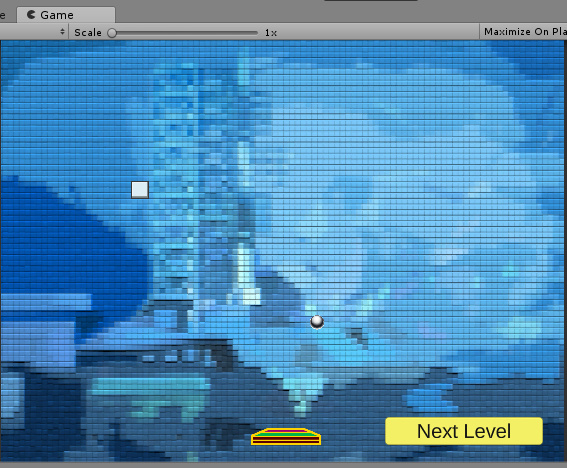
I have had a similar issue to others with canvas versus camera. I followed along importing the core game screen from number wizard, tidying up etc and still have a “next level” button in the bottom RHS of the canvas. This button is HUGE compared to the “blue rocket background” (maybe 6x height and 12x width). Why is the canvas so much bigger than the view from the camera? The canvas is 1440x1080 and the blue rocket background is also 1440x1080?
I must also have missed the difference between canvas and camera earlier in the series. I am left wondering why the UI & game elements from the Number Wizard are on the “canvas” but the game objects for this game are not?
Thanks for the course and the full explanation of the material.
i have a problem for this section as other student already have but there seems no suitable solution from their posts.
i did exactly as you mentioned in the video but seems that the game screen (and the screen that’s showed after clicking the play button) aren’t as showed in the lecture. Also hit play doesn’t solve the problem as the button is the one showed.
Is there anything i can do to solve this problem. For now i’m stuck with this and can’t go further.
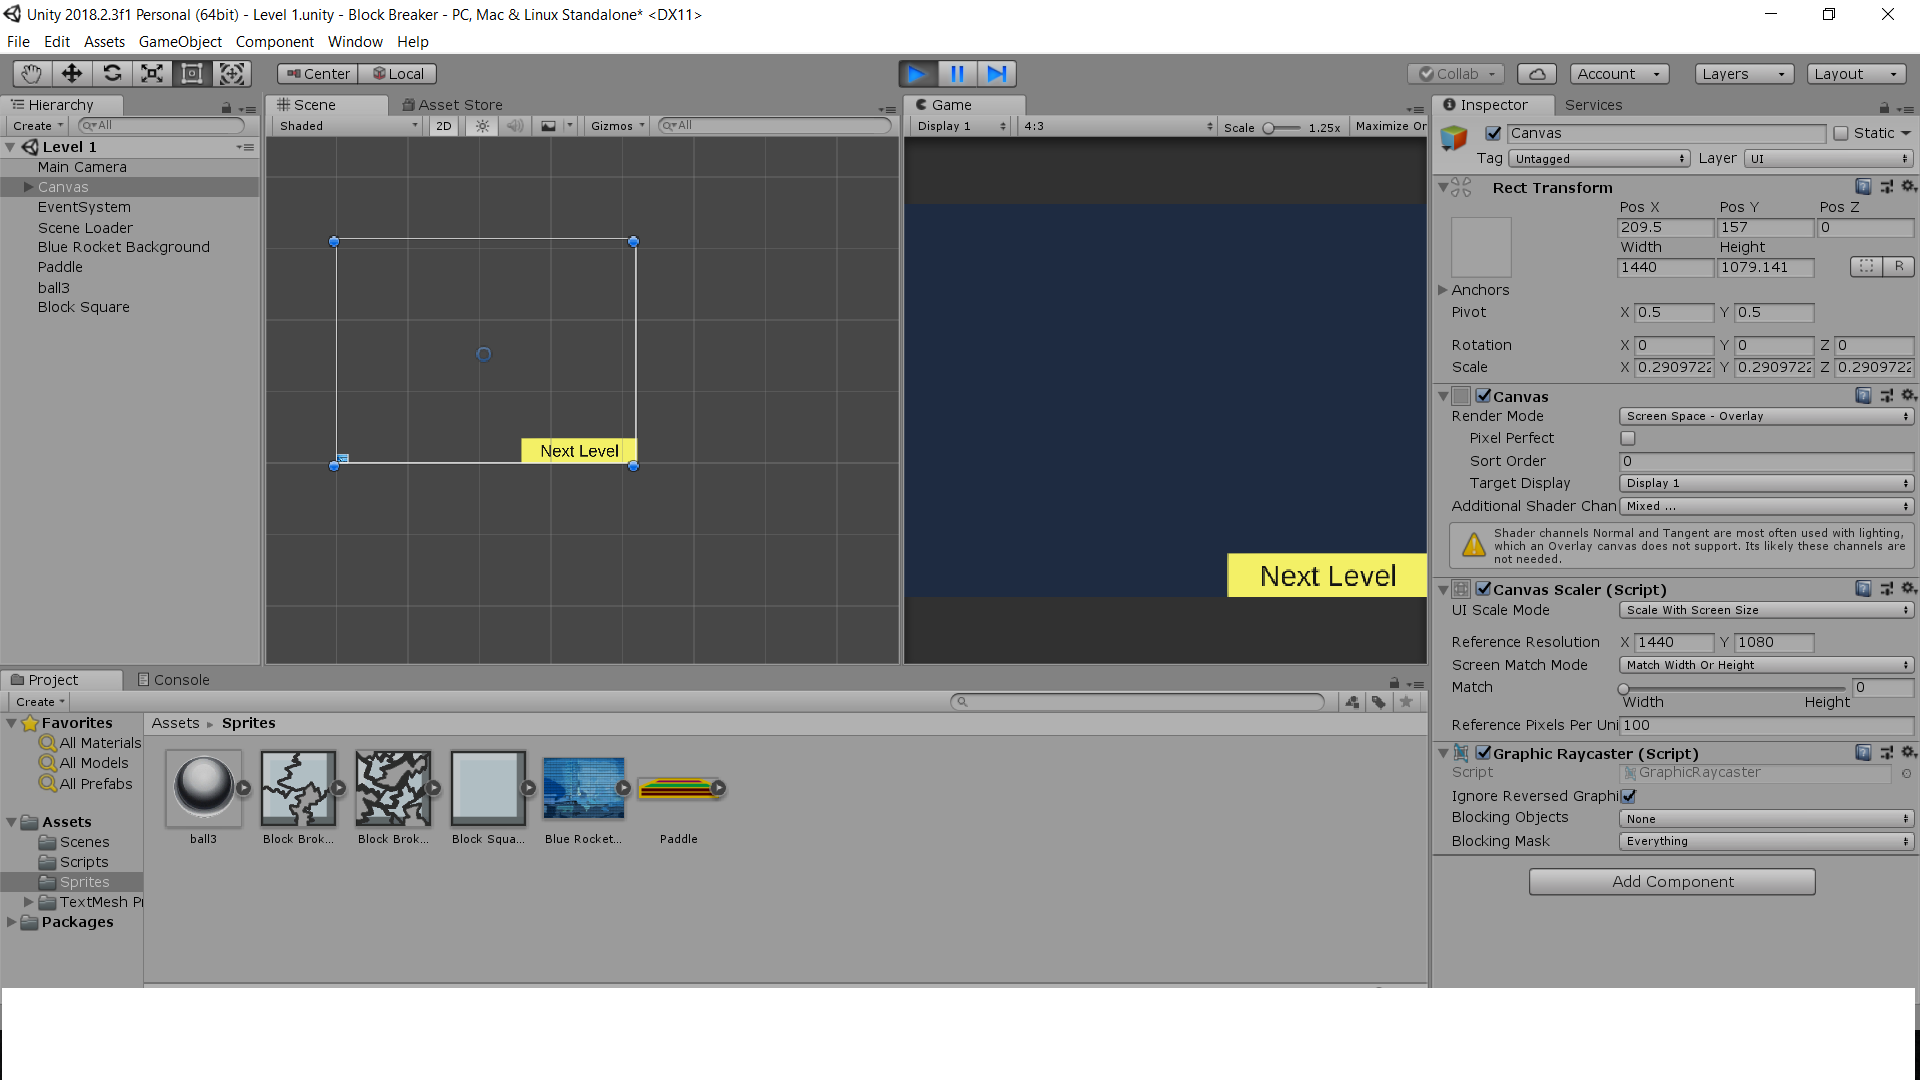
thanks for the apply and here is more explaination. The games screen shows the background and the “next level” button only without the blue background, the ball and the paddle.
seems that all the elements are small compared with the button? (as you can see in the screenshot I have attached in the previous post)
Could you maybe zip up your project files and share them here please so I can take a look.
The forum will support a file size of up to 10mb, if your zip is larger than this you could consider using a service such as Google Drive or Dropbox and then provide the URL in your reply.
please help me with that, i’m sure it’s very tiny issue but still very important and i’m still stuck with this issue.
also i think it’s good to add the solution to he course lecture because that took me a lot of wasted time.
Regarding providing the solution for the course, unless you have seen a lot of other people already experiencing exactly the same problem is unlikely to be an issue in the course material, possibly more likely to be a small step that got missed, but that said, it’s handy to keep these posts on the forum because if someone else was to have the same issue, or even miss the same step, then it will provide an answer - other people will appreciate your frustration and time
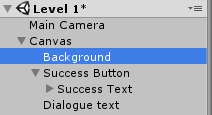
You have a camera scaler script component on the canvas and it looks like you may have experimented with different settings whilst trying to get the same result as the instructor had in the lecture.
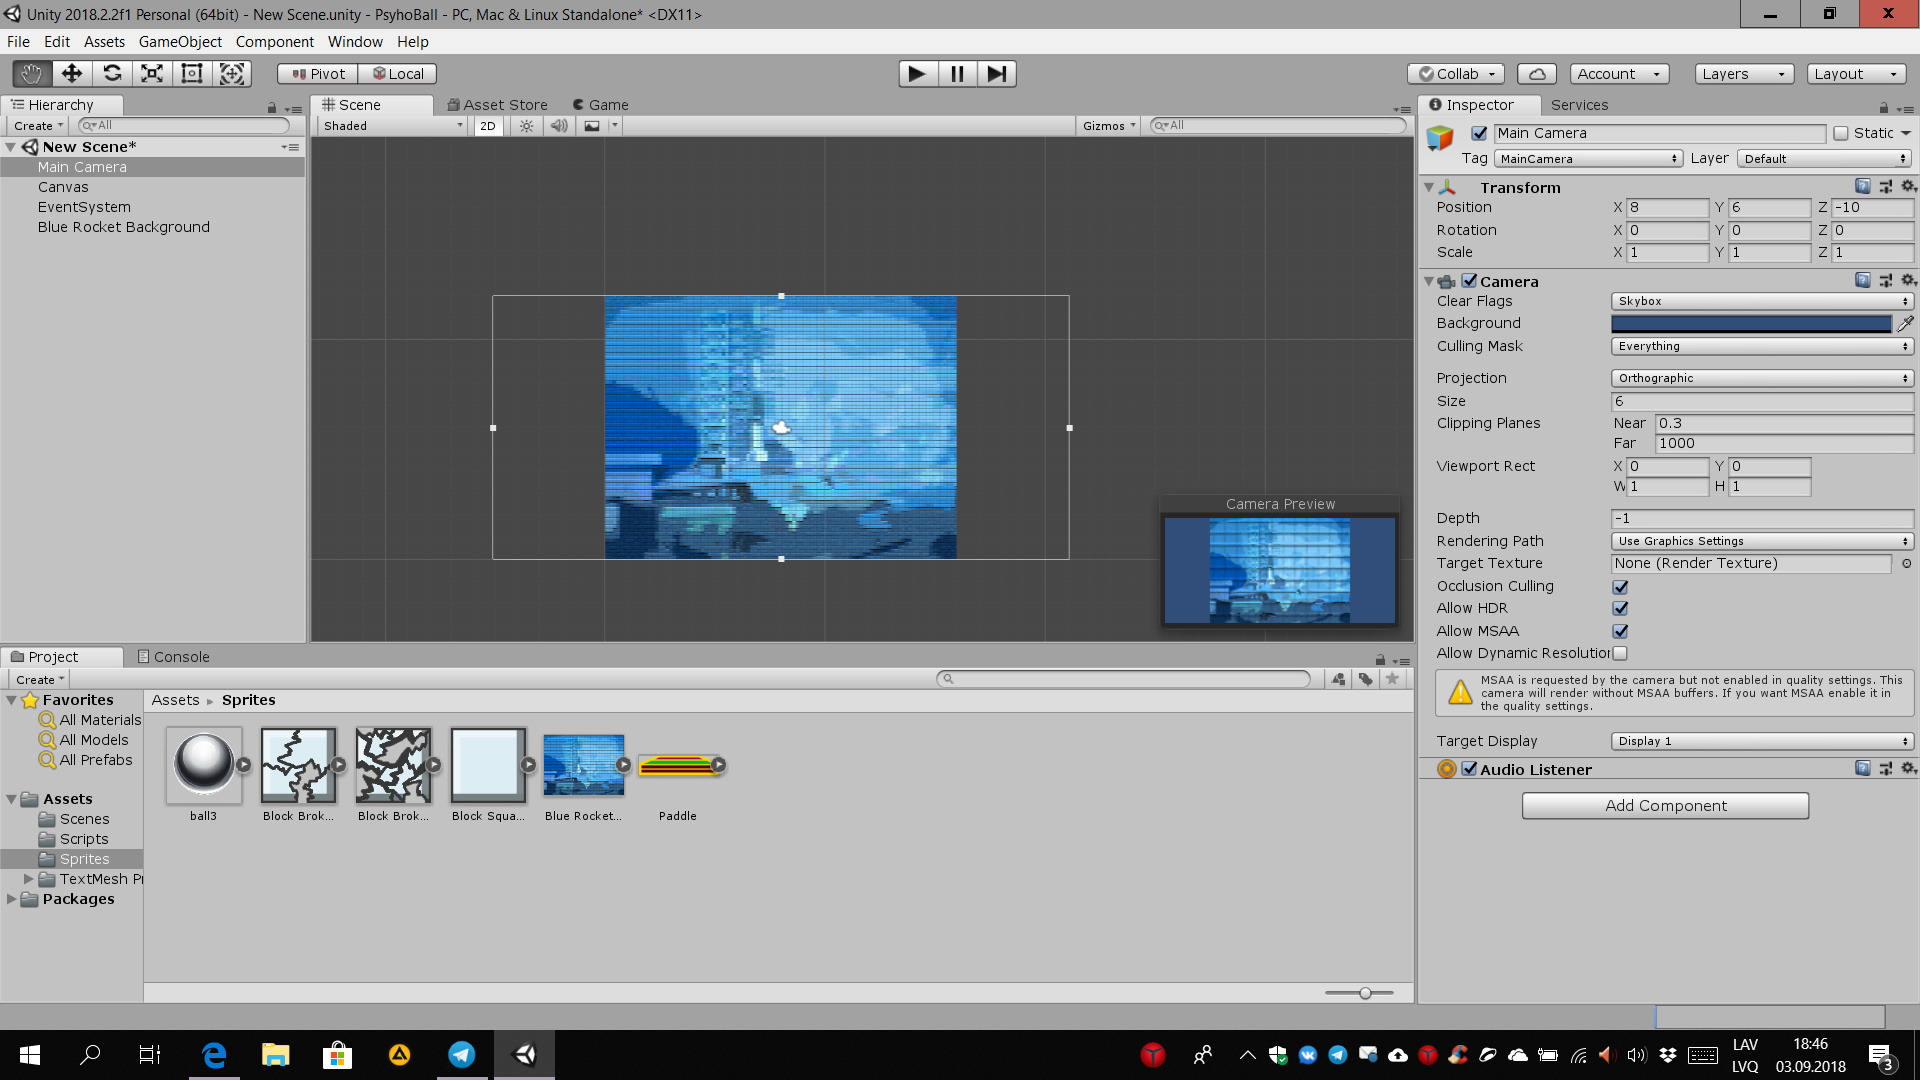
Rather than changing things in your scene (level 1), I created a new scene, added a canvas, dragged your background image into the scene and then repositioned the camera at 8,6,-10 and it looks ok to me. Video below of those steps;
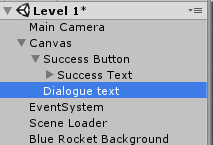
In the project files you have shared above it looks like you have used some components of the Number Wizard project. I think it would be fairly ok to remove those, not sure if they say to use these in this section of the course, I’d be a bit surprised… so if we take what you currently have, in the shared project above, in order to get it back, take these steps;
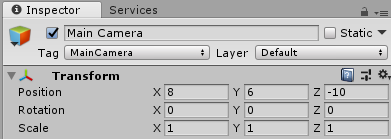
Select your Main Camera GameObject in the Hierarchy and make sure it’s transform position is 8, 6, -10
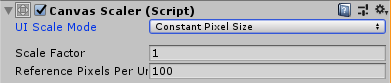
Select your Canvas GameObject in the Hierarchy and set the Canvas Scaler Script Component to Constant Pixel Size
Select your Background GameObject, the child of the Canvas and delete it
Select your Dialogue Text GameObject, the child of the Canvas and delete it
Run the game
At this point you should see the desired background image, the paddle, the ball and the cube in the scene. This would tally up with the course Section 5, Lecture 48 - “World Units & Play Space”.
I’m assuming you were planning to use this Next Level button for some purpose, it is there, but current badly positioned, so we need to correct that if you want to see it.
Select the Success Button GameObject, the child of the Canvas
Rename it to something more appropriate, perhaps “Next Level Button”
Within the Inspector, set the Rect Transform to have a Width of 160 and a Height of 30
Select the Success Text GameObject, the child of the Next Level Button
Rename it to something more appropriate, perhaps “Next Level Text”
Within the Inspector, change the Font Size to 20, or use “Auto Size” (for now)
Select the Next Level Button and place it more suitably within the canvas area, I found that a transform position of -100, -180, 0 worked well
Run the game
The end result should look like this;
You can then tweak the position of your block or ball as required. Based on the nature of this game, you will probably find positoning blocks at whole units will work better, for example, 1, 2, 3, 4 on the X etc. Looking at the blocks you have them set currently to 256 pixels per unit, so you would end up with a gap between them at the moment, but you could always do half positionings also, e.g. 3 and then 3.5 - or just change the pixel per unit.
Many thanks to you, these changes helped me a lot.
I still don’t know what this “Constant Pixel Size” means, can you explain it and the differences between this and the other options? (by the way as I will mention above, this is the default of the package I have downloaded form the course under “Resources Available”).
The files I used are the files that was supplies by the course within the “Resources Available”.
So there may be a problem with these files that were exported from the “Number Wizard UI” from course files.
Anyway, many thanks to you and the staff for this amazing course.
Proceeding to the next section on this amazing course.
I have popped a link below for the Canvas Scaler component, it covers what the effects of changing these options are. I don’t believe this was the only issue you had, but certainly a very noticeable difference. As you had the Background (the big blue box) on the canvas, I believe this was effectively covering up everything else, specifically because of Z values on the transforms too - so a myriad of little problems really.
Regarding the assets, yes, I can see now that these were covered in a previous lecture so you become familiar with the exporting/importing process. I don’t really have the time to sit through the entire lecture, but I’m guessing that @Rick_Davidson imports the assets, this gives you a set of scenes instantly, most of which have the components in them you can use off the bat, for the main menu and win/lose scenes etc.
I note that in lecture 47 there is some renaming of the scene CoreGame to Level1, additionally, it looks like the setting of the Canvas Scaler was deliberate, in the lecture, however, if you look at the very end of the lecture Rick doesn’t appear to have the background GameObject visible in the scene anymore, just the Next Level button. It’s difficult to tell because the Canvas GameObject is collapsed, so you can’t see which GameObjects may still be inside.
At the beginning of Lecture 48, the GamePlay GameObject gets removed, but again, in Level 1 there is no sign of the Background GameObject which was part of your problem. Unfortunately the Canvas GameObject isn’t expanded within this lecture either and as Rick doesn’t actually Run the game you don’t get to see whether the buttons are setup either.
The changes I’ve outlined above allow your game play background to be seen and correct the positions of the GameObjects, but I am concerned that I may have directed in a way that isn’t in line with the actual lectures, and I wouldn’t want that to cause you any problems going forward. I would recommend just watching through lectures 47 and 48 again and just double check that how you have things now is ok/inline with the course.
Another good way you could double check would be to click on the Lecture Project Changes link under the Resources on Udemy. If you do this for lecture 48, you will be taken to GitHub where you can download a zip file containing the project as-is at this stage, you could then open that as a separate project from you own and have a look at the Level 1 scene… just a thought…
Just to mention in case it helps others, I got stuck here as a few others did with my camera showing tiny at the bottom left of my canvas and my background image looking tiny when dragged onto the scene.
The confusion was due to me focusing on my canvas size (that contained the button from the Number Wizard import) rather than zooming in on the camera outline and dragging and lining up the background image in there, as Rick was showing in the video.
I think the Next Level button being large on the canvas in comparison to the tiny camera and background is what’s perhaps causing a bit of confusion here - but perhaps this all becomes clear later.
Man, thanks, but you just cropped your screenshot. In real life, sprite doesn’t fully fit the main camera. Like in my case. So… guys, please help. How do I change (proportional) size of my main camera?
Not sure I follow? That screenshot I added to my post is cropped yes, but all that has been removed is everything which isn’t in the Game View.
Regarding your question, if you flick to the Game view, do you happen to be in an aspect ratio of 16:9? If so, change it to 4:3 and then come back to the scene view.
The size of the image (from memory) was 1440 x 1080. If we divide 1440 by 1080 we get 1.33 recurring, which is a 4:3 aspect ratio.


 but anyway thanks for some advice.