About 'Checking UV Mapping'!

In this video (objectives)…

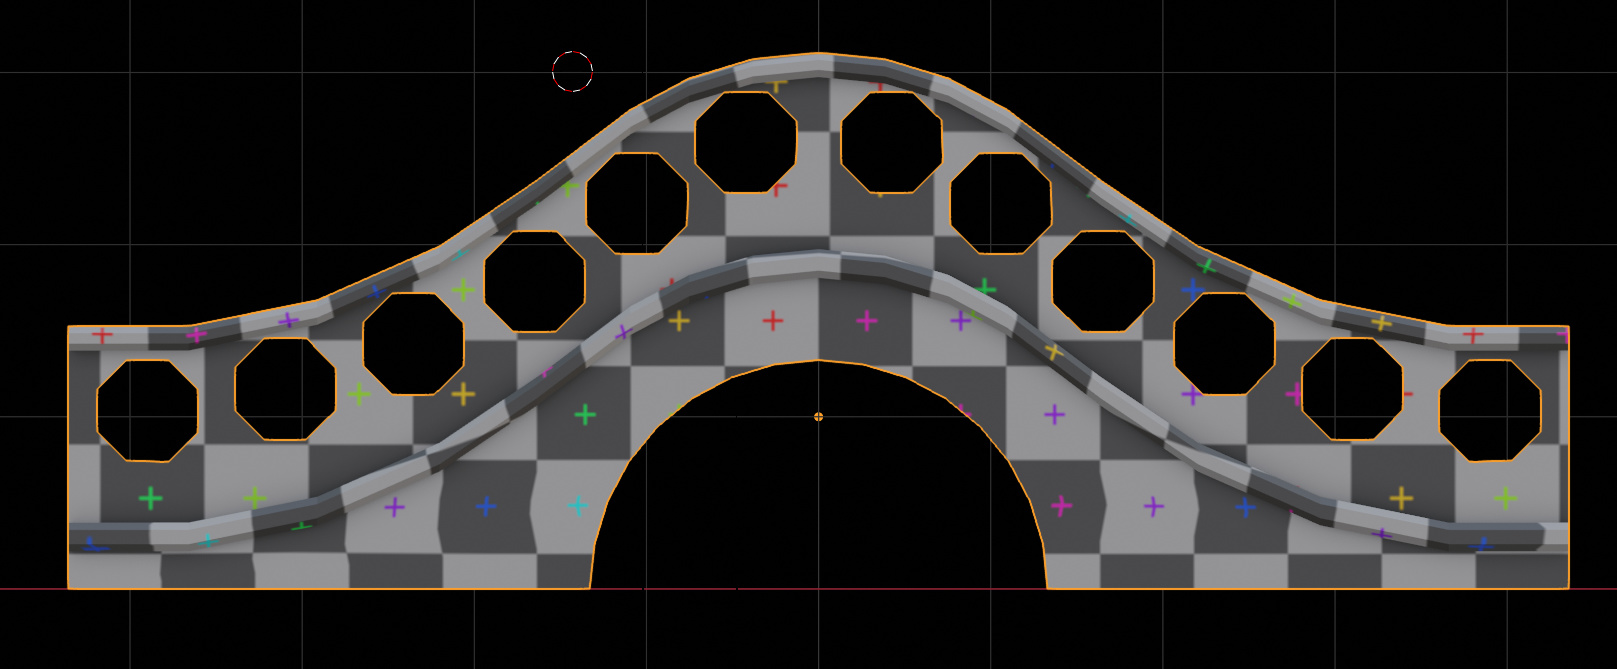
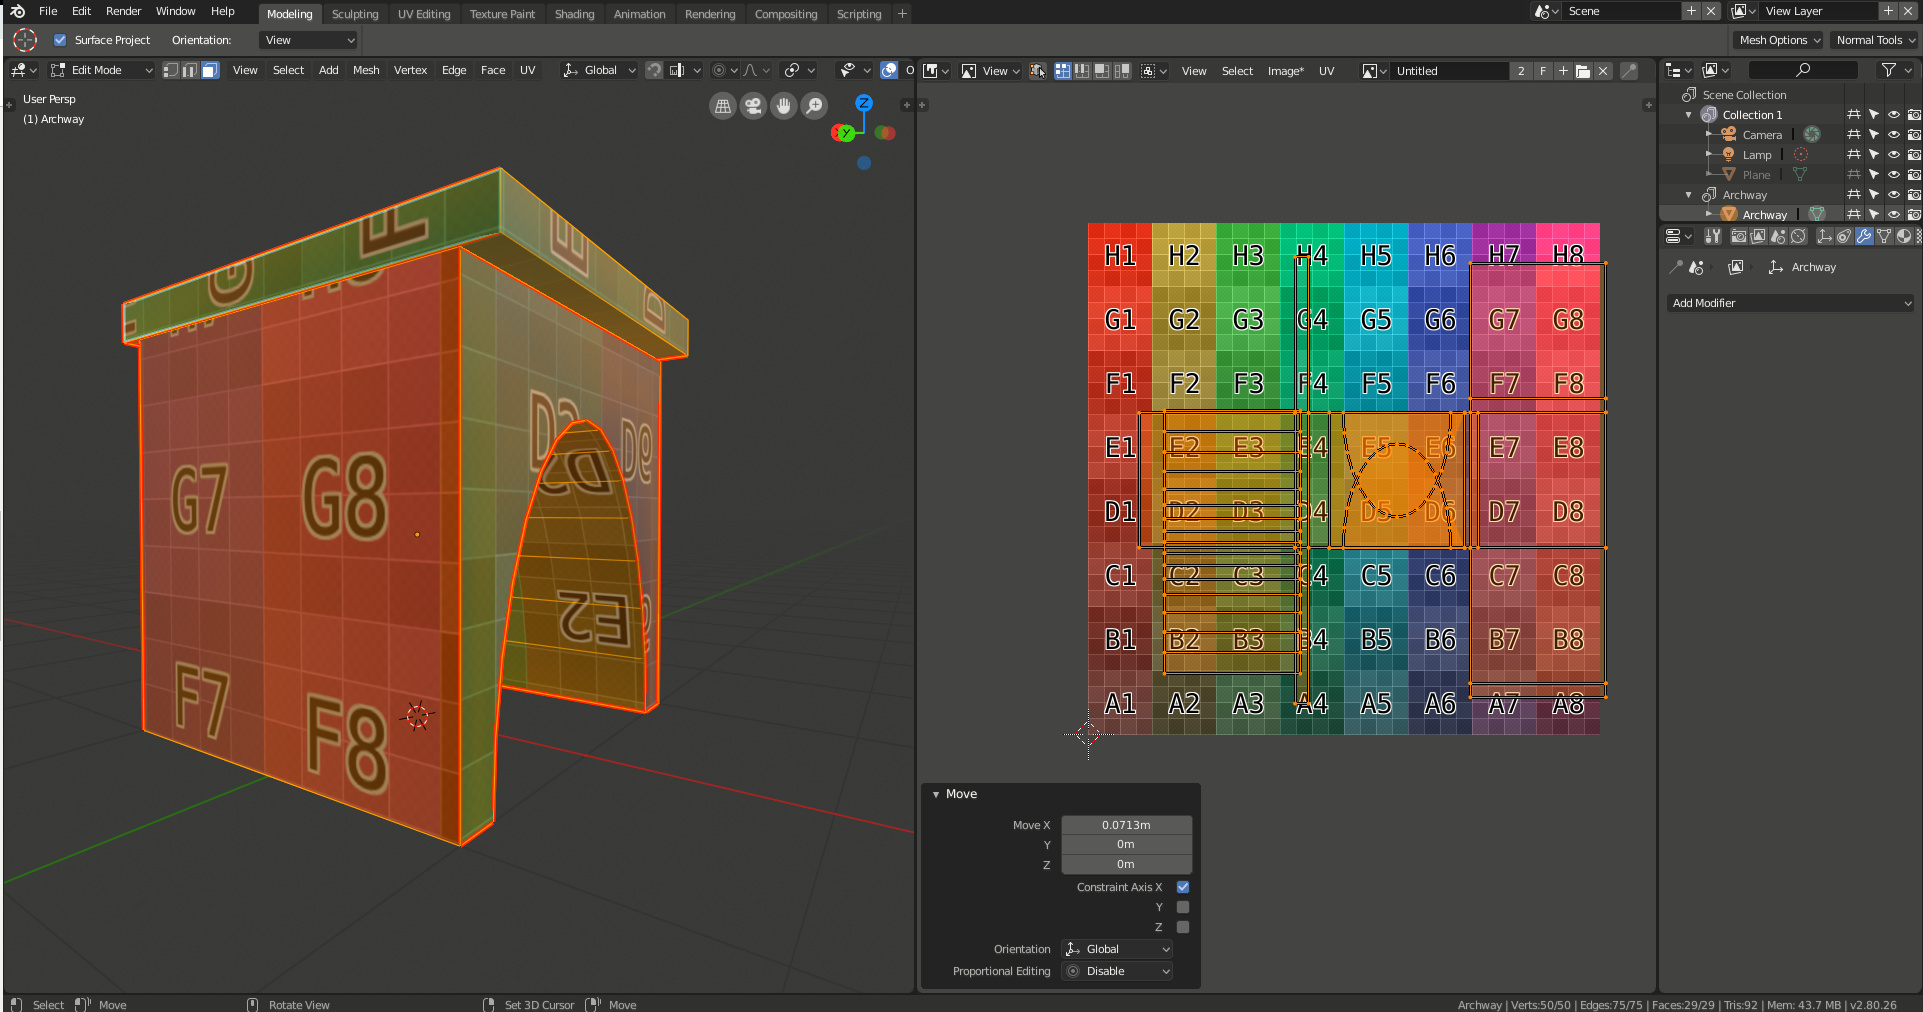
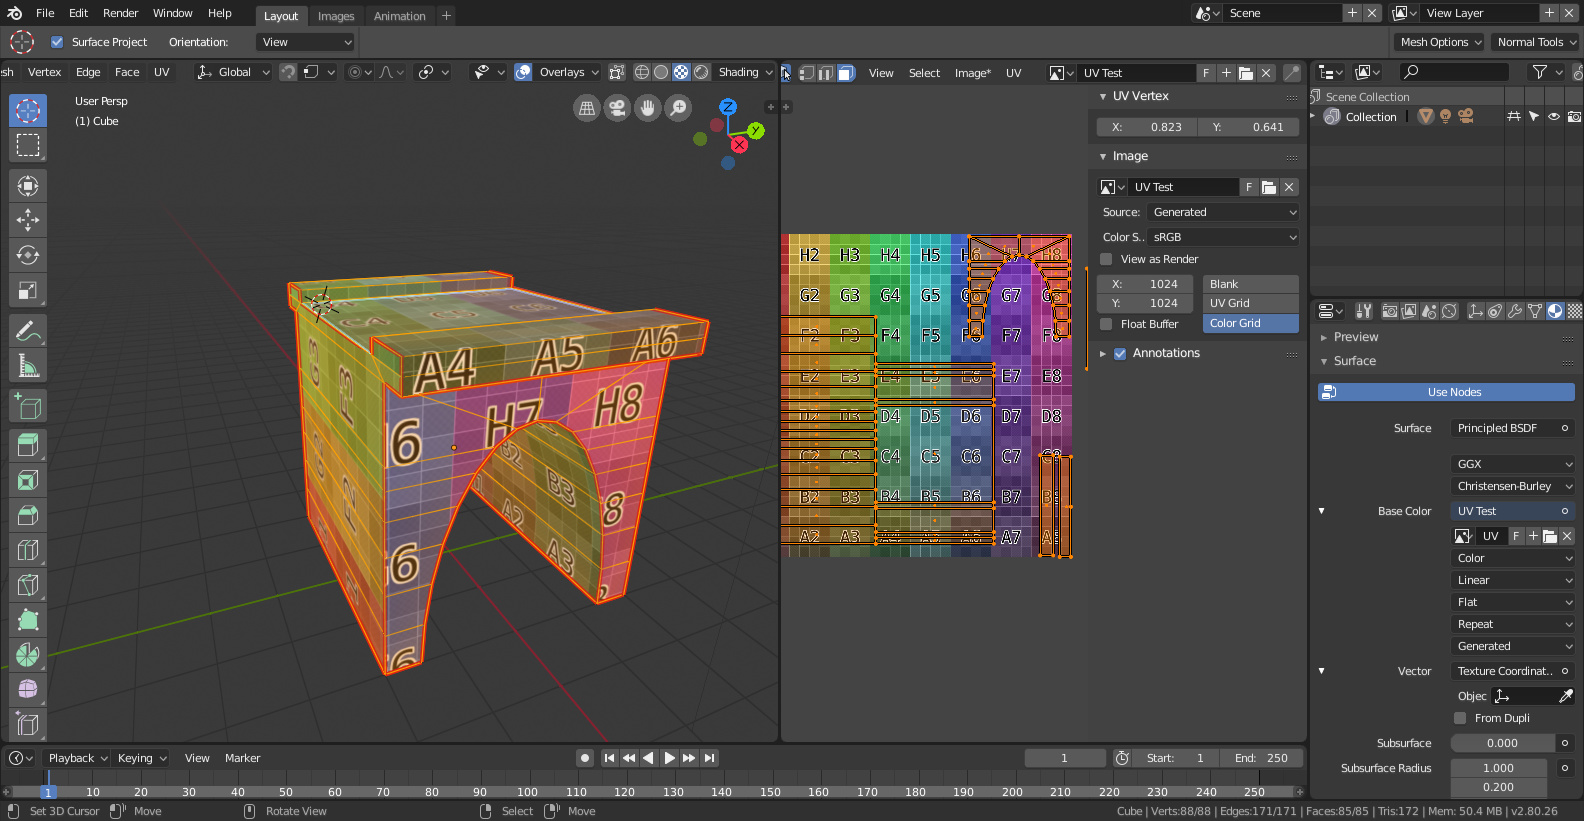
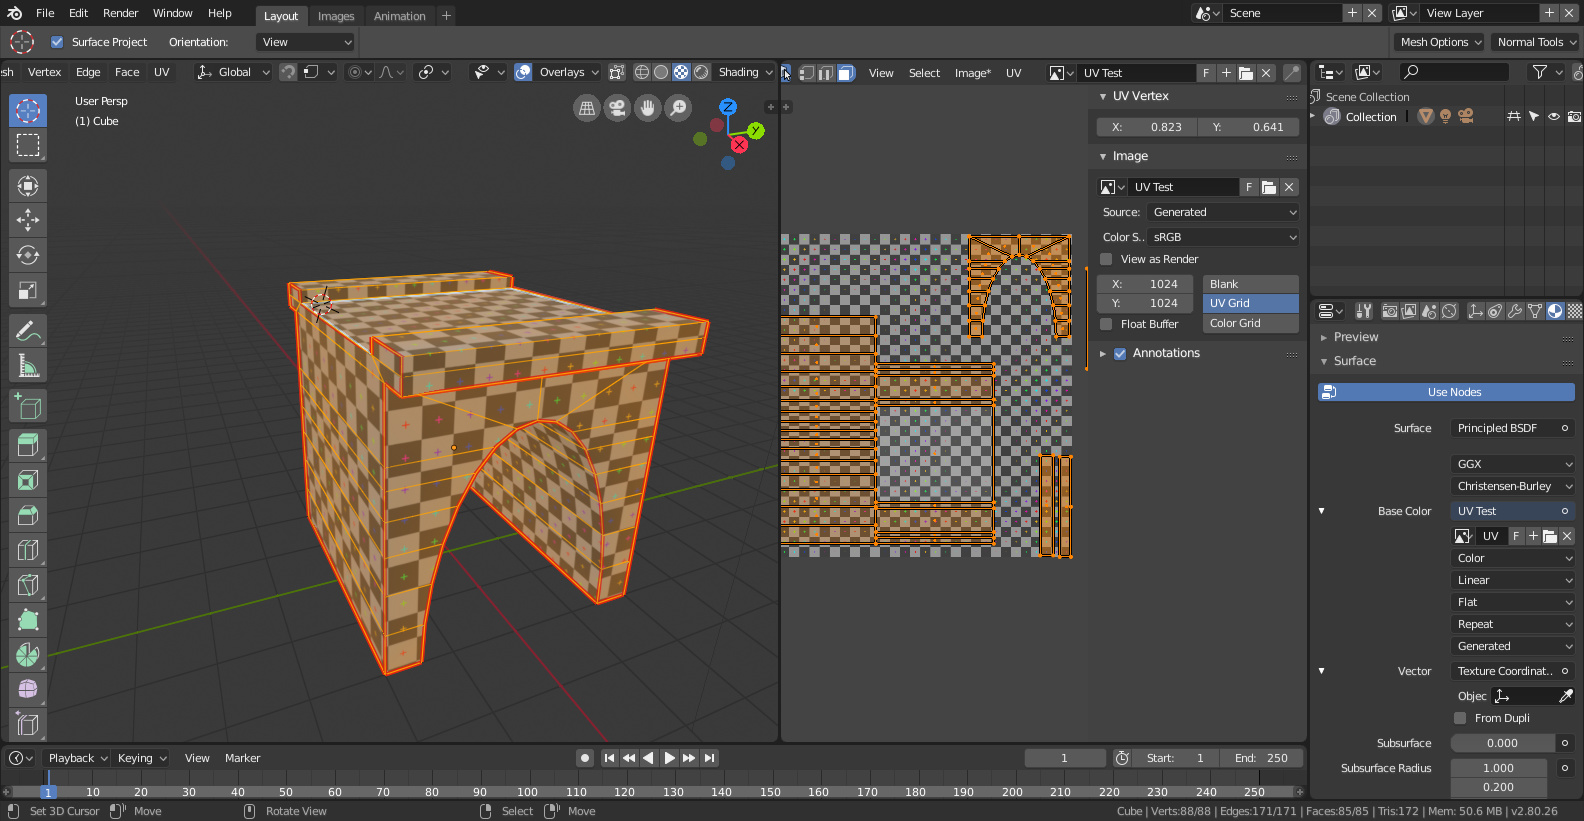
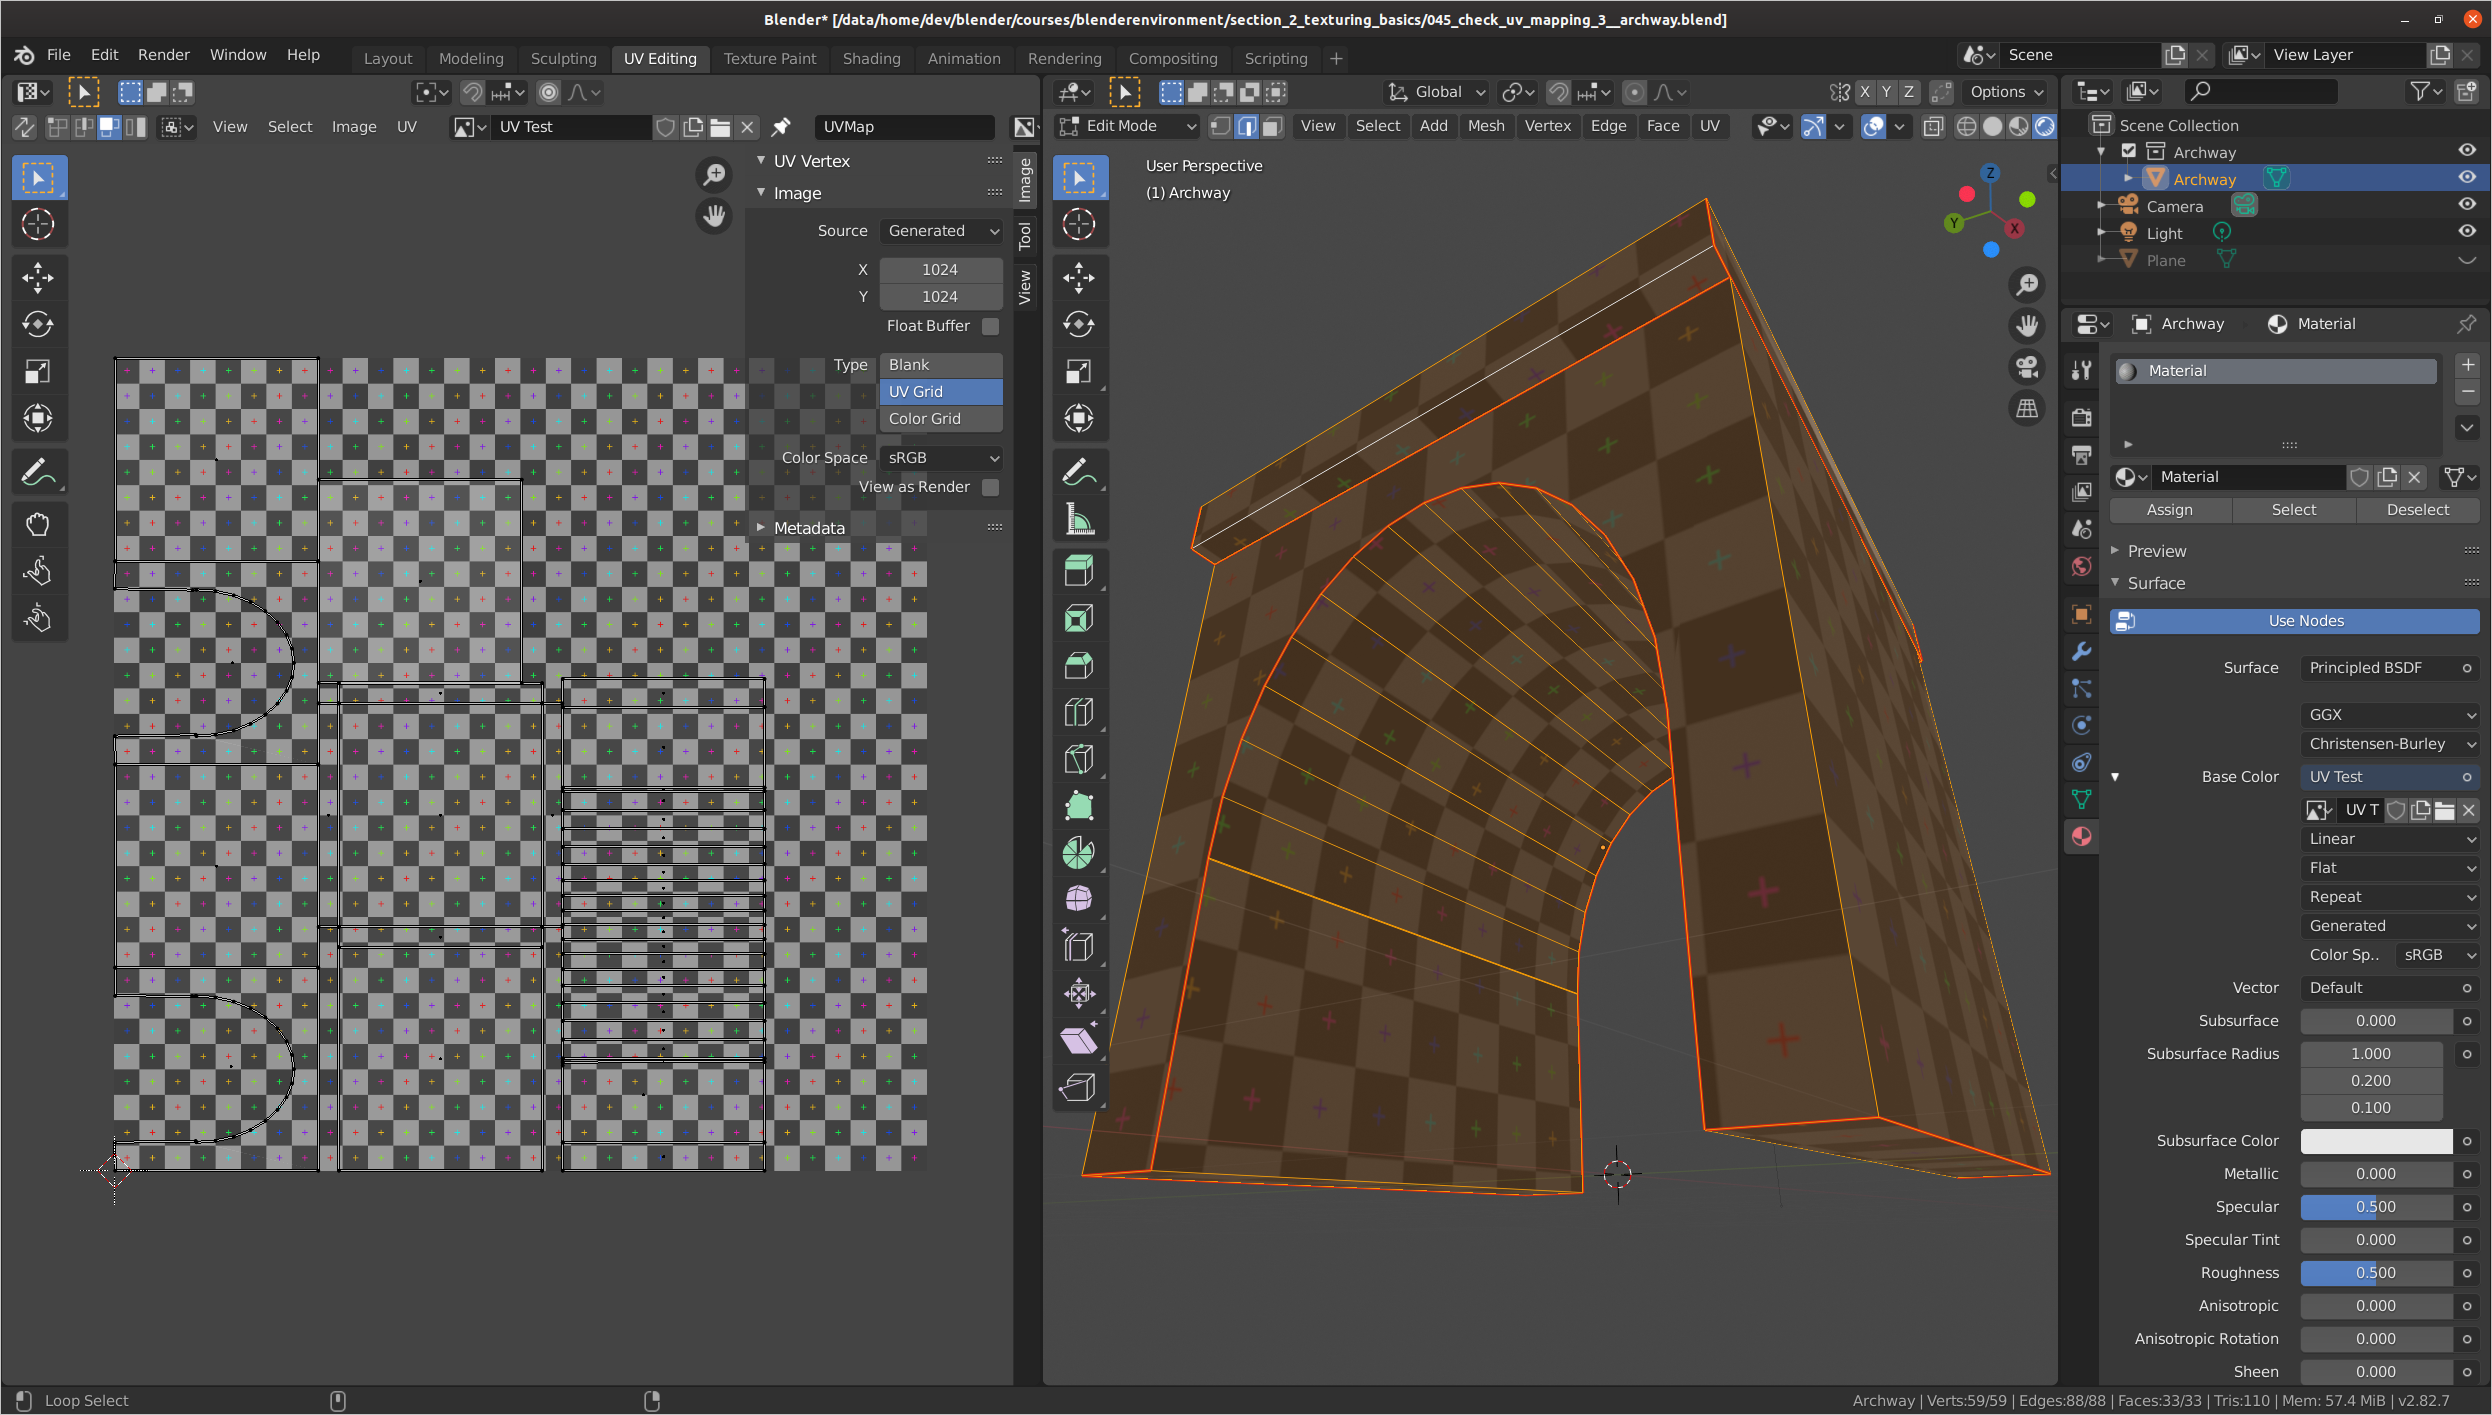
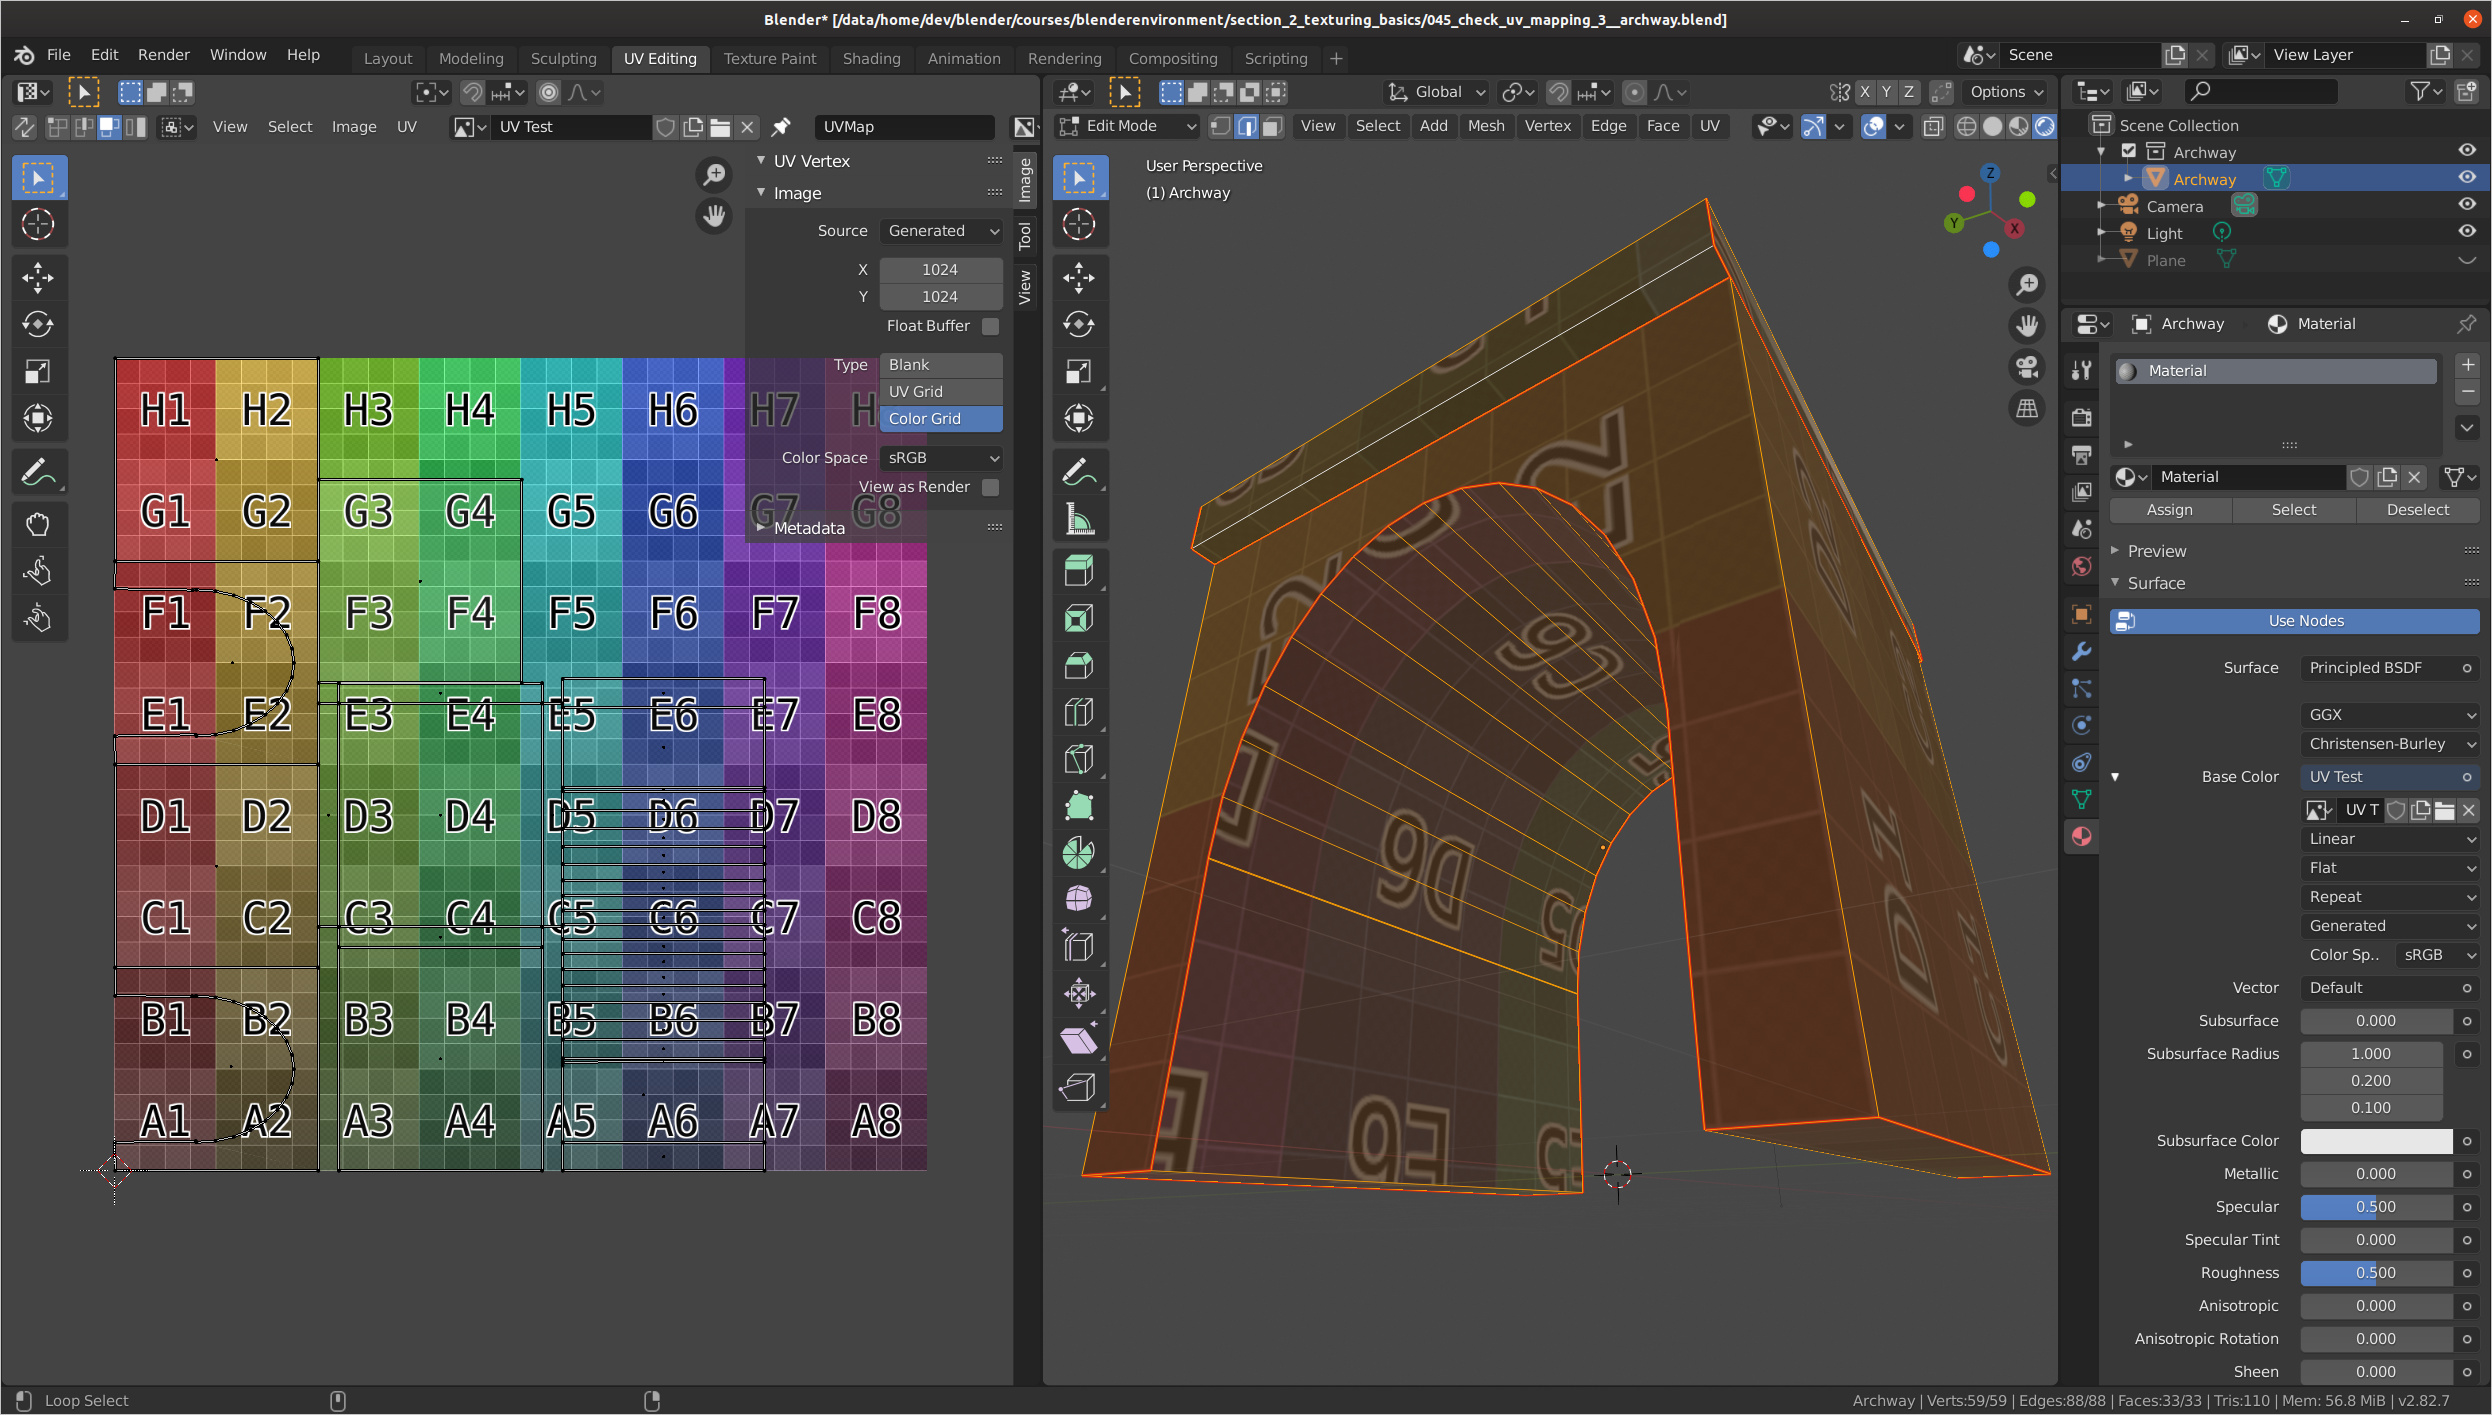
  1. Load an Image into the UV Image editor
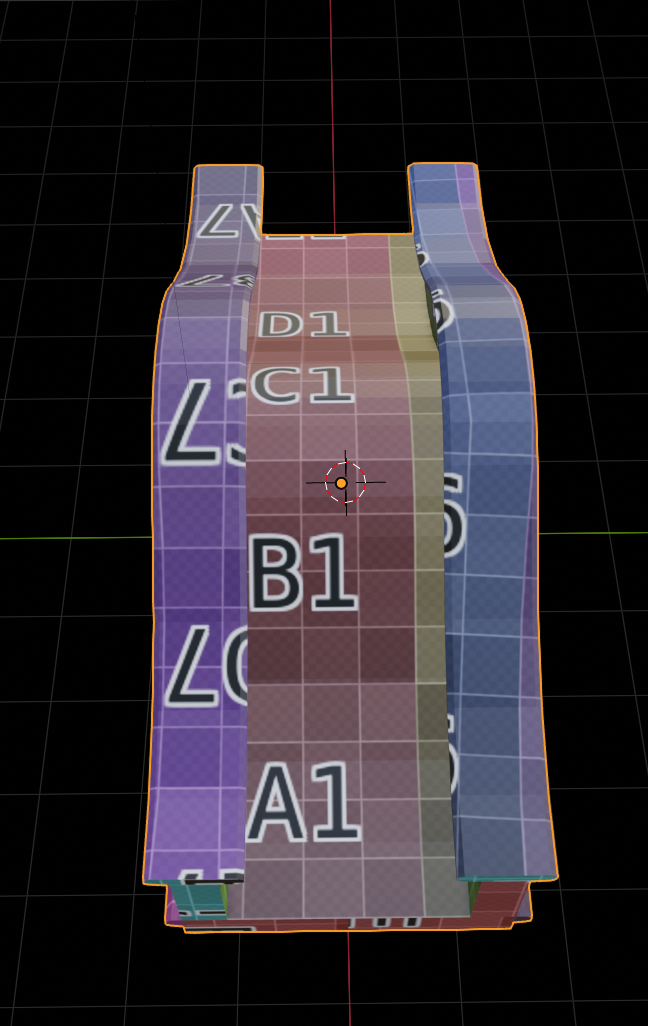
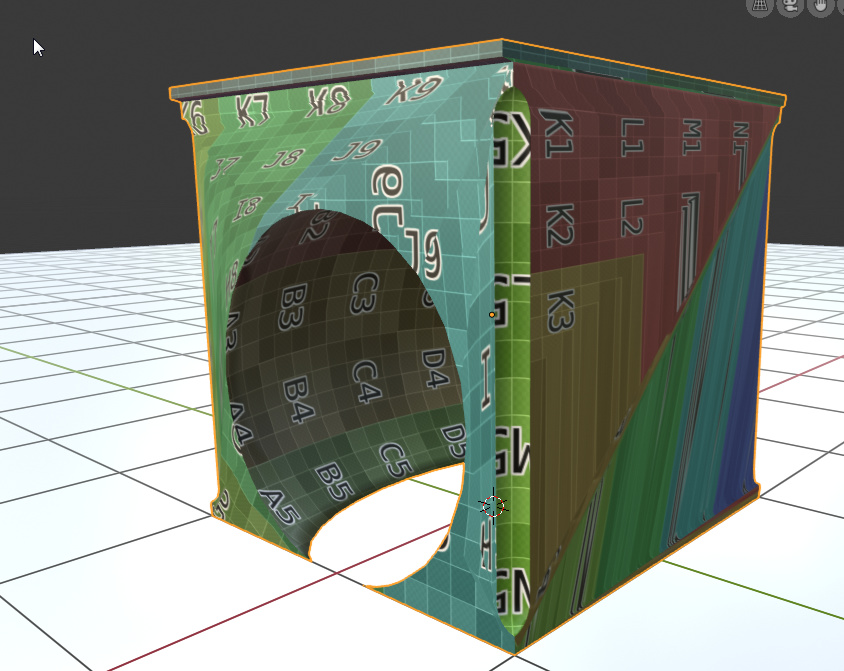
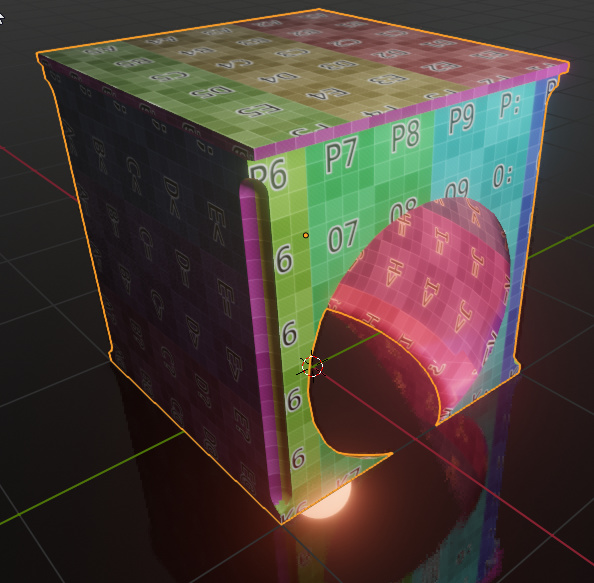
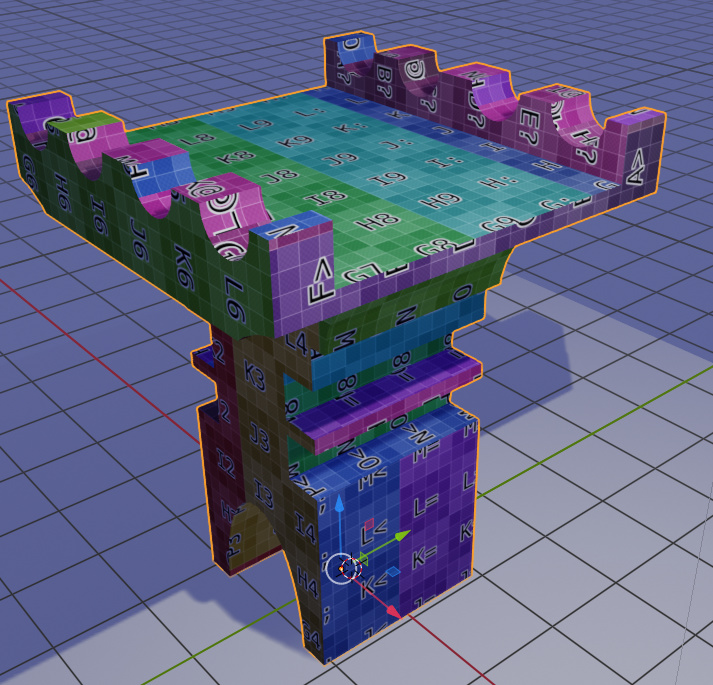
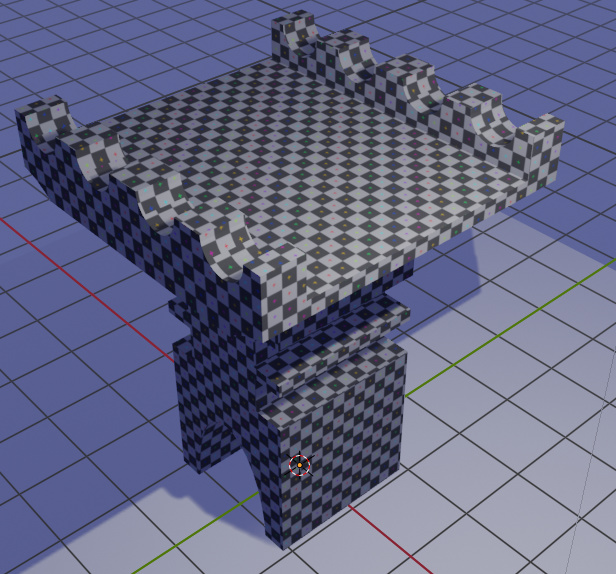
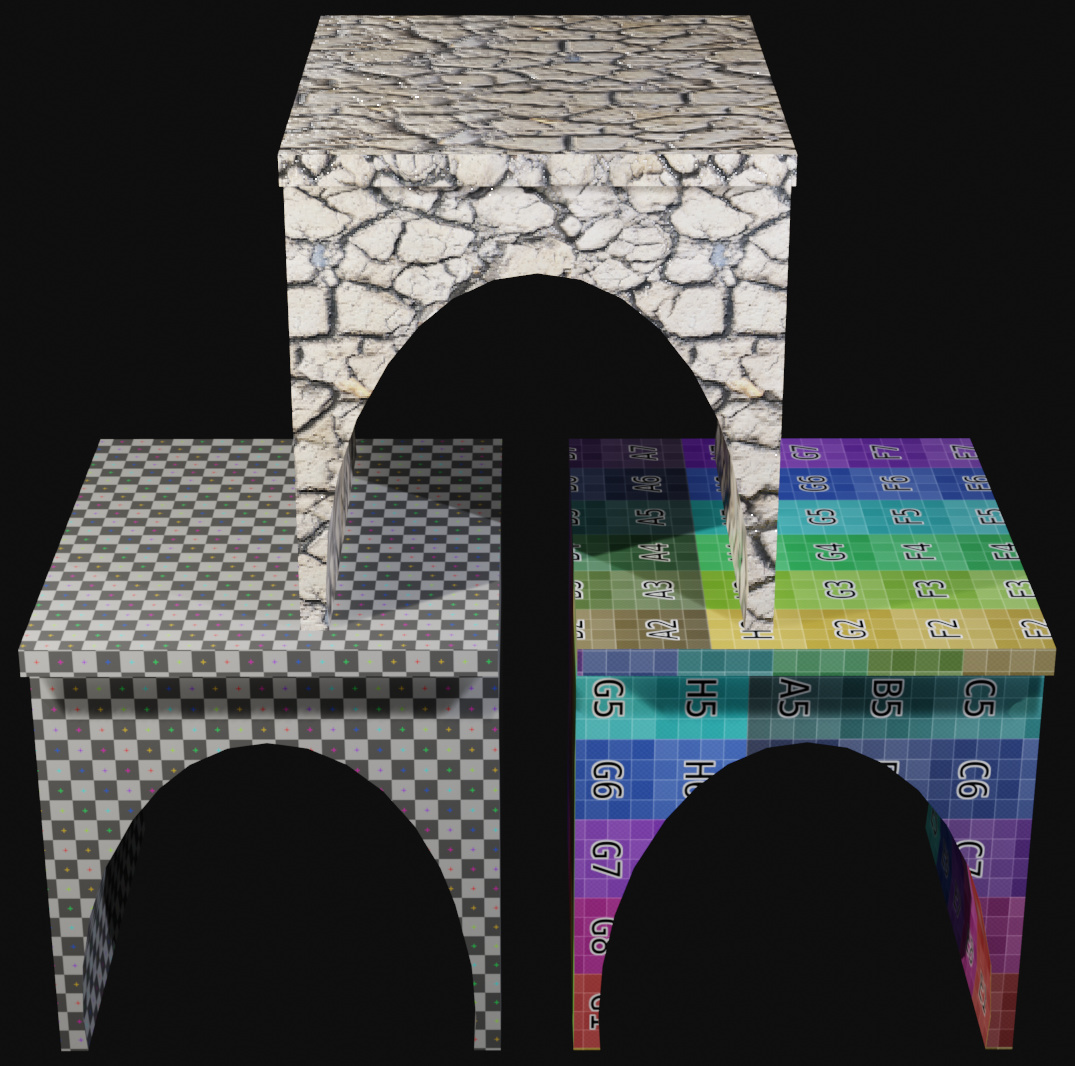
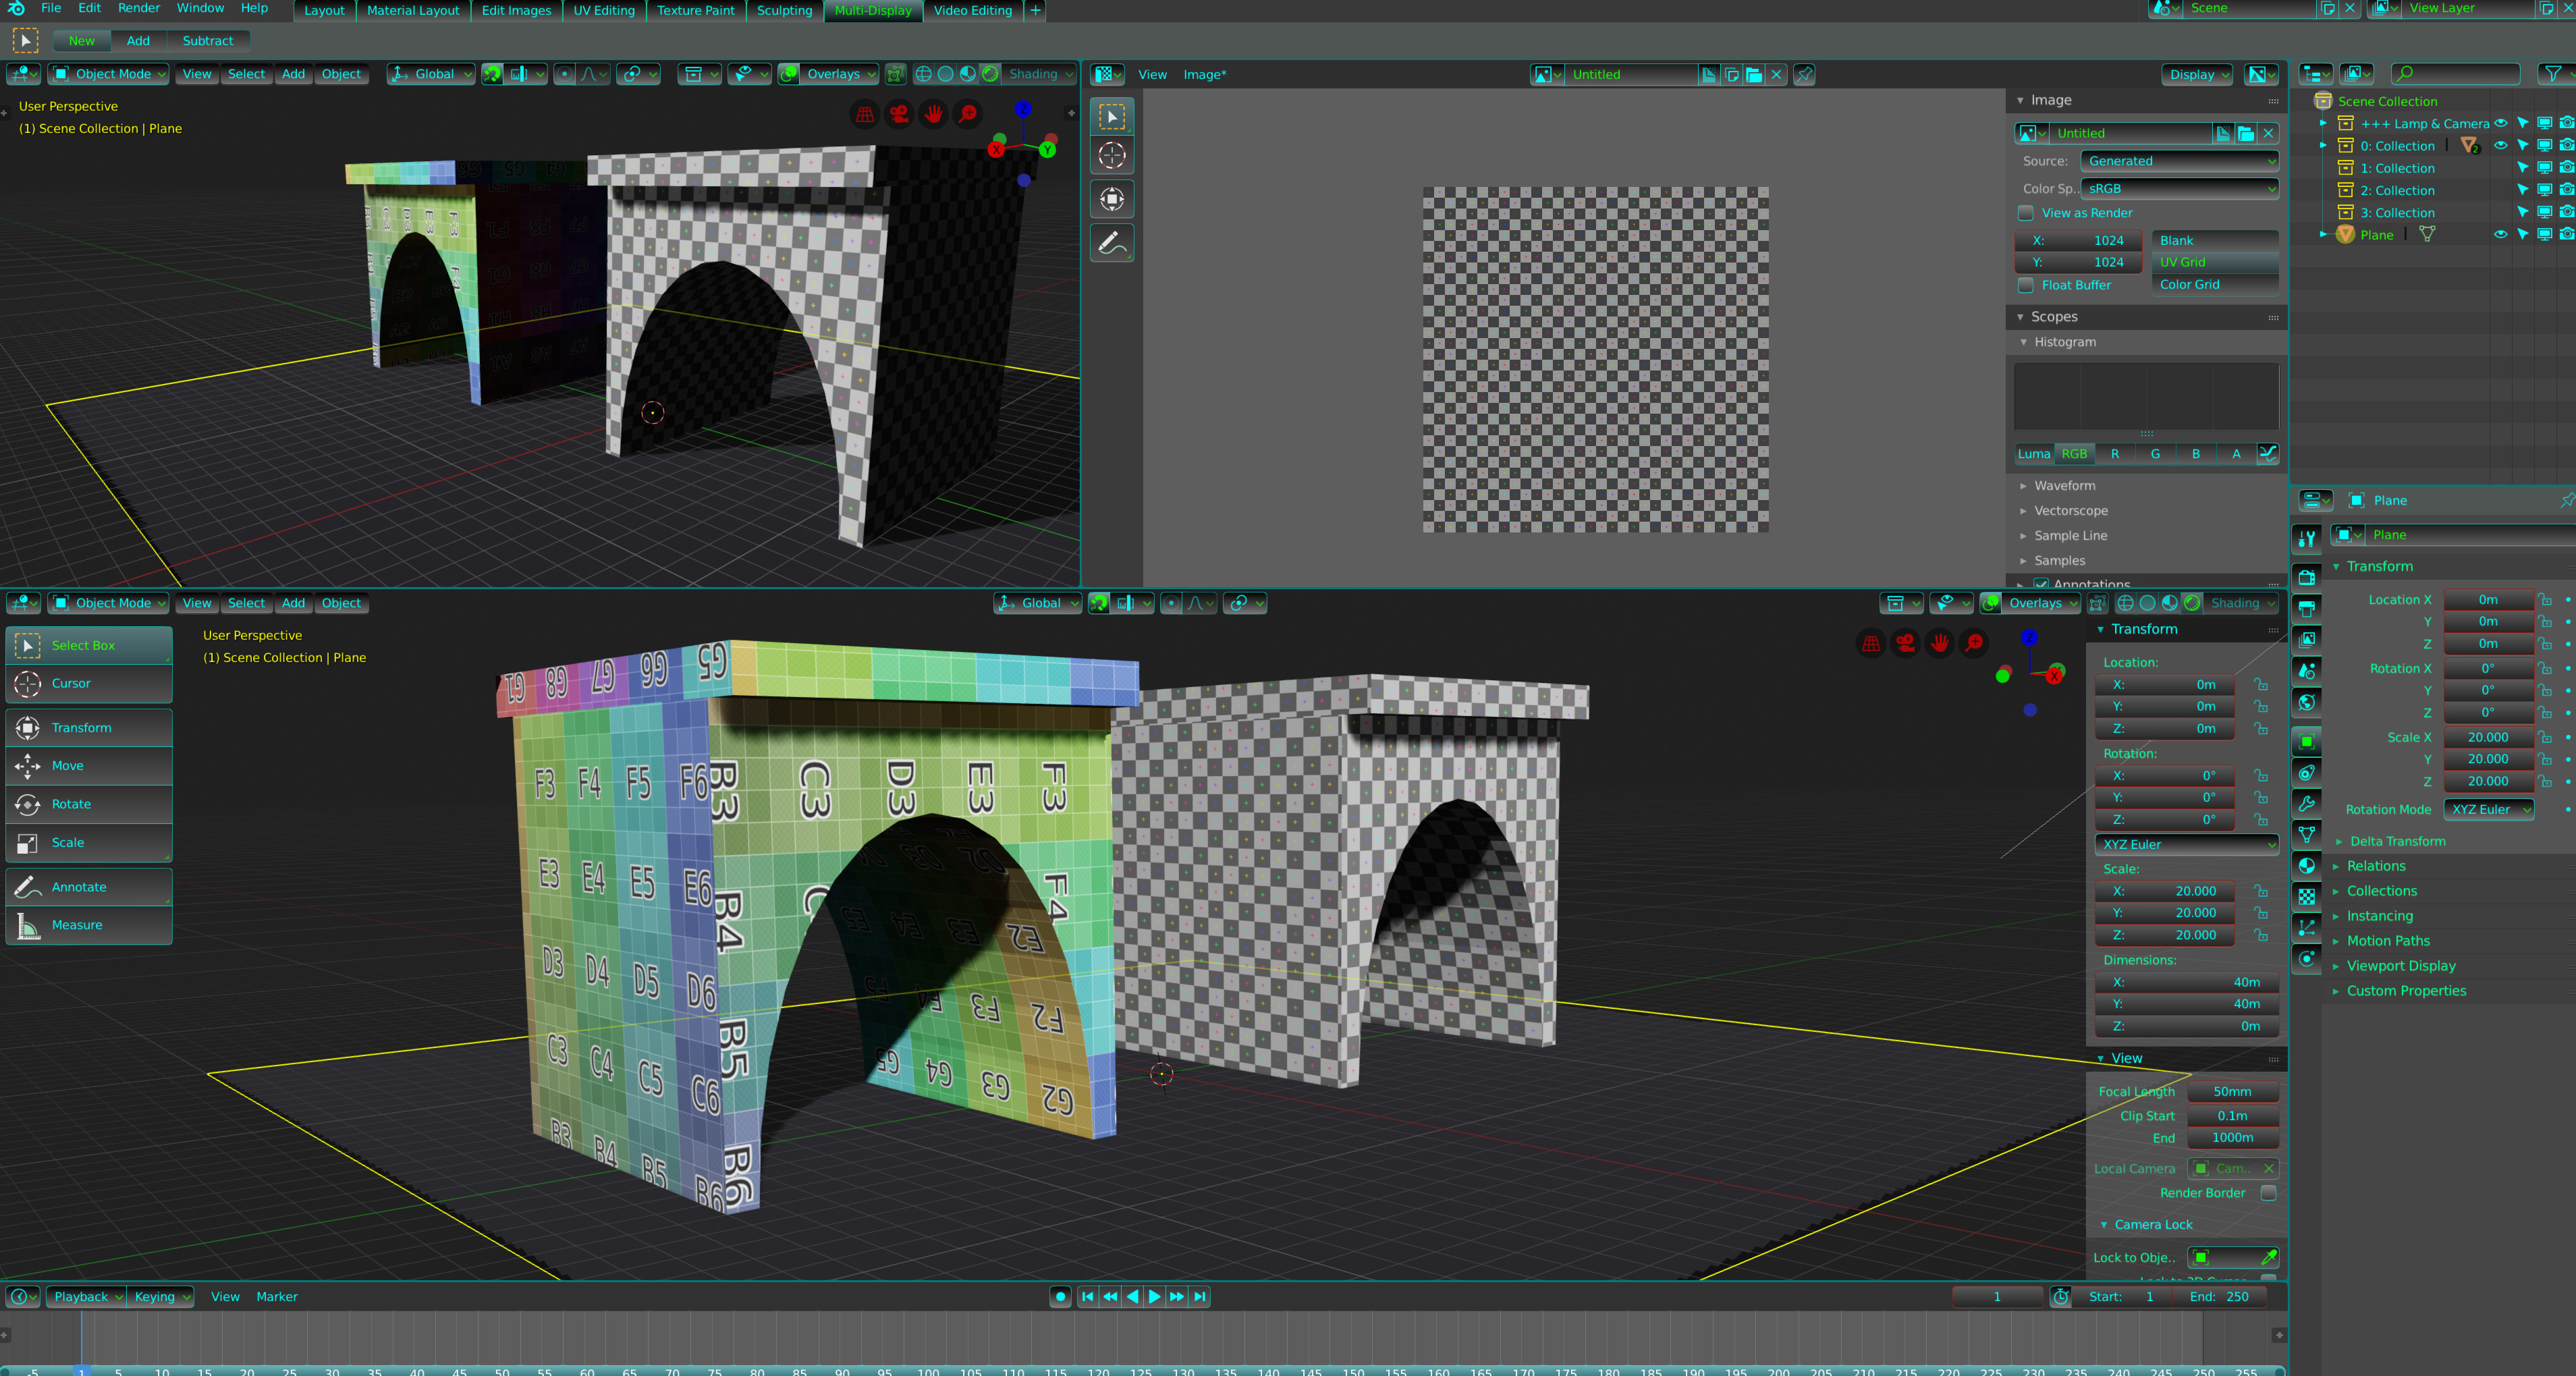
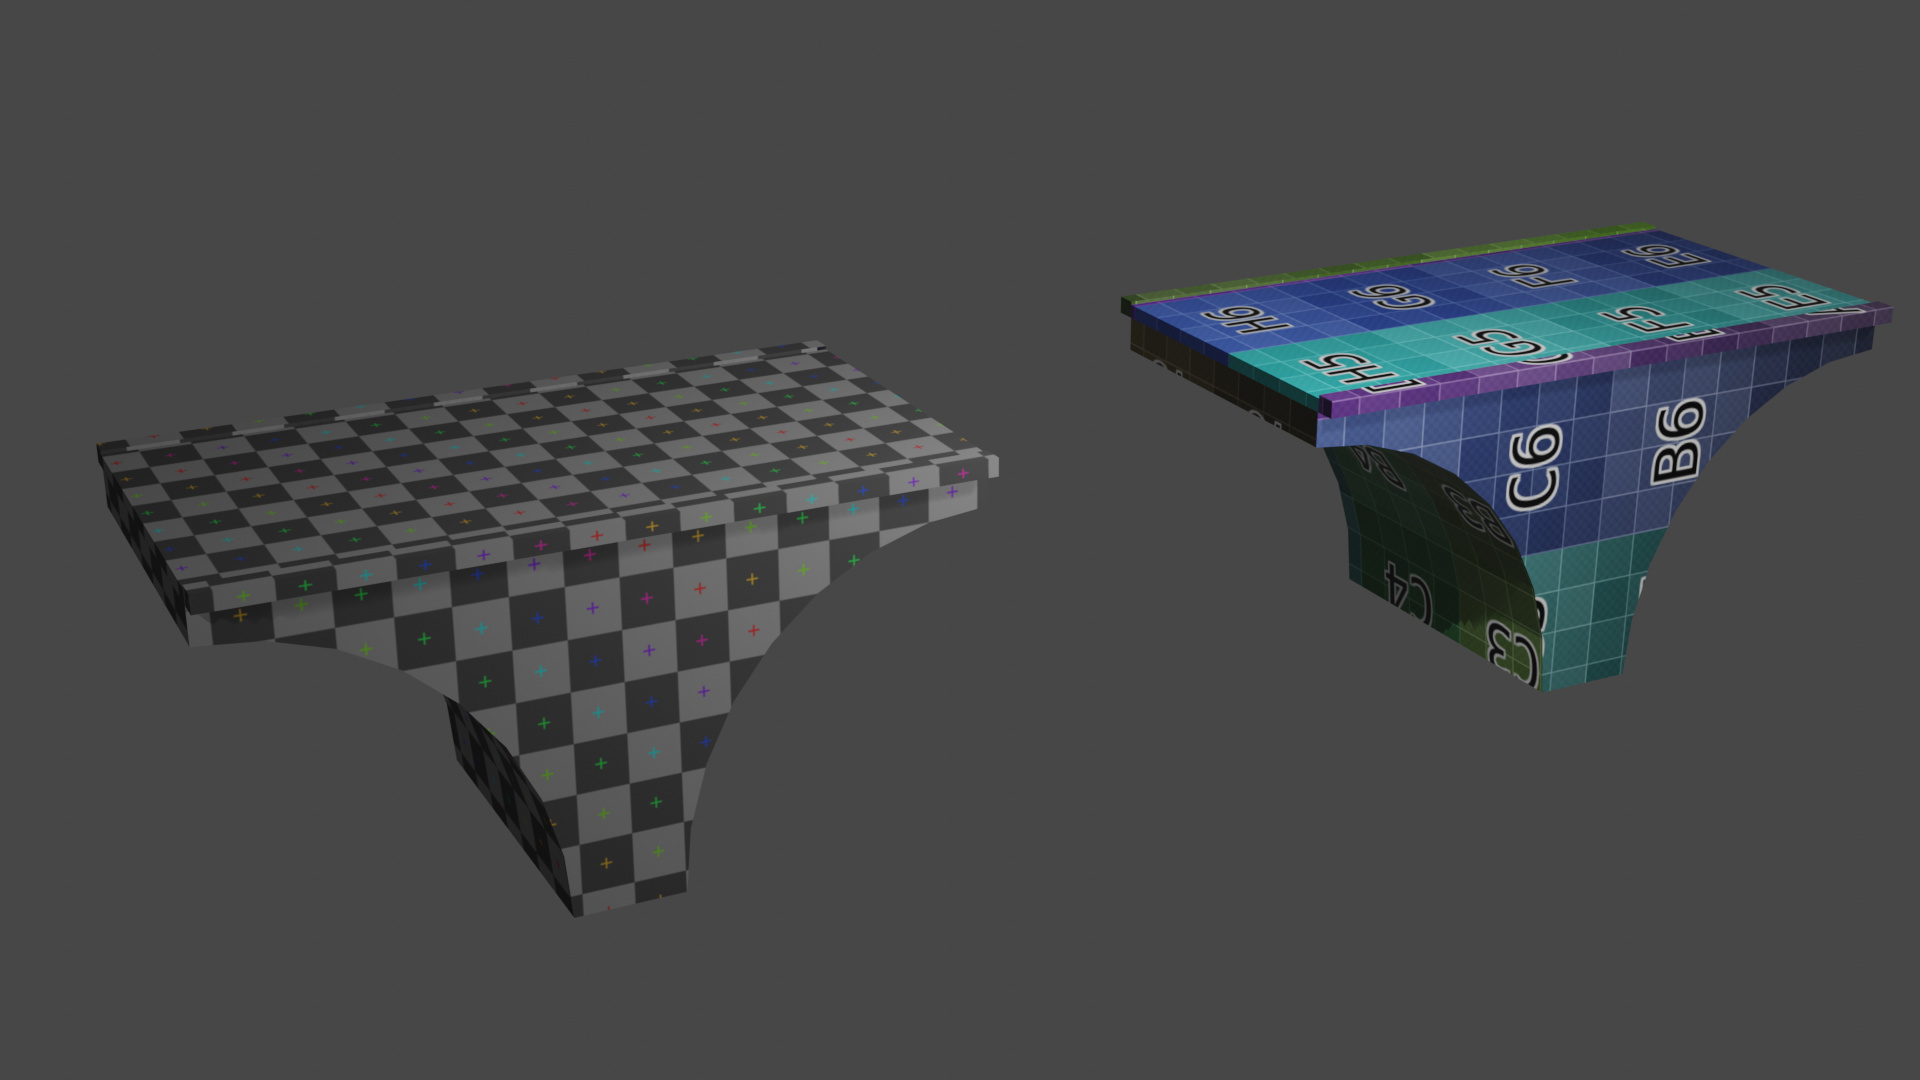
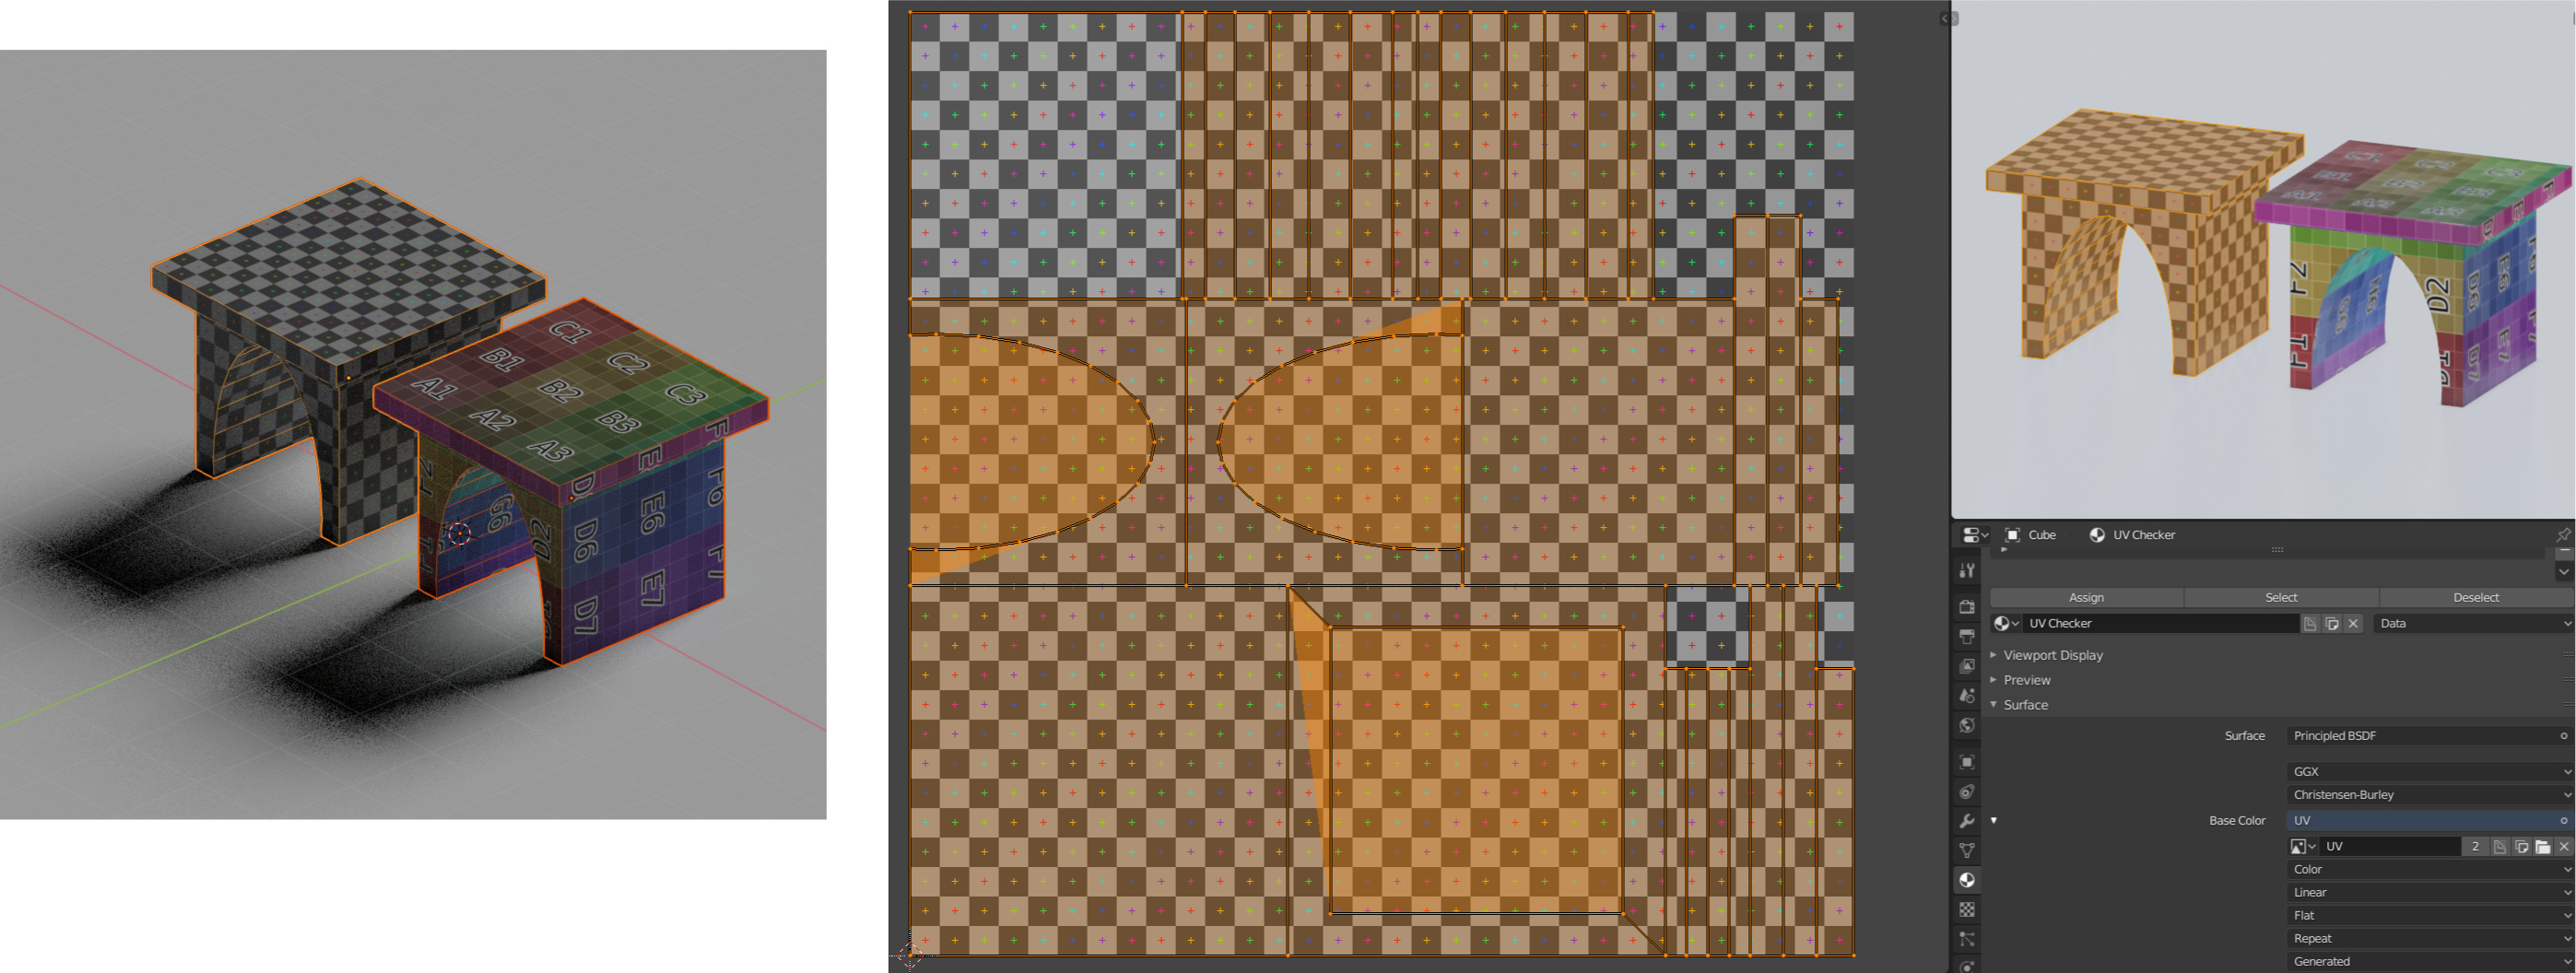
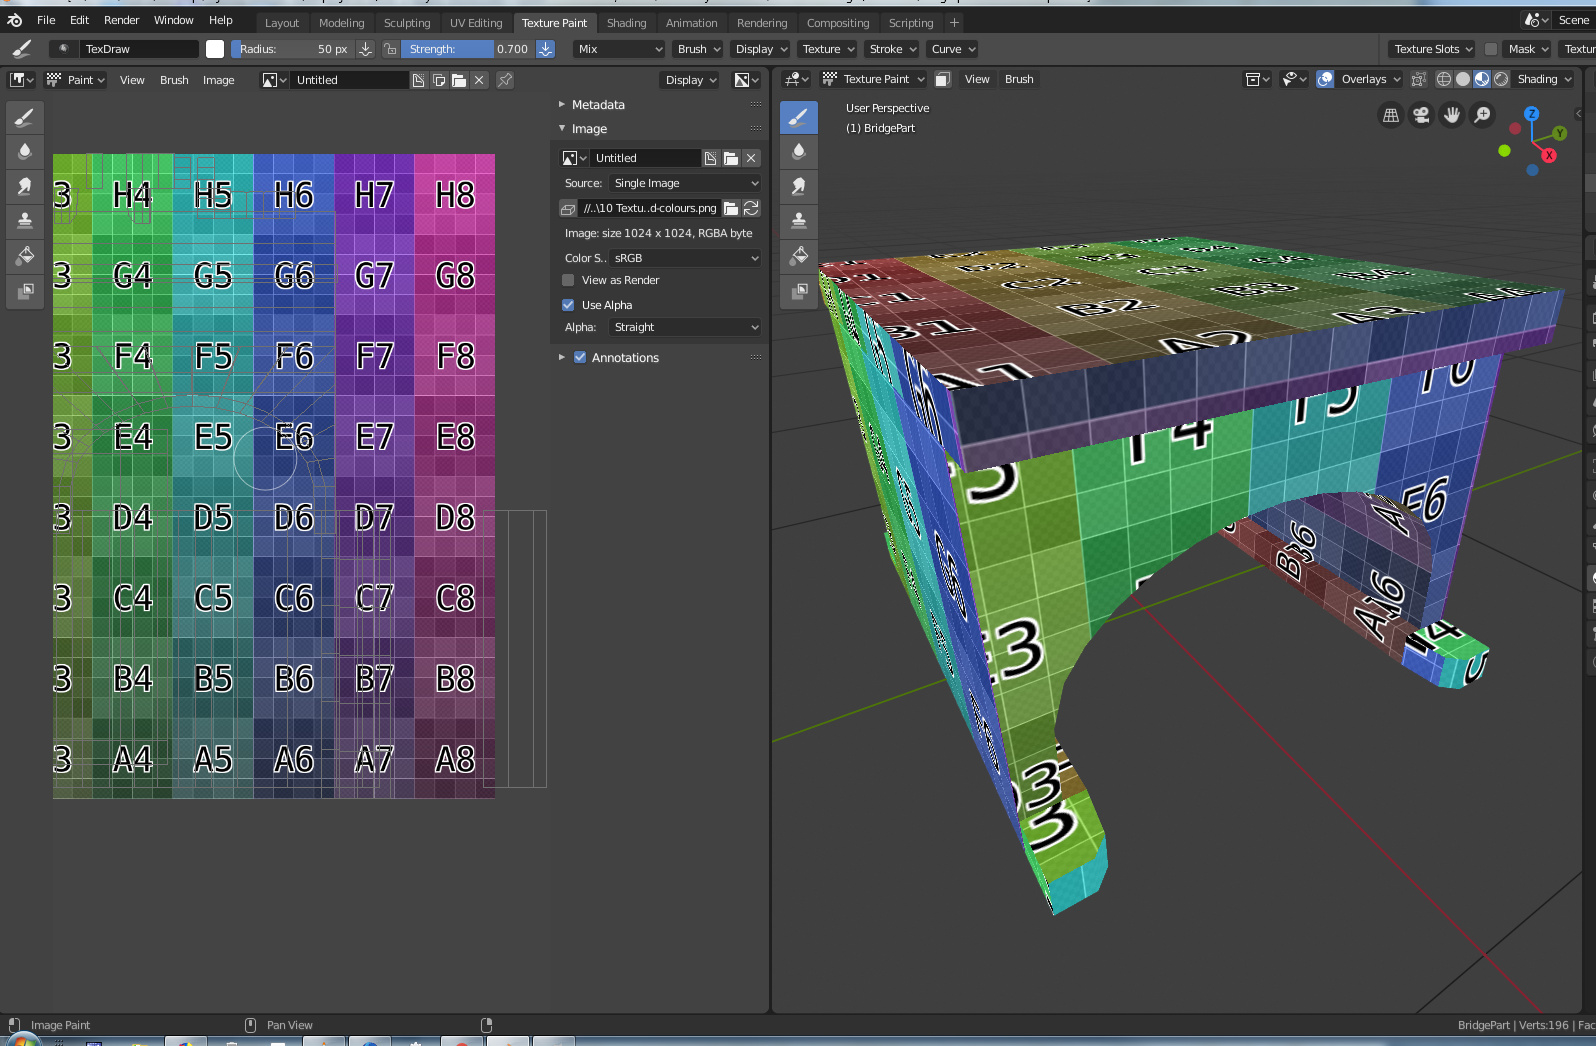
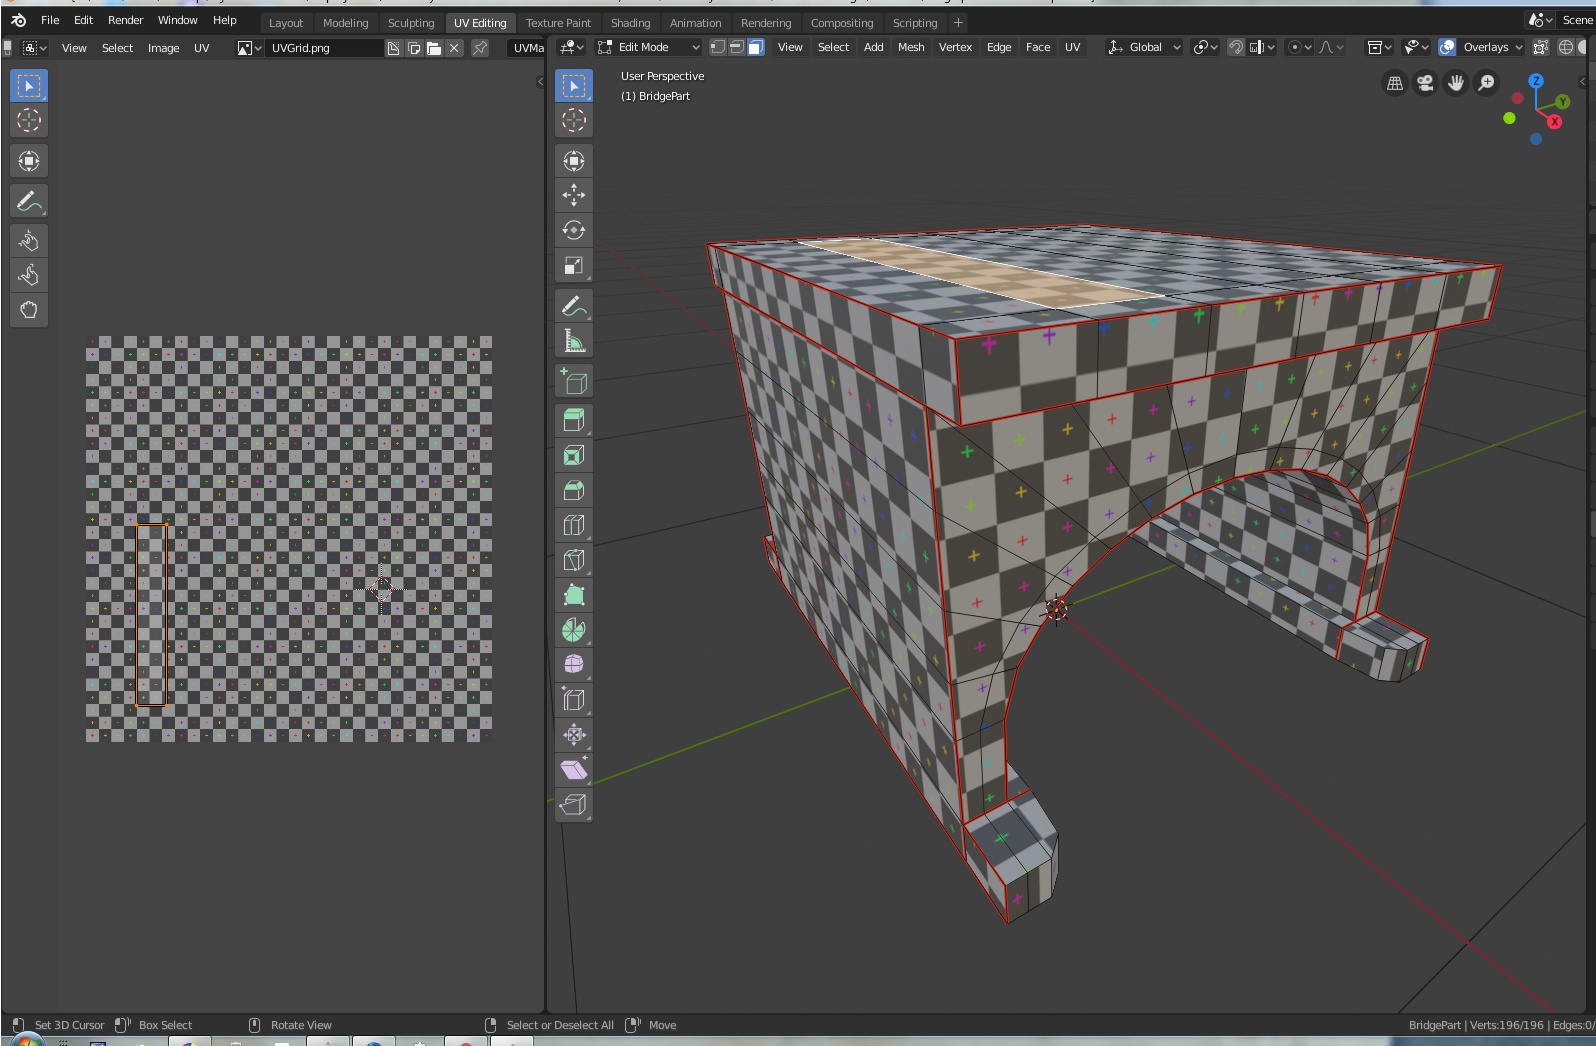
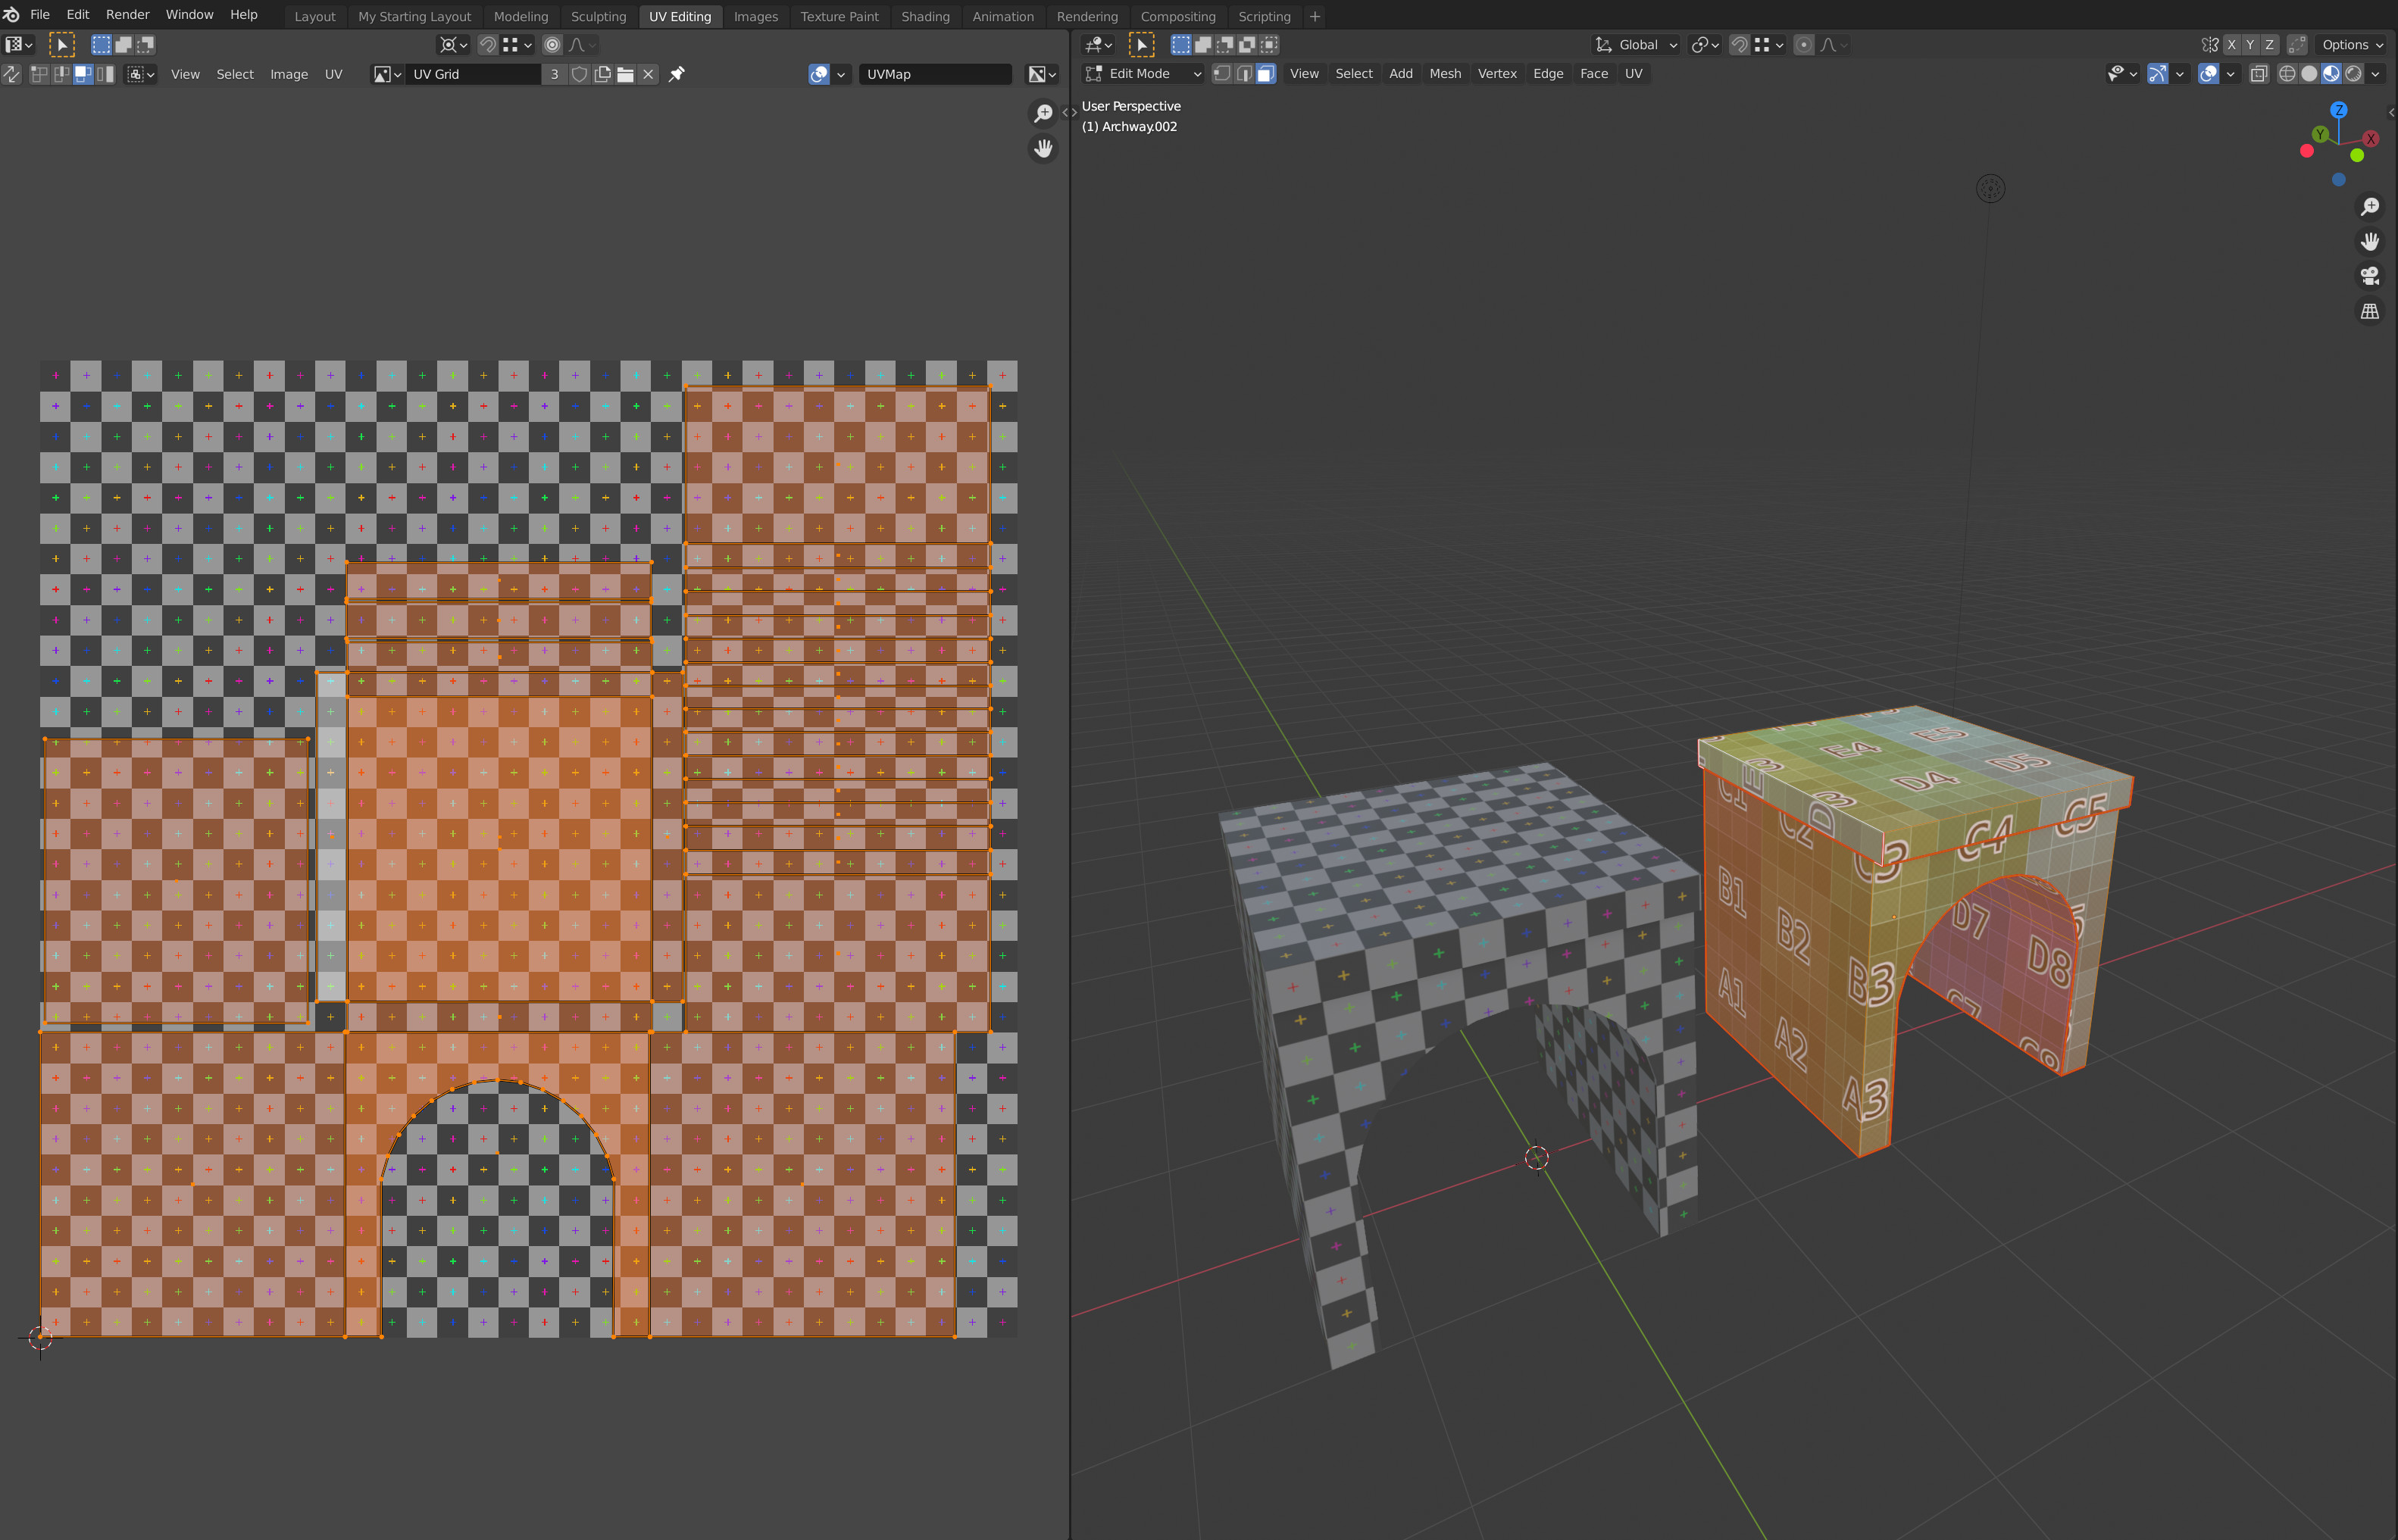
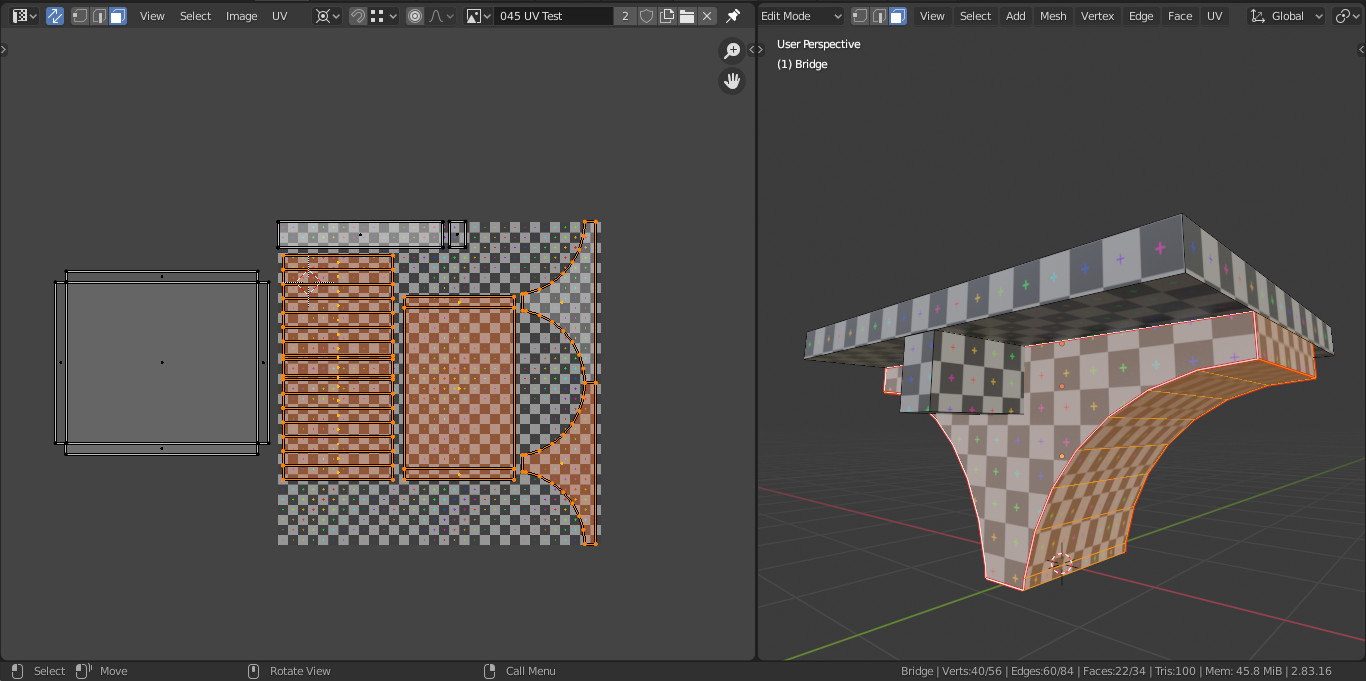
  2. Understand what the two generated image types are used for.

After watching (learning outcomes)…

Students will be able to use the two types of generated images to assess their unwrap.

(Unique Video Reference: 15_TB_BEC)

We would love to know…

  • What you found good about this lecture?
  • What we could do better?

Remember that you can reply to this topic, or create a new topic. The easiest way to create a new topic is to follow the link in Resources. That way the topic will…

  • Be in the correct forum (for the course).
  • Be in the right sub-forum (for the section)
  • Have the correct lecture tag.

Enjoy your stay in our thriving community!

Uv and Color Grid:

We-eeelll. Not to be such a pessimist, but the word horrible suddenly comes to mind.


However, the actual cutout tunnel seems to have mapped pretty well. A pity it is virtually not in view in the composition. :stuck_out_tongue:

Maybe I can sell it to Dalí ?

Of course, I realize that my unnecessarily complex archway model was too much for me to handle when UV unwrapping. I should try an easier one too. :smiley:

3 Likes

So - tested the Triangulation (CTRL-T) function and then Smart UV unwrap, and - lo and behold - it looks much better! :smiley:

2 Likes

I did some resizing in the UV editor to make each section of the Archway uniform in size on the grid and it helped in getting the pattern correct for the color grid as well. The issue that I thought I was having with the white curved shadow on the Arch face did not seem to cause any significant problem.


Here are my checked UV’s. I think they look pretty good!

1 Like

1 Like

Looking OK. But it shows where (IMHO) geometry is missing: at the edge of the archway, as I’d not like to have discontinuity there and that can be prevented by adding a slightly exposed set of stones following the arch. Or a lot of UV-mapped texture painting :slight_smile:

1 Like

Goals is to manage SEAMS at the correct edges, be smart in this. Not lazy.
The with correct UV-mapping, you scale, rotate and positioning all UV parts so they fit nicely. For this the color grid is very handy.
Your right “D1” -face need to have more seams (vertical)!

1 Like

Yep, @Michael_Bridges made us do that in the next lectures, see About 'Challenge: Pivot Points and Snapping UV Maps'! for a far better one :wink:

2 Likes

1 Like

“Color grid” is better!
Then you can also see up and down, left and right material settings.

2 Likes

Privacy & Terms