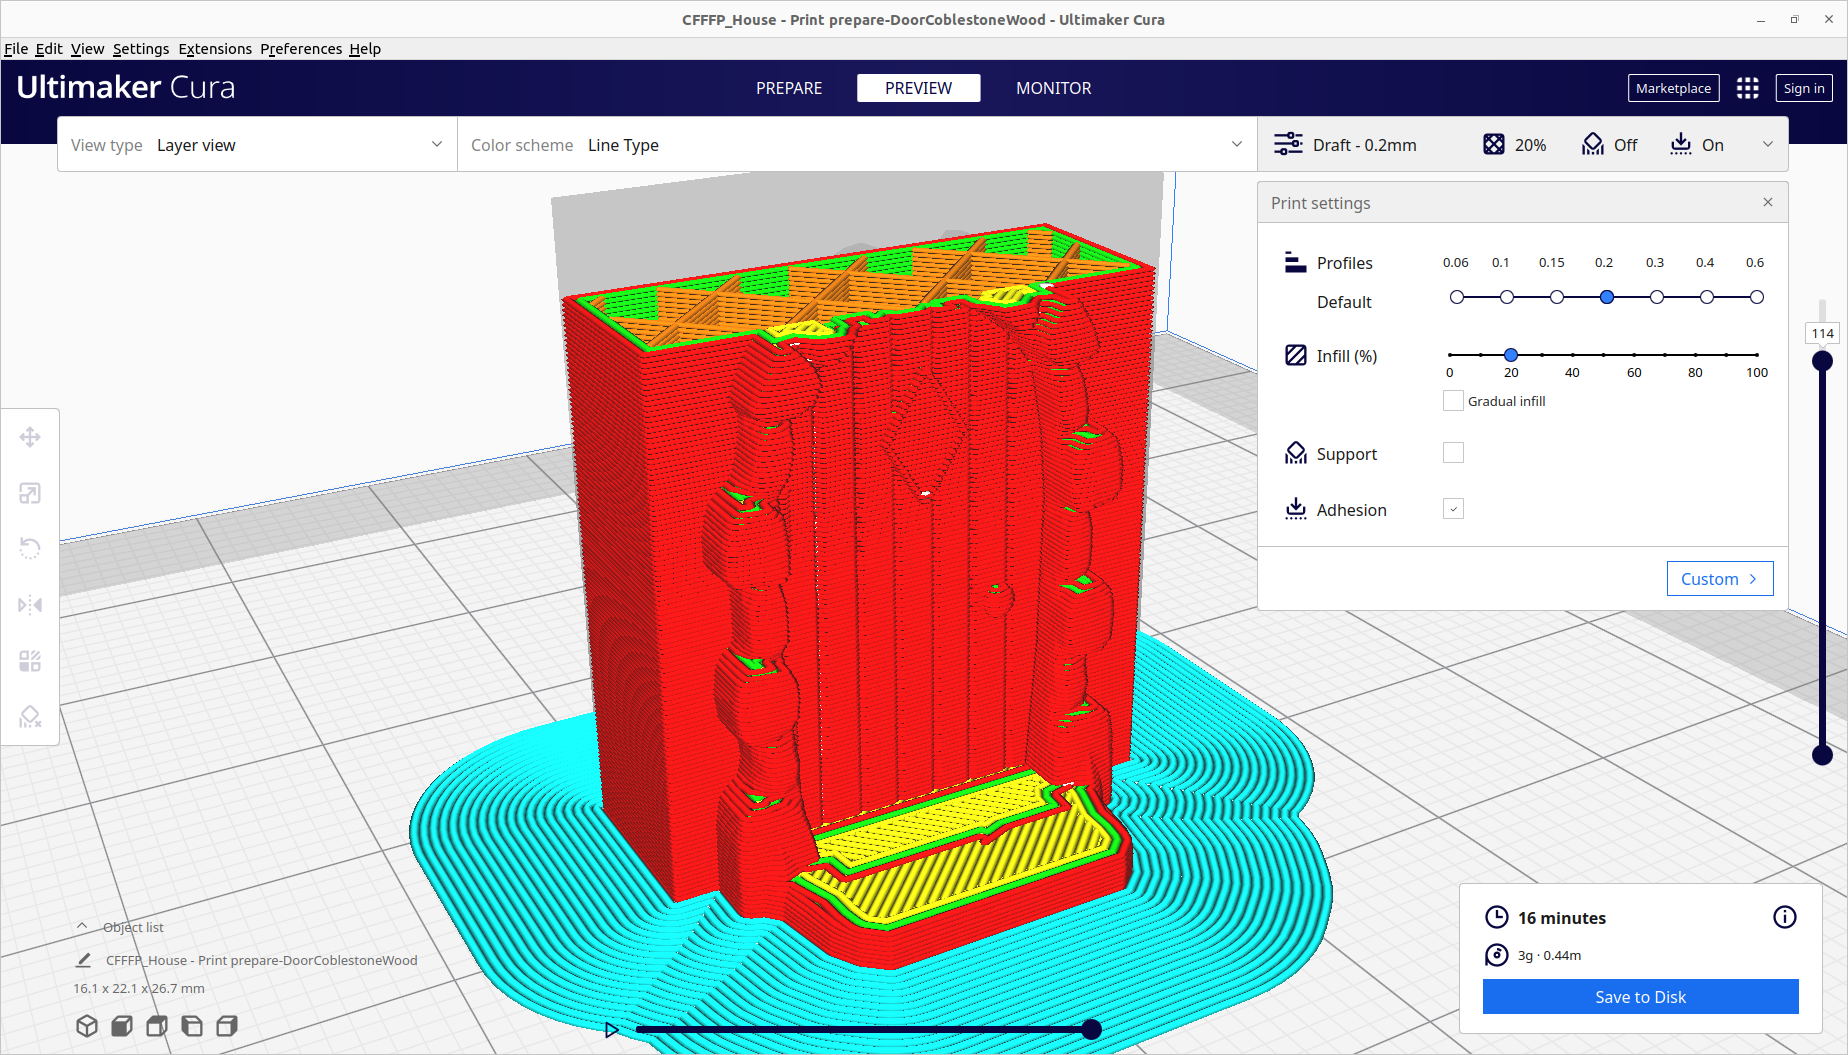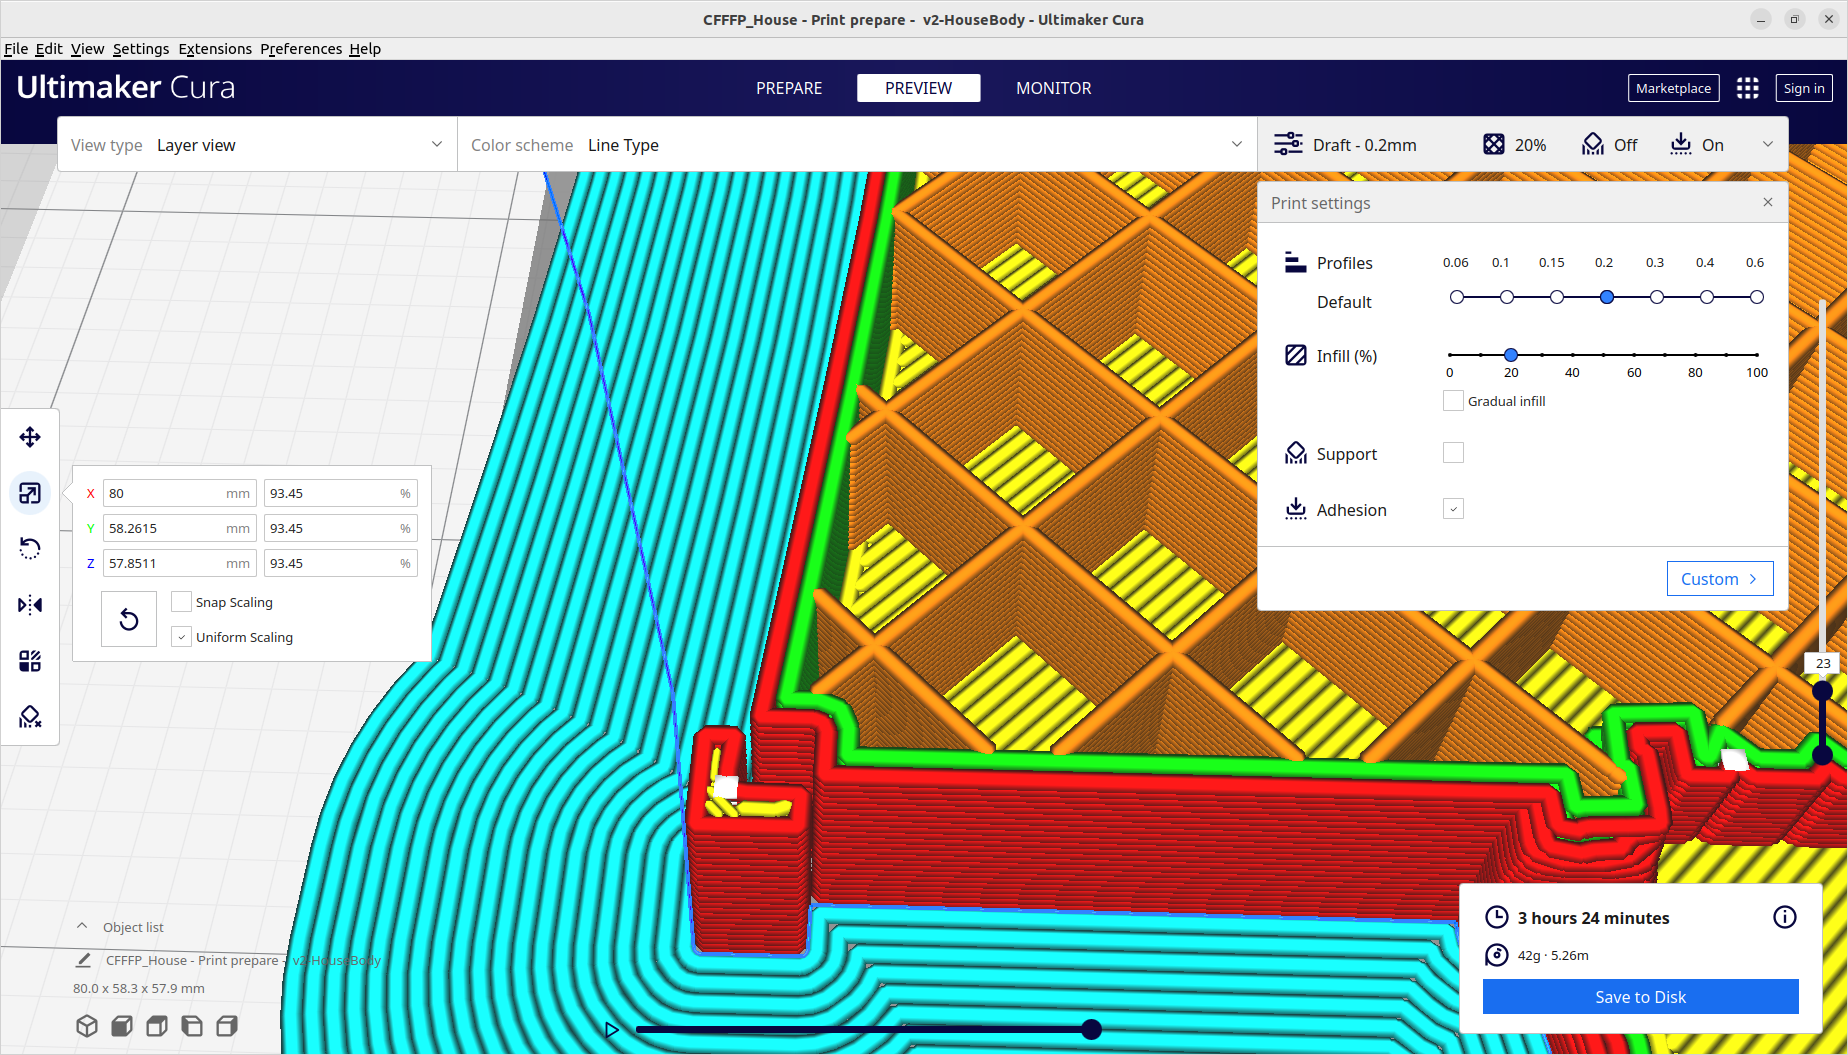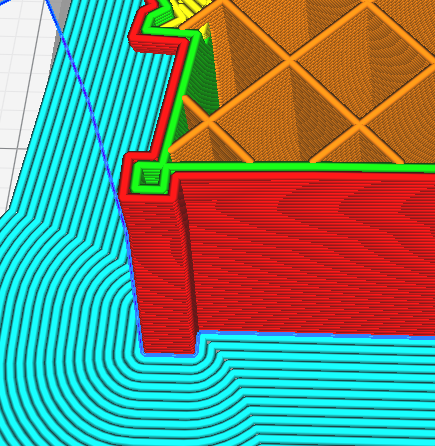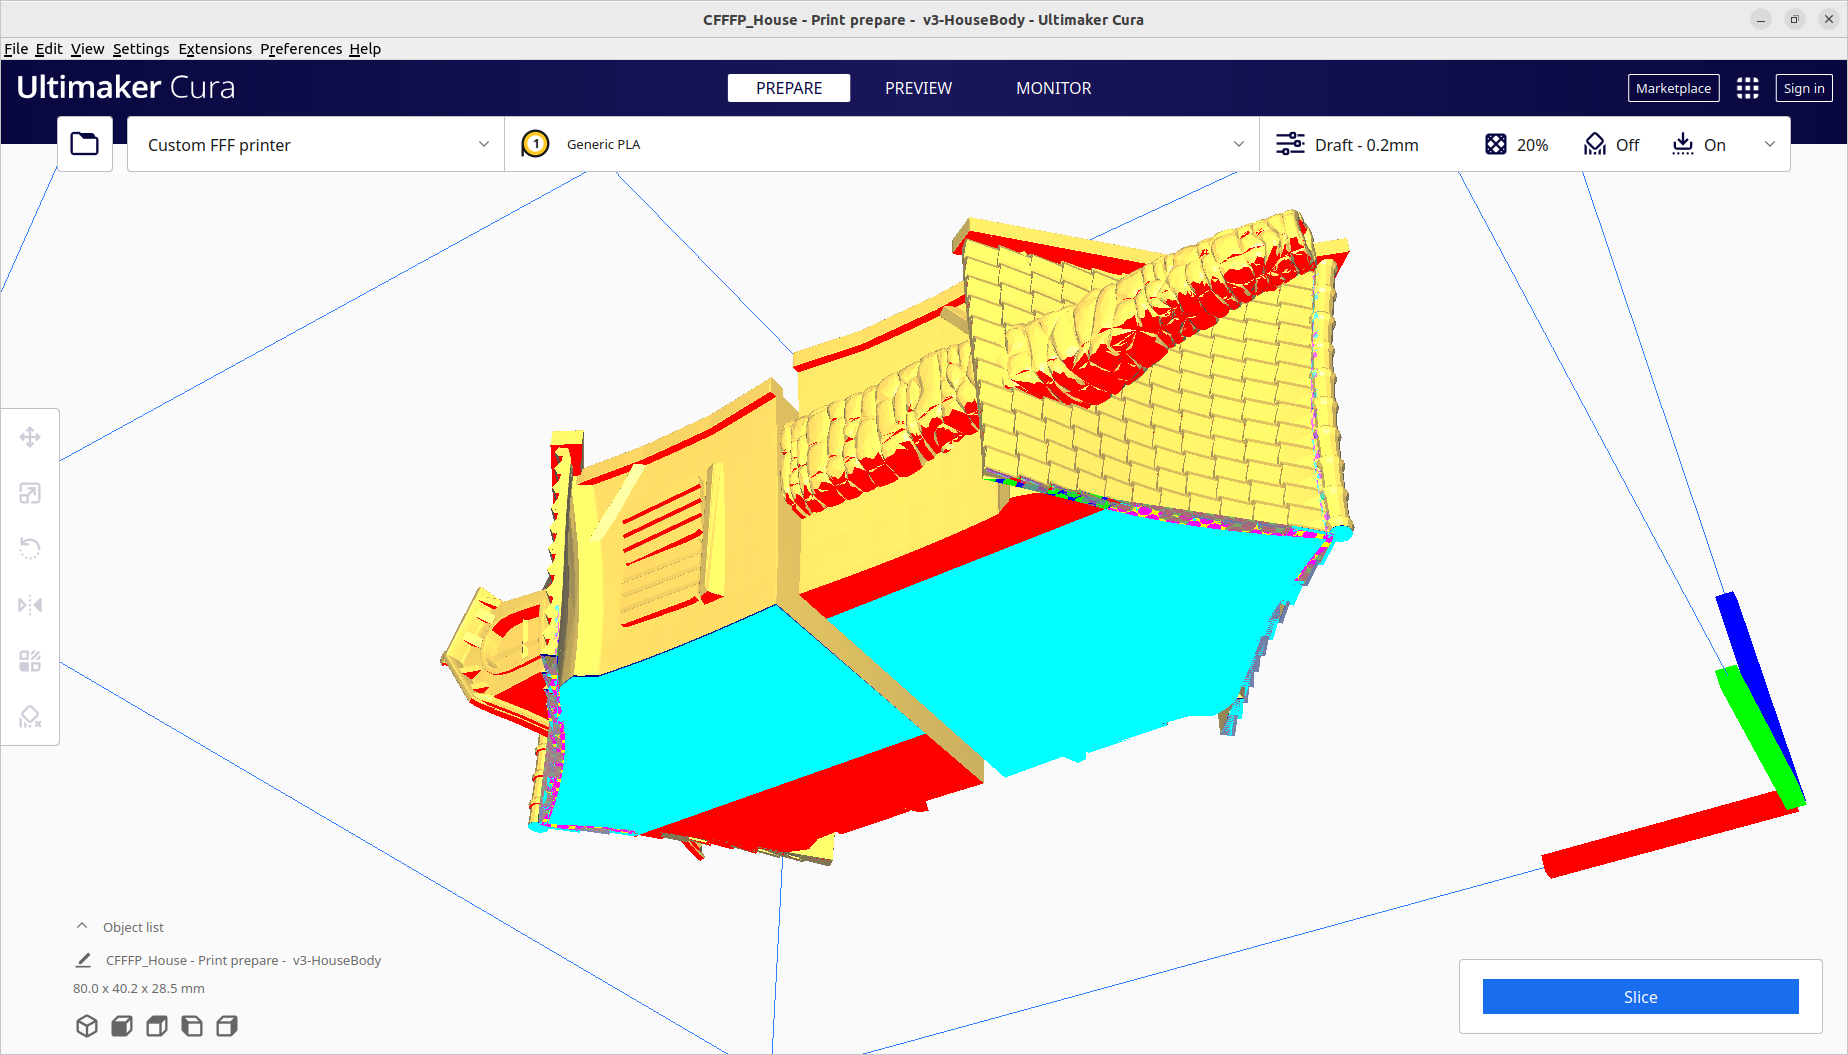
Cura uses mm for the models. The red represents your layers. The light blue represents what’s called a “skirt” that the printer will print around. The skirt is a setting that can be disabled or changed in size, but its meant to provide a stable ground so the model doesn’t come off during a print. The white blocks are areas that the printer will jump from during the print.
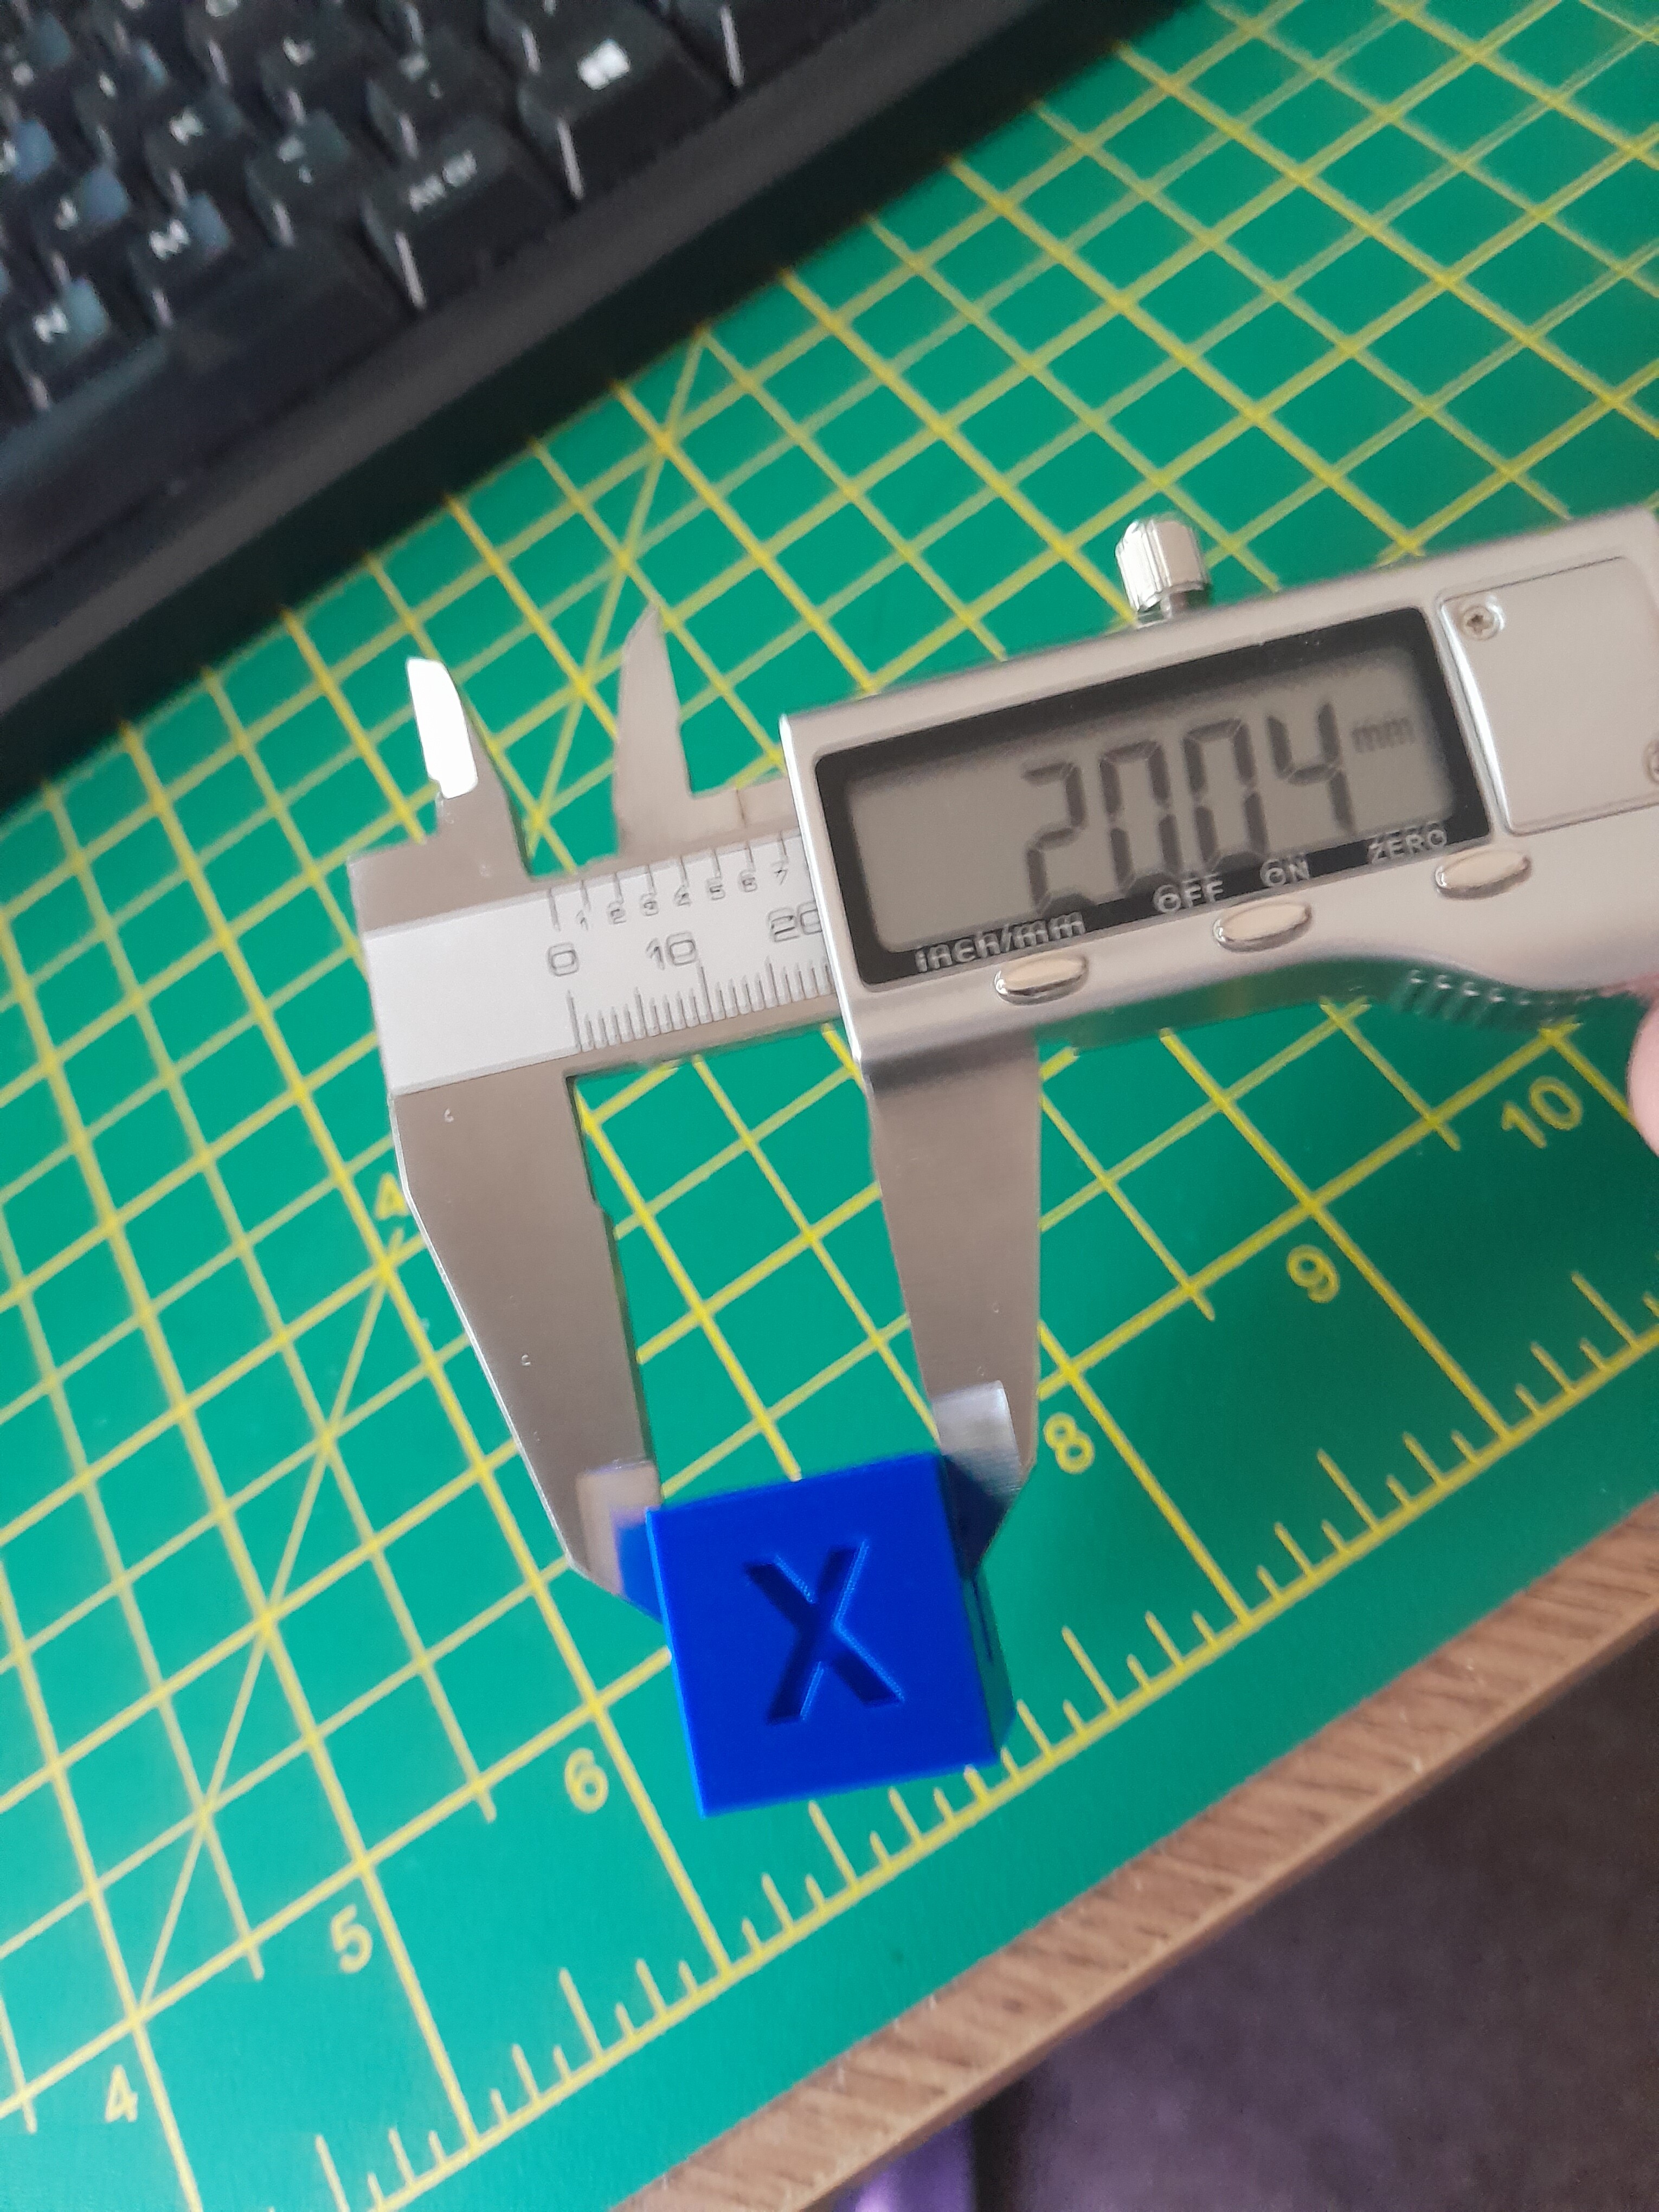
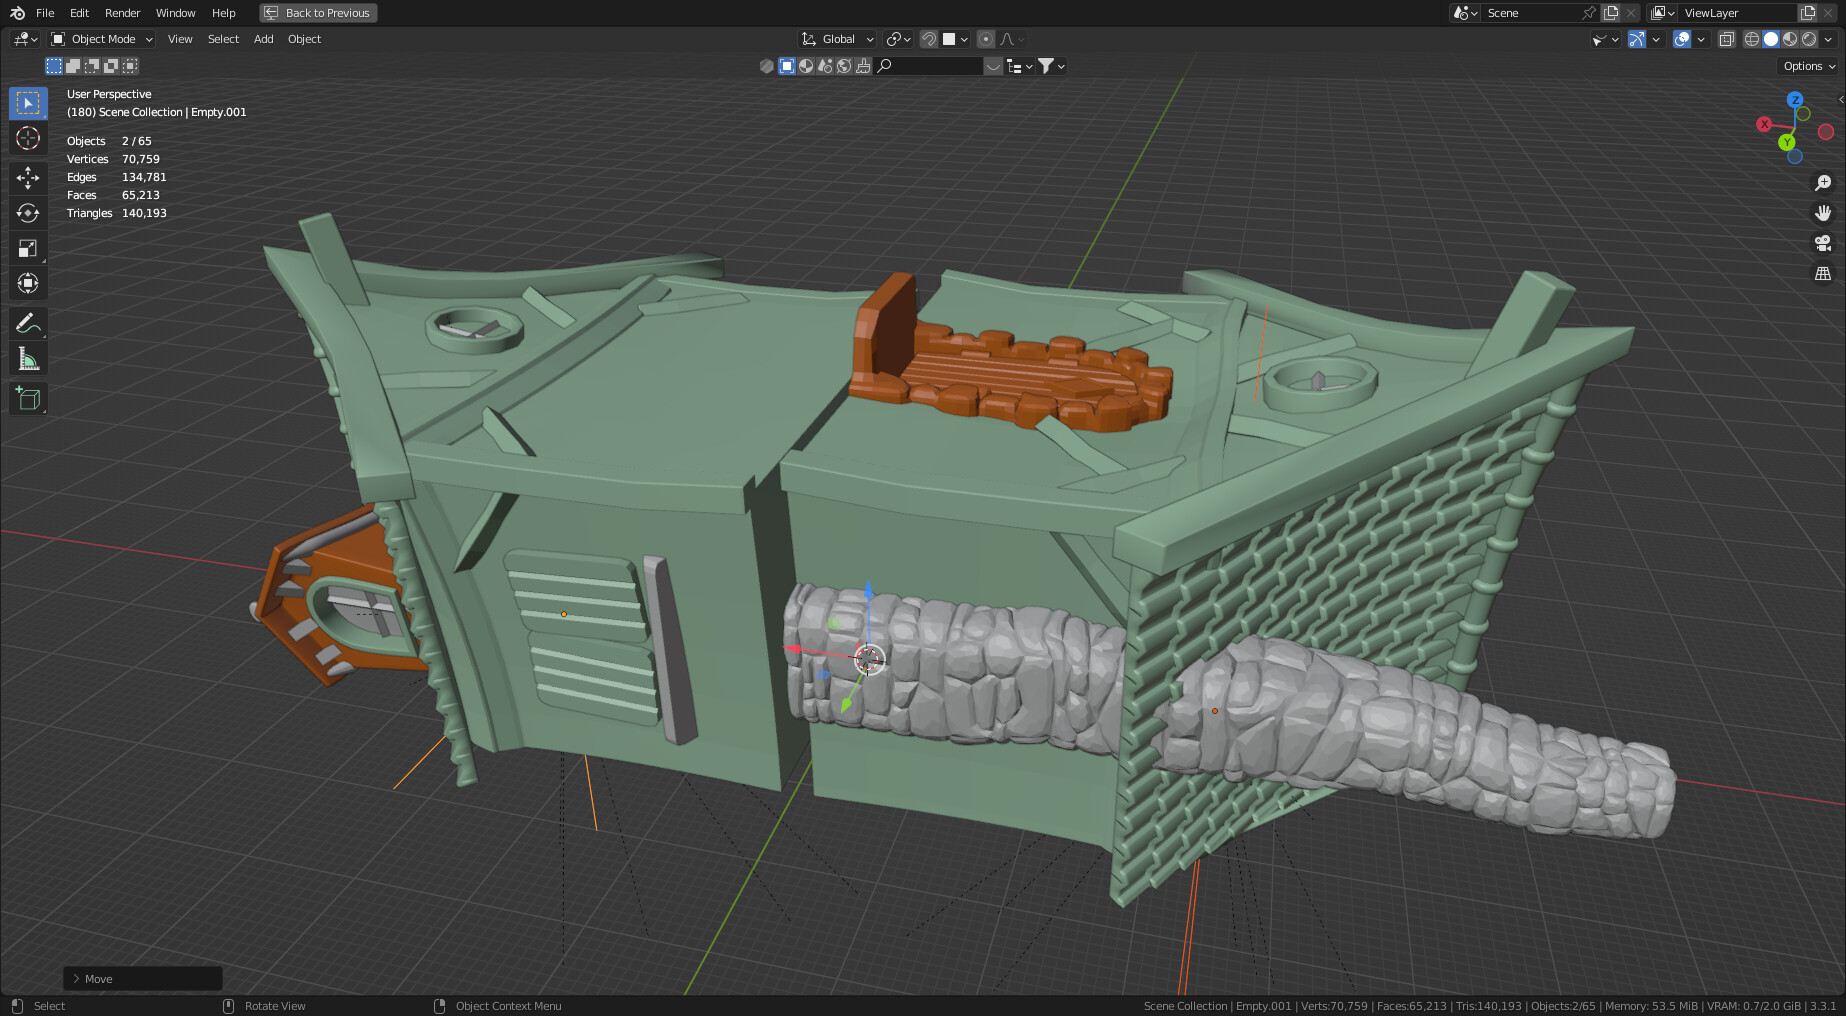
In the 3D printing realm, mm is the primary source of measure. I will provide a link to a video that will help you set up this unit of measure in blender.
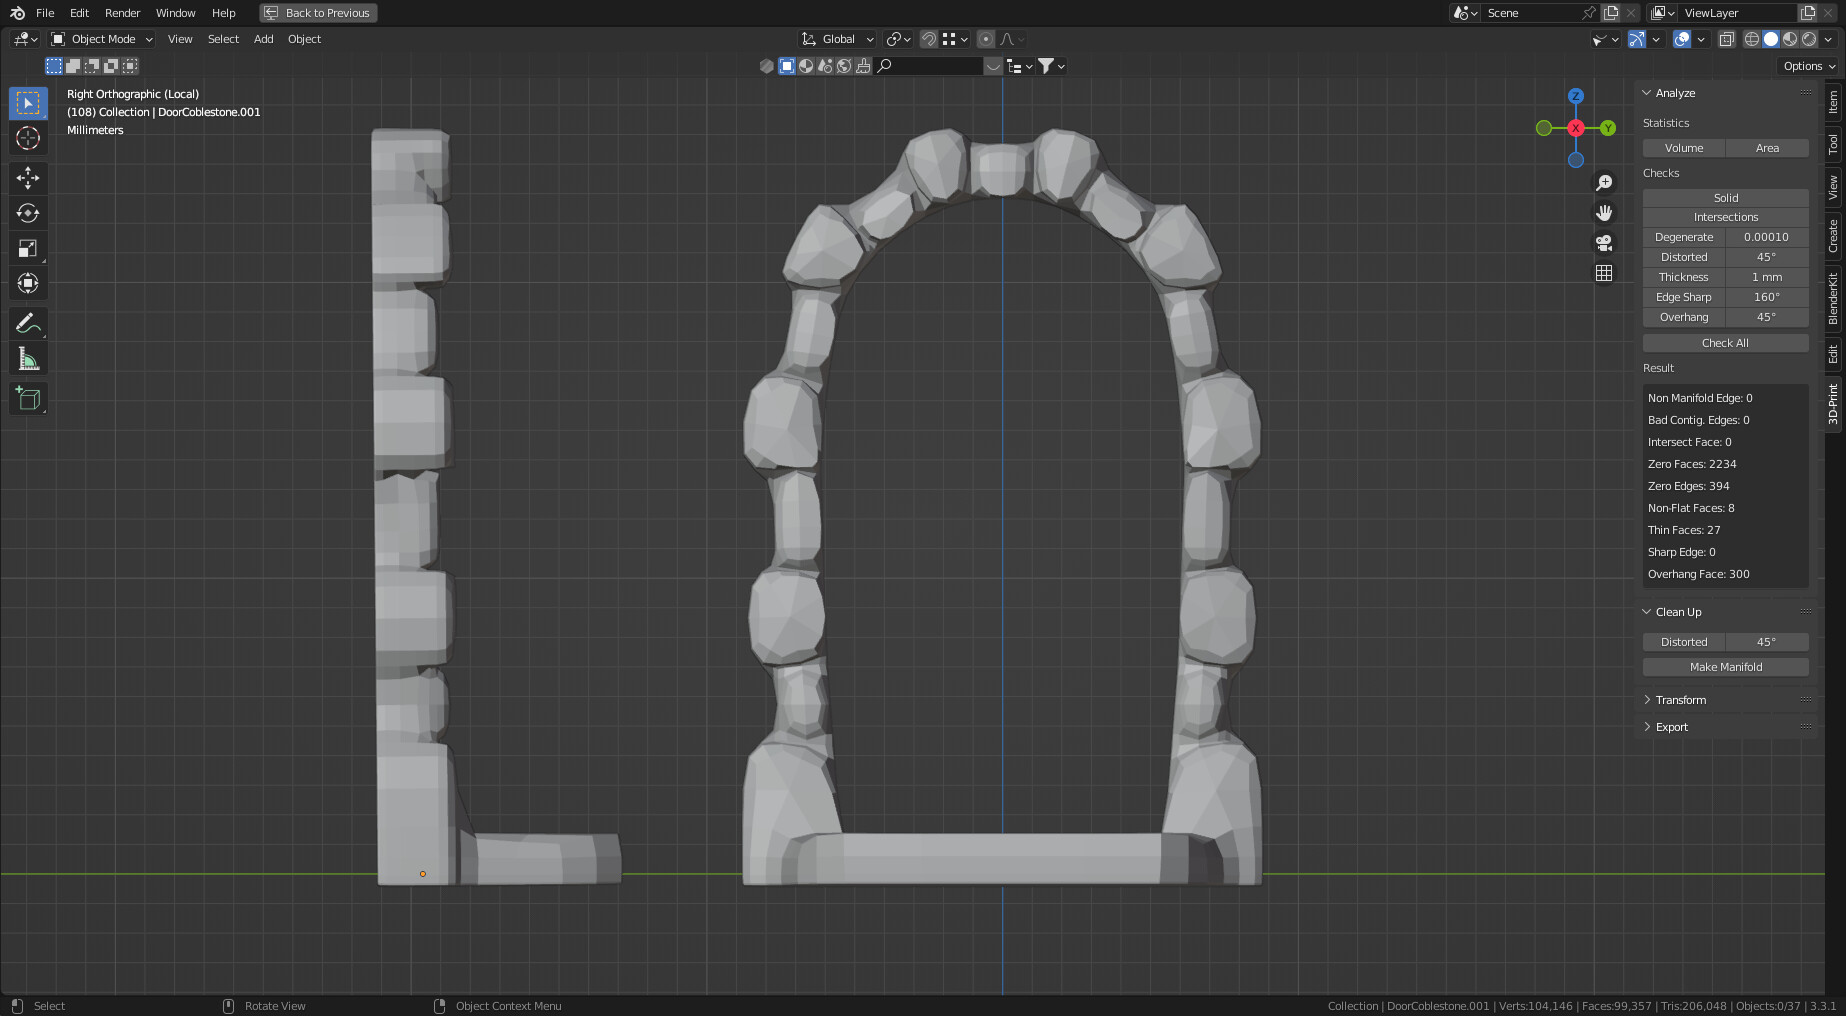
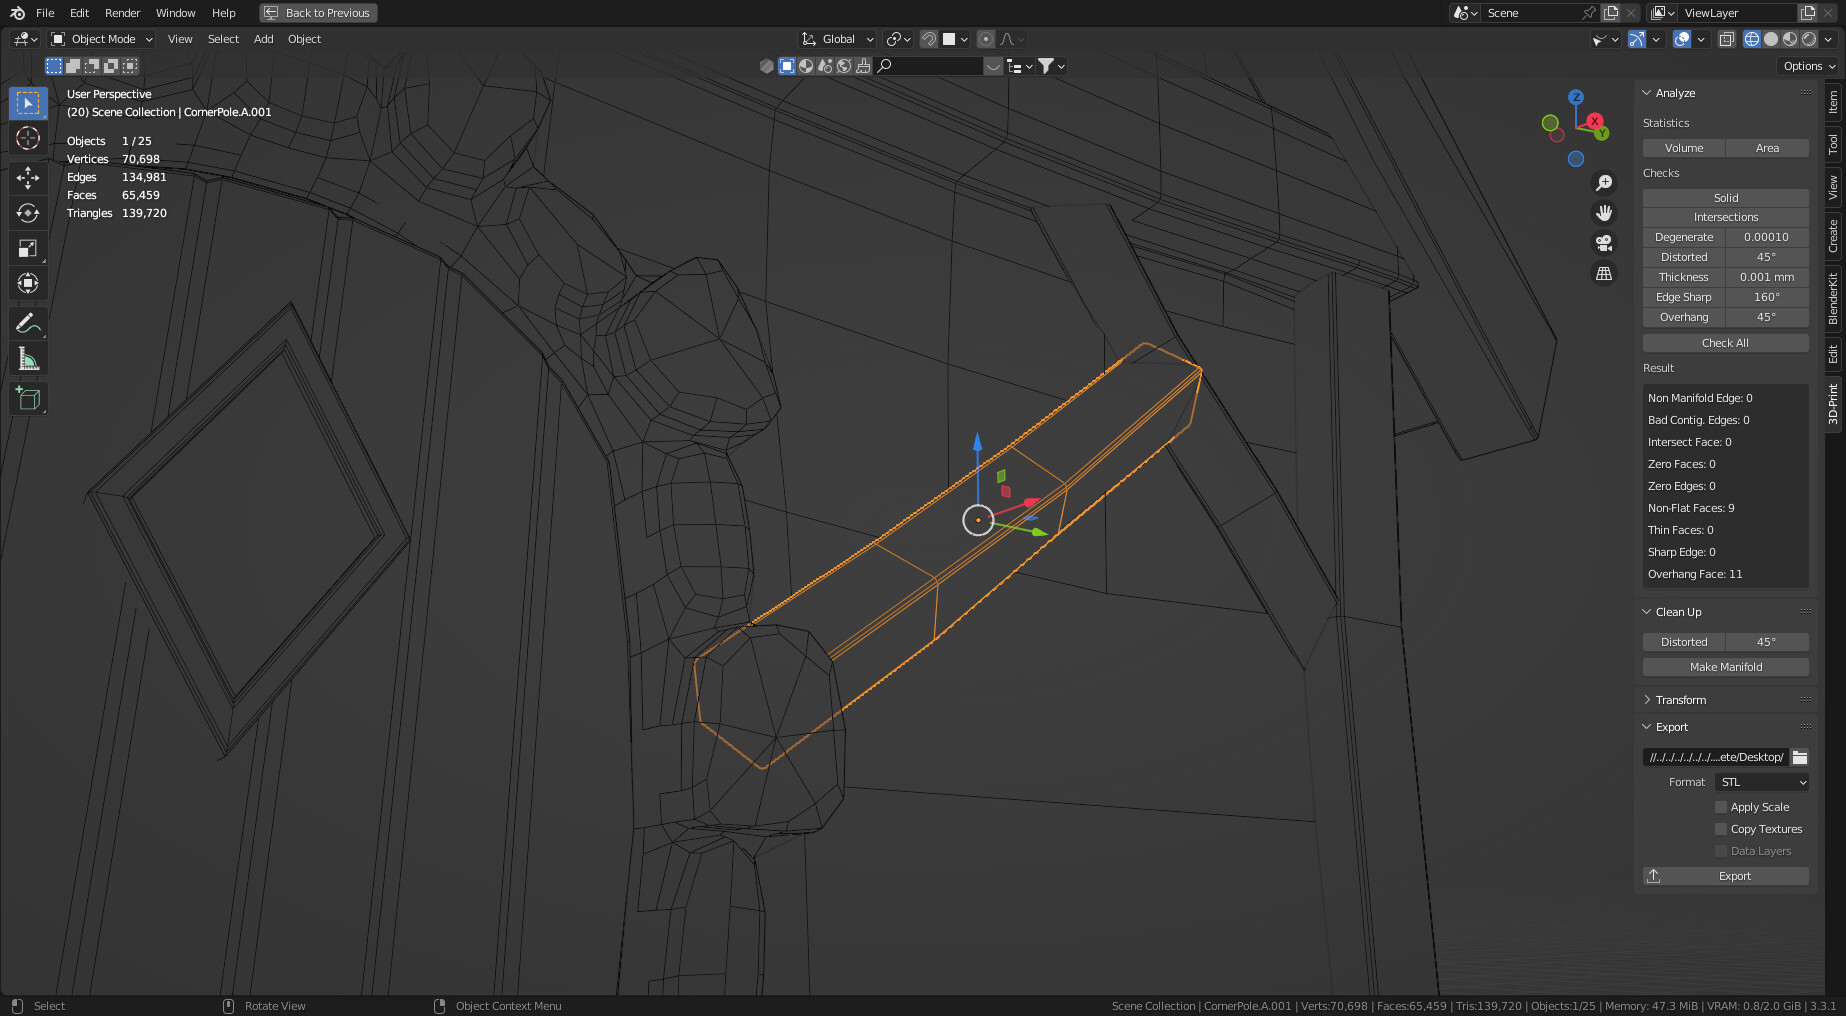
 Precision Modeling")
For a successful print however you need to also take into account the temperature of the nozzle by the size of the print. If the temperature is too high for a small print, the plastic will curl and not make a very good print (if finish at all).
In Cura, you can adjust the layer density, layer height, the temperature, and the speed of the fans to cool the plastic before the printer returns to that part of the print.
I am providing this list of settings not to discourage, but to place focus on elements that I sure wish I knew about when I started (It was a struggle). I couldn’t even get my prints to stick to the print bed, it’d just get stuck to the nozzle and burn.
A channel I recommend that helps explains these settings is:
It has a playlist with 56 videos dedicated to getting started with 3D prints. I also recommend getting a 3d printer for home to further solidify the concepts of 3d printing (there are actually very affordable printers nowadays).
I apologize my posts are such long reads, but I am quite familiar with not have the explanations when I need them (searching for hours). So I like to pack as much as I know to get others closer to their goals faster than I did. If you have any more questions let me know.