3D Print tryout - Final print results

I’ve printed some 3D models in the past. Using a printshop that uses a laser to meld plastic power into a 3D shape. Models are easy to design because this laser printing doesn’t need support beams for overhang. You can print parts of an object hanging in midair.
It makes 3D design easy to print!

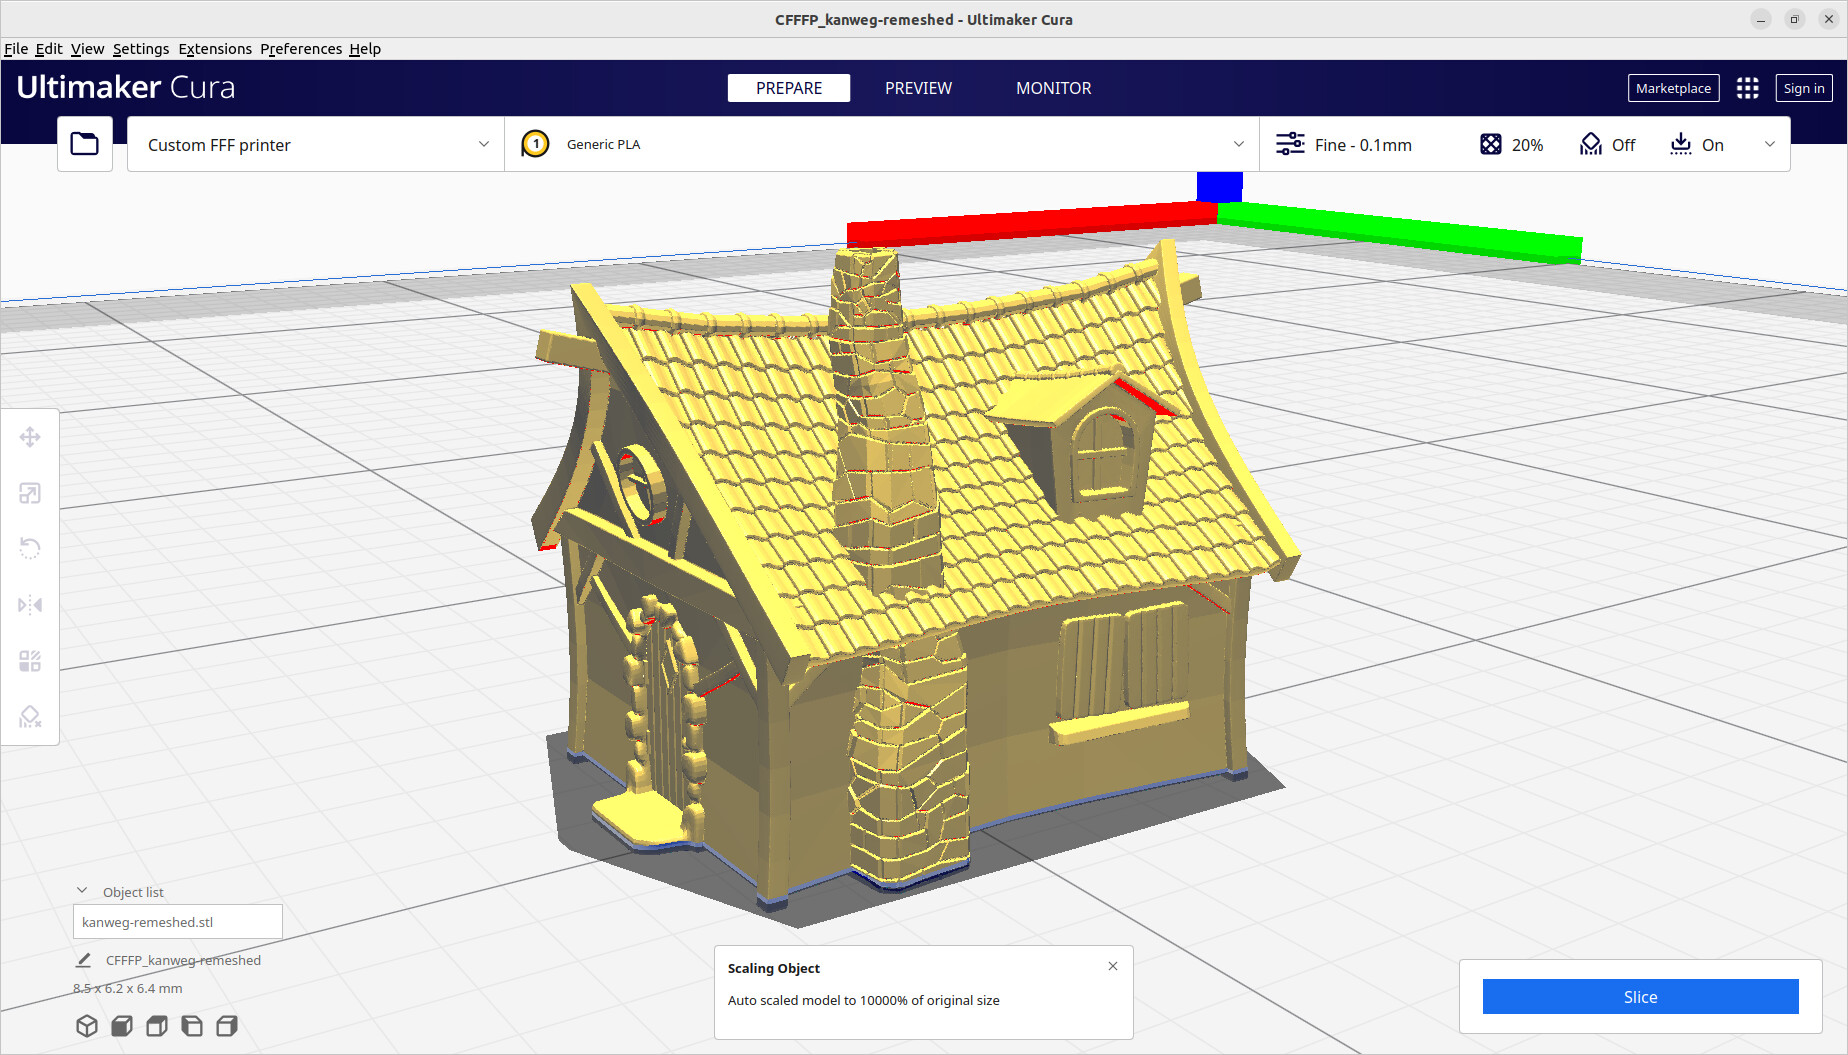
But a 3D printer at home, using filament, is a different ballgame in designing printable 3D objects. This topic is my adventure in creating objects for print, using a filament printer.

I have some problems to master on this journey:

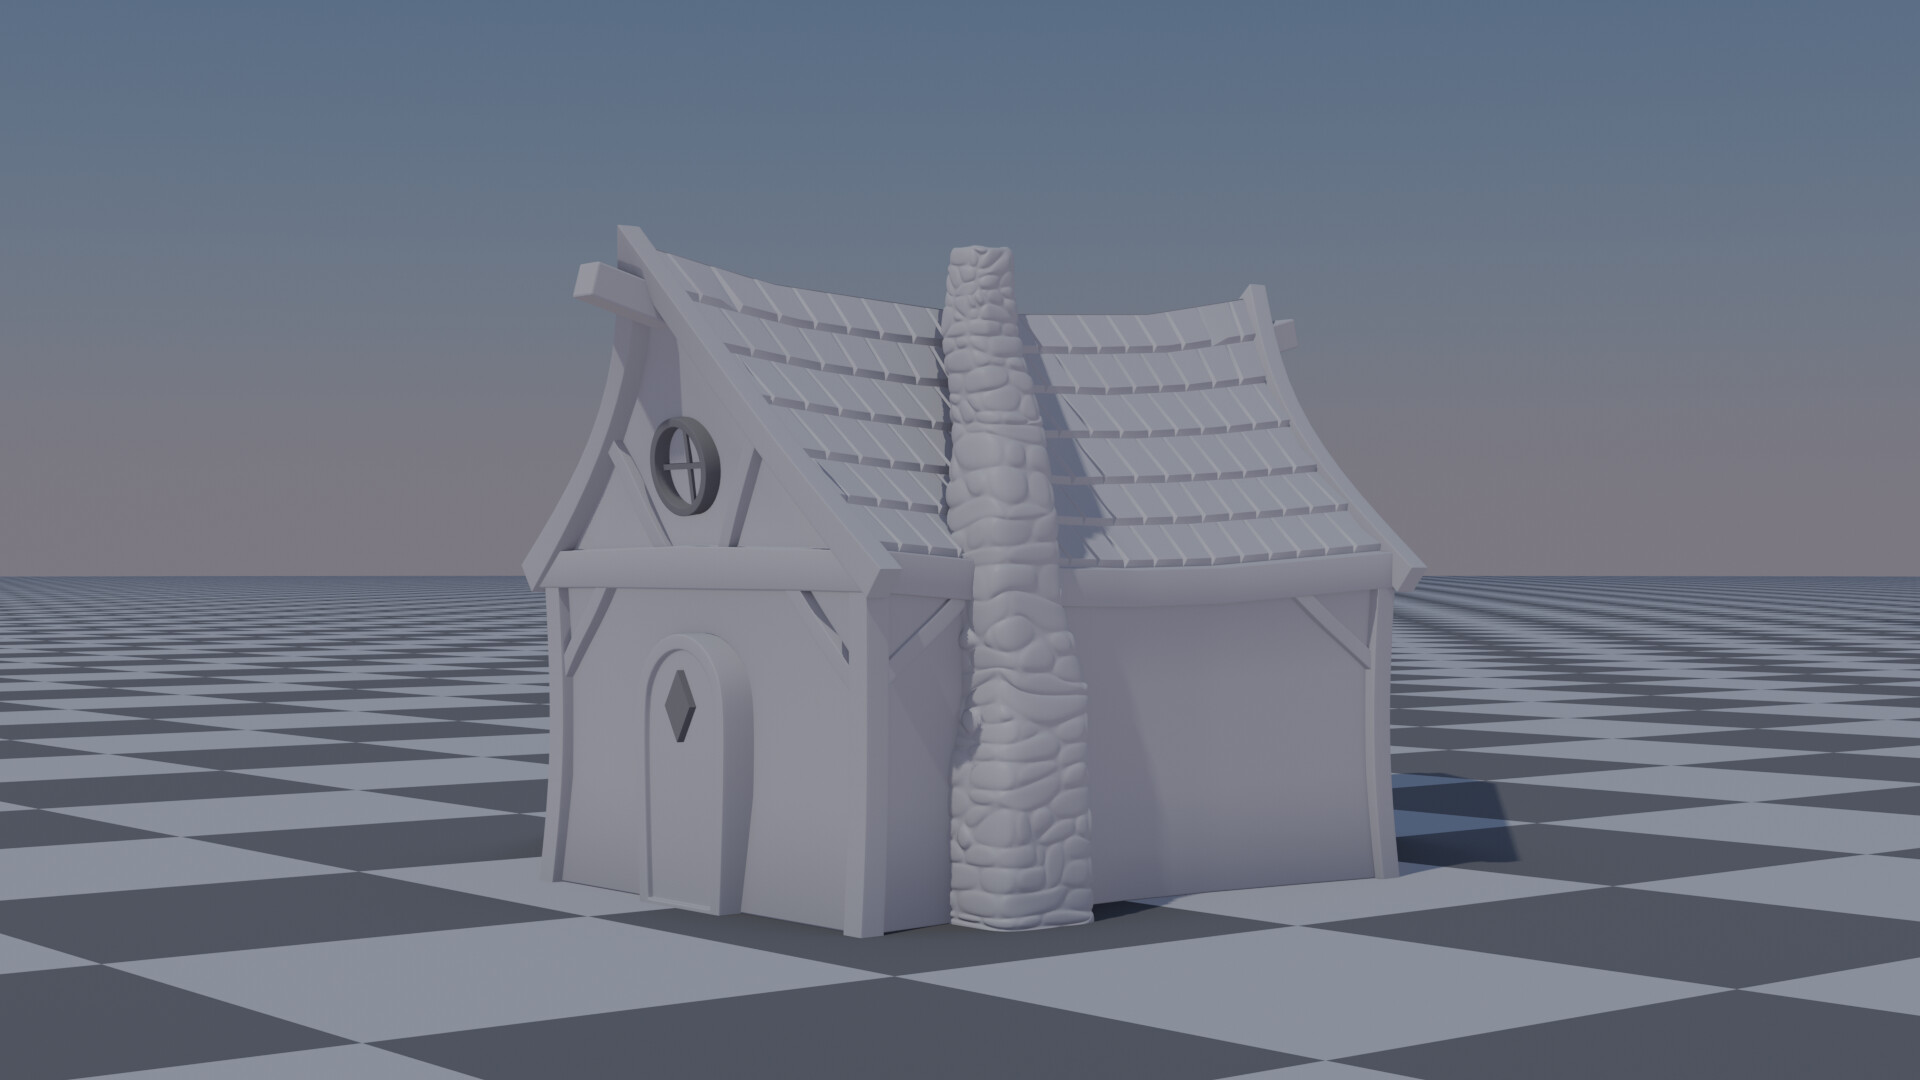
  • I have a general idea of what to create. A floating island (like in the course) base on a floating wire table
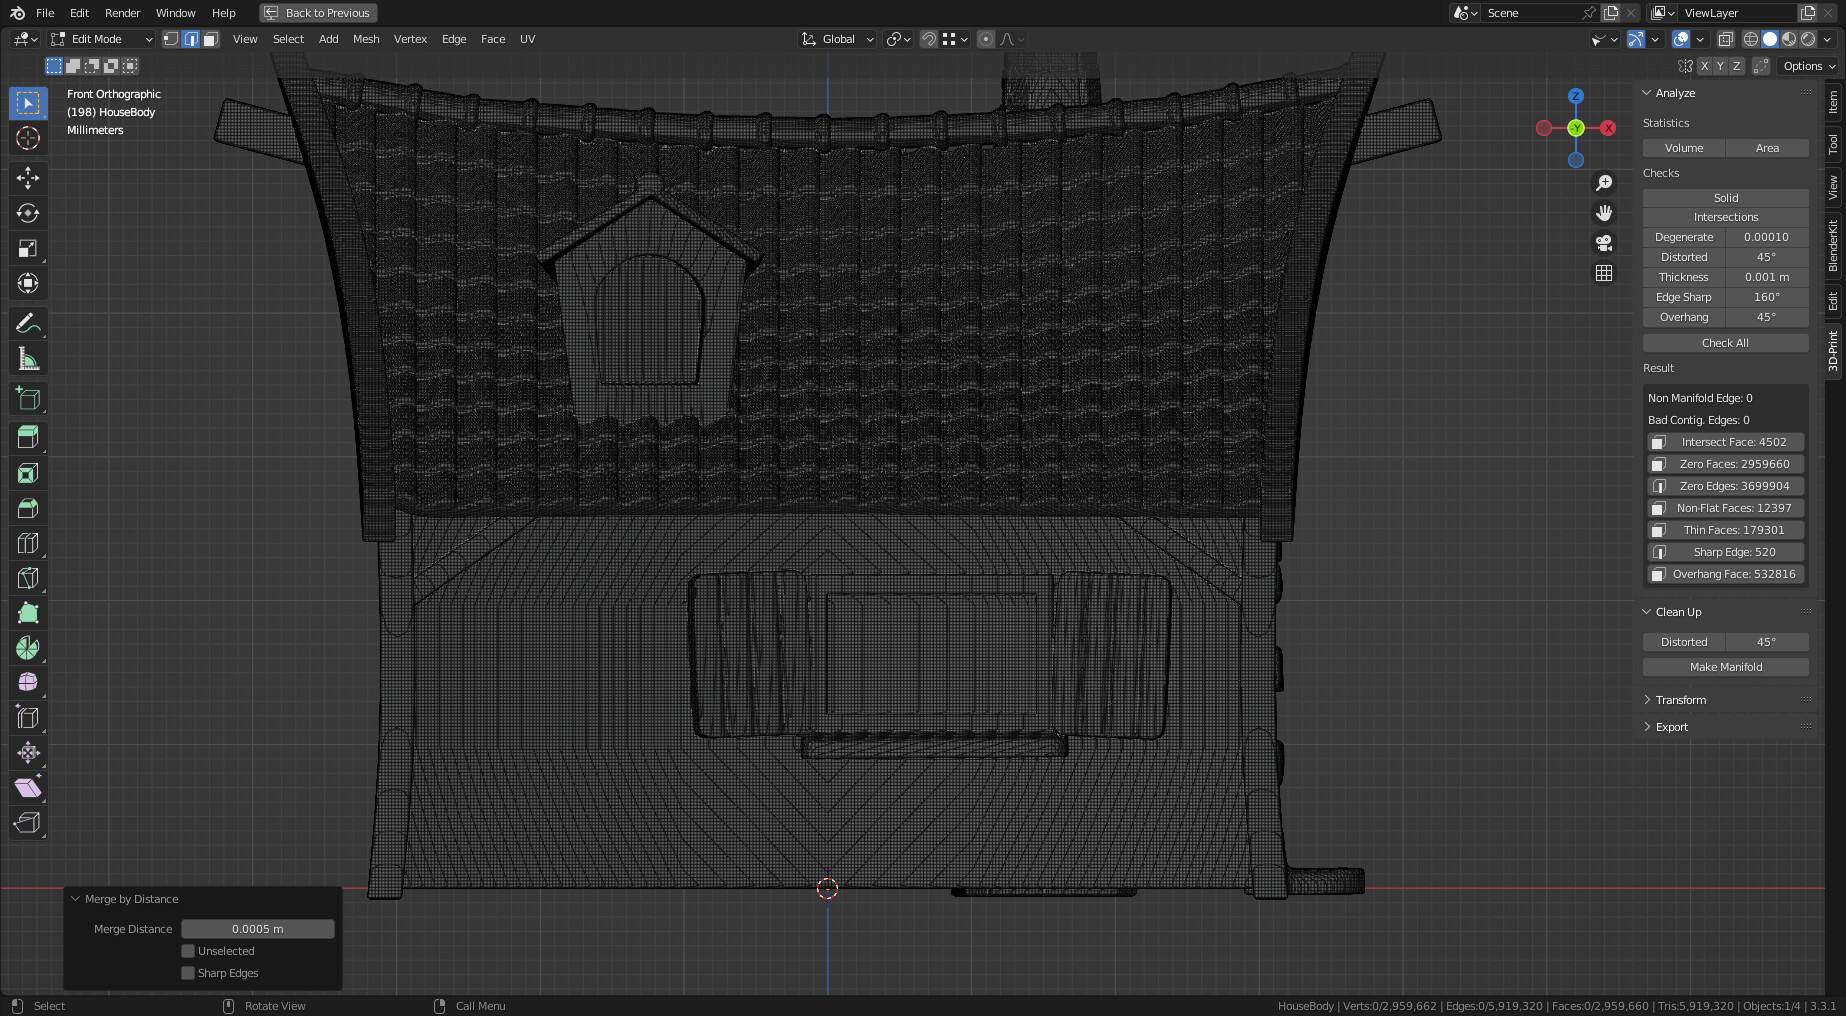
  • 3D printable objects with textures, means a lot of vertices. And a powerful PC. I need to be aware of this.
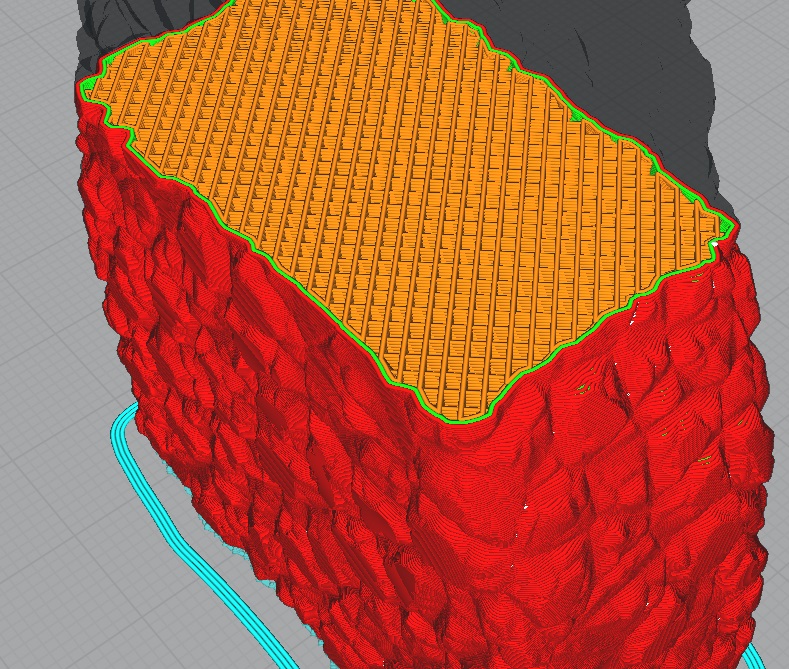
  • How to solve “overhang” problems, by design, by print direction, or other means.
  • I start small and see where problems arise.
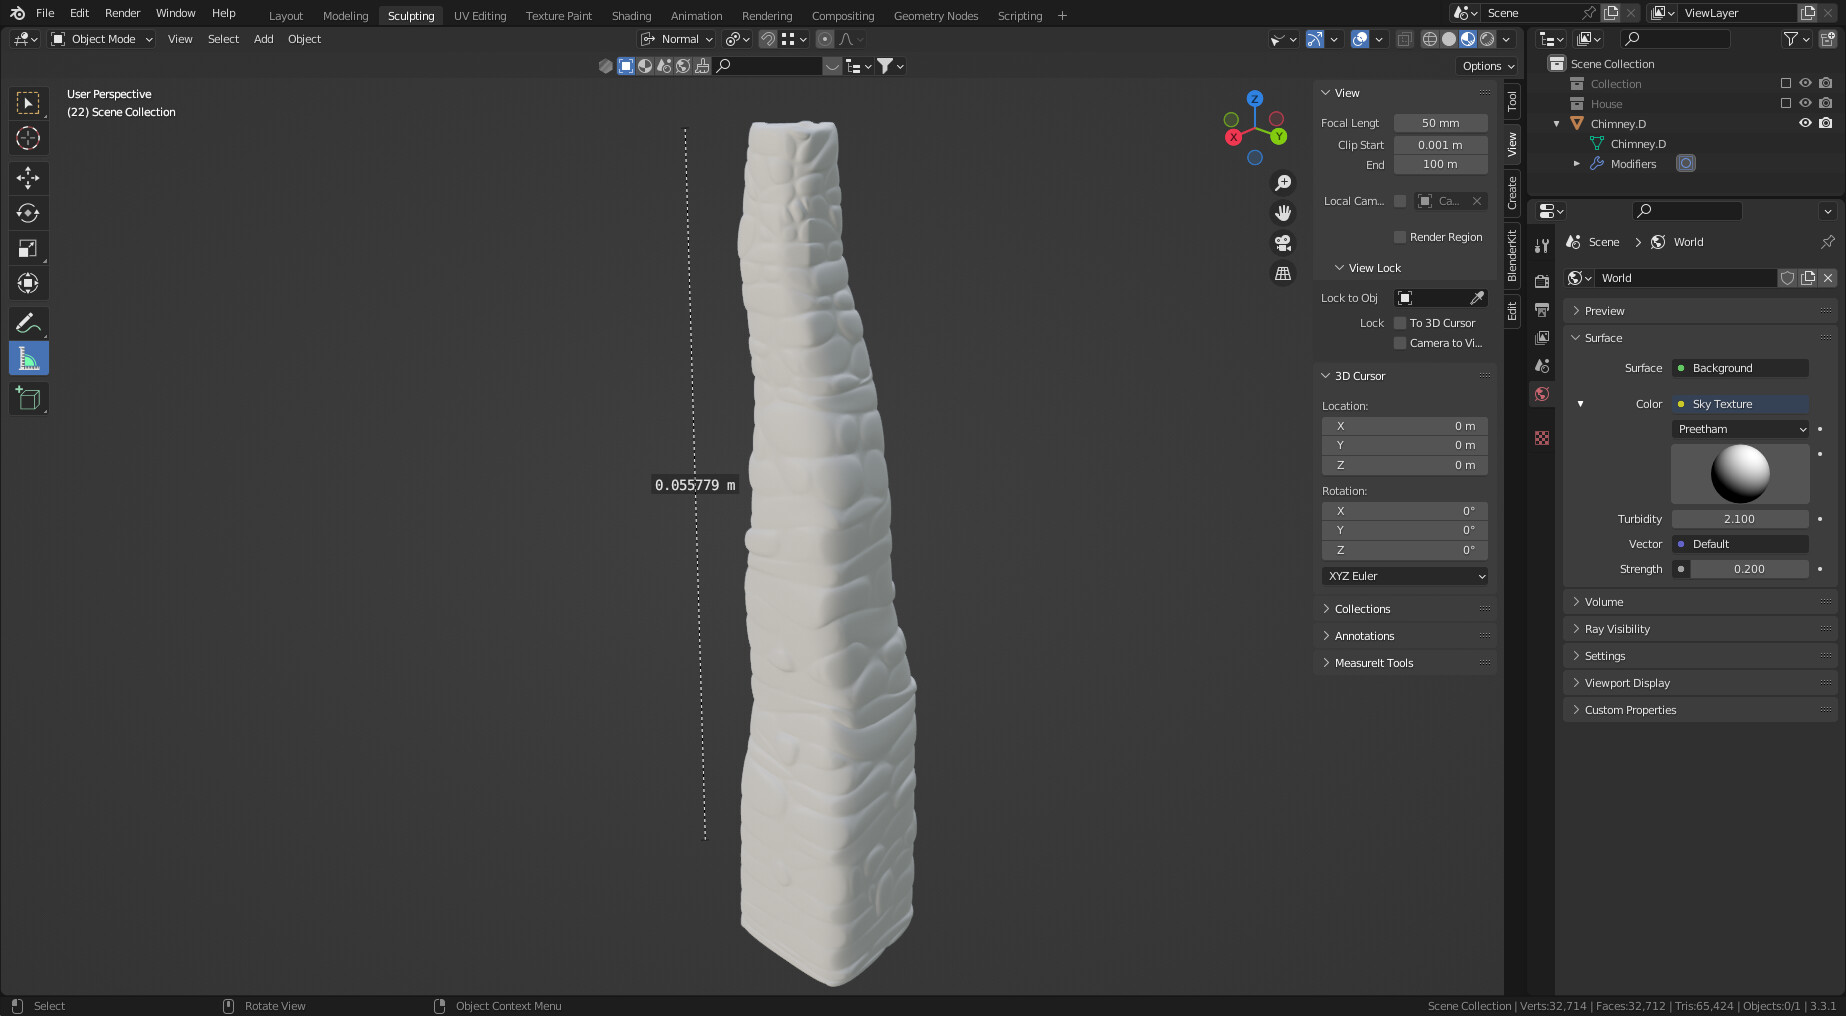
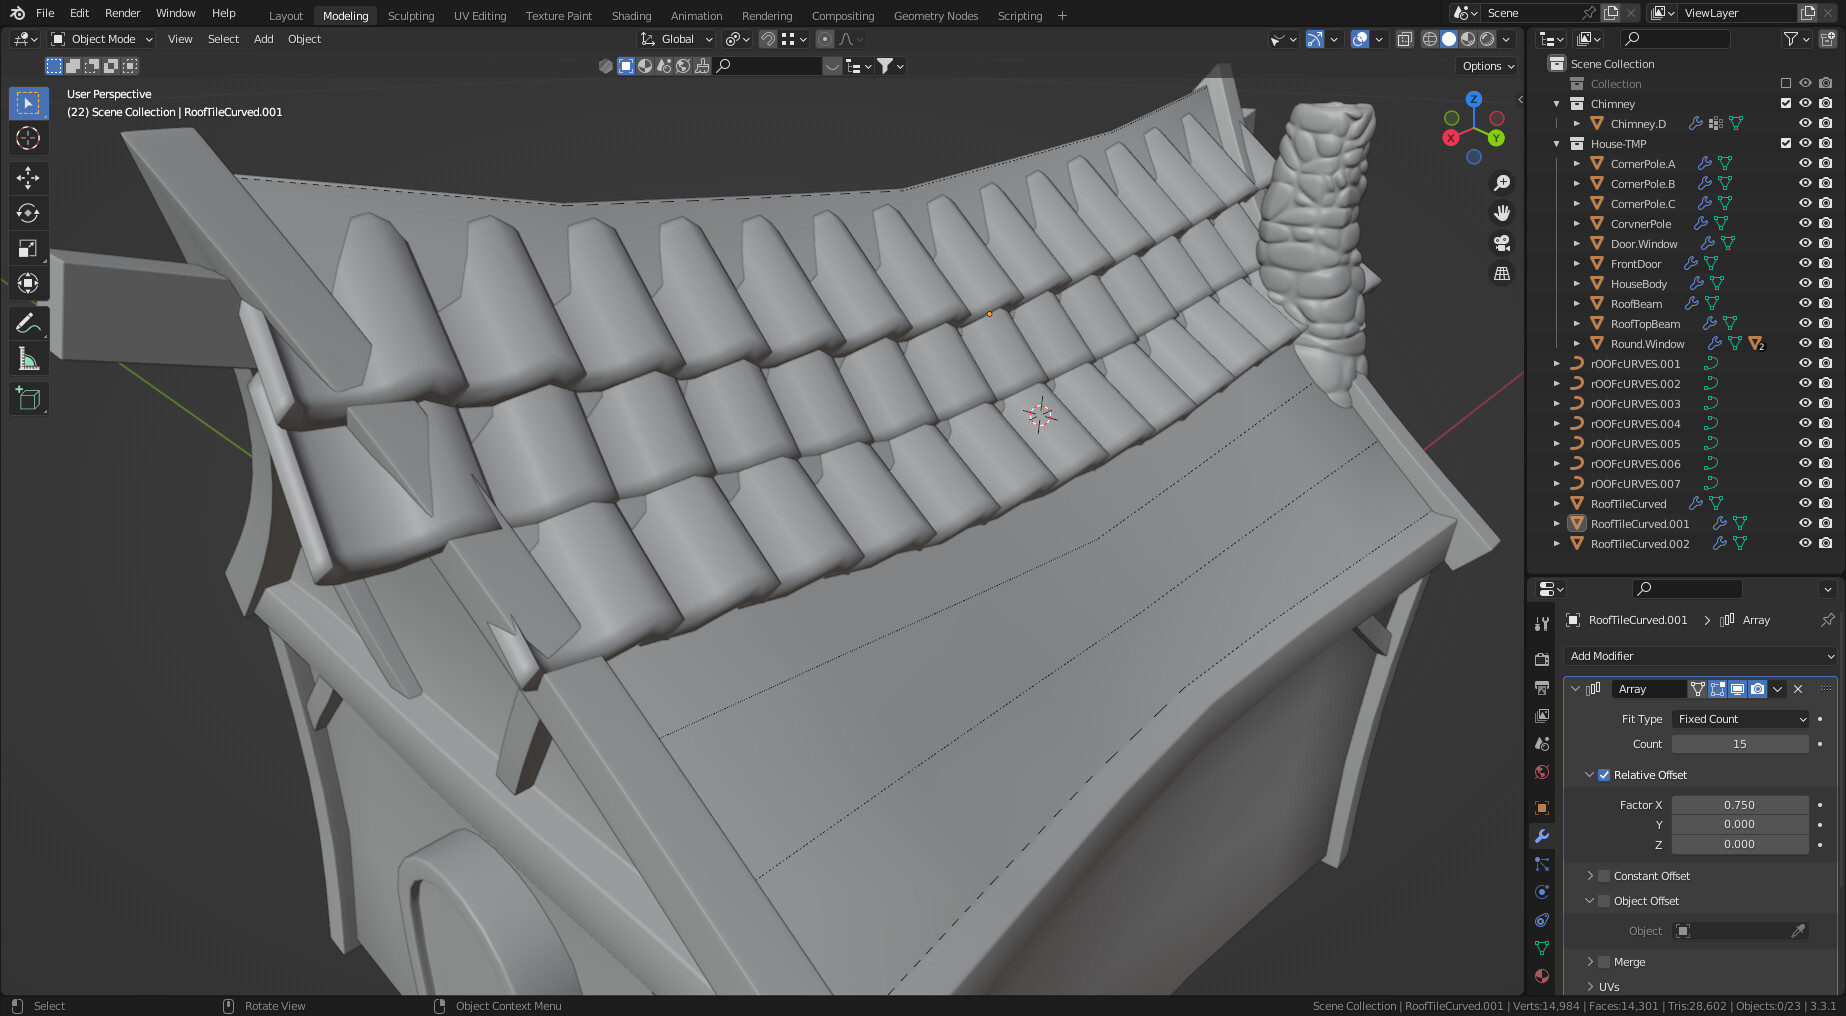
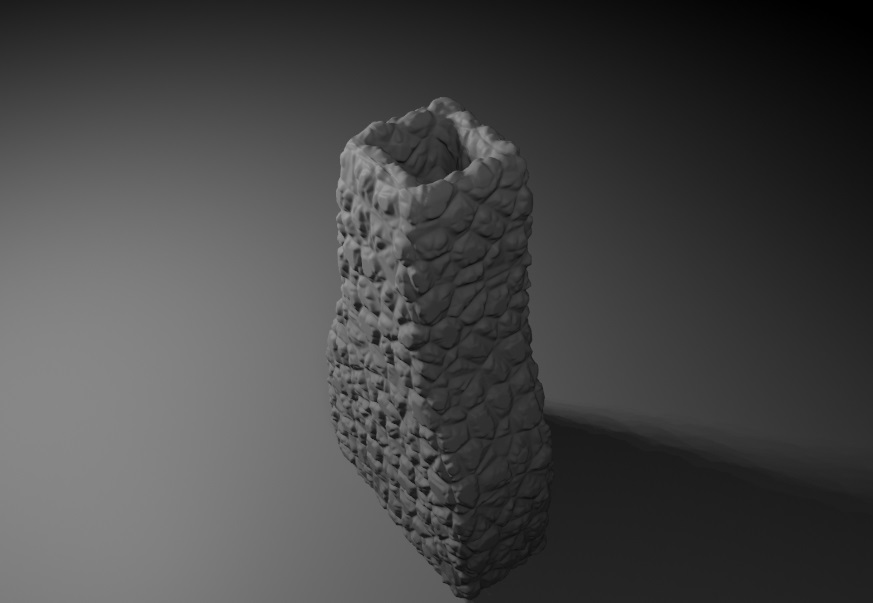
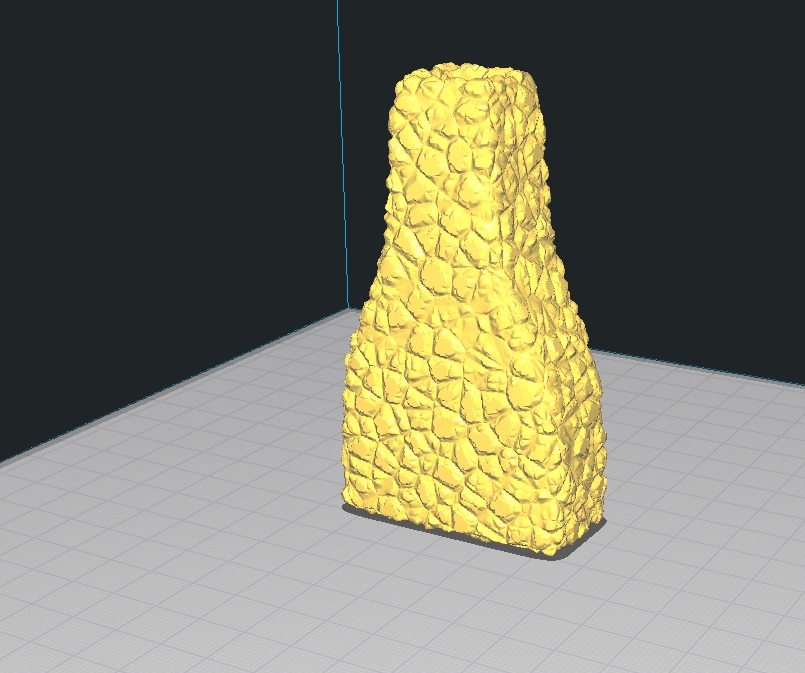
The chimney design

This is my fourth attempt. Fighting time spent and efficiency.

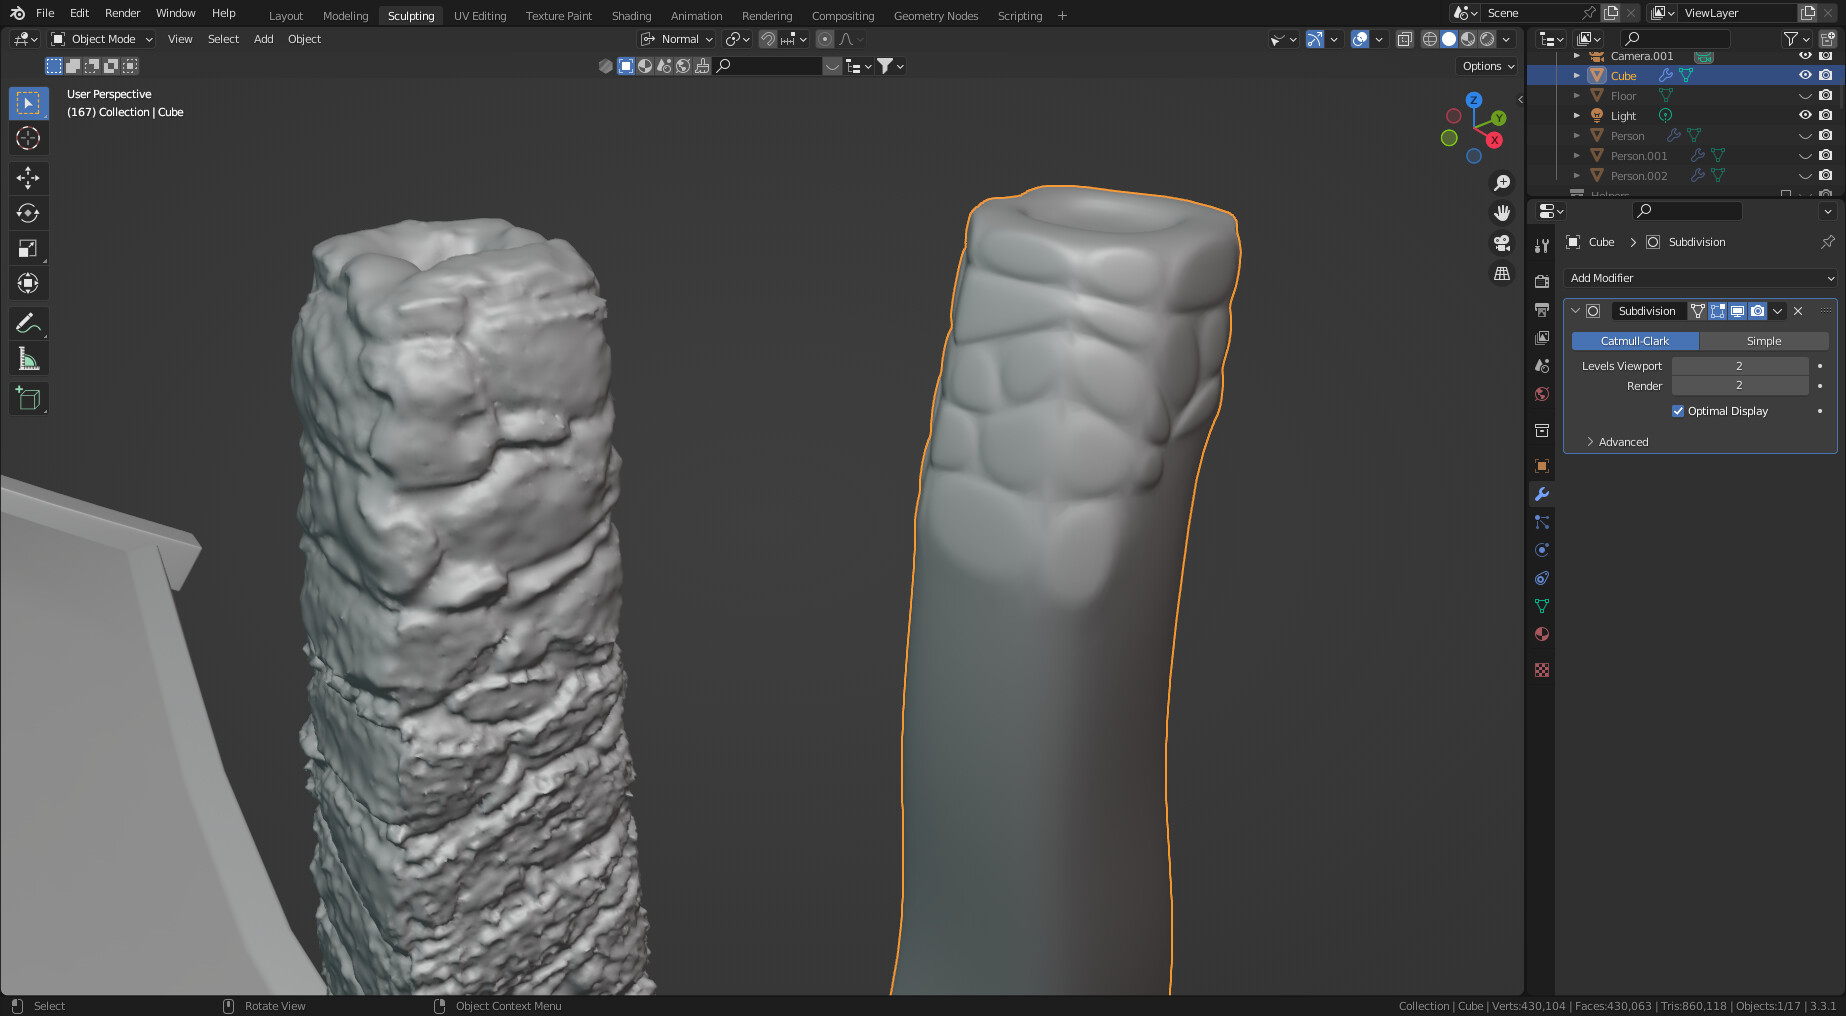
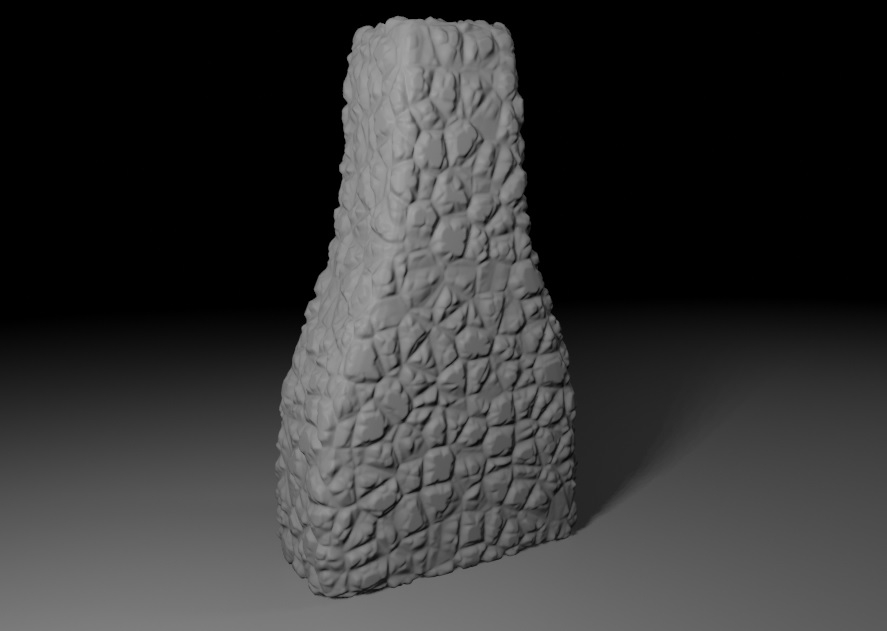
I create a chimney beam with a lot of subdivisions and added a displacement modifier and a cobblestone image. The output was great but very rough. Using a sculpt brush I tried to clean up, which will take forever to do so. And also has a huge impact on project memory.

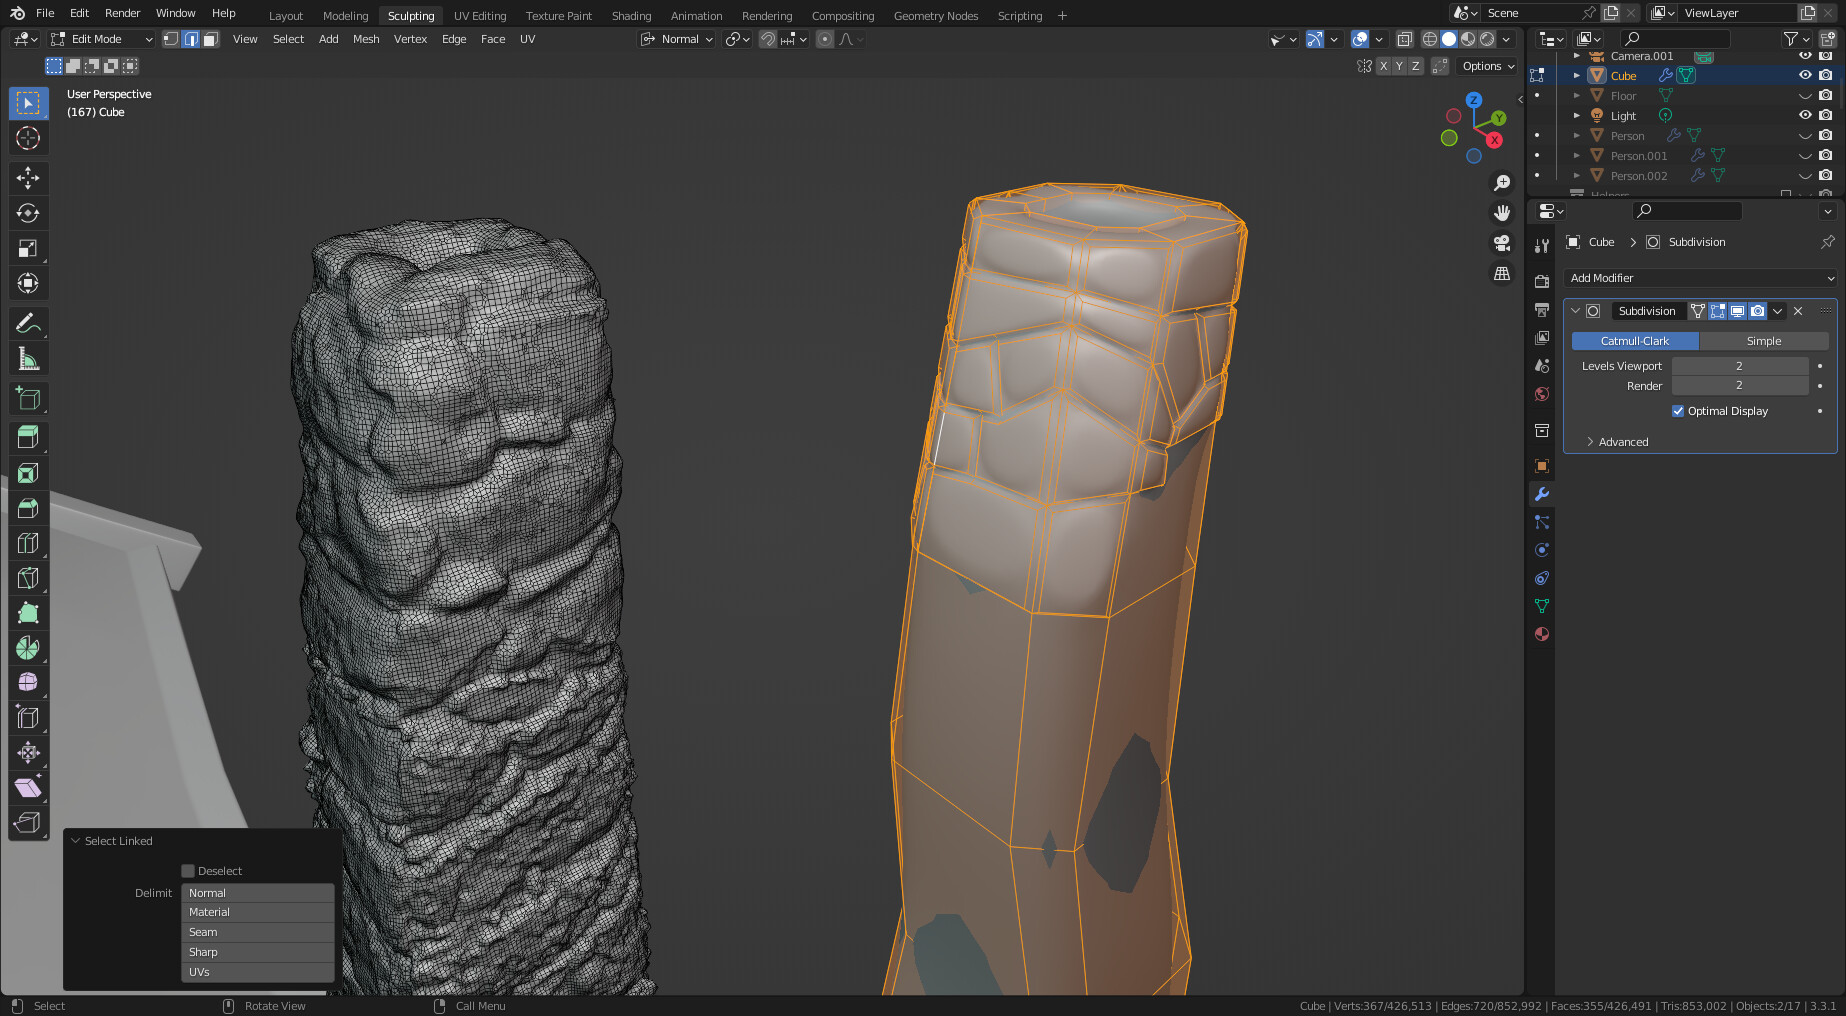
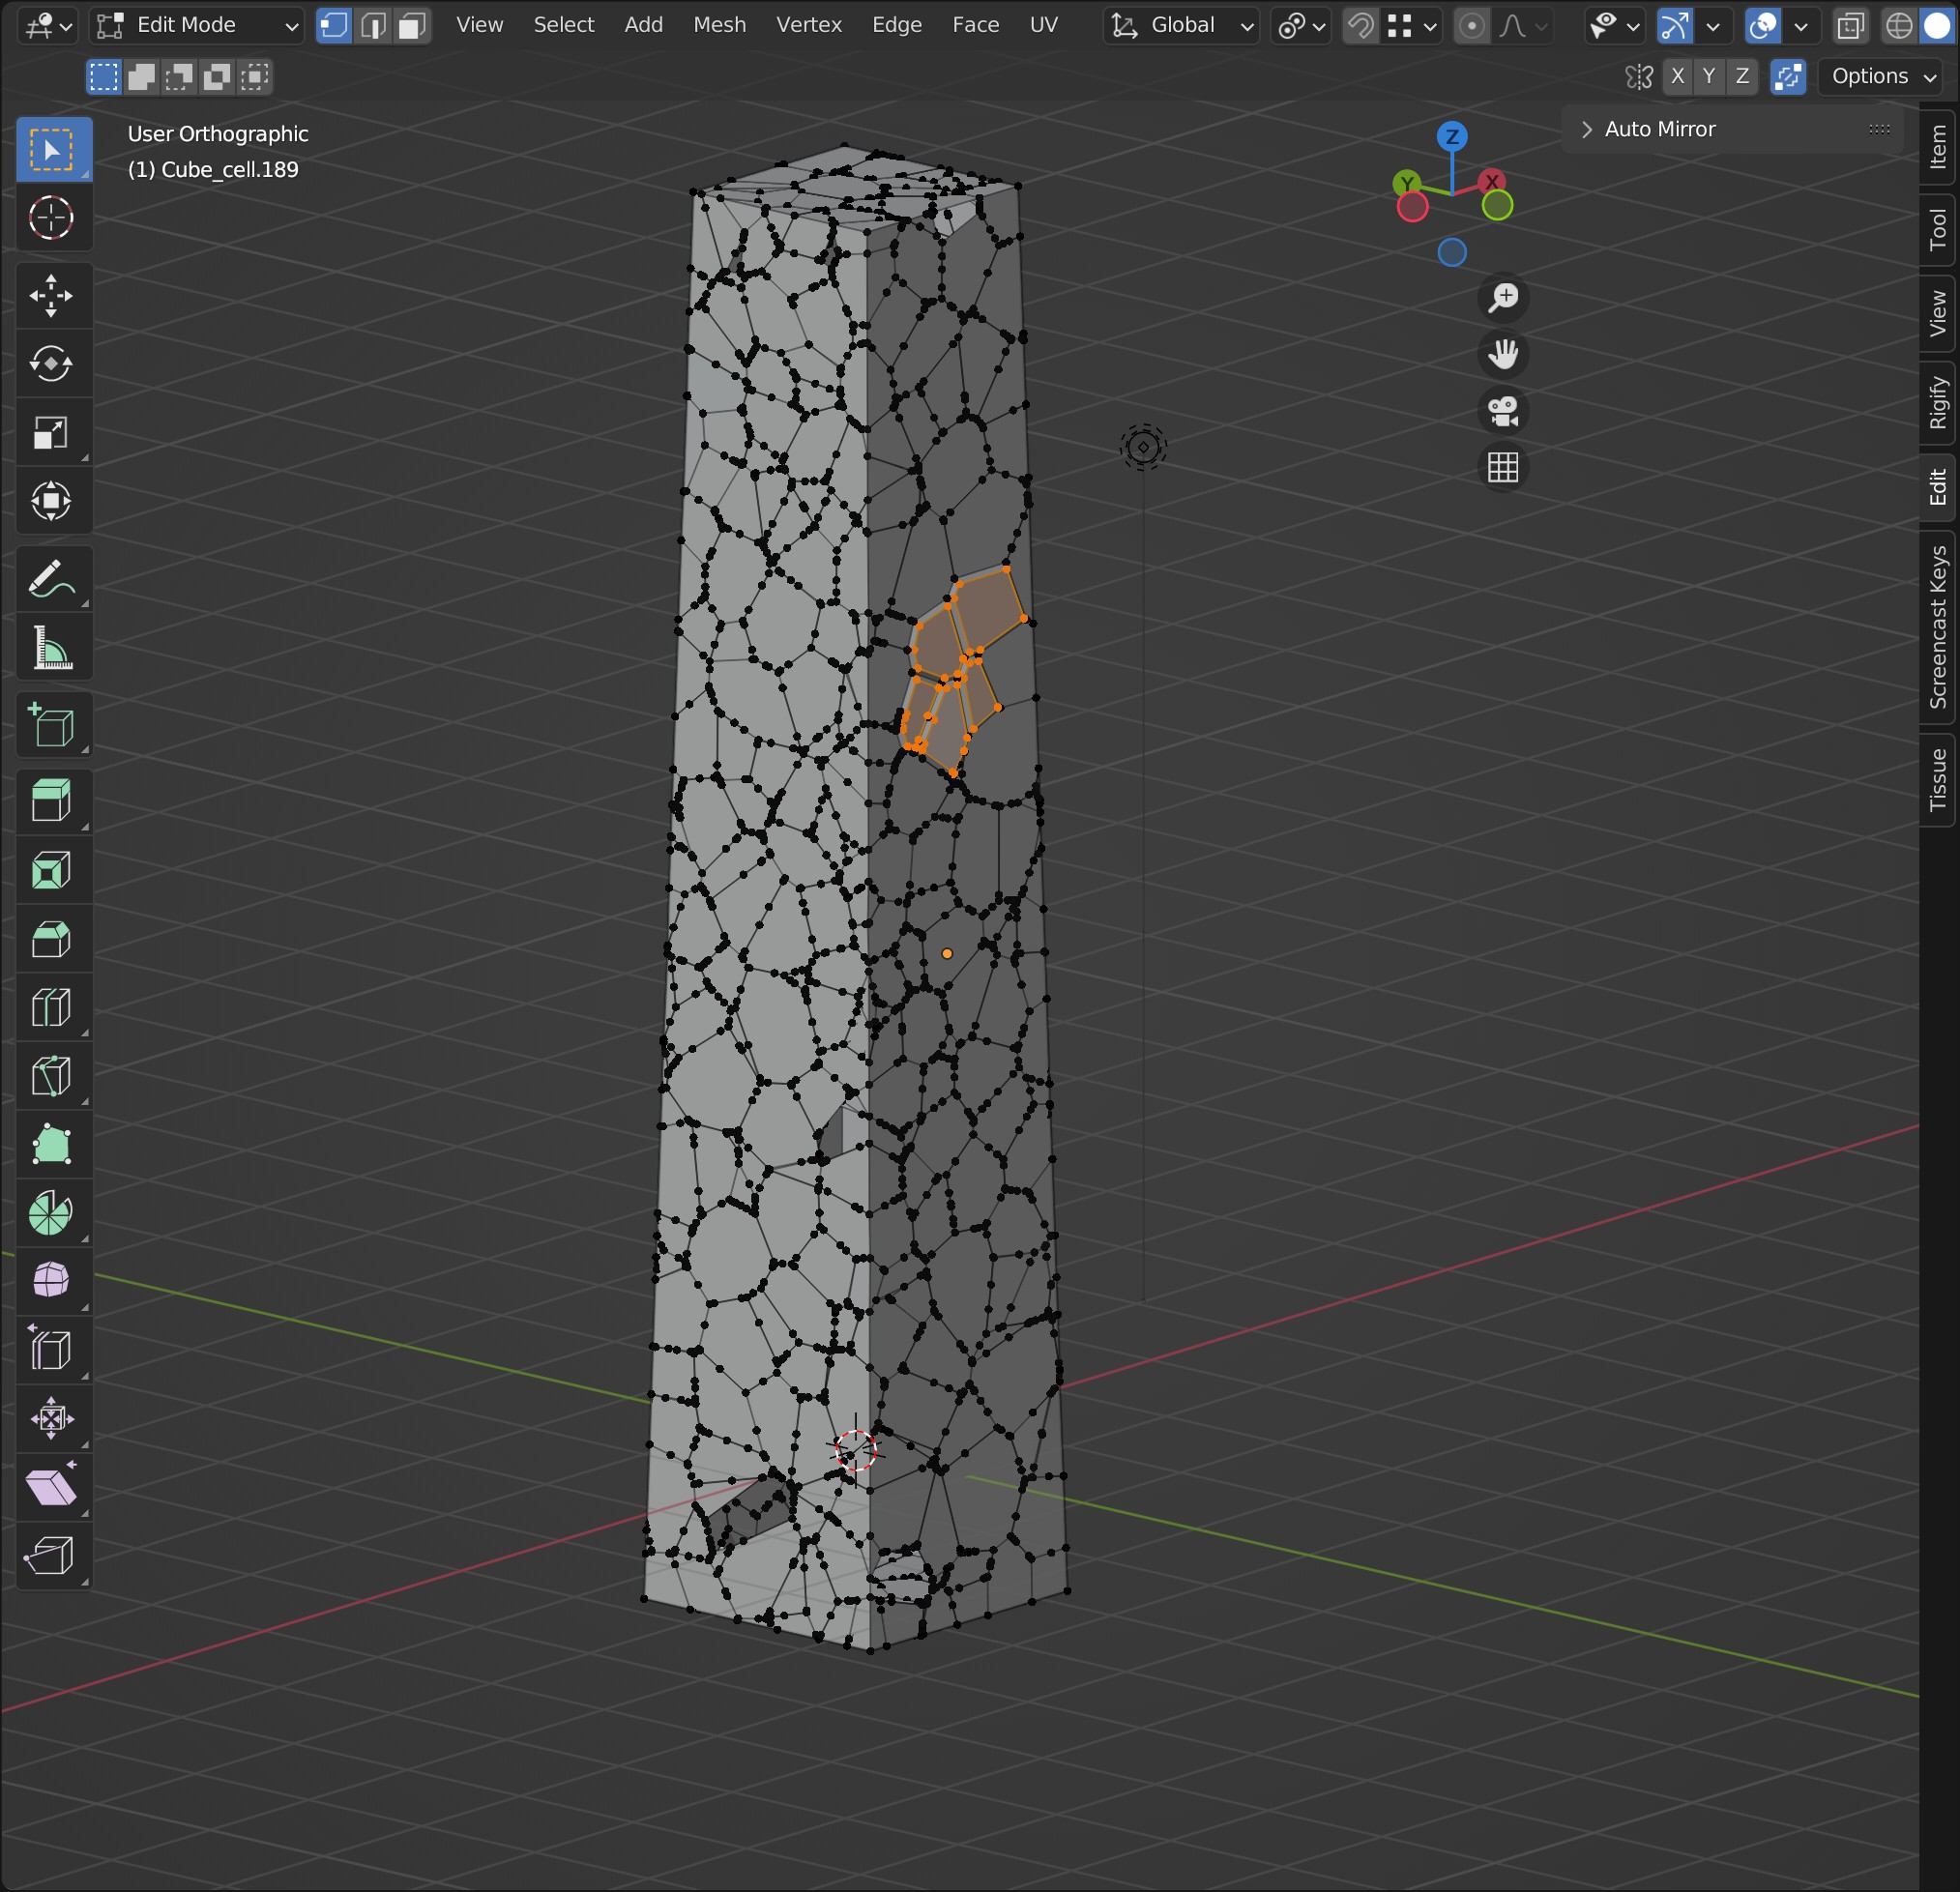
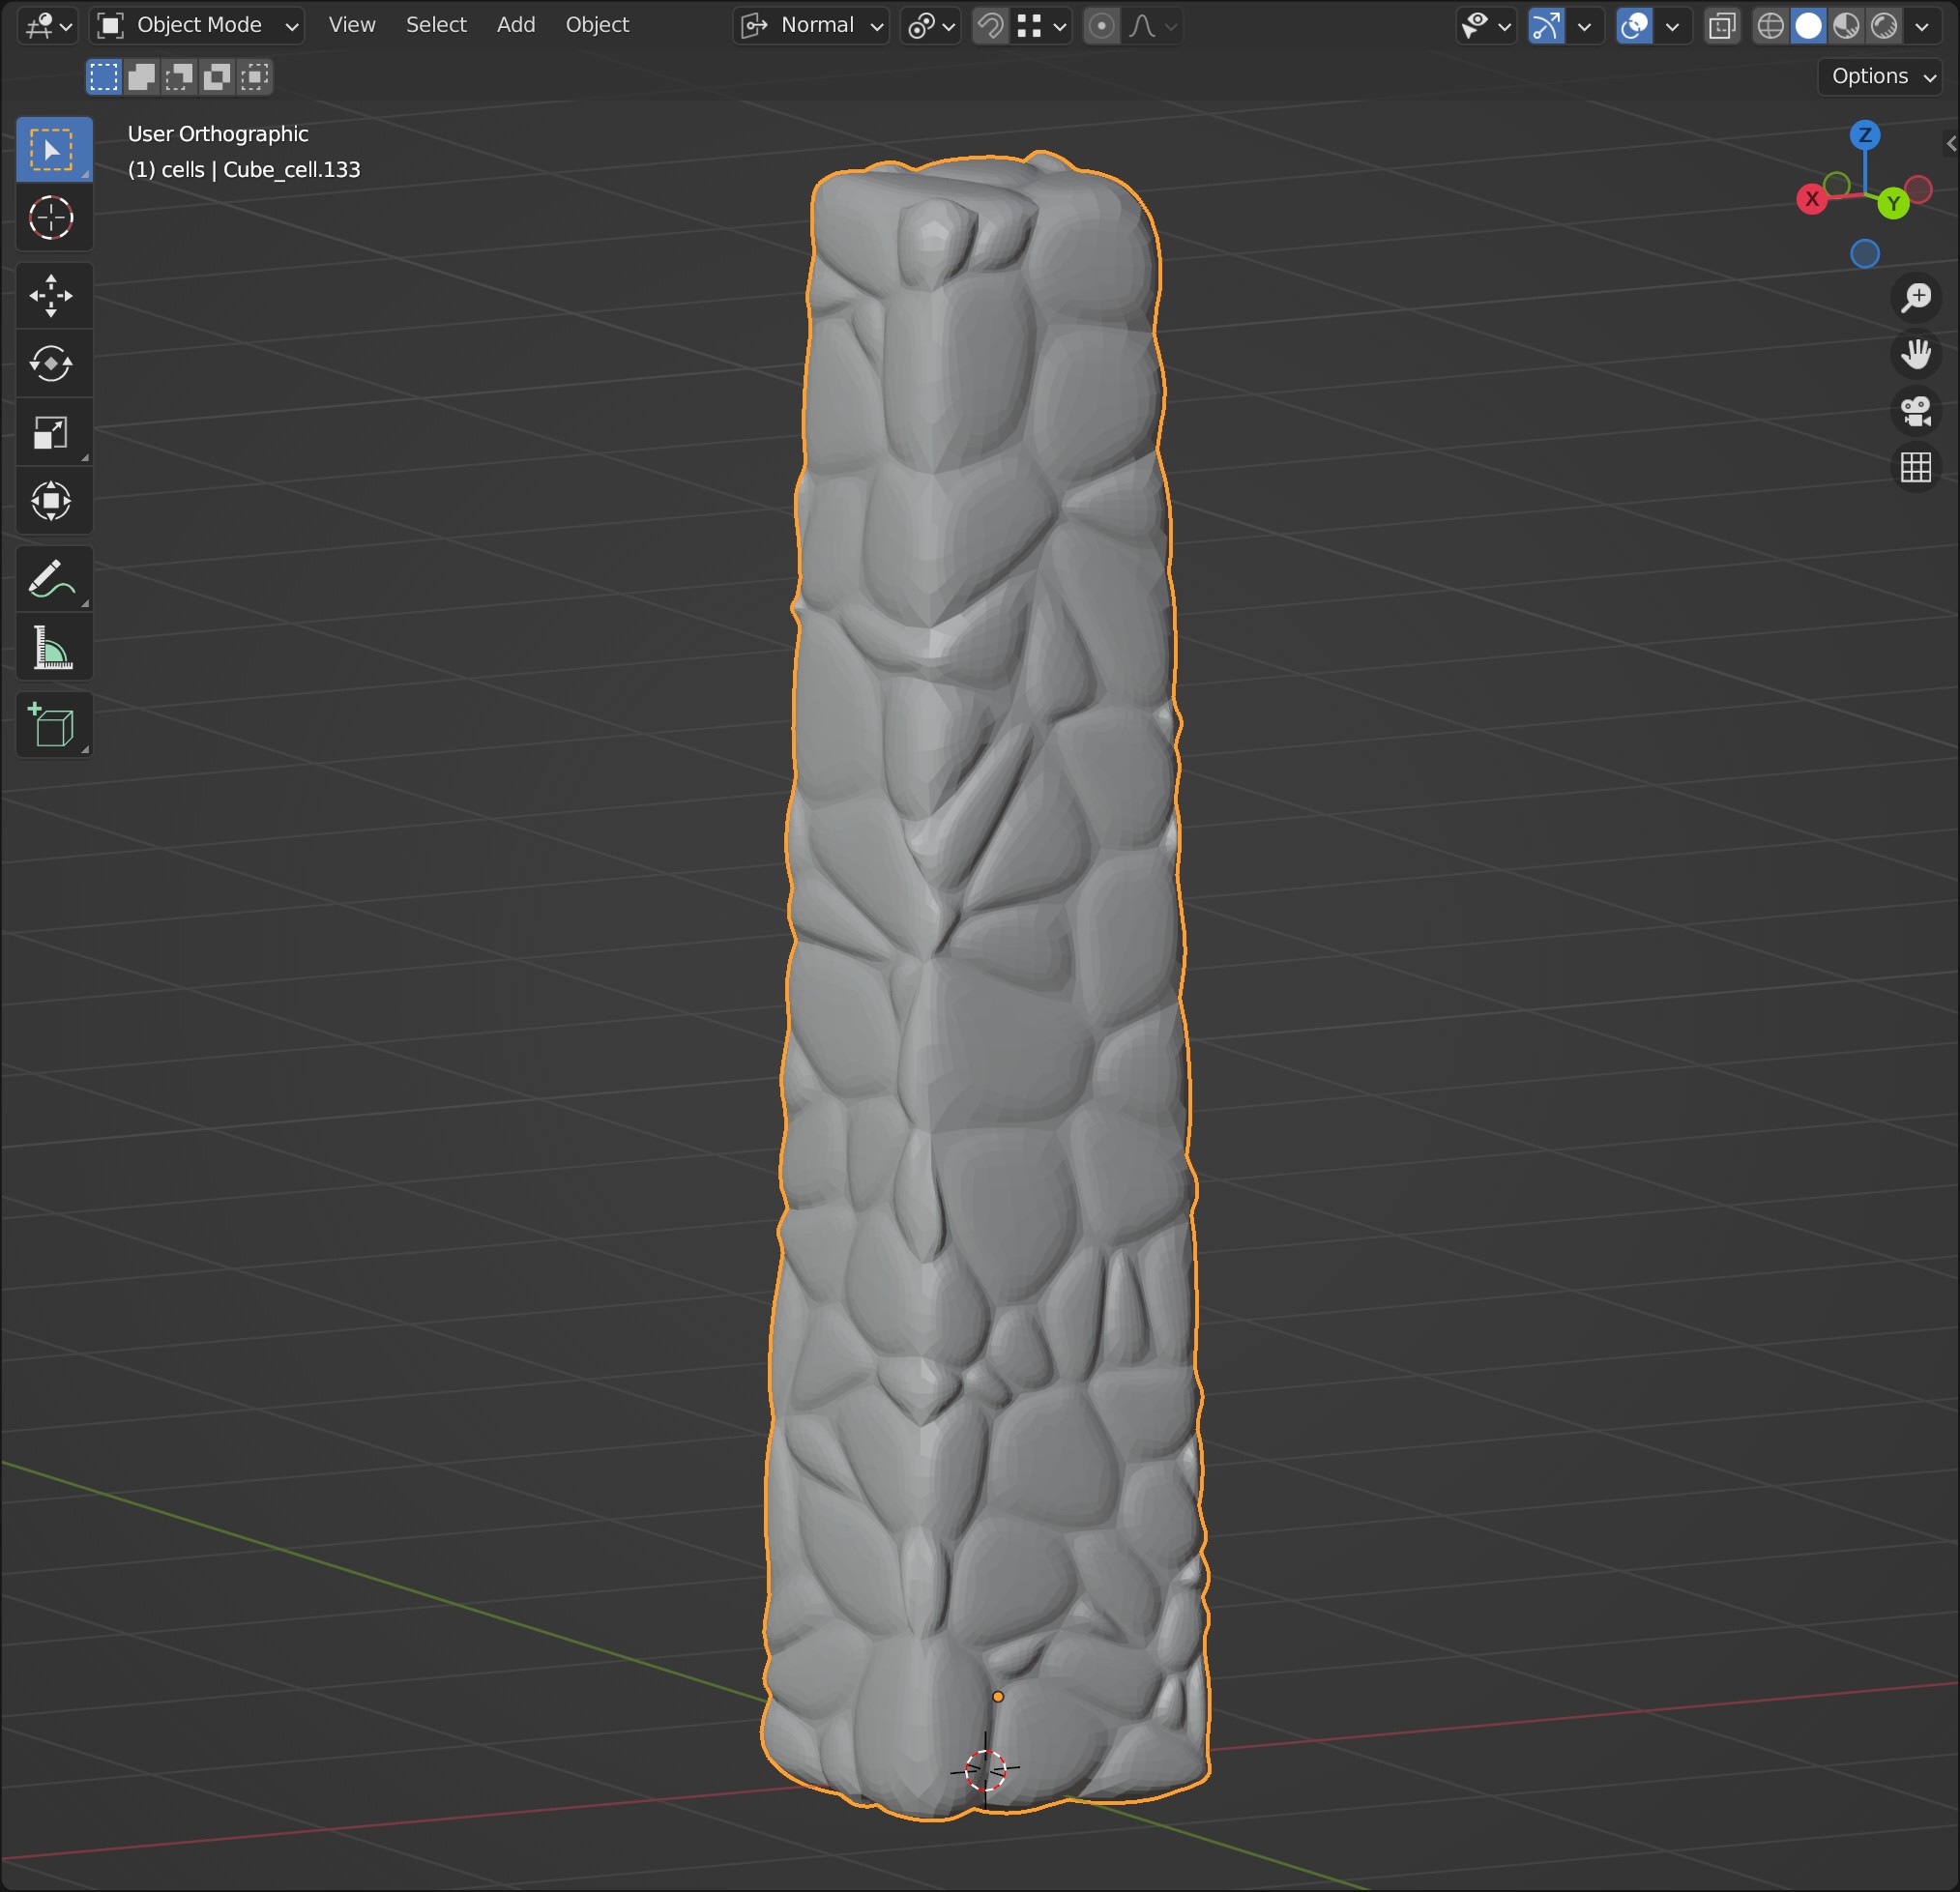
The fourth attempt is to cut out stones, with the knife tool, and extrude individual faces. Less work, cleaner mesh data.


2 Likes

Be interesting to see how you get on. Filament printers will not be too fine detail so you may be making the model too ‘good’. It may be worth experimenting with some LODs on a test part. No point spending time making details that will not come out. Unless you want the model for later printing on a resin printer.

Just a 'smooth vertices? might be effective enough?

2 Likes

I’ve created the chimney as a single object. More work than I expected, but its simplicity allows me to emphasize the shape of the boulders. From what I understand, it will be a slow print, because of the scale. Fast printing means more incremental heat, which can bend the already printed part while printing.

I used this technique. Cutting boulders with the knife tool, inset faces with depth. Applying sub-division and tweaking the shape (most work involved).

If a test print results in lesser detail, I can still expand the faces to emphasize the spacing.

2 Likes

I did the roof tile is the same way. But now I want to change the tile shape.
Impossible with the current solution. I’m opting in for a single shape and using an array on a several curved roof splines.

4 Likes

Be good to see how you get on. I’ve got both fdm and resin printers.
They do have pros and cons in both camps.
Normally a stock nozzle of .4mm you can get away with a layer height of 25%, like .1mm, generally half is a safe bet .2mm. But comes at the expense of time.

But for the finer layer lines, nowt a good lash of paint will hopefully over.

Added bookmark :wink:

2 Likes

Created a basic, repeatable curved roof tile. But because the roof is already bent in a unique way, the curves will not match the geometry needed. It’s a problem of having already a too-detailed shape. But I do like the design. So I will try a new approach.
Create a flat root with curved tiles, then sculpt and grab tools to bend the roof in the desired shape.

2 Likes

Create a flat roof and use some deform cage/modifier.
Or just proportional editing grab and move.

I played with a way to do the chimney blocks.

using Cell Fracture.
It is messy though I had to delete all the internal verts and still rather messy needing lots of vert dissolving away. There ought to be a non 3d way to use the Cell Fracture so it did not form 3d blocks.
However, in principle, it would do a good job. Just not sure it is any quicker or easier than hand cutting more neatly at the start.

Cleaned up a few faces, inset, moved out.

2 Likes

Actually Not a bad result.
Redid it, and used a CF option to make a vertex group of all the internal verts.

Joined all the cells made, Merge all by distance to join the cells, had to be increased distance.

Used the Vertex Group to select and delete the internal verts.

This left some outside to outside edges left inside which were not too onerous to select and delete by hand.

This left lots of verts along edges as you can see in the first try above. But selected one, then selected ‘similar’ and dissolved them. Most were removed, and the second try seemed to get the last few.

The last task was going around getting rid of very small faces, just GG dragging verts with auto merge on.

Then select all faces, inset individual, Scale with Alt S and add subdiv.

3 Likes

This looks like it’s coming along very nicely. I especially like the render you posted above of the whole house and chimney together. Looking very nice indeed. :slight_smile:

3 Likes

I really like the way this cabin is looking. I was wondering if you intended to print this as one solid piece or in multiple pieces?

1 Like

Yes, there are so many solutions. For me, I’ve tried to find an efficient and low-poly solution. I’ve forgotten about cell-fracture. Which looks more natural, then my knife-cut solution. I do think both are the same amount of work. Clearup vs. knife-cutting.

1 Like

That’s why I do this study. I want to 3D-Print using a filament printer.
So I have a lot of design issues. I want to have something, nice, but printable.
Looking for ways to solve this puzzle.
I think it will be printed in parts. Which also create new problems, glue-ing and fittings things together. And maybe, sending it to the print shop, where everything can be printed in one go. No support beams, or overhang problems.

1 Like

The cage is a smart way to do.

1 Like

I am interested in your project and I wanted to help find a solution to creating a chimney for the cabin. I tried out the cell fracture approach and found it to be a bit impractical due to shapes created by the effect to have vertices all over the place. This makes it tedious to produce as well as the shape not being completely manifold. I then tried to do a boolean approach by creating each of the rocks and adding a difference with a cube in the center (to remove the back faces). Same manifold issue. I then tried to unionize it with the cube instead, but it made my computer too slow to make any changes after. A third approach had me sculpting the details out with a stone alpha texture brush (again too many vertices / slower computer).

I finally managed to find a solution in a 1 minute video. It is none destructive, doesn’t use too many vertices, and the texture to create the stone appearance is already in blender (but you could also use your own). It also uses only modifiers, so there isn’t any deep involved micro managing of the vertices. You can even change the shape of the chimney before the application of the modifiers. Once the modifiers are applied you’ll have the real geometry. This process doesn’t even slow my computer down. I have provided some images of both blender and cura (the slicing program).

I’ll provide a link to the video. A few notes for the video however: It’s a time lapse, so it goes quickly (I slowed it down to 0.5 speed). Also the video shows the application of two displacement modifiers for the rock effect. I only used one because the second effect is so subtle that it isn’t worth the extra steps. I hope this helps and if you have any questions please let me know. :+1:

1 Like

Yes, I expected there was a displacement texture route. Just a bit concerned it would get rather heavy to run.

Better, at least spoken tutorial, after a fashion. Goes on to texturing which can be ignored. Also goes overboard low polying it for printing purposes but all more followable.

It would be much better with some work on your own texture, for a more regular ‘ish’ stone bricklike blockwork. Or there may be a procedural one to mess about with.

2 Likes

That’s so funny. I was soooo close to this. :wink:
The first attempt was creating cobblestones and stacking them together in a chimney. Too much work, as you said.
My second attempt (being smart, but not that smart), was to use a displacement modifier as you did. But instead of using an internal Blender bitmap, I downloaded a cobblestone-tiled image. But while realistic and colorful, it had a lot of noise. I needed a lot of time to fix that.

Honestly, your solution is the best way, in all aspects! Great job on adding the instructional video it will help others too.

1 Like

Glad I could help. The video however isn’t mine, an individual by the name of PXBR made it on youtube. I meant that I found a solution through their video. All credit goes to them. :+1:

1 Like

No clue what is happening here.

As I understood correctly a .stl file doesn’t contain scaling or unit info.
Also, I don’t have a 3D printer and don’t know how to set up Cura software.
Then, even with this simple project, my hardware limits are stretched.

I merged all objects into one and I did a re-mesh, so I got a non-manifold object.
The idea is also, to use the sculpt tool to add some details. But I got around 3 million faces. Which reaches the limit of my system.

I downloaded Cura slicer. And imported my Blender export of the .stl file. Which is 300MB in filesize.

In Cura, it is very small. Unsure, how the print size will be. Cura stated: Auto-scaled model to 10000% of the original size. This is strange because the Blender scale is correct. Using real size metrics, about 6cm in height. But as I said earlier, a .stl doesn’t contain units or scale info.

So I pressed the blue “Slice” button, curious about what would happen.

No clue how to read this?

  • What is blue
  • What is red
  • What are those white blocks

Is the ‘wire’ the real size of the filament print? To me, it looks like it’s printed in millimeters in stead of centimeters.

Note to myself

  • Scaling is wrong - use Blender to Cura tips.
  • Converting (remesh) it to a sculpt model (non-manifold) leads to Zero faces - It also makes the file size bigger.

Zero faces I had not heard of.

The scale issue is standard. Blender sees a unit as a metre and printers see a unit as a mill or some such. So if you model in the defalt set up, when done you need to scale the whole thing, um, up 100x? I never remember, bit of trial and error finds the multiple.

1 Like

Privacy & Terms